


Want to change the account name of your Windows 10 computer? Don’t worry. It’s easy and there are different ways to do that. We’ve put together 3 methods for how to change your user name on Windows 10. Read on and find how…
Try these methods:
- Change your user account name in Control Panel
- Change your user account name in Local Users and Groups
- Change your user account name in Settings
Method 1: Change your user account name in Control Panel
You can change a lot settings of Windows system through Control Panel, including changing your account name.
Here’s how:
- On your keyboard, hold down the Windows logo key, then press R to bring up the Run box.
- Type control and press Enter.

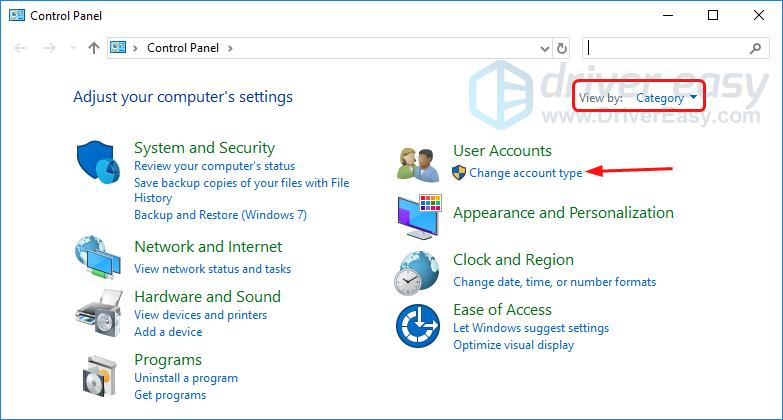
- Click Change account type under User Accounts when View by Category selected.
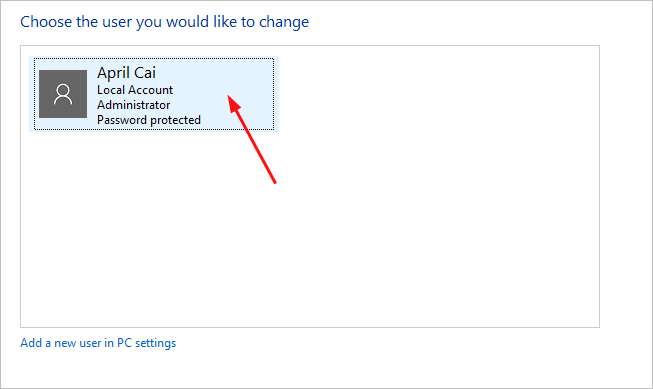
- Double-click the account you want to change the user name.
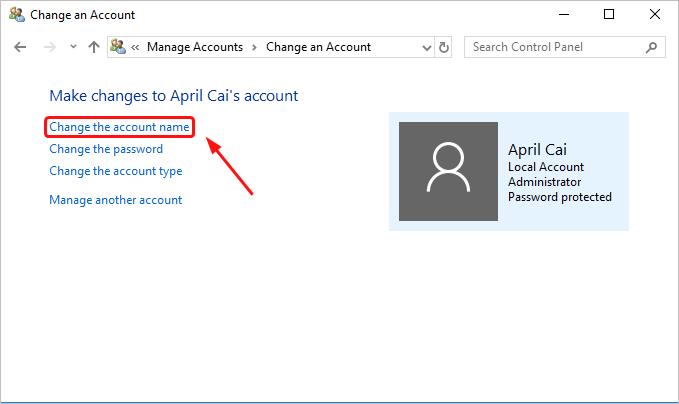
- Select Change the account name.
- Type the new name into the New account name box, then click Change Name.
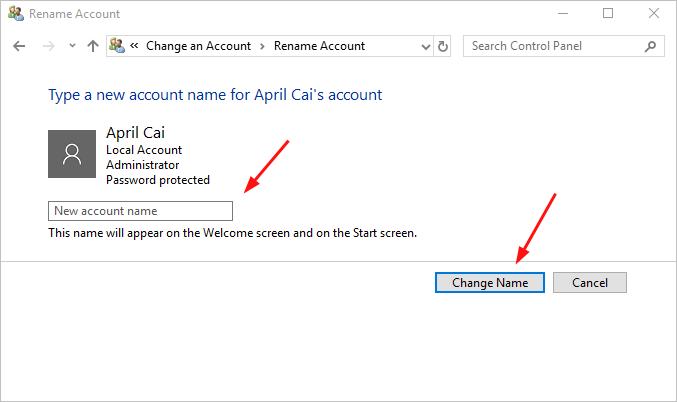
You’ll then see your account shows with the new name.
Method 2: change your user account name in Local Users and Groups
You can create and manage users and groups that are stored locally on your computer through Local Users and Groups, including changing your account name.
Here’s how you can do that:
- On your keyboard, hold down the Windows logo key, then press R to bring up the Run box.
- Type lusrmgr.msc and press Enter.

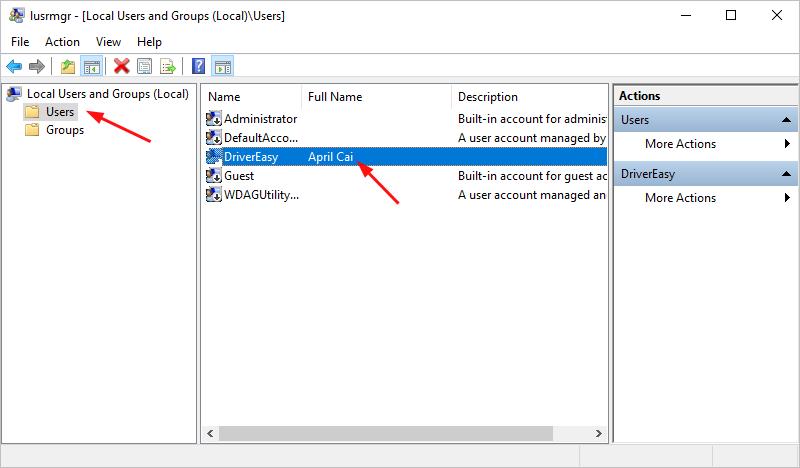
- You’ll then see the Local Users and Groups window. Click User then double-click the user account which you want to rename.
- Type the new name in the Full name box. Then click Apply > OK.
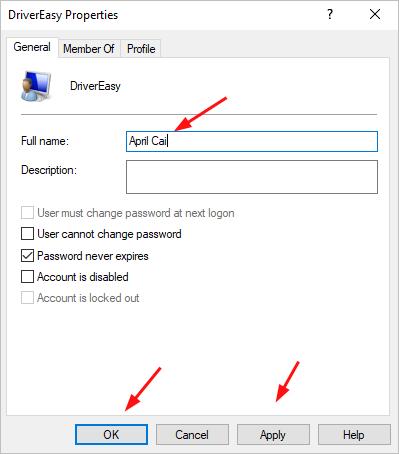
The new name is set successfully.
Method 3: Change your user account name in Settings
If you log in your Windows 10 computer with a Microsoft account, you can change your account name in Settings. Go with these following steps:
- On your keyboard, hold down the Windows logo key, then press X to bring up the quick-access menu.
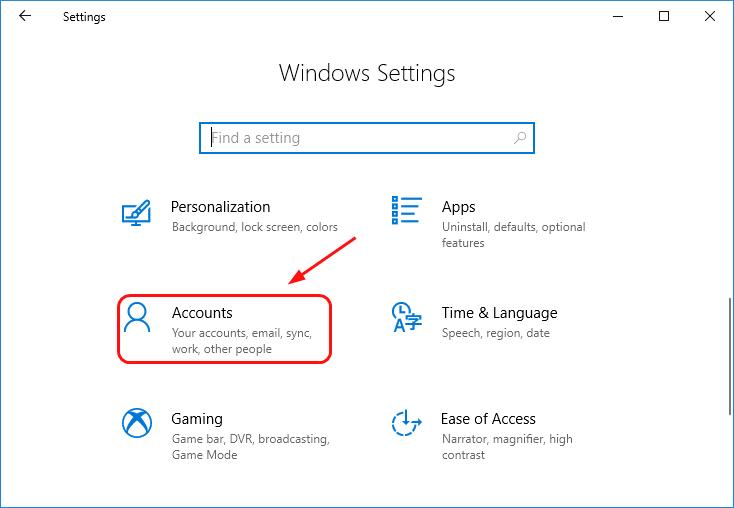
- Click Accounts.
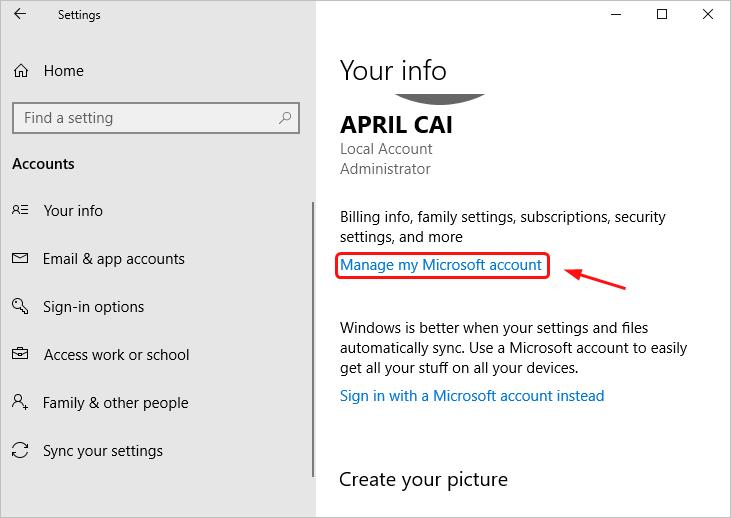
- Click Manage my Microsoft account.
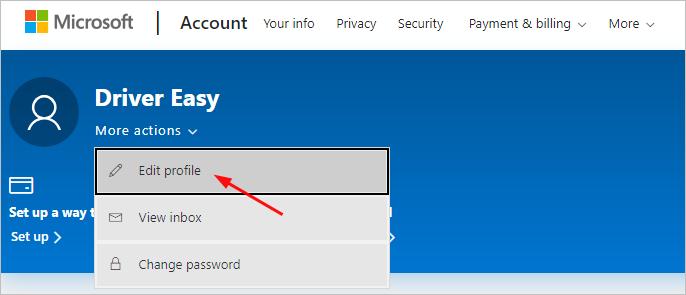
- On the open page, click the drop-down menu of More options under your Microsoft account. Then select Edit Profile.
- Click Edit name.

- Type the new name into the box and enter the characters you see for verification. Then click Save.
Please note that this will change the account name of your Microsoft account.
The new account name of your Windows 10 computer is set successfully.
Tada! You own a new account name for your Windows 10 computer now. Feel free to comment below for any questions.