


Your computer is running slow? Before spending a fortune on updating memory or buying an entirely new computer, knowing exactly how much and how fast is the RAM speed is important.
Why is RAM speed so important?
How does RAM work?
The processor requests information from the RAM runs calculations and stores it back in the memory.
So what happens when the RAM is slow?
It will end up waiting for a response. Thus, a lower-speed memory, of course, will reduce the performance of your PC, particularly in CPU-intensive games where you have high cache utilization.
The faster, the better?
Technically, the higher the MHz clock speed, the more data the RAM can transfer in a shorter period. To boost performance, many gamers even choose to overclock RAM. However, there are limitations and potential dangers of overclocking your RAM.
Your RAM speed will depend on your motherboard and CPU. Some motherboards—even those among the best motherboards for gaming—do not allow RAM overclocking.
So whether you’re diagnosing problems or looking to upgrade, one thing you should do is check your RAM speed.
How to check RAM speed?
- Method 1: Task Manager
- Method 2: Command Prompt
- Method 3: CPU-Z
- Method 4: Driver Easy
- Method 5: BIOS
Note: The screenshots below have been mostly taken from a Windows 10 operating system. If you are using Windows 11, please be aware that the visual appearance of your screen may vary slightly, but the steps to perform the task remain consistent.
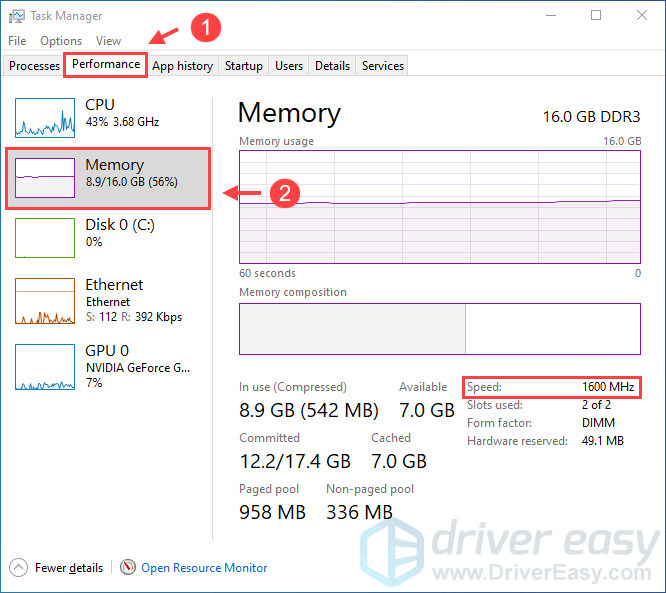
Method 1: Task Manager
1) On your keyboard, press Ctrl+Shift+Esc at the same time to open Task Manager.
2) Go to the Performance tab, then click Memory. There, you will see the RAM speed, the amount of RAM that is currently being used, as well as the available memory you can still utilize.
Method 2: Command Prompt
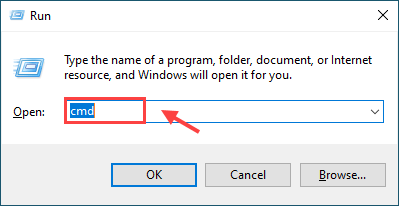
1) On your keyboard, press the Windows logo key and R at the same time to invoke the Run box. Type cmd in the box and press Enter.
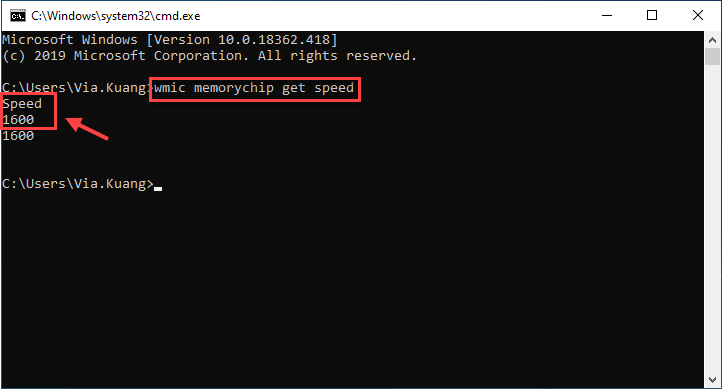
2) Copy & paste wmic memorychip get speed into the Command Prompt window and hit Enter. This command will allow you to check your RAM chip’s speed.
wmic memorychip get speed
3) Now you will be able to see the Speed or frequency (1600 MHz in my case).
Method 3: CPU-Z
Go to the official website of CPU-Z to download and install the software. CPU-Z will run an analysis of your system, and then serve up lots of useful information – including RAM speed.
1) Click the Memory tab, the one you’re looking for is DRAM Frequency. Multiply that number by 2 because it’s DDR (Double Data Rate).
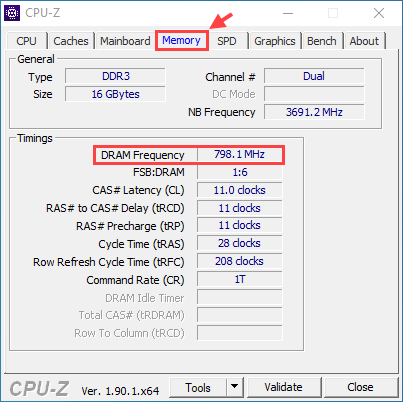
For example, as you’ll see in our screenshot our RAM is 798.1MHz, but because it’s DDR RAM (Double Data Rate) we multiply that figure by two to get a final figure of 1596.2MHz.
Method 4: Driver Easy
It requires time to manually check all the information you need about your RAM and other hardware information. If you don’t have time or computer skills, you can do it automatically with Driver Easy.
1) Download Driver Easy and run it on your computer.
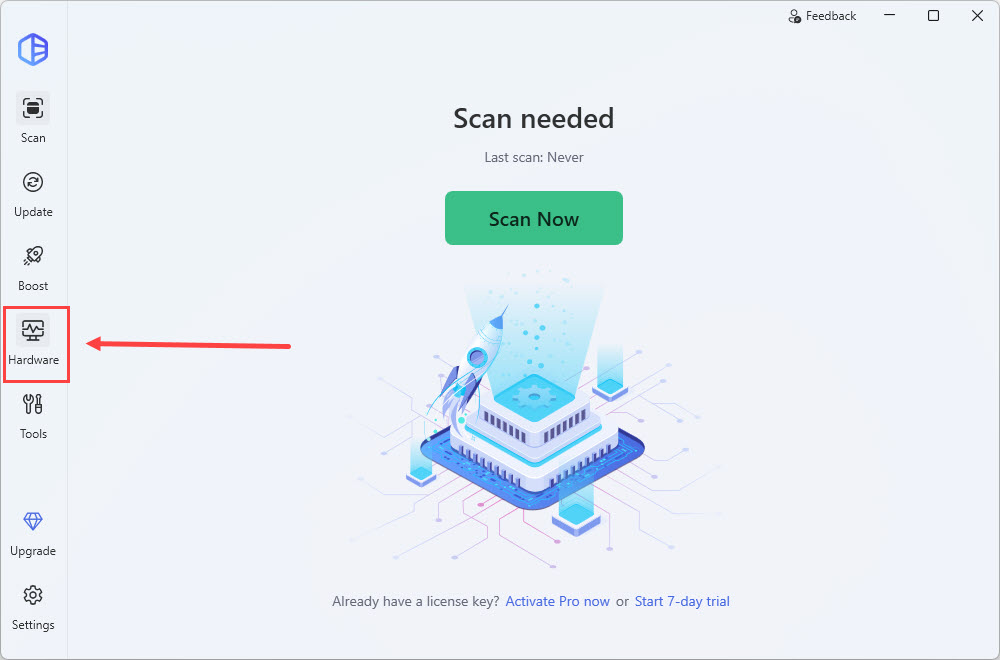
2) Click the Hardware tab. When you’re prompted for Administrator Permission, click Continue, then Yes.
3) Navigate to the Memory tab, you will see DRAM frequency under the Timings section. To get the actual RAM speed, you need to multiply that number by 2.
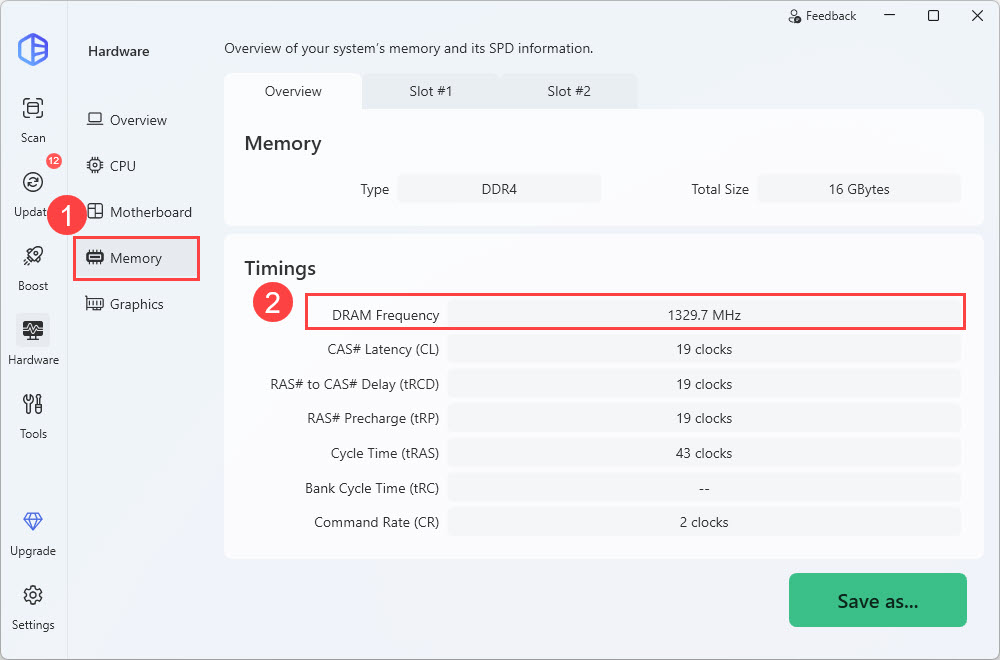
There you will get all the information you need about your RAM. You can also check other system information such as CPU, Motherboard, Video cards, Networks card, etc.
You can also click Save as (*.txt) to save hardware information into a text file (this requires the Pro Version).
Bonus Tip
As you may already know, Windows computers usually run into various issues, and one of the possible problems is the device drivers. To improve the computer performance and gaming experience, it’s recommended to keep your device drivers up to date.
Driver Easy will automatically recognize your system and solve the driver’s issues. You don’t need to know exactly what system your computer is running, you don’t need to risk downloading and installing the wrong driver, and you don’t need to worry about making mistakes when installing.
You can update your drivers automatically with either the 7-day free trial or the Pro version of Driver Easy. It takes just 2 clicks, and you get full support and a 30-day money-back guarantee with the Pro version:
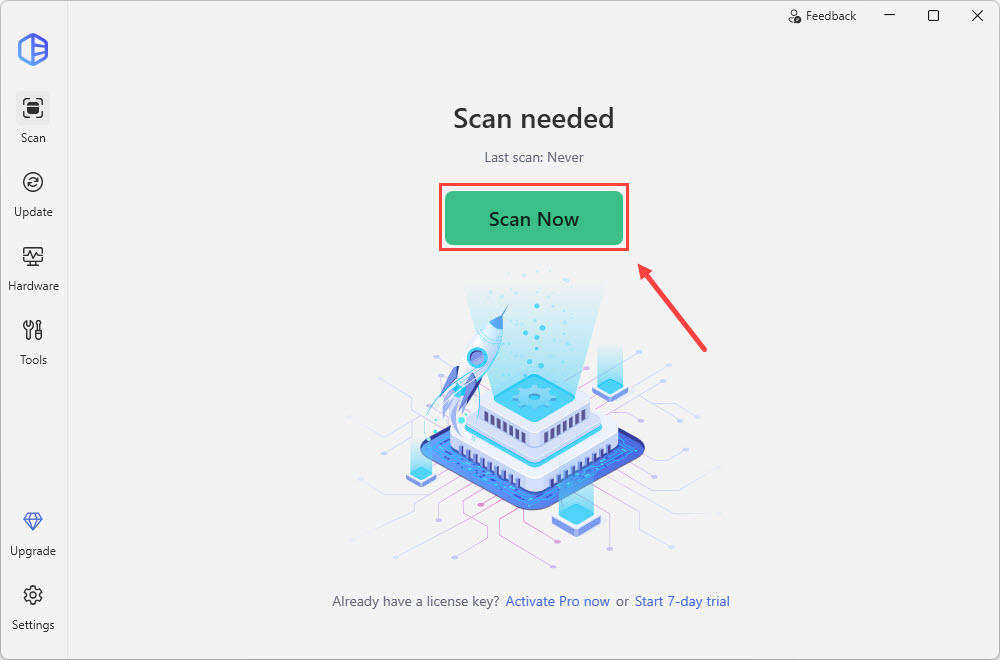
1) Run Driver Easy and click the Scan Now button. Driver Easy will then scan your computer and detect any problem drivers.
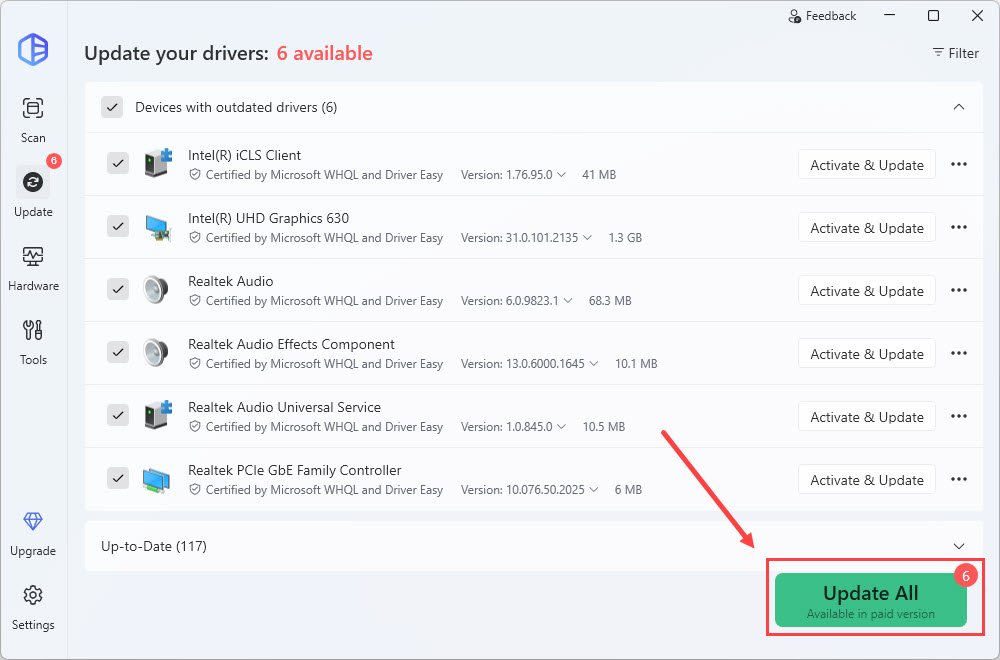
2) Click Update All to automatically download and install the correct version of all the drivers that are missing or out of date on your system (this requires the Pro version – you’ll be prompted to upgrade when you click Update All).
Method 5: BIOS
You can also enter your computer’s BIOS and see the RAM speed there. If you already know what speed your RAM should run at, you’ll know whether it’s at the correct speed or not.
1) Turn off your computer.
2) Start your computer, and press the function key on your computer that allows you to go into BIOS settings. The most often-used five keys are shown below:
- F2
- F1
- F10
- Delete
- Esc.
To know exactly what functional key your motherboard is using, click here for more information.
3) Once into the BIOS, find the Overclock Settings using the arrow keys on your keyboard, and then press Enter. Select the DRAM or Memory sub-menu (the name varies by manufacturer) to view the RAM settings and make changes if you want.
4) Press the Esc key until you are returned to the BIOS main menu. Press F10 to save your changes. Your computer will reboot with the new settings for your RAM.
Hopefully, you’ll find this article helpful. Feel free to drop us a comment and share your experience with other users!