


Want to connect your computer to a WiFi network but don’t know how? You’ve come to the right place! Follow the steps below, and you’ll be able to connect to your wireless network very easily.
To connect your computer to WiFi
- Set up your wireless router
- Check if your computer has a wireless adapter
- Connect your computer to your wireless network
Step 1: Set up your wireless router
If you’re going to set up your wireless network and connect to it, you’ll need a wireless router. The process of setting up varies, depending on what model of router you use. But you should always check your router manual for instructions on setting up a wireless network.
Step 2: Check if your computer has a wireless adapter
You should make sure your computer has a wireless network adapter so it can connect to a WiFi network. Usually, a laptop or a tablet has a wireless adapter on it, while a desktop computer doesn’t. To know it for sure:
- Press Win+R (the Windows logo key and R on your computer) to open the Run box. Then type “devmgmt.msc” and press Enter to open Device Manager.

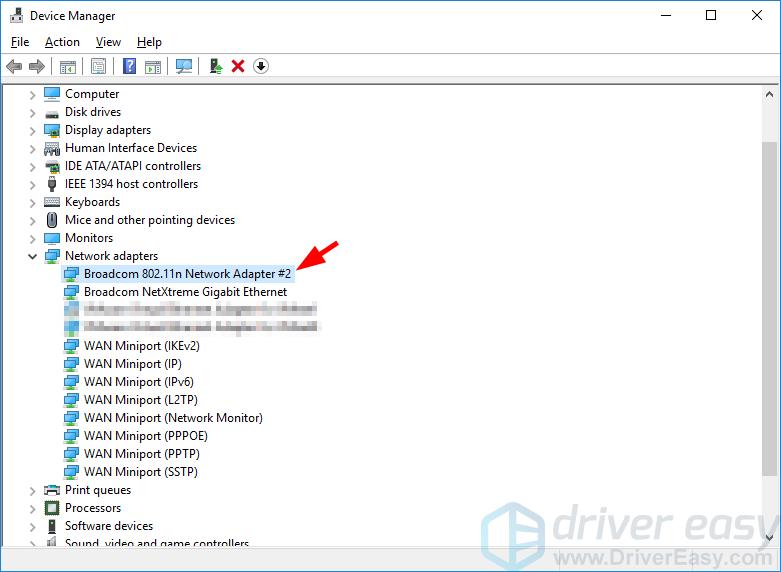
- Double-click Network adapters to expand this category.
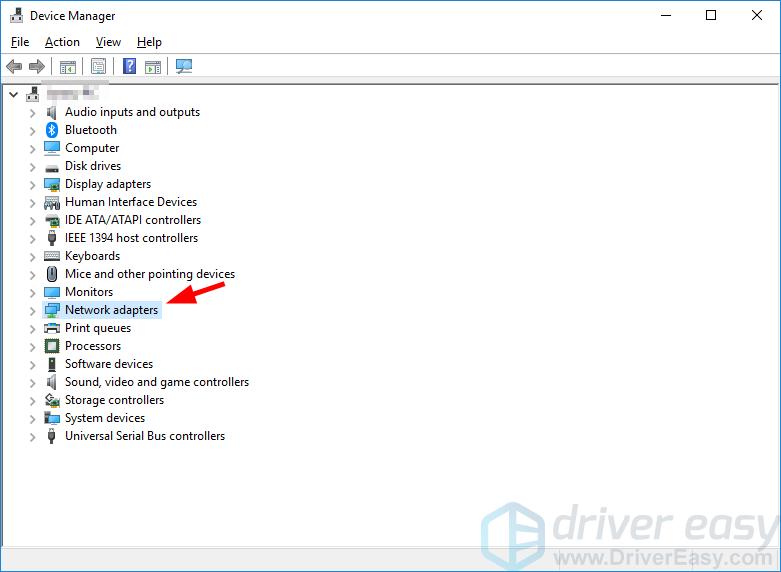
- Check the list of network adapters for any adapter that has “Wi-Fi”, “wireless”, “WLAN” or “802.11” in its name. If you find one, that means there is a wireless network adapter on your computer.
If there is no wireless network adapter on your computer, you may need to get an USB WiFi adapter for your computer.

Plug this adapter into your computer, and it’ll become WiFi-capable.
Also, you should make sure your network adapter driver on your computer is up to date so your network connection can work properly.
If you’re not comfortable playing with device drivers, or if your computer can’t access the Internet, we recommend using Driver Easy. It’s a tool that detects, downloads and (if you go Pro) installs any driver updates your computer needs.
To update your drivers with Driver Easy, just click the Scan Now button, then when it lists the drivers you need to update, click Update. The correct drivers will be downloaded, and you can install them – either manually through Windows or automatically with Driver Easy Pro.

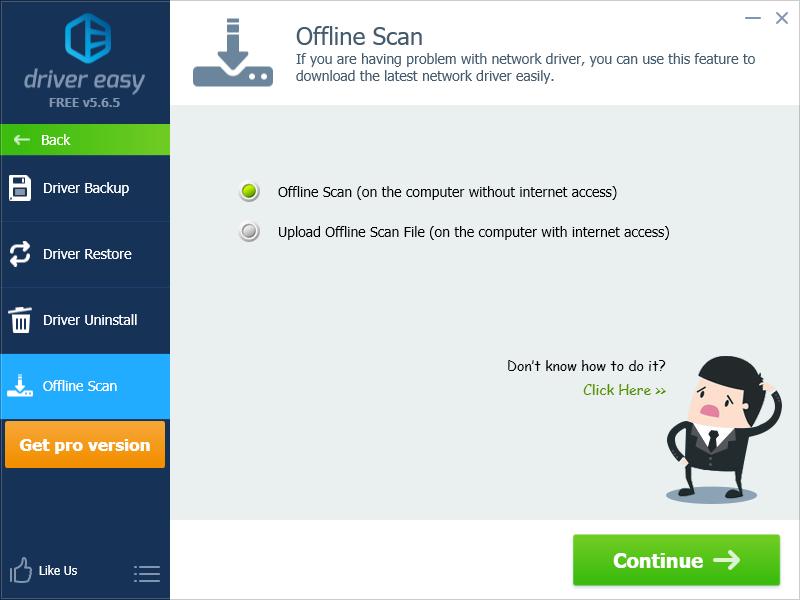
Driver Easy is also able to help you update your network driver when you’re offline. You can use the Offline Scan feature to do so. (You’ll need another computer that has Internet access.)
Step 3: Connect your computer to your wireless network
The connecting process is very easy:
- Place your computer somewhere close enough to the network (to ensure sufficient signal strength).
- On your computer, click the network icon in the notification area (at the lower-right corner of your screen).

-
Click the network you’re going to connect to
. Choose the network by its SSID (the name of a network). If you don’t know the name, check your router or ask the administrator of this network.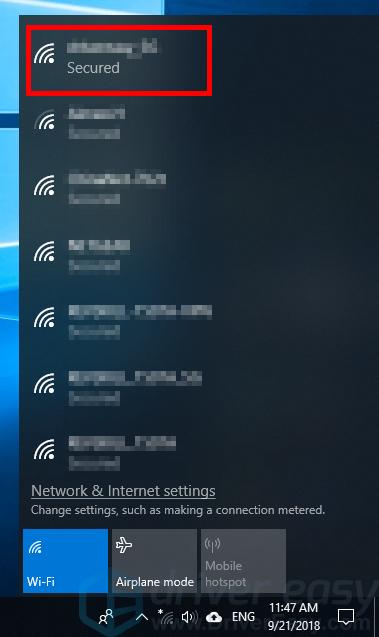
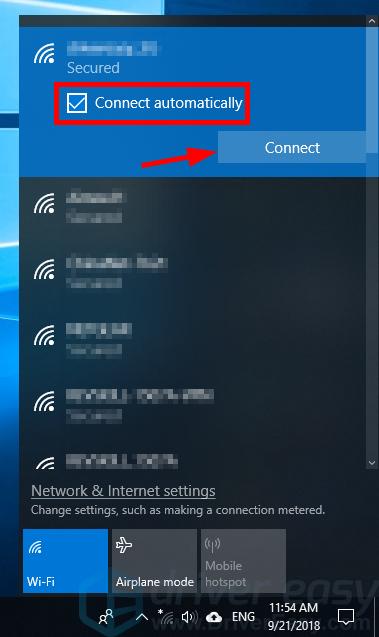
- If you want to connect to this wireless network the next time you log in to your computer, check Connect automatically. Then click Connect.
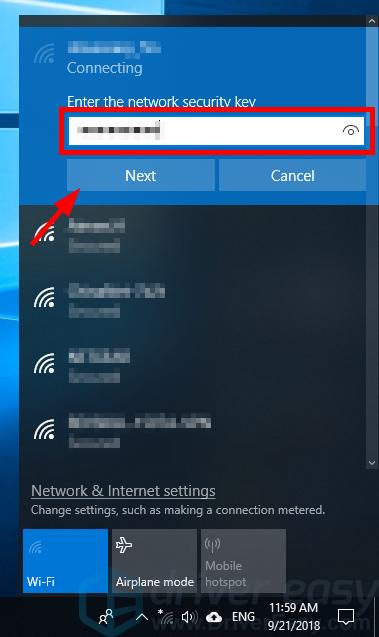
- Enter the password/security key if this is required by the network. If you don’t know the password/security key, check your router or ask the administrator of this network.
- If the wireless network requires additional authentication, open your web browser and open any web page, then fill in your information to log in to this network.
- Check your network icon in the notification area to see if you’re connected to the network. If it’s showing the network signal strength (as in the screenshot below), then your computer has connected to WiFi.

Hopefully, the steps above help you set up the wireless connection of your computer. If you have any questions, feel free to leave us a comment below.