


If you’ve just bought a wireless printer and are wondering how to connect your wireless printer to your PC, you’ve come to the right place — this article tells you how to connect your wireless printer to your computer step by step…
Try these steps
- Connect your wireless printer to your wireless network
- Add your wireless printer to your computer
- How to fix wireless printer issues on PC?
A wireless printer has a wireless adapter that can connect to a wireless network and allows computers and smart devices connected to that network to use the printer. It’s important to make sure the location you choose for the printer provides a strong signal between the printer and the wireless router.
Step 1: Connect your wireless printer to your wireless network
- Unpack your printer, place your printer within range of your wireless router, plug in and turn on your printer, install print cartridges, and place paper onto your printer. Allow your printer to go through its startup routine, including printing an alignment page (if applicable).
- Connect your wireless printer to your wireless network. This varies not only from manufacturer to manufacturer, but also from printer to printer. So you can refer to the printer manual to connect your printer to your wireless network step by step.
Generally, you’ll need to enter your SSID, network name and password to connect to your wireless network. (Many printers can automatically search for available wireless networks.)

Step 2: Add your wireless printer to your computer
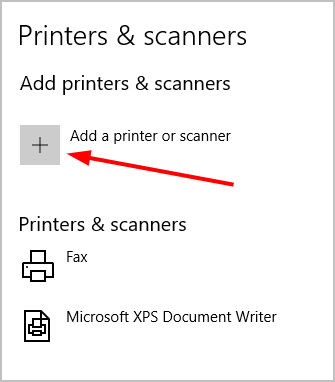
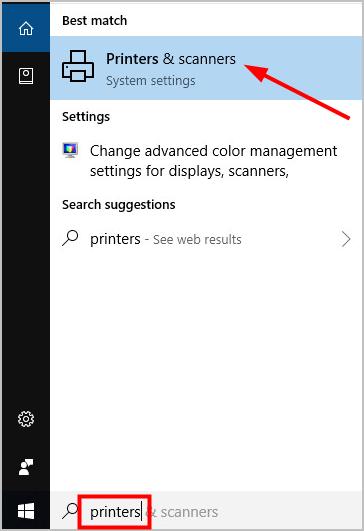
- On your computer, type printer in the Windows search box. Then:
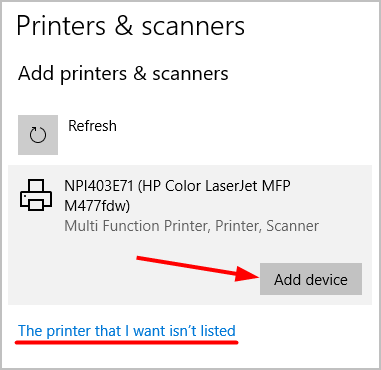
If you’re on Windows 10, select Printers & scanners;
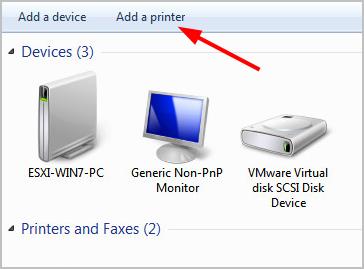
if you’re on Windows 7, select Devices and Printers. - Click Add a printer.
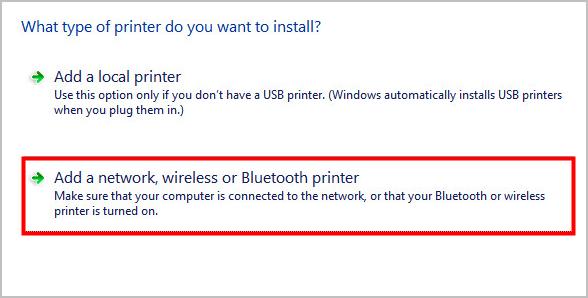
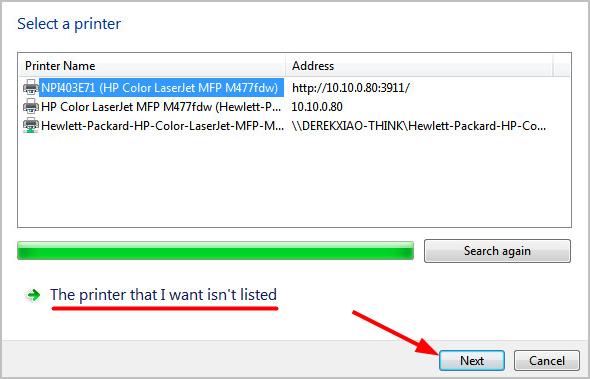
Note: If you can’t find your printer, click The printer that I want isn’t listed.
Step 3: How to fix wireless printer issues on PC?
If your wireless printer somehow can’t print (with no hardware issues), or if Windows can’t connect to your wireless printer, make sure that you’ve set your wireless printer as your default printing device, and that your printer driver is up to date.
Solution 1: Set your wireless printer as your default device
Solution 2: Update your printer driver
Solution 1: Set your wireless printer as your default device
If you’re using Windows 10
- Type printers in the Windows search box and select Printers & scanners.
- In the right pane, uncheck Let Windows manage my default printer.

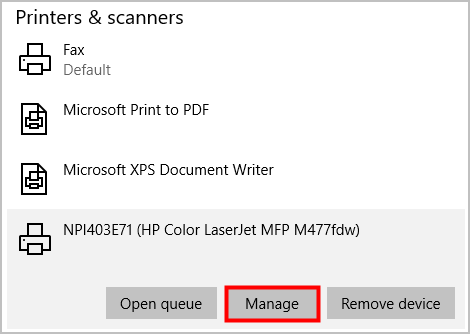
- Under Printers & scanners, select the printer you want to use and click the Manage button.
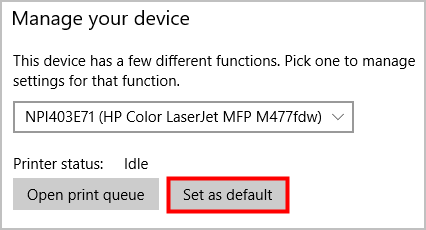
- Click Set as default.
If you’re using Windows 7
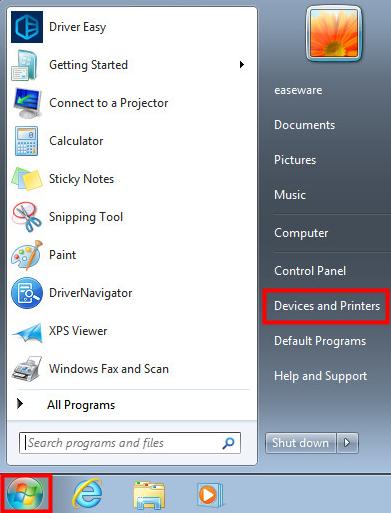
- Click the Start button, and Devices and Printers.
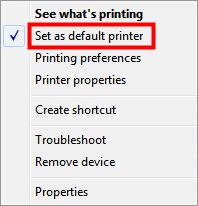
- Right-click on the printer you want to use and select Set as default printer.
Then, close the window and check if your printer is now working.
Solution 2: Update your printer driver
A missing or corrupted printer driver may also stop your wireless printer from working. You should update your printer driver and see if this is causing your problem.
There are two ways to update your printer driver: manually and automatically.
Update your printer driver manually — You can update your driver manually by going to the hardware manufacturer’s website, and searching for the latest driver for your printer. But if you take this approach, be sure to choose the driver that’s compatible with the exact model number of your hardware, and your version of Windows.
OR
Update your printer driver automatically — If you don’t have the time, patience or computer skills to update your driver manually, you can, instead, do it automatically with Driver Easy. You don’t need to know exactly what system your computer is running, you don’t need to risk downloading and installing the wrong driver, and you don’t need to worry about making a mistake when installing. Driver Easy handles it all.
- Download and install Driver Easy.
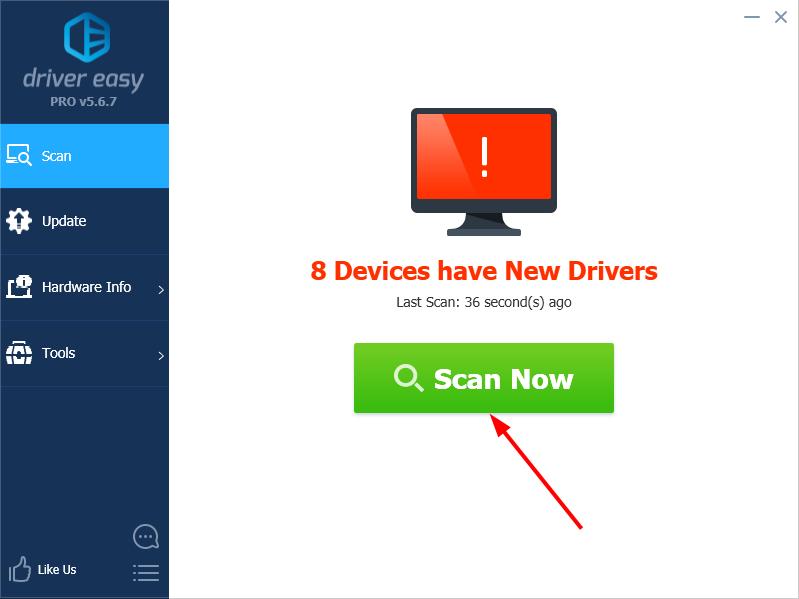
- Run Driver Easy and click Scan Now. Driver Easy will then scan your computer and detect any problem drivers.
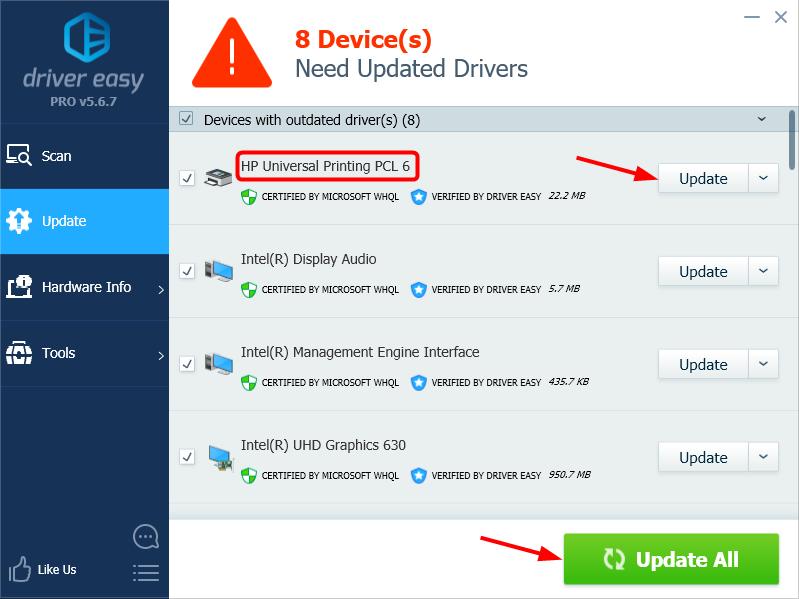
- Click Update next to any flagged devices to automatically download the correct version of their drivers, then you can install them manually. Or click Update All to automatically download and install them all automatically. (This requires the Pro version – you’ll be prompted to upgrade when you click Update All. You get full support and a 30-day money back guarantee.)
- Restart your computer and your printer should work like a charm. If you need assistance, please contact Driver Easy’s support team at support@drivereasy.com.
If you have any question or suggestion, please feel free to leave a comment below.