


You have a Brother printer in your office or at home. To make it work conveniently and smoothly, you need to connect your printer to your network. This post is a step-by-step guide that leads you to connect your Brother printer with WiFi.
Before you start, you need to know your network name and passwords.
Quick Fix: Update Brother Printer drivers automatically
Repair your driver-related issue in one click!
Reset the WiFi connection on your Brother Printer
If you have previously configured or attempted to configure the wireless connection, you must reset the wireless card first.
If it’s your first time connect your printer to WiFi, click here to follow the guide.
Here’s how:
- Turn your Brother printer on.
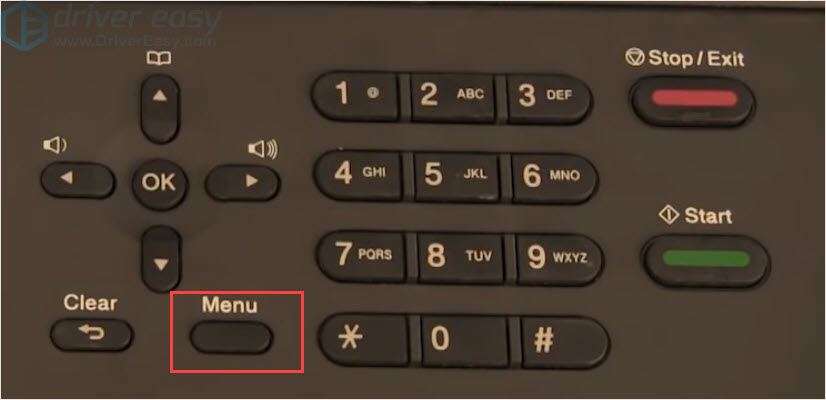
- Press Menue button on the printer’s control panel.
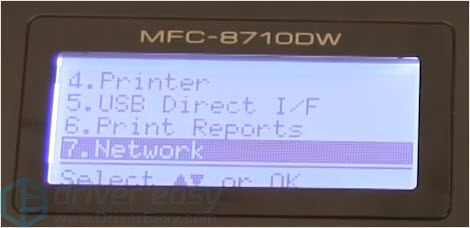
- Select Network and press OK.
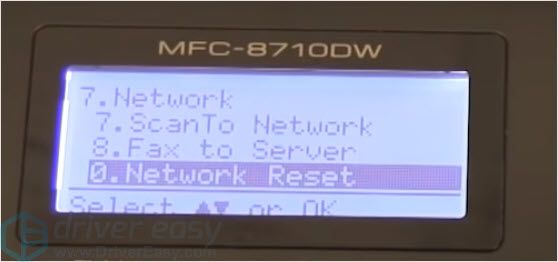
- Select Network Reset and press OK.
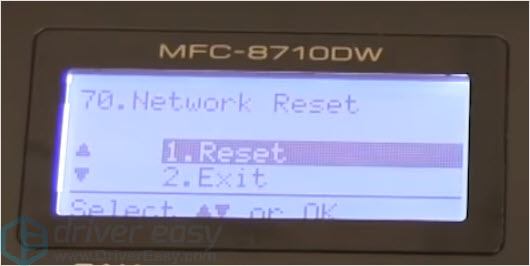
- Press Reset.
- Select Yes.
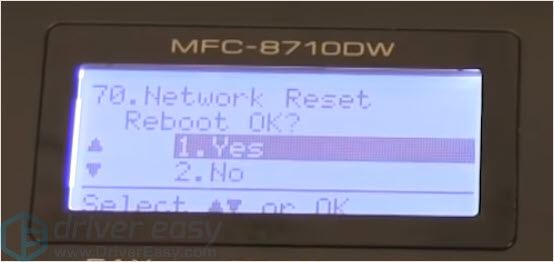
The wireless card is now reset.
How to connect Brother Printer to WiFi
- Turn your Brother printer on.
- Press Menue button on the printer’s control panel.
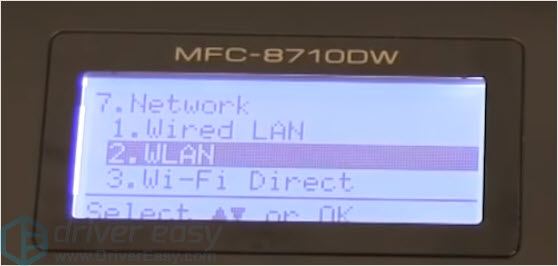
- Select Network and press OK.
- Select WLAN and press OK.
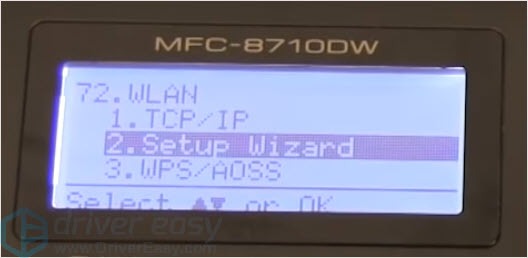
- Select Setup Wizard and press OK.
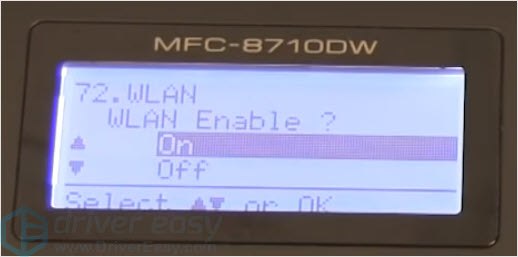
- When you see “WLAN Enable?“, select On to enable the network.
- After it’s searching, choose the network name on the screen.
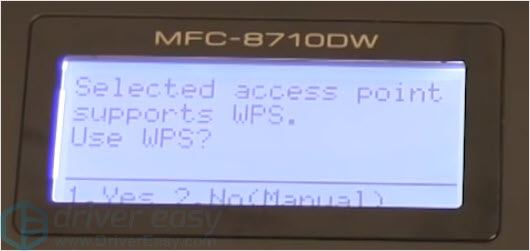
- The printer will ask you whether you want to use WPS. Select No.
- Enter your network password.
- Download and install your Brother printer software on your computer. Follow the on-screen instructions to finish settings.
Troubleshooter for WiFi connection
- Make sure your Wifi name and password are correct
- Make sure there are no interfaces between your devices
- Check your network connection
- Try the Network Connection Repair Tool
- Make sure your Brother printer has the correct and latest driver
4. Try the Network Connection Repair Tool
This tool helps you recover your printer with minimal user interaction. This utility will automatically locate and update your Brother printer’s IP address in the printer driver.
You can download this tool in the Brother’s download section.
5. Make sure your Brother printer has the correct and latest driver
If you figure out that your printer driver needs to be updated, there are two ways you can update your driver.
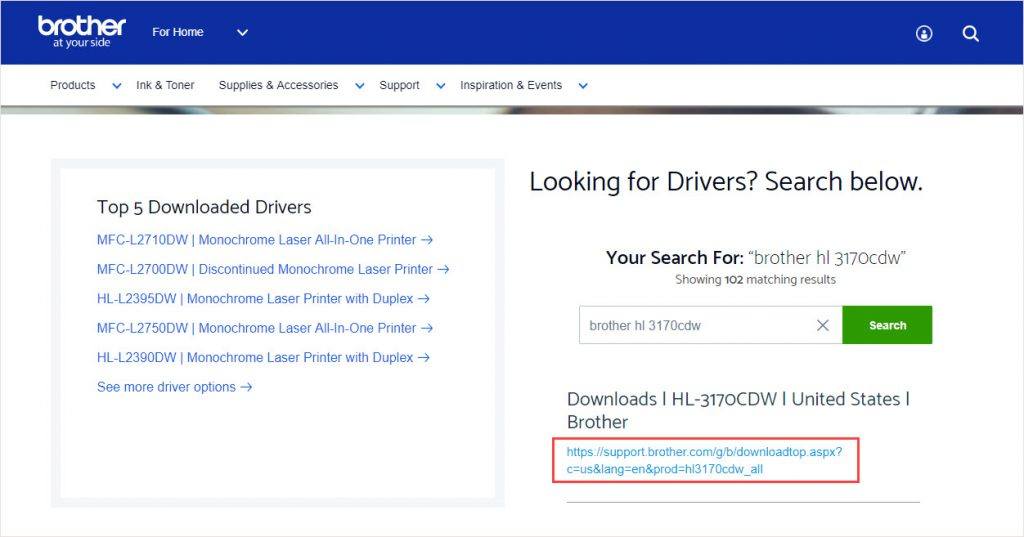
Here we take Brother HL 3170cdw drivers as an example:
Option 1 Manually– You’ll need some computer skills and patience to update your drivers this way because you need to find exactly the right the driver online, download it and install it step by step.
Brother printers keep updating drivers. To get them, you need to go to the Brother driver download page, find the drivers corresponding with your specific flavor of Windows version (for example, Windows 32 bit) and download the driver manually.
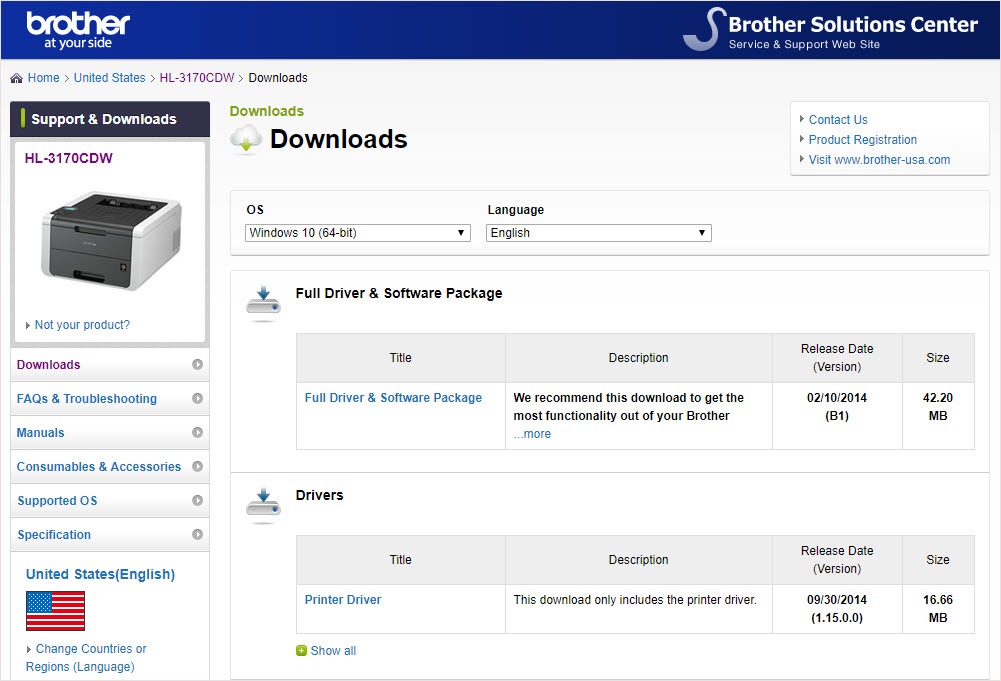
Once you’ve downloaded the correct drivers for your system, double-click on the downloaded file and follow the on-screen instructions to install the driver.
OR
Option 2– Automatically (Recommended) – This is the quickest and easiest option. It’s all done with just a couple of mouse clicks – easy even if you’re a computer newbie.
If you don’t have the time, patience or computer skills to update the Brother HL 3170cdw drivers manually, you can do it automatically with Driver Easy.
Driver Easy will automatically recognize your system and find the correct drivers for it. You don’t need to know exactly what system your computer is running, you don’t need to risk downloading and installing the wrong driver, and you don’t need to worry about making a mistake when installing.
You can update your drivers automatically with either the FREE or the Pro version of Driver Easy. But with the Pro version it takes just 2 clicks (and you get full support and 30-day money back guarantee):
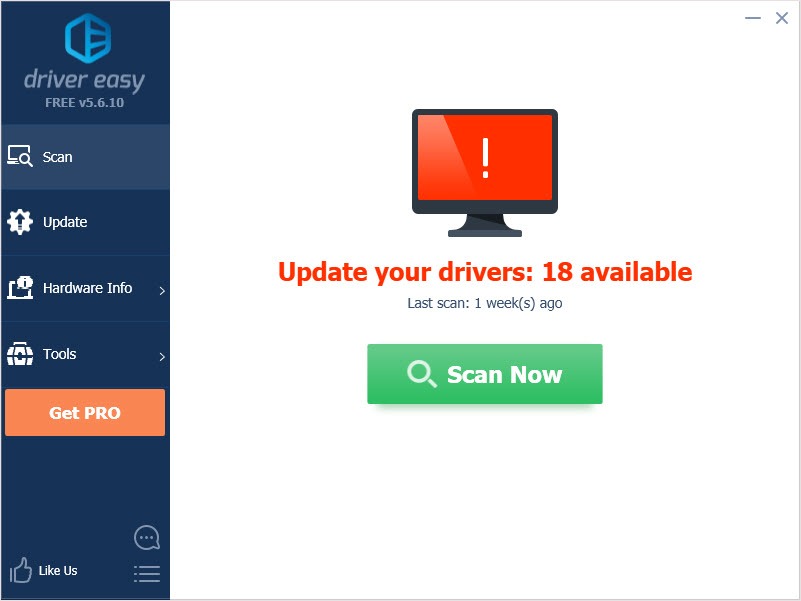
1) Download and install Driver Easy.
2) Run Driver Easy and click the Scan Now button. Driver Easy will then scan your computer and detect any problem drivers.
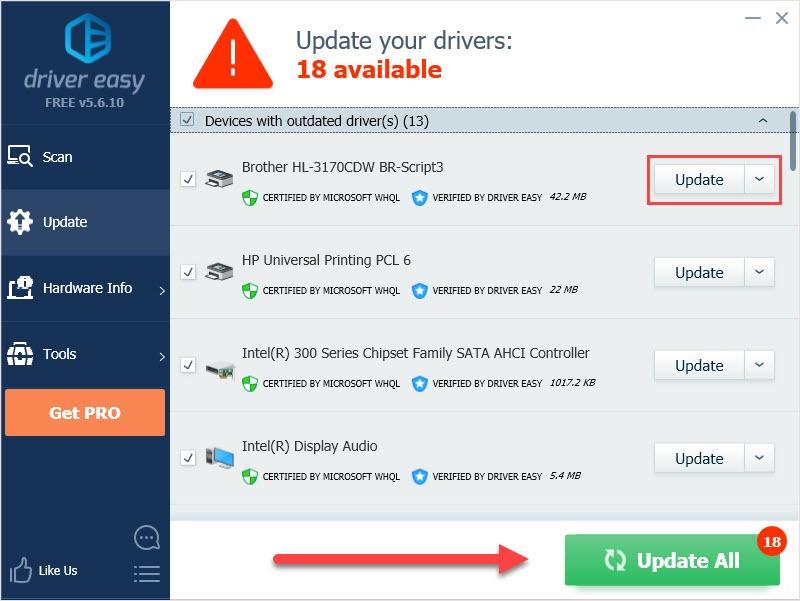
3) Click the Update button next to the audio driver to automatically download the correct version of that driver, then you can manually install it (you can do this with the FREE version).
Or click Update All to automatically download and install the correct version of all the drivers that are missing or out of date on your system. (This requires the Pro version which comes with full support and a 30-day money back guarantee. You’ll be prompted to upgrade when you click Update All.)
Hope this article will meet your needs. If you have any questions, please leave comments below, we’ll try our best to help.