


If you’ve got the password to a wireless network and want to connect WiFi on your Windows 7 computer, follow the steps below to connect WiFi, quickly and easily!

Follow theses steps
- Make sure your computer has a wireless adapter
- If you’re using a laptop, verify the WiFi switch is toggled on
- Connect WiFi in Windows 7 (Laptops & Desktops)
Step 1: Make sure your computer has a wireless adapter
Most laptops can connect to WiFi, but some desktop computers may not be able to use the wireless network. In order to connect to WiFi, make sure your computer has a wireless adapter. To check for it, you can:
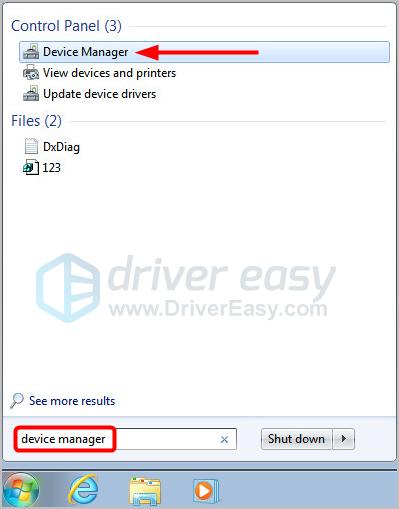
- Click the Start button, type device manager in the search box, and select Device Manager.
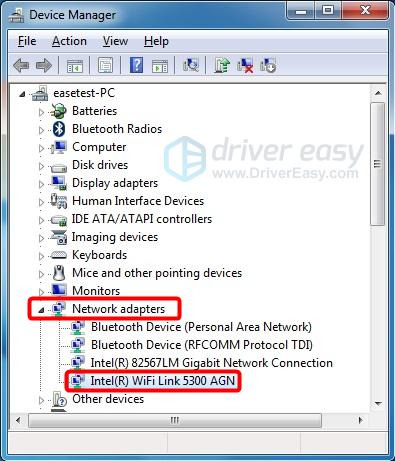
- Expand Network adapters, and check if there’s any device with the words Wireless Adapter or WiFi as its name. If there is, follow the steps below to connect WiFi in Windows 7. If your computer has no wireless adapter, you need to use the wired network.
Step 2: If you’re using a laptop, verify the WiFi switch is toggled on
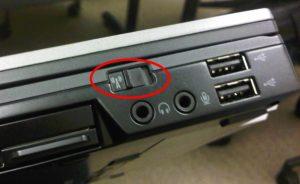
On laptop, there’s usually a switch or button for WiFi connection. To connect WiFi on your laptop, you should turn on the WiFi switch.
The switch may be on the front, left or right-hand side of your laptop.
Unplug the network cable, which is for the wired network, and if the WiFi switch is toggled on, the WiFi icon on the bottom right of your screen should appear like this:

Step 3: Connect WiFi in Windows 7 (Laptops & Desktops)
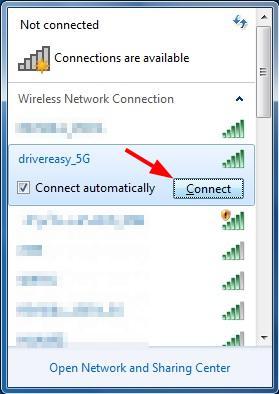
- Click the network icon on the right side of the taskbar, and click on a wireless network you want to connect to. If you want to automatically reconnect to this network the next time you start your computer at the same place, check the box beside Connect automatically. Then, click the Connect button.
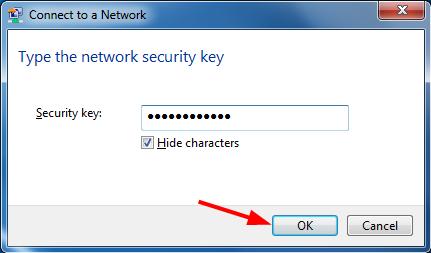
- Enter your WiFi password, and click OK. Your computer should remember your password from now on.
There are two ways to update your wireless adapter driver: manually and automatically.
Update your wireless adapter driver manually — You can update your driver manually by going to the hardware manufacturer’s website, and searching for the latest driver for your wireless adapter. But if you take this approach, be sure to choose the driver that’s compatible with the exact model number of your hardware, and your version of Windows.
OR
Update your wireless adapter driver automatically — If you don’t have the time, patience or computer skills to update your driver manually, you can, instead, do it automatically with Driver Easy. You don’t need to know exactly what system your computer is running, you don’t need to risk downloading and installing the wrong driver, and you don’t need to worry about making a mistake when installing. Driver Easy handles it all.
- Download and install Driver Easy.
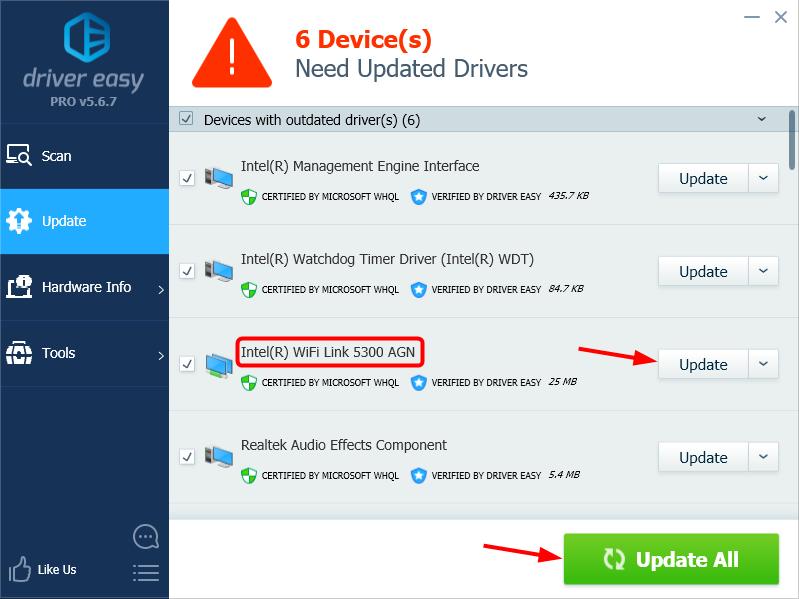
- Run Driver Easy and click Scan Now. Driver Easy will then scan your computer and detect any problem drivers.

- Click Update next to any flagged devices to automatically download the correct version of their drivers, then you can install them manually. Or click Update All to automatically download and install them all automatically. (This requires the Pro version – you’ll be prompted to upgrade when you click Update All. You get full support and a 30-day money back guarantee.)
- Restart your computer and check if your computer is now able to connect to WiFi.
Hopefully this can help you out.
If you have any question or suggestion, please leave a comment below.