


You just bought a wireless mouse, but don’t know how to use it? This is what you need, a step by step tutorial for you to easily connect a wireless mouse to the computer.
Choose the type of computer you use to connect with the wireless mouse.
How to Connect Wireless Mouse to Windows Computer
According to different connecting technology, there are two types of wireless mouse. One uses advanced 2.4 GHz wireless connectivity with a tiny USB nano receiver, another type uses Bluetooth wireless technology. You can choose either link below according to your wireless mouse type to get information.
- Connect Wireless Mouse with USB Receiver
- Connect Bluetooth Wireless Mouse
- TIPS: my mouse is not working?
Method 1 Connect Wireless Mouse with USB Receiver
Before you start, make sure your mouse has power.
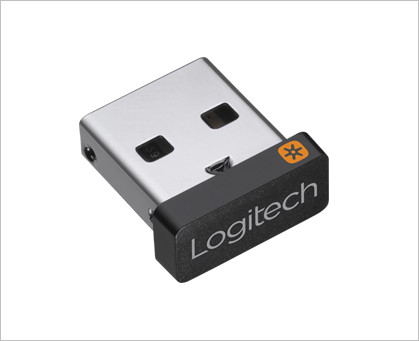
1) Insert the wireless receiver into your computer’s USB port.

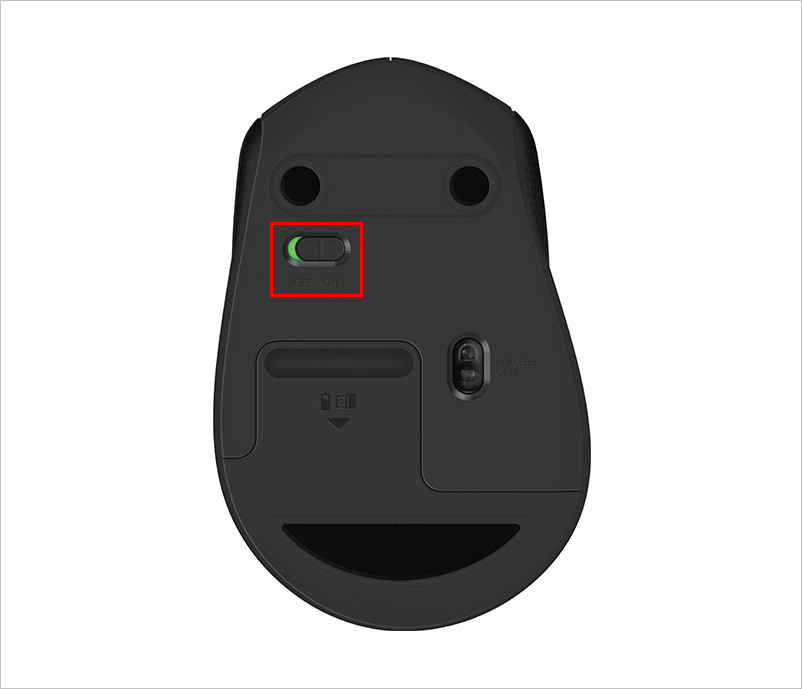
2) Turn on your mouse. The power button is usually at the bottom of the mouse. If you can’t find the On/Off button, please read the product’s instructions or ask the manufacturer customer service for help.

3) Press your mouse’s “Connection” button. It’s put in different position on different brands. You can check your mouse’s bottom and top to find it. If you can’t find the button, read the product’s instructions or ask the manufacturer’s customer service for help.
4) Move your mouse around to check the connection.
Method 2 Connect Bluetooth Wireless Mouse
1) Turn on your mouse. The power button is usually at the bottom of the mouse. If you can’t find the On/Off button, read the product’s instructions or ask the manufacturer customer service for help.

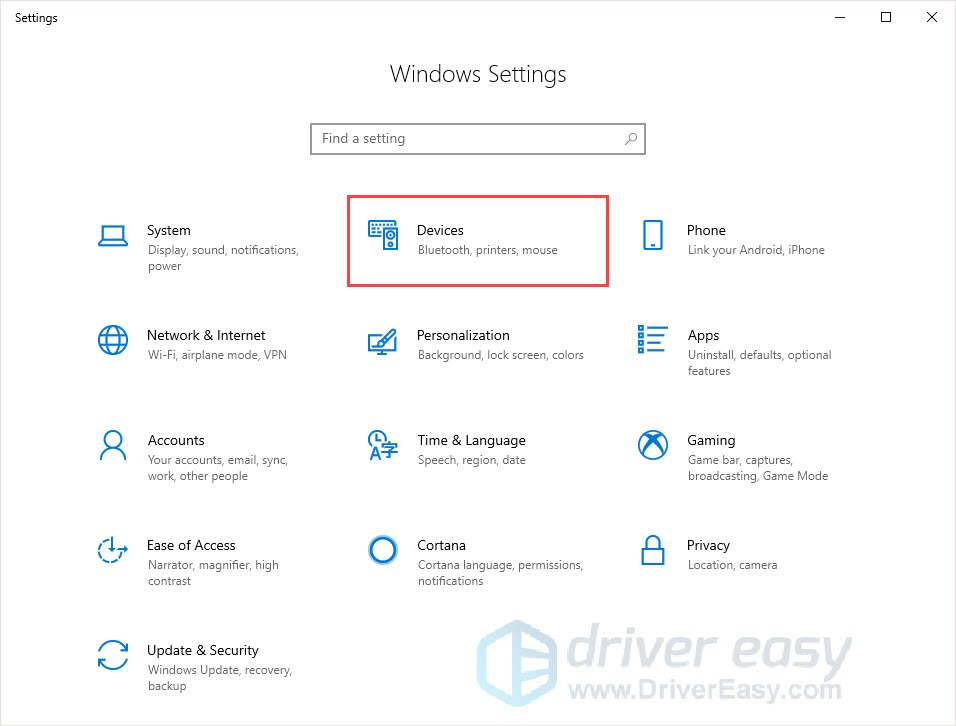
2) Press the Windows logo key + I together and click Devices.
3) Make sure the Bluetooth button is on. Otherwise you can’t add other device. Click the “+” button.
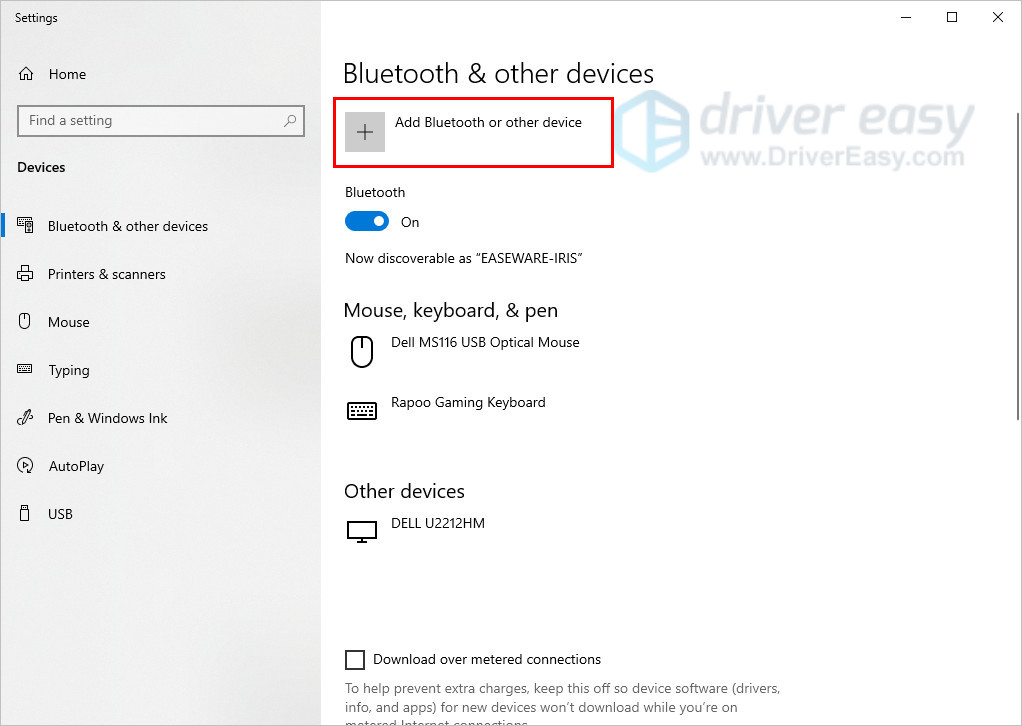
4) Click Bluetooth.

5) Press the connection button on the mouse. It’s put in different position on different brands. You can check your mouse’s bottom and top to find it. If you can’t find the button, read the product’s instructions or ask the manufacturer’s customer service for help.
6) Wait for your mouse’s name to appear on the Bluetooth window. When you see it, click it, your mouse will start connecting with PC.
7) Wait for PC to pair your mouse. Then move around to check its connection.
TIPS: my mouse is not working?
Your mouse is not working after connecting, which makes you feel frustrated. No worries, try below methods to help you troubleshoot the wireless mouse issue.
Fix 1: Check your device
Make sure you turn on the mouse and it has power. Check the USB receiver is directly and securely plugged into a working USB port.
Fix 2: Update the mouse driver
The missing or outdated drivers can cause problems, result in the mouse not working. In this case, you can use Driver Easy to scan your computer and update drivers to solve problems.
1) Download and install Driver Easy.
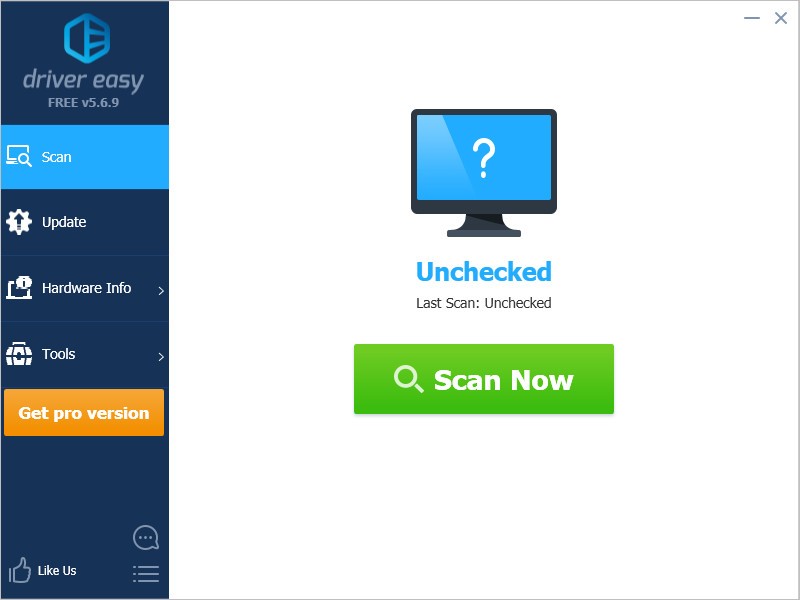
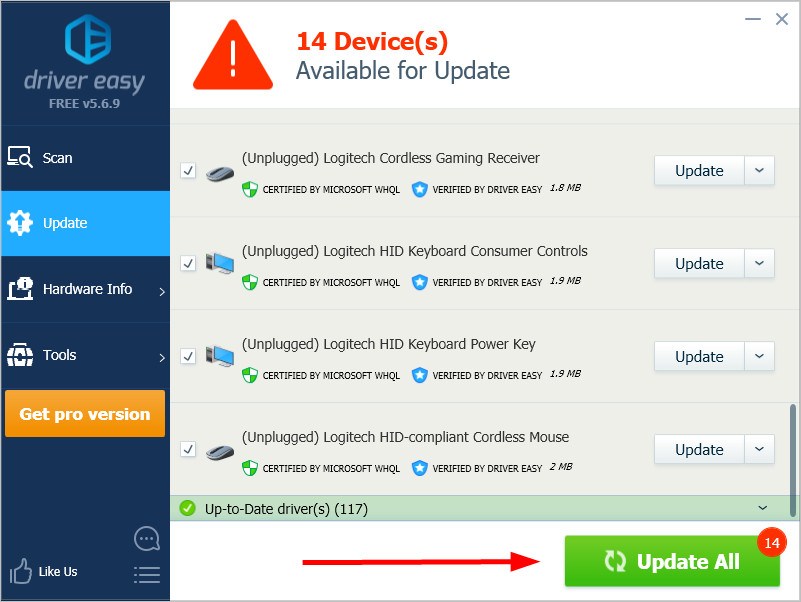
2) Double click Driver Easy, then click Scan Now.
3) You can update drivers manually or automatically.
Use the Free version, you can download and install drivers manually. Click here to learn how.
Or get the Pro version, then click “Update”, the missing drivers or outdated drivers will be automatically downloaded and installed.
4) Restart your computer, then move your mouse to check the connection.
How to Connect Wireless Mouse to Mac
According to different connecting technology, there are two types of wireless mouse. One uses advanced 2.4 GHz wireless connectivity with a tiny USB nano receiver, another type uses Bluetooth wireless technology. You can choose either link below according to your wireless mouse type to get information.
Method 1 Connect Wireless Mouse with USB Receiver
1) Insert the wireless receiver into your computer’s USB port.
2) Turn on your mouse. The power button is usually at the bottom of the mouse. If you can’t find the On/Off button, read the product’s instructions or ask the manufacturer customer service for help.
3) Press your mouse’s “Connection” button. It’s put in different position on different brands. You can check your mouse’s bottom and top to find it. If you can’t find the button, read the instructions or ask the manufacturer’s customer service for help.
4) Move your mouse around to check the connection.
Method 2 Connect Bluetooth wireless mouse
1) Turn on your mouse. The power button is usually at the bottom of the mouse. If you can’t find the On/Off button, read the product’s instructions or ask the manufacturer customer service for help.

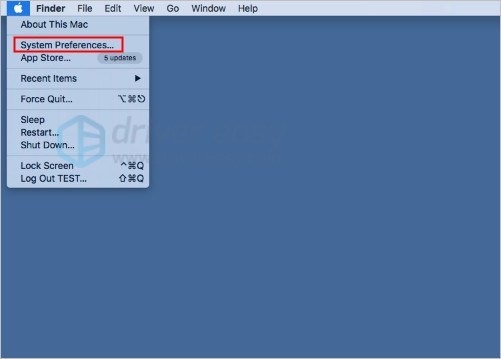
2) Click the Apple menu.

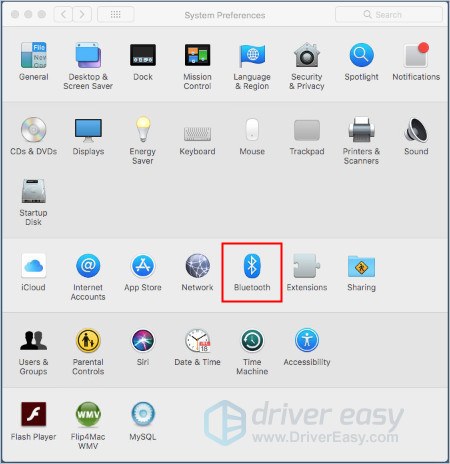
3) Click System Preferences.
4) Click Bluetooth.
5) Press the connection button on the mouse. It’s put in different position on different brands. You can check your mouse’s bottom and top to find it. If you can’t find the button, read the instructions or ask the manufacturer’s customer service for help.
6) Wait for your mouse’s name to appear on the Bluetooth window. When you see it, your mouse has connected with Mac.
TIPS: my mouse is not working?
1. Check your mouse has power and make sure you turn on the mouse.
2. Check your USB port. Make sure the USB receiver is directly and securely plugged into a working USB port.
Hope your wireless mouse connected successfully. If you have any question, please leave comments below, we’ll try our best to help.