


When you attempt to connect your system to a wireless network, if you’re getting the Error 1068: The dependency service or group failed to start error on your Windows computer, it could be super frustrating. Don’t worry. You’re certainly not the only one. We’ve seen that many users are reporting this issue. More importantly, you can fix it with the solutions here. Read on and see how…
3 Fixes for Error 1068:
Solution 1: Restart the WLAN AutoConfig service
This error could happen if the WLAN AutoConfig service isn’t correctly configured on your computer. In this case, you can try to restart the service to solve your problem.
See how to do it:
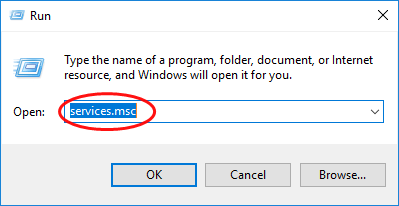
- On your keyboard, hold down the Windows logo key and press R to bring up the Run box.
- Type services.msc, then press Enter.
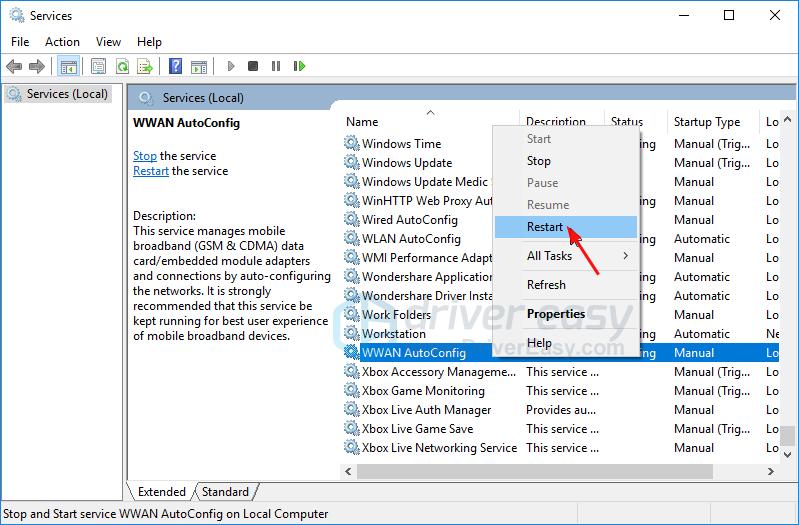
- Right-click on WLAN AutoConfig to select Restart. If the Restart option grayed out, click Start instead.
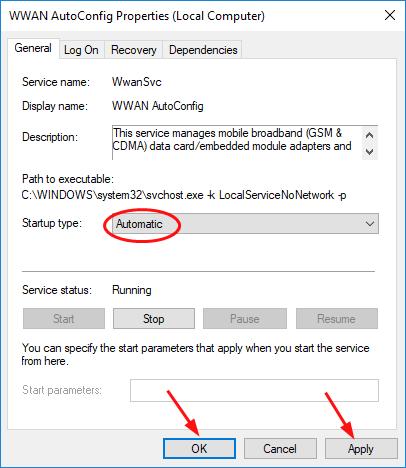
- Double-click WLAN AutoConfig.
- Set the Startup type to Automatic. Then Apply > OK.
Reboot your Windows computer and the error should disappear. If you’re prompted the error again, there’re something else you can try…
Solution 2: Repair your registry
When your system settings are not configured properly, this error may also occur. You can solve it through repairing your registry.
Here’s how you can do it:
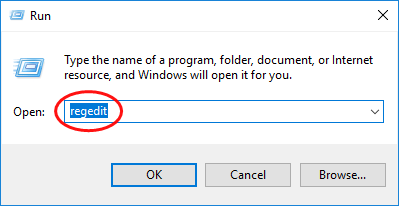
- On your keyboard, hold down the Windows logo key and press R to bring up the Run box.
- Type regedit, then press Enter.
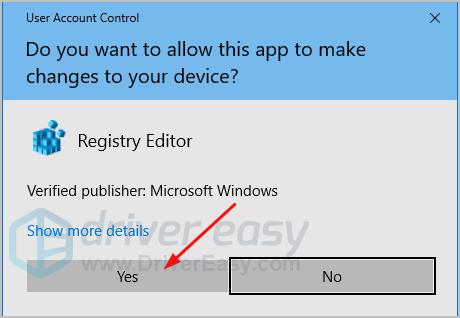
- Click Yes when prompted by User Account Control.
- Go to HKEY_LOCAL_MACHINE > SYSTEM > CurrentControlSet > Services.

- Right-click Dhcp under the Services section to select Export.
Give a name for the backup file, say Dhcp backup. Then select a backup address and click Save. You can restore the file from this backup if any error occurs during the process below.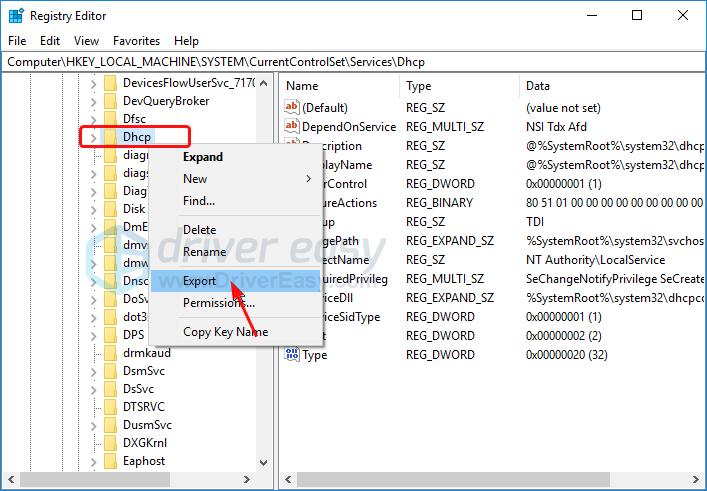
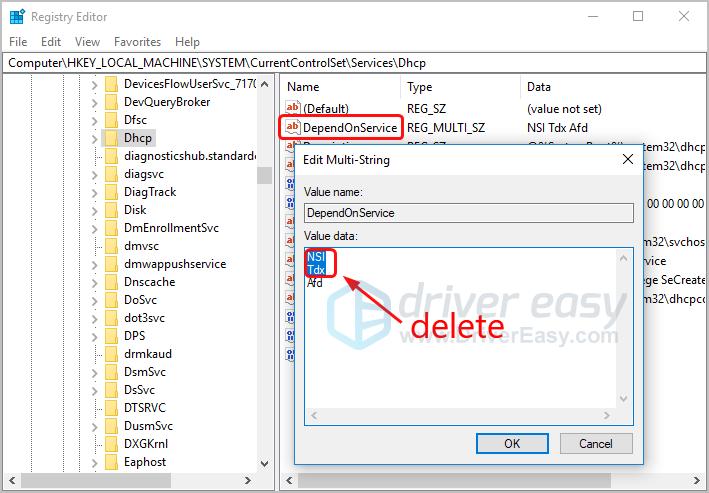
- Double-click DependOnService on the right pane of Dhcp. Select all the words except “Afd”, then delete them.
- Right-click Eaphost under the Services section to select Export.
Give a name for the backup file, say Eaphost backup.Then select a backup address and click Save.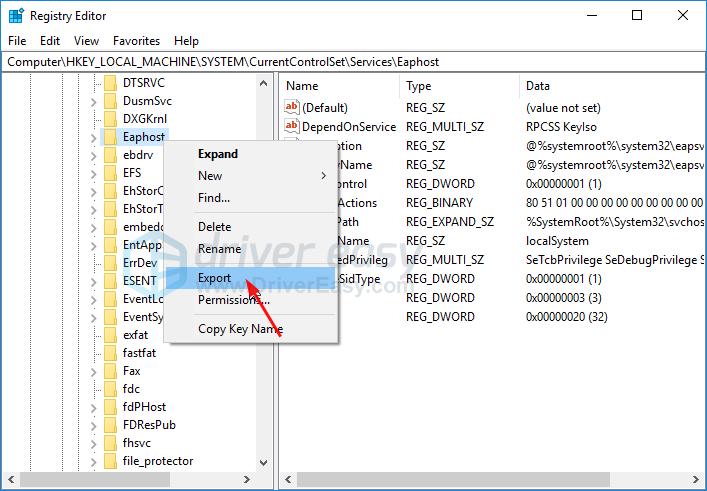
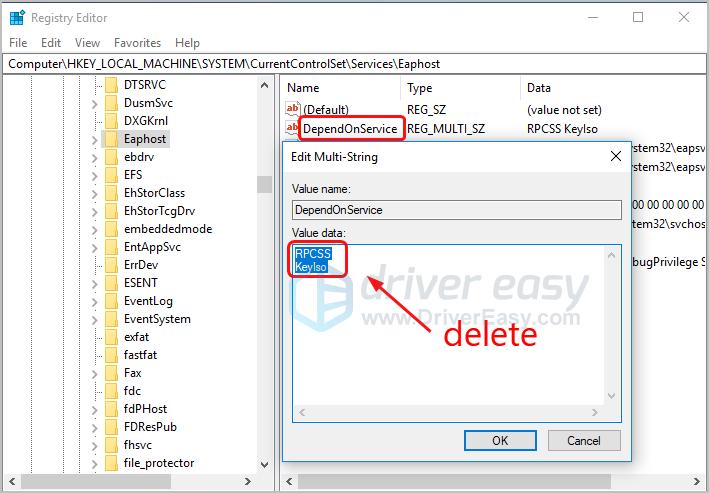
- Double-click DependOnService on the right pane of Eaphost. Select all the words and delete them.
Close the Registry Editor window and reboot your Windows computer. Check if the error disappears. If you still see the error, don’t give up hope. Simply move onto next solution.
Solution 3: Update your network adapter driver
This problem could be also due to a corrupted, old or missing network driver on your system. So you can solve it through updating your network driver.
You can update your network driver either manually or automatically.
Manual driver update
You can update your network driver manually by going to the manufacturer’s website for your network adapter, say, Realtek, and searching for the most recent correct driver. Be sure to choose only drivers that are compatible with your Windows version.
Automatic driver update
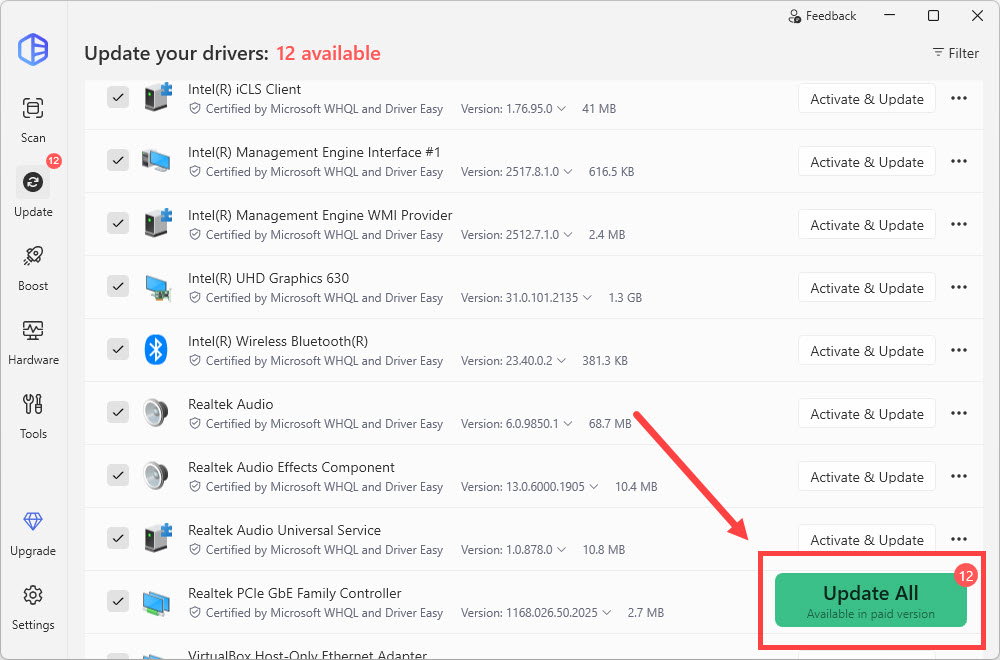
If you don’t have the time, patience or computer skills to update your network driver manually, you can, instead, do it automatically with Driver Easy. Driver Easy will automatically recognize your system and find the correct driver for your exact network adapter, and your Windows version, and it will download and install them correctly.
You can click Update All to automatically download and install the correct version of all the drivers that are missing or out of date on your system. (This requires the Pro version which comes with full support and a 30-day money back guarantee. You’ll be prompted to upgrade when you click Update All.)
You’re done. Feel free to comment below if you have any questions.