


We understand how frustrating it can be to run into the freezing issue when playing Halo Infinite. And we’re here to help. In our article, we’ll walk you through 7 methods to fix your freezing issue.
Try these fixes
You may not need to try them all; simply work your way down the list until you find the one that does the trick.
- Download & install all Windows updates
- Update your graphics driver
- Delete temp files
- Disable background applications
- Verify integrity of game files
- Uninstall Multiplayer High-Res Textures
- Disable in-game overlay
1. Download & install all Windows updates
Before delving into any advanced tweaks, you should make sure that you have installed Windows updates. Microsoft makes available updates on a regular basis to patch any security hole and to improve the functionality of the operating system.
Below are the steps you can take to download and install all Windows updates.
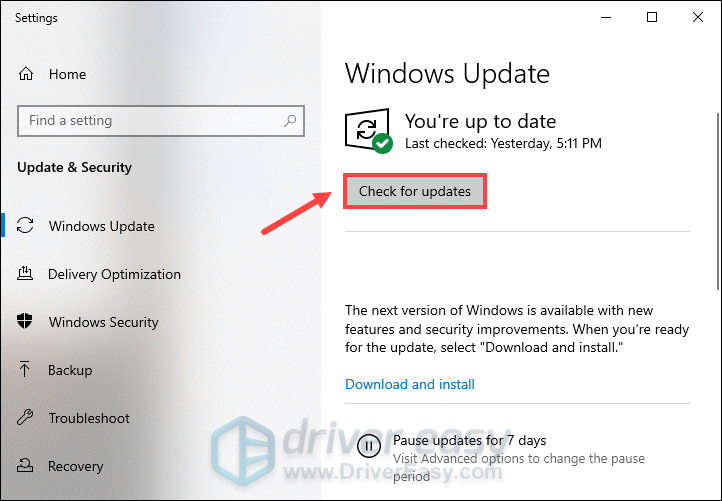
- In the Search box, type check for updates. Then click Check for updates from the list of results.

- Click on the Check for updates tab. If there are any updates available, it’ll automatically start to download and install it. Simply wait for it to complete and you should be asked to restart your computer.
After the reboot, launch Halo Infinite and test your gameplay. If it still keeps freezing, try the next fix below.
2. Update your graphics driver
Your graphics driver is essential for getting top performance from your GPU. If you’re using an outdated graphics driver while playing a demanding game such as Halo Infinite, you’re more likely to encounter the freezing issue. In this case, you should update your graphics driver. It can fix performance bottlenecks and introduce improvements that make your game run smoothly.
To update your graphics driver, you can do it manually by visiting the page: NVIDIA or AMD and download and install the latest driver. This requires a certain level of computer knowledge. If you don’t have the time, patience or computer skills to update your drivers manually, do it automatically with Driver Easy. With Driver Easy, you don’t need to waste your time hunting for driver updates.
- Download and install Driver Easy.
- Run Driver Easy and click the Scan Now button. Driver Easy will then scan your computer and detect any devices with outdated drivers.

- Click Update All. Driver Easy will then download and update all your outdated and missing device drivers, giving you the latest version of each, direct from the device manufacturer.
This requires the Pro version which comes with full support and a 30-day money-back guarantee. You’ll be prompted to upgrade when you click Update All. If you don’t want to upgrade to the Pro version, you can also update your drivers with the FREE version. All you need to do is to download them one at a time and manually install them.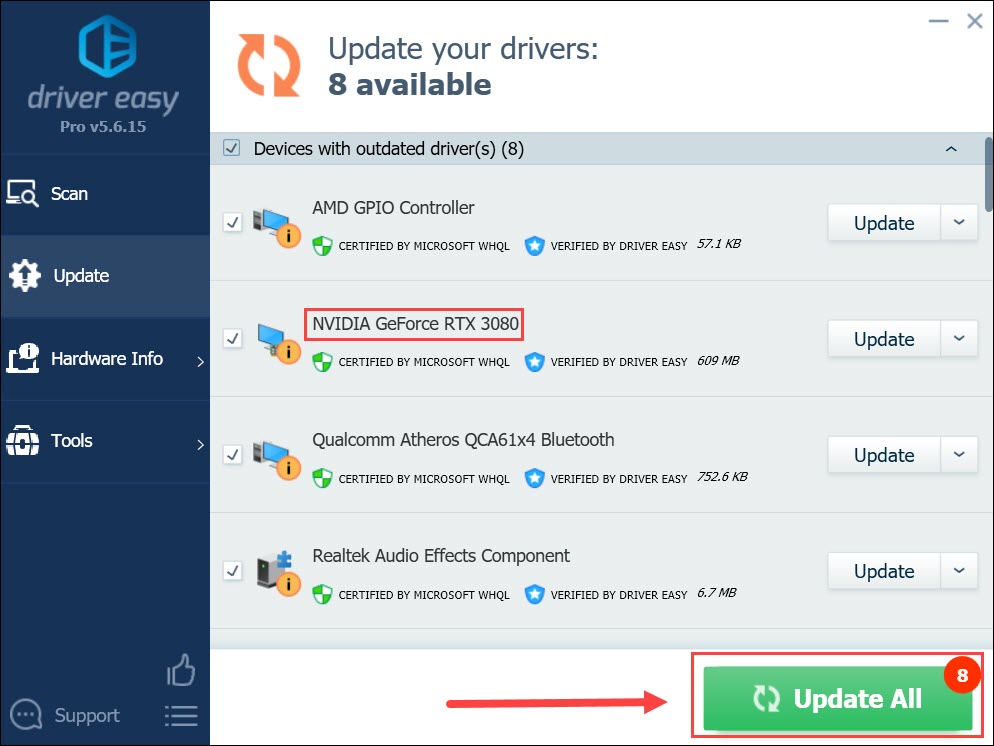
After updating drivers, restart your PC and check if your problem has been resolved.
If updating drivers doesn’t help, try the next fix below.
3. Delete temp files
Temp files are referred to temporary files, which are files that your operating system only needed to exist temporarily while in use. But they are now just wasting space. This can slow down your PC and significantly affects the performance. To fix it, you can delete the files and it won’t cause any problems. Below are the steps you can follow.
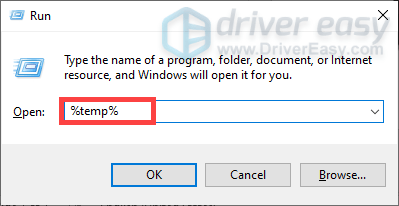
- On your keyboard, press the Windows logo + R keys simultaneously to open the Run box.
- Enter %temp% into the box and press Enter.
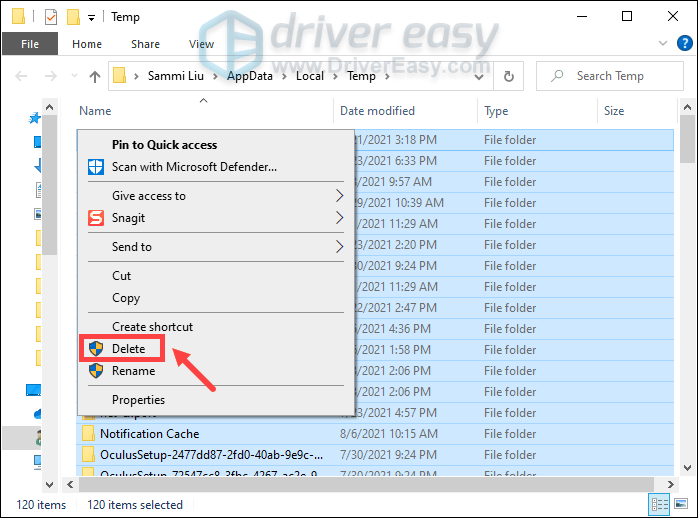
- Press the Ctrl + A keys simultaneously to select all files. Then right-click and select Delete.
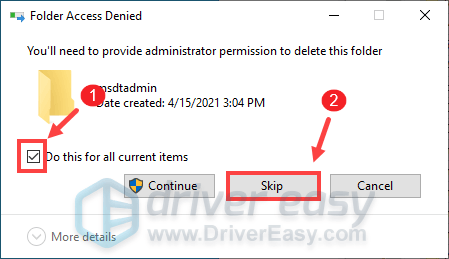
- If you receive the following prompt, simply check the box next to Do this for all current items and click Skip.
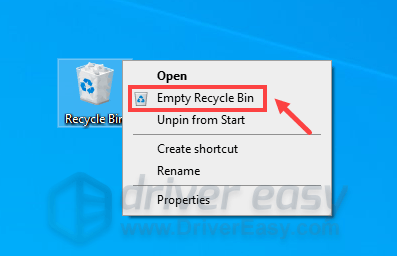
- When it finishes deleting all temp files, head to your desktop. Right-click Recycling Bin and select Empty Recycling Bin.
Now launch Halo Infinite. If your problem persists, move on to the next fix.
4. Disable background applications
Games require a considerable amount of memory to function properly. If too many unwanted or unnecessary programs keep running in the background, there will be insufficient memory, which causes the freezing issue. To solve the problem, you can disable some background applications.
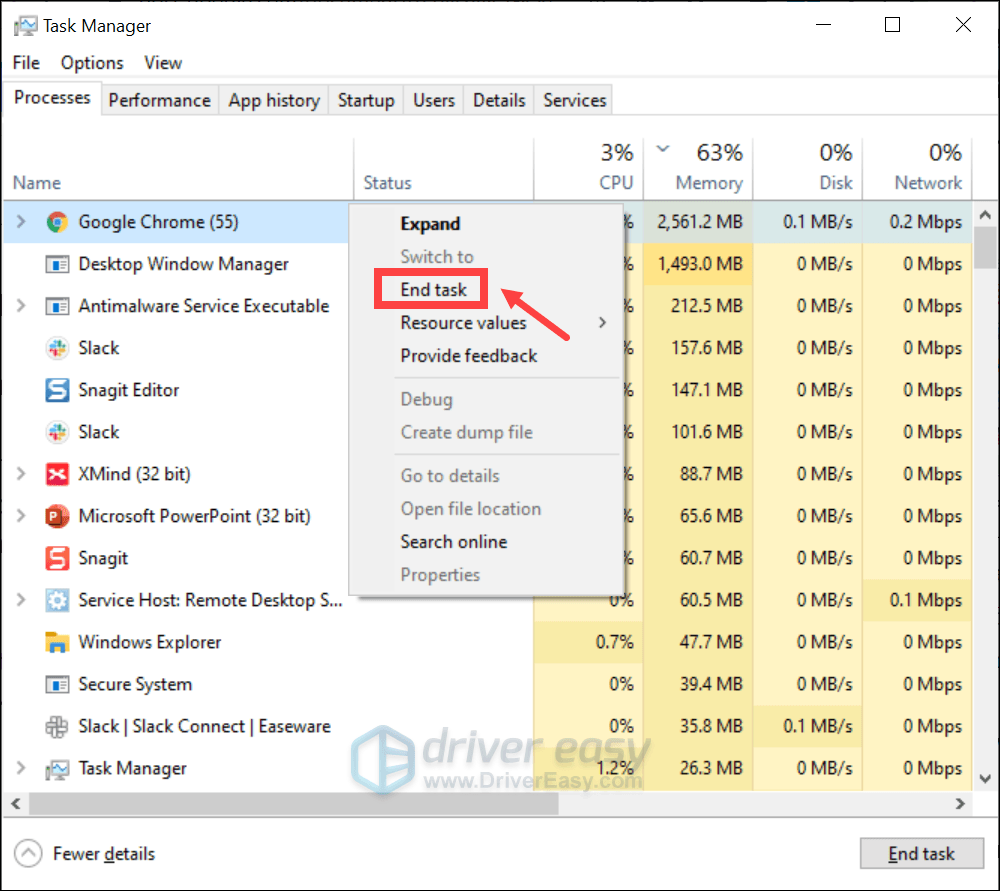
- On your keyboard, press the Ctrl + Shift + Esc keys simultaneously to bring up the Task Manager.
- From here, you can take a look at all the programs that are eating up your memory.
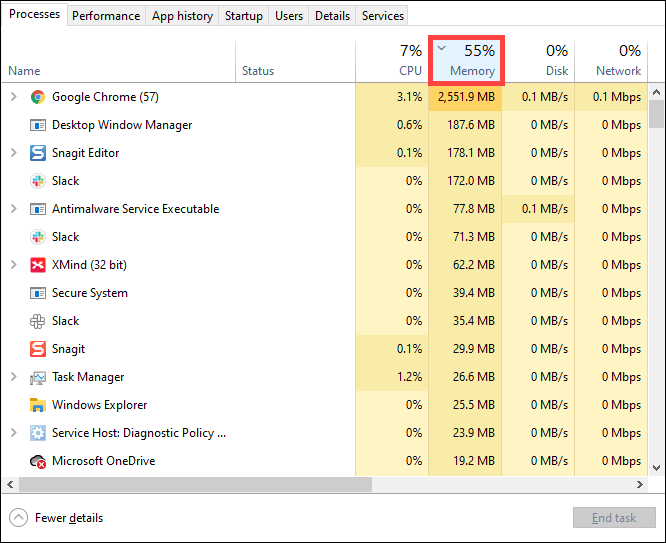
- Locate the applications that are eating up a lot of memory. If you don’t need them while playing Halo Infinite, right-click each of them and select End task.
If you use Razer Synapse, make sure you turn it off while playing Halo Infinite. Some players found that it affects your gameplay. It could be possible that Razer Synapse is in conflict with your game.
If turning off background applications doesn’t do the trick, proceed to the next fix.
5. Verify integrity of game files
A variety of issues may be caused by corrupted game files, e.g. glitched graphics. If you encounter the freezing issue, verify the cache files of Halo Infinite, which can help ensure that the installation is up-to-date and if necessary, repair any bad or corrupted game data. Thus, this can help you rule out the cause of your problem and fix it.
To verify the integrity of your game files, follow the steps below:
- Open your Steam client.
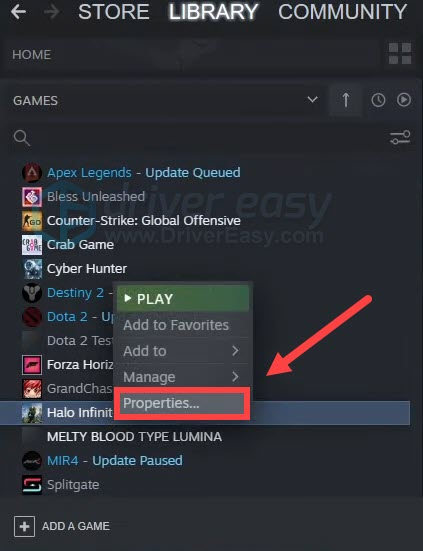
- Under the LIBRARY section, right-click Halo Infinite and select Properties.
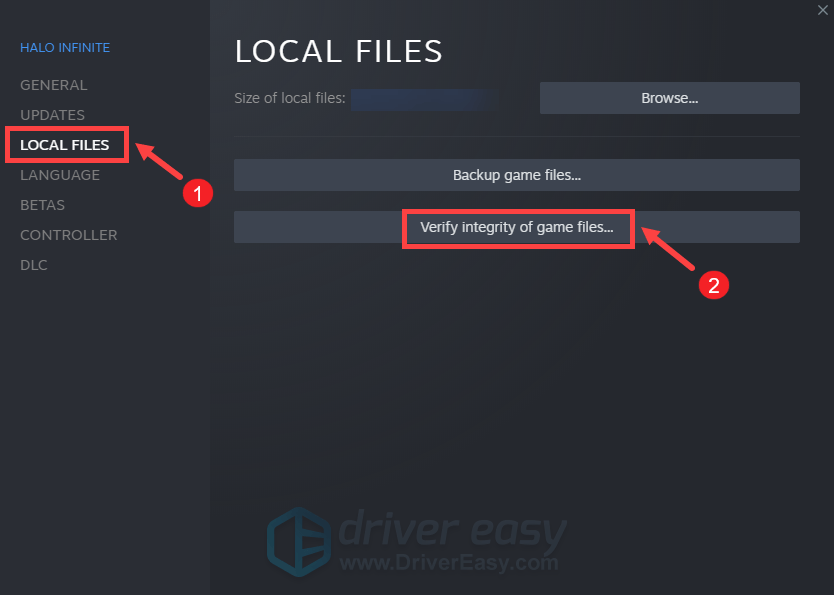
- Select the LOCAL FILES tab. Then click Verify integrity of game files….
Now Steam will verify your game’s files. This process may take several minutes. Once the process is completed, close the Window then launch your game. If it still keeps freezing, move on to the next fix.
6. Uninstall Multiplayer High-Res Textures
Another great way to improve Halo Infinite’s performance is to uninstall Multiplayer High-Res Textures. This may also give you a noticeable FPS boost. To do this, follow the steps below.
- Open your Steam client.
- Under the LIBRARY section, right-click Halo Infinite and select Properties.
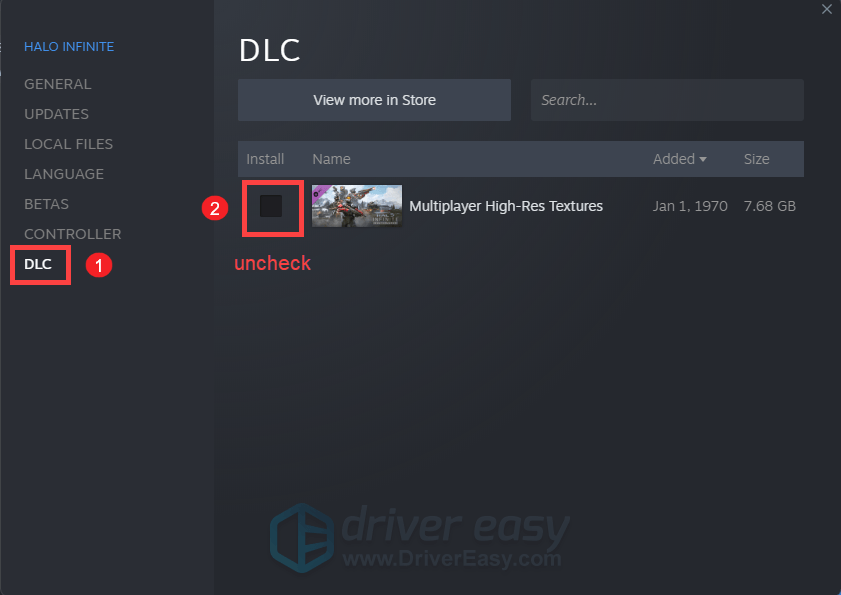
- Select the DLC tab. Then uncheck Multiplayer High-Res Textures.
If this doesn’t help, try the next fix below.
7. Disable in-game overlay
Halo Infinite’s in-game overlay is a feature that aims to improve your gaming experience. But sometimes they just do the opposite of that, eating up bandwidth or introducing compatibility problems. In this case, you’ll need to disable it. Follow the instructions below to do so.
- Open your Steam client.
- Under the LIBRARY section, right-click Halo Infinite and select Properties.
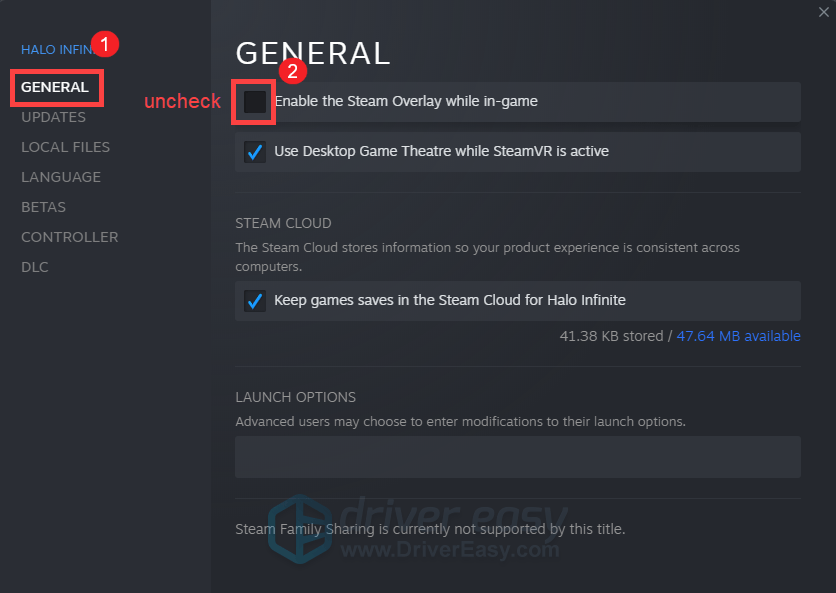
- Select the GENERAL tab. Then uncheck Enable the Steam Overlay while in-game.
Now relaunch your game and you should be able to play in rows without having the annoying freezing issue.
That’s it. If you have any ideas or questions, feel free to drop us a line in the comment section below.