


Microsoft claims 11 is “the best Windows OS yet for PC gaming”, but gamers are reporting otherwise. As Windows 10 (Home and Pro) will be retired by 2025, Windows 11 is no doubt the next mainstream. But the new OS is pretty far from OK, and many gamers are seeing performance issues such as low FPS, stuttering and crashing.
But don’t worry if you happen to be on the same boat. The new system may just need some tweaking, and here’re some tricks you can use to improve gaming performance.
Try these fixes:
You might not need to try all of them. Simply work your way down until you find the one that does the charm.
- Change the power plan
- Check for system updates
- Update all your drivers
- Disable Virtualization-Based Security (VBS)
- Run the game as a new user
Fix 1: Change the power plan
Power plans are no more than a set of settings that controls how your PC consumes/saves power. And in Windows 10, Microsoft introduced a power plan for workstation called Ultimate Performance, which can be a safe and easy-to-get performance boost.
By default this power plan is a hidden feature, but you can use the following steps to enable it:
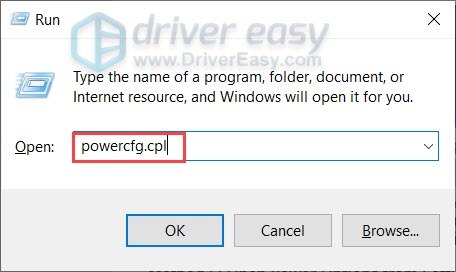
- On your keyboard, press Win+R (the Windows logo key and the r key) at the same time. Type or paste powercfg.cpl and press Enter.
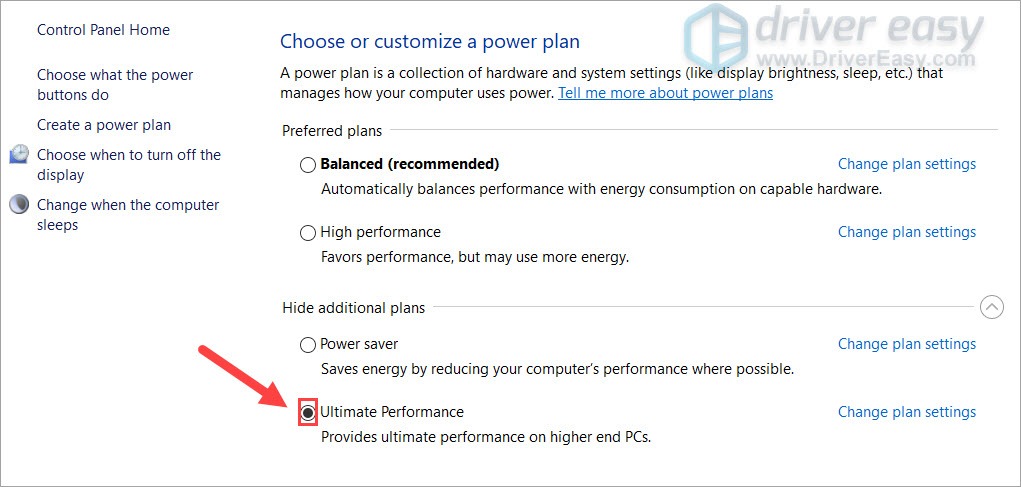
- Select Ultimate Performance. If you don’t see this power plan, simply continue to the next step to unhide it.
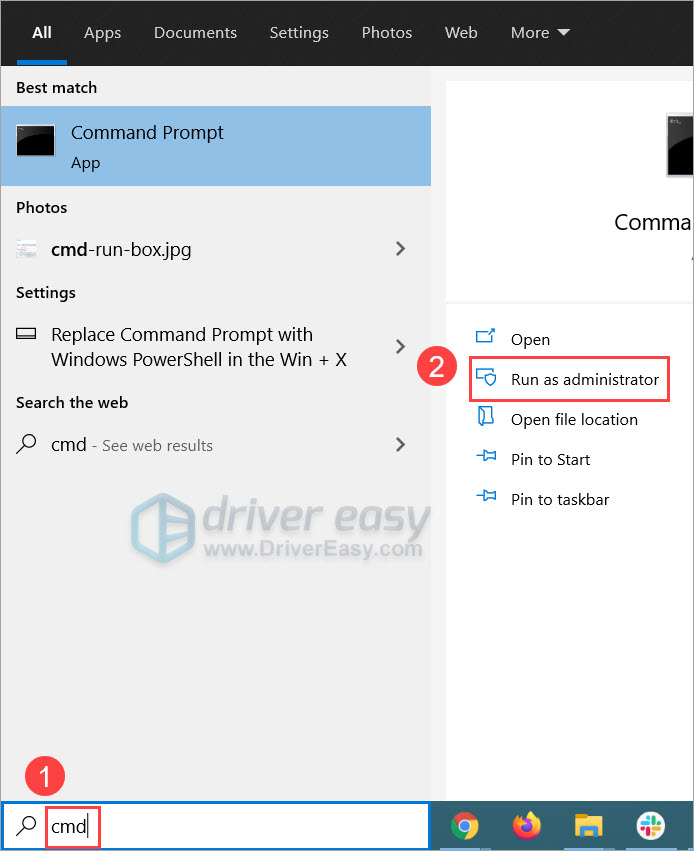
- On your keyboard, press Win (the Windows logo key) and type cmd. Select Run as Administrator.
- In the command prompt, type or paste the following command and press Enter.
powercfg -duplicatescheme e9a42b02-d5df-448d-aa00-03f14749eb61
If you see a prompt similar to this, return to step 2 to enable the Ultimate Performance power plan.
Once done, restart your game and check the performance.
If you don’t see any changes, simply continue to the next fix.
Fix 2: Check for system updates
Windows 11 is fairly new, and the devs are still working on some major bugs. If you want to get the latest system updates, you can get one step ahead of the schedule checking and check for updates manually.
- On your keyboard, press Win+R (the Windows logo key and the R key) to invoke the Run box. Type or paste control update and click OK.

- Click Check for updates. Windows will then check for available updates. (Or click Restart now if it prompts “Restart required”)

Once you’ve installed all the system updates, restart your PC and check the gameplay.
If the performance is still crappy, take a look at the next method.
Fix 3: Update all your drivers
The latest computer drivers improve overall stability and performance. And this is especially true for gaming PCs, as they usually need the up-to-date GPU drivers to unleash the full potential on new titles. So if you don’t remember when was the last time you checked for driver updates, definitely do it now.
You can update your drivers manually, by visiting the motherboard/GPU manufacturers’ websites, finding the latest correct drivers and downloading them one by one. But if you’re not comfortable playing with device drivers, you can update automatically with Driver Easy. It’s a tool that will download and update all the drivers automatically.
- Download and install Driver Easy.
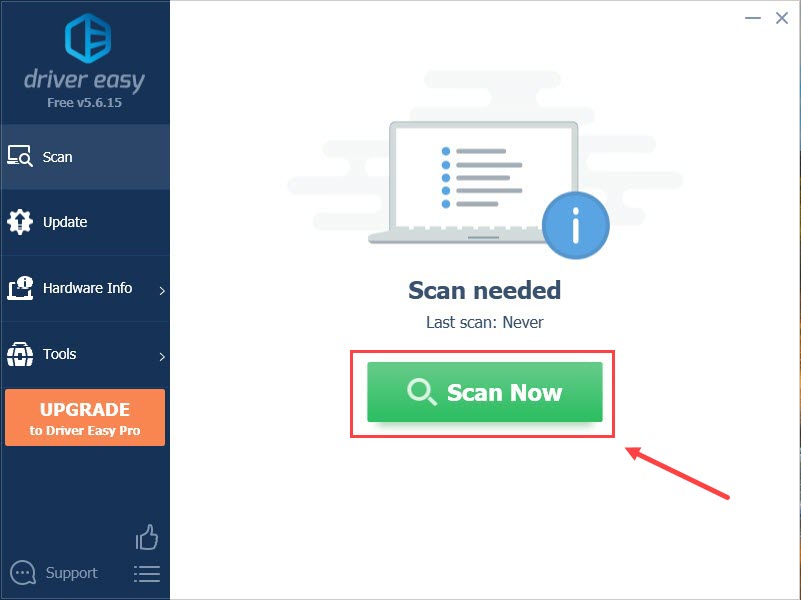
- Run Driver Easy and click the Scan Now button. Driver Easy will then scan your computer and detect any problem drivers.
- Click Update All to automatically download and install the correct version of all the drivers that are missing or out of date on your system.
(This requires the Pro version – you’ll be prompted to upgrade when you click Update All. If you don’t want to pay for the Pro version, you can still download and install all the drivers you need with the free version; you just have to download them one at a time, and manually install them, the normal Windows way.)
After updating all the drivers, restart your PC and test the in-game performance.
If the latest drivers don’t give you luck, simply continue to the next fix.
Fix 4: Disable Virtualization-Based Security (VBS)
If your computer ships with a pre-installed Windows 11, you may want to turn off Virtualization-Based Security (VBS). It’s a feature that isolates part of the memory and uses it to host other security features.
While VBS does make your system more secure, it’d affect the overall performance. If you get your games from trusted sources (Steam/Epic) and believe you don’t need additional security features, you can turn VBS off.
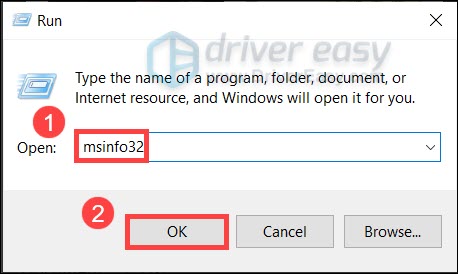
- On your keyboard, press Win+R (the Windows logo key and the R key) to open the Run dialog. Type msinfo32 and click OK.
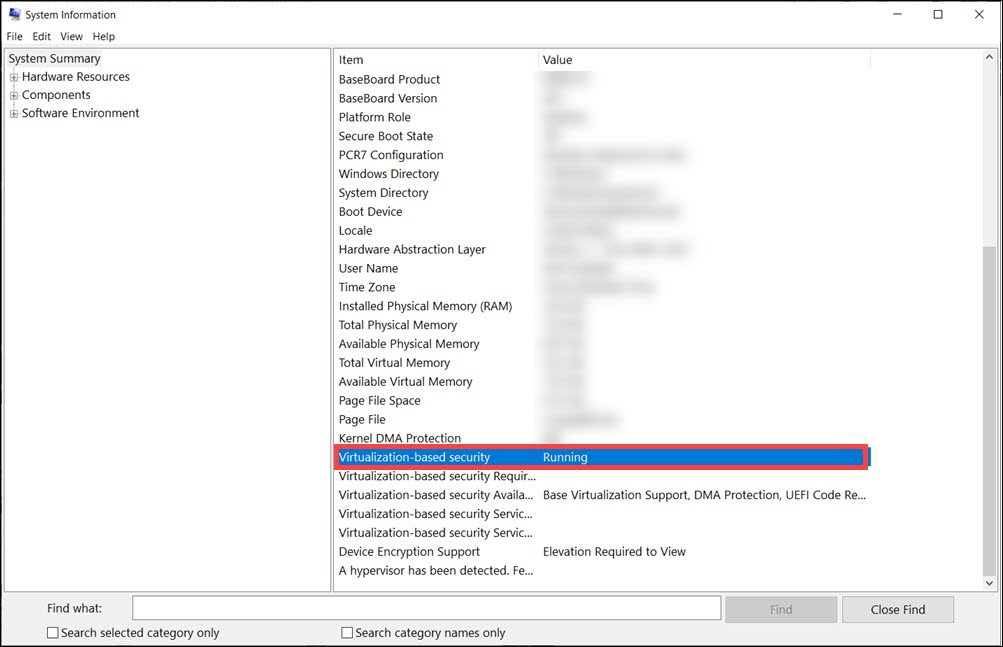
- Scroll down to check if Virtualization-based security is running. If it is, continue to the next step.
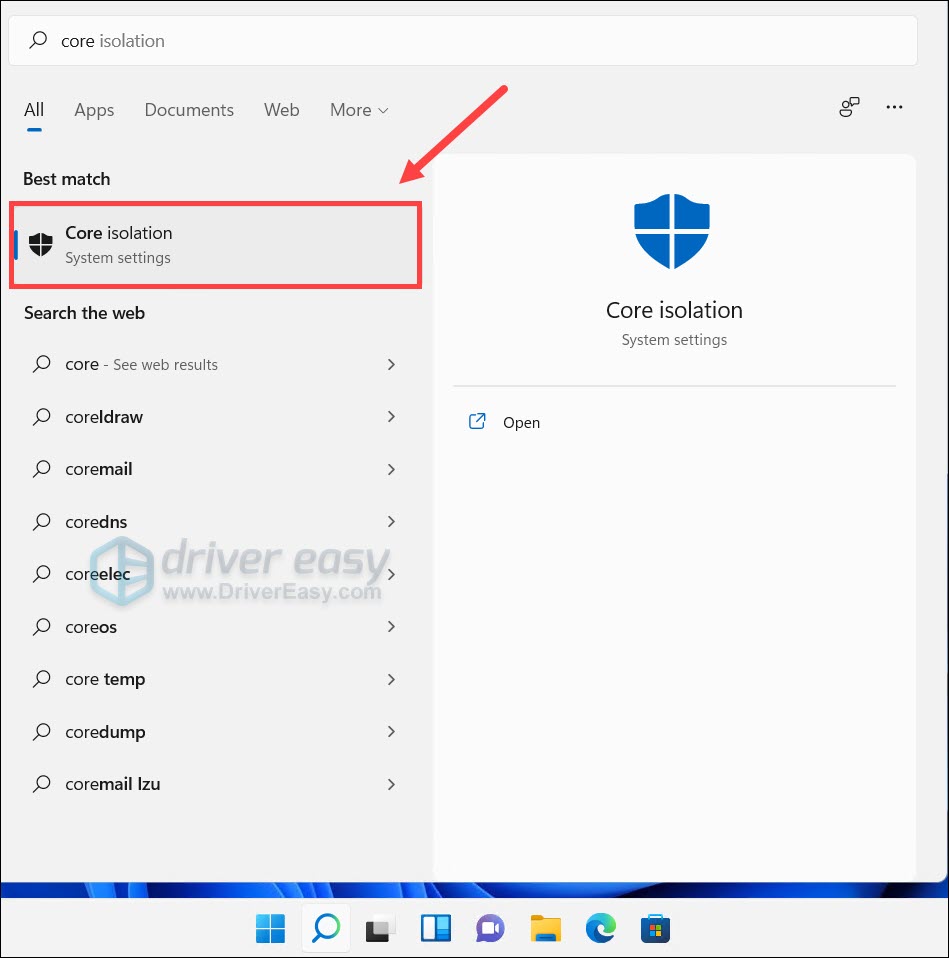
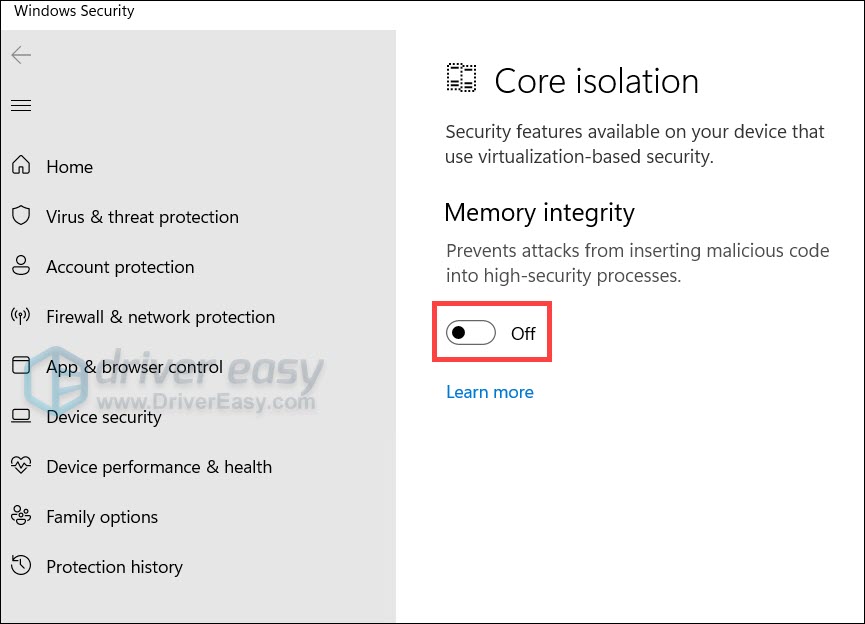
- On your keyboard, press the Windows logo key. Type core isolation and select Core isolation.
- Make sure Memory integrity is set to Off.
- Restart your computer and test the gameplay again.
If this trick doesn’t do the charm for you, check out the next method below.
Fix 5: Run the game as a new user
In some cases, your local settings, services and apps would slow down your system. To check if this is your case, you can run the game as a new user. This would isolate most of the settings and give you a fresh Windows 11 experience.
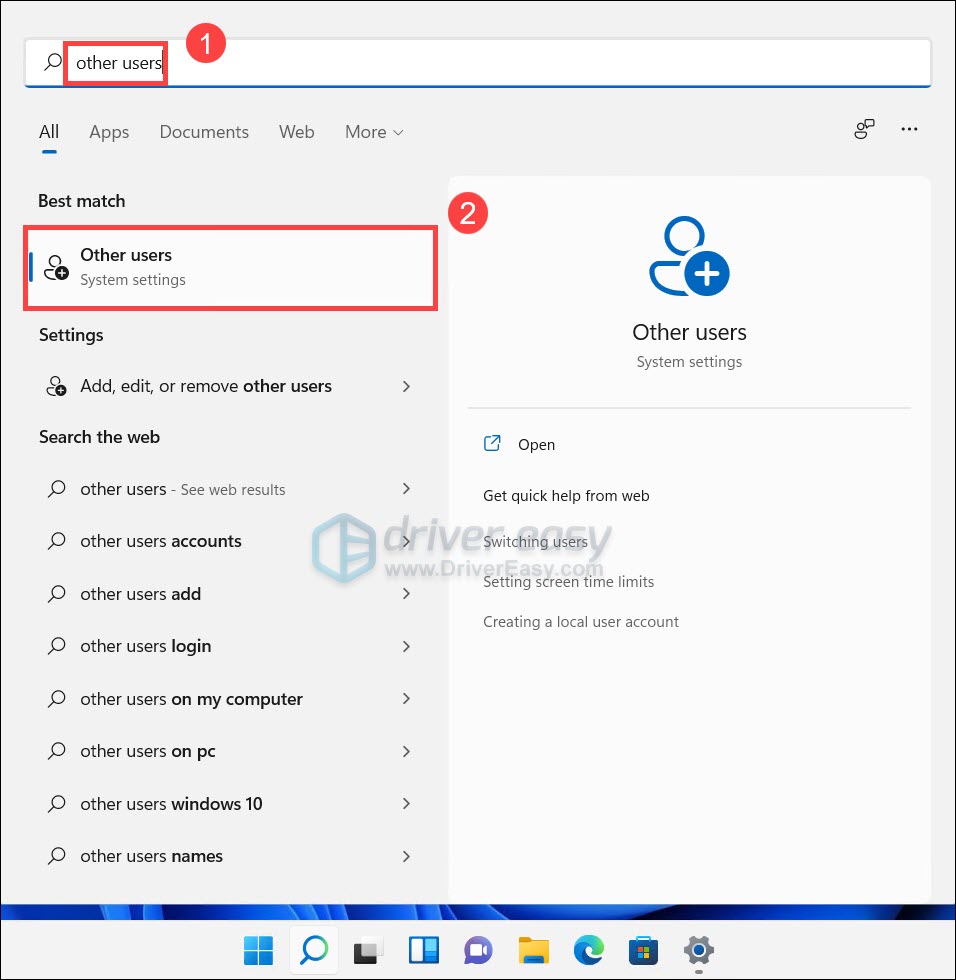
- On your keyboard, press the Windows logo key. Type other users and select Other users.
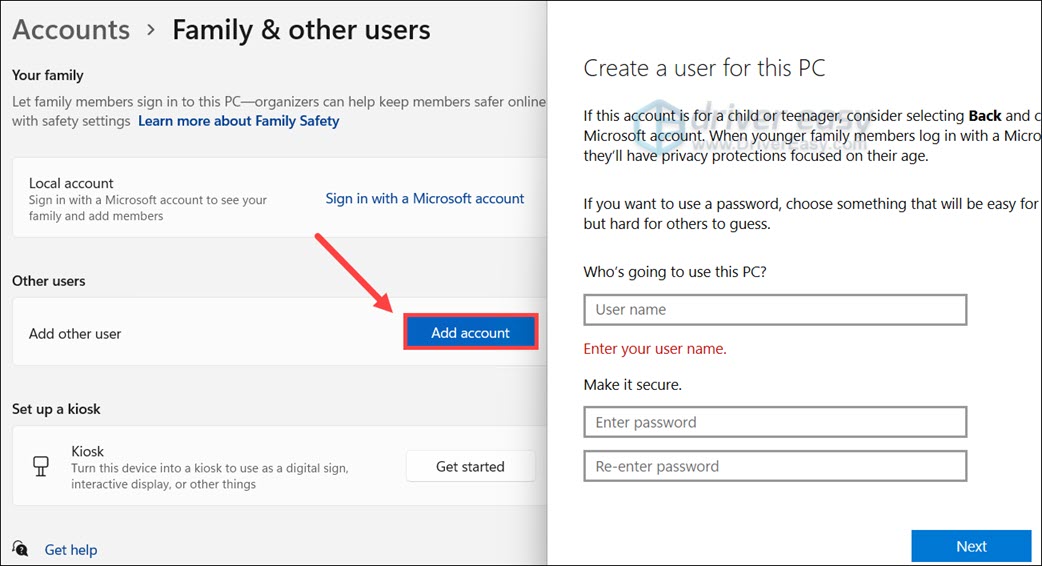
- In the Other users section, click Add account. In the pop-up window, follow the on-screen instructions to complete the process. (You can just create a local account so you won’t need another Microsoft account.)
- Once done, restart your PC and sign in as the new user. Then you can run your game directly from the installation folder. If there’re obvious improvements, you can continue to the next fix to run a full scan to find out what went wrong. If there aren’t, it could indicate a system issue, or it could mean that your hardware is not compatible with Windows 11.
Hopefully this post helps you fix the performance issues on Windows 11. If you have any questions or ideas, feel free to drop a line in the comments below.