


This post shows you how to screenshot on an Acer laptop, with multiple easy methods.
How to screenshot on an Acer laptop
- Take a screenshot with a robust screen recorder (Recommend)
- Take a screenshot via keyboard combinations
- Take a screenshot of an active window
Method 1: Take a screenshot with a robust screen recorder (Recommend)
Snagit is a screenshot program that captures video displays and audio output.
To do so, follow the steps below:
- Download and install Snagit in your Acer laptop.
- Run and sign in, then click the Capture button.
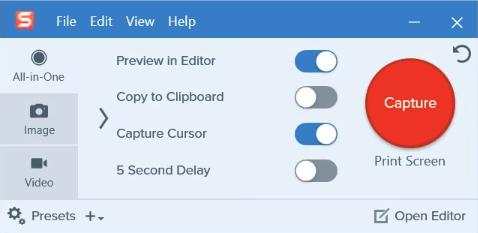
- Click and select the screen that you want to take a screenshot of.

- Click the Camera button to save your screenshot.

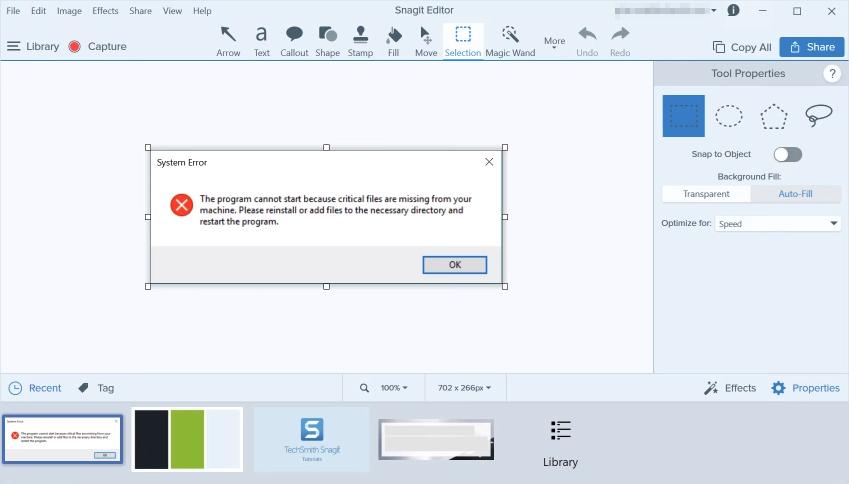
- Edit your screenshot using the editor.
- Save your screenshot to wherever you want in your laptop.
Method 2: Take a screenshot via keyboard combinations
If you want to take screenshots of the whole screen in your Acer laptop, use the keyboard shortcut combinations:
- Open the screen that you want to capture.
- Press the Windows logo keyand PrtSc at the same time. Then it will take a screenshot on your current screen and automatically saves it in your laptop.
- Go to C:UsersusernamePicturesScreenshots and you’ll see the screenshots.

This is easy, isn’t it?!
If this method doesn’t work for you, or if you want to take a screenshot for an active window, don’t worry. Move on to the next method.
Method 3: Take a screenshot of an active window
If you want to take a screen for an active window in your Acer laptop, you’ll have two options:
Option 1: Use Microsoft Paint
Paint is part of Windows built-in features. Here’s how to use it:
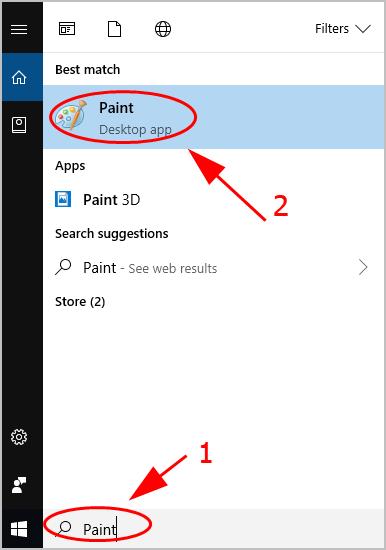
- Type Paint in the search box in the search box on your desktop, and click Paint to open it.
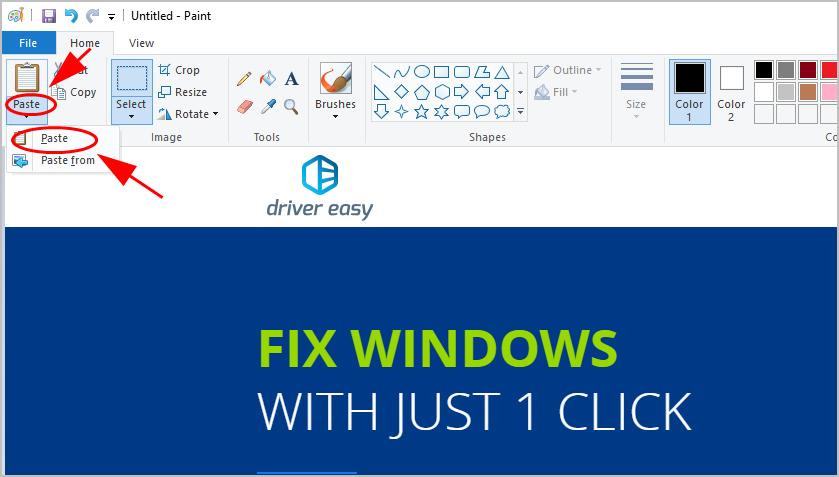
- Open the window that you want to capture, and press the PrtSc key on your keyboard. The screenshot is saved in your clipboard.
- Click the Paste button in Paint, or press the Ctrl + V keys on your keyboard to paste your screenshot.
- If you want to resize or crop the screenshot, click Resize or Crop to adjust the size.

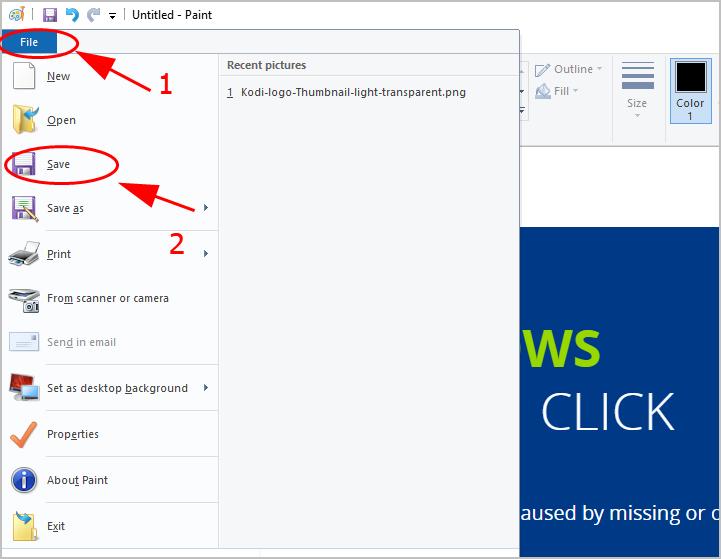
- After editing, click File > Save and choose a location to save your screenshots.
Option 2: Use Snipping Tool
Snipping Tool is a screenshot utility included in Windows Vista and later. Here’s how to use it:
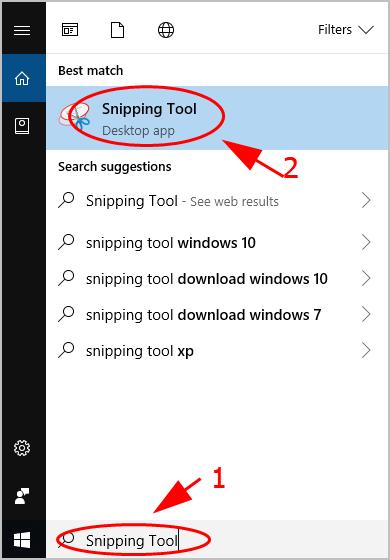
- Type Snipping Tool in the search box on your desktop, and click Snipping Tool to open it.
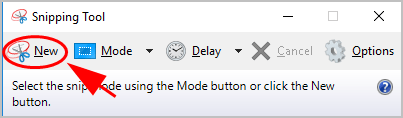
- Click New on Snipping Tool panel.
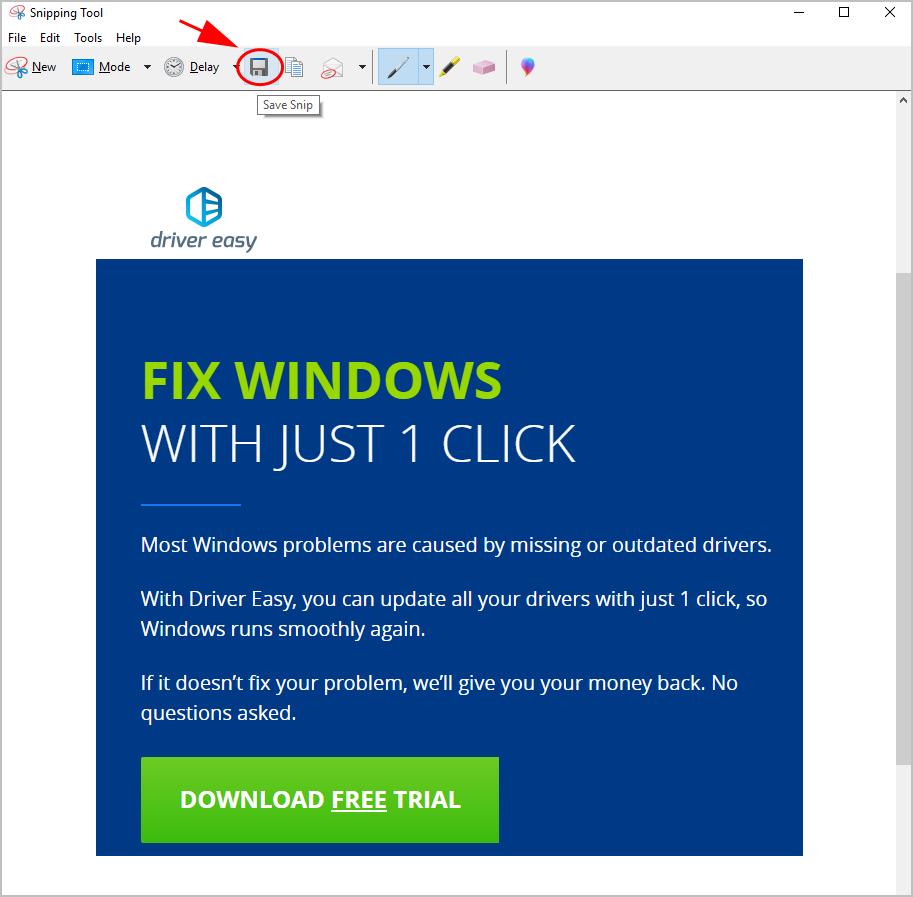
- Click and drag your mouse across the region you want to capture, then release your mouse button.
- Click Save Snip to save.
- Choose the location to save your screenshots.
That’s it. Hope this post helps in taking a screenshot on your Acer laptop.