


Don’t know how to take a screenshot in your Toshiba laptop? You’ve come to the right place! This post shows you how to screenshot on a Toshiba laptop in multiple methods.
How to screenshot on Toshiba laptop
- Take a screenshot via keyboard combinations
- Take a screenshot of an active window
- Take a screenshot with a robust screen recorder
Method 1: Take a screenshot via keyboard combinations
If you want to take screenshots of the whole screen in your Toshiba laptop, use the keyboard shortcut combinations:
- Open the screen that you want to capture.
- Press the Windows logo key and PrtSc at the same time. Then it will take a screenshot on your current screen and automatically saves it in your laptop.
If the Windows logo key and PrtSc key doesn’t work, or if you don’t have the PrtSc key on your Toshiba laptop, try FN + Windows logo key + End/PrtSc, and it should be able to take a screenshot. - Go to C:UsersusernamePicturesScreenshots and you’ll see the screenshots.

This is easy, isn’t it?!
If this method doesn’t work for you, or if you want to take a screenshot for an active window, don’t worry. Move on to the next method.
Method 2: Take a screenshot of an active window
If you want to take a screen for an active window in your Toshiba laptop, you’ll have two options:
Option 1: Use Microsoft Paint
Paint is part of Windows built-in features. But the drawback is the screenshot may be blurry after resizing. Here’s how to use it:
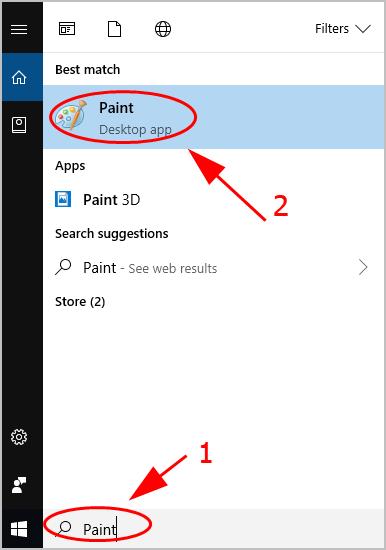
- Type Paint in the search box in the search box on your desktop, and click Paint to open it.
- Open the window that you want to capture, and press the PrtSc key (or the End key) on your keyboard. The screenshot is saved in your clipboard.
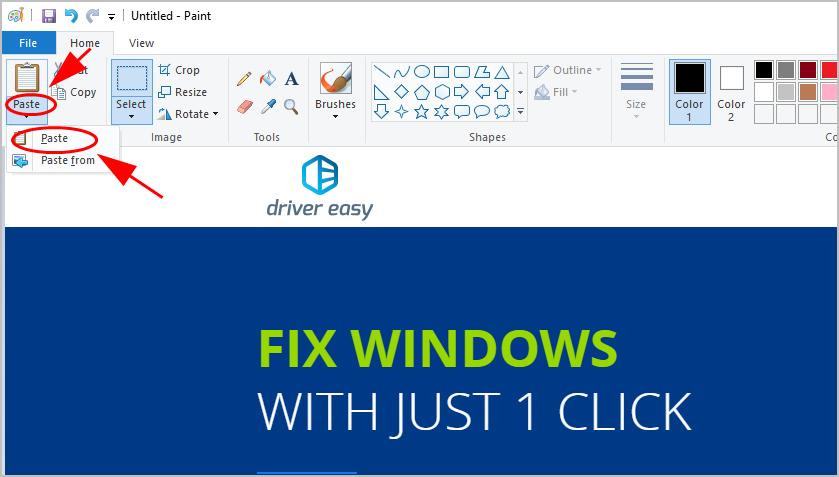
- Click the Paste button in Paint, or press the Ctrl + V keys on your keyboard to paste your screenshot.
- If you want to resize or crop the screenshot, click Resize or Crop to adjust the size.

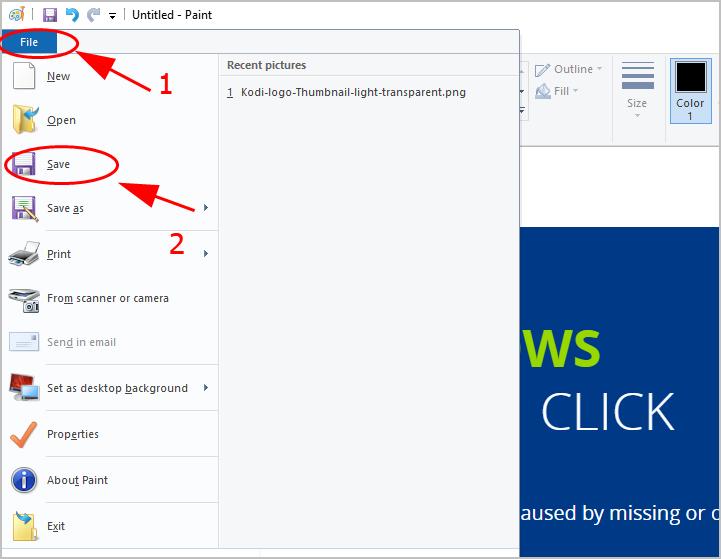
- After editing, click File > Save and choose a location to save your screenshots.
Option 2: Use Snipping Tool
Snipping Tool is a screenshot utility included in Windows Vista and later. Here’s how to use it:
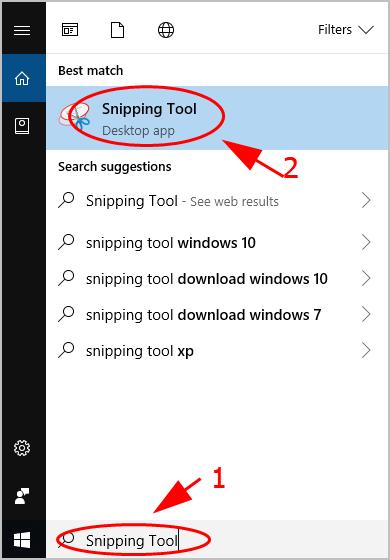
- Type Snipping Tool in the search box on your desktop, and click Snipping Tool to open it.
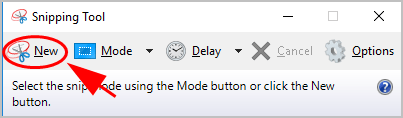
- Click New on Snipping Tool panel.
- Click and drag your mouse across the region you want to capture, then release your mouse button.
- Click Save Snip to save.
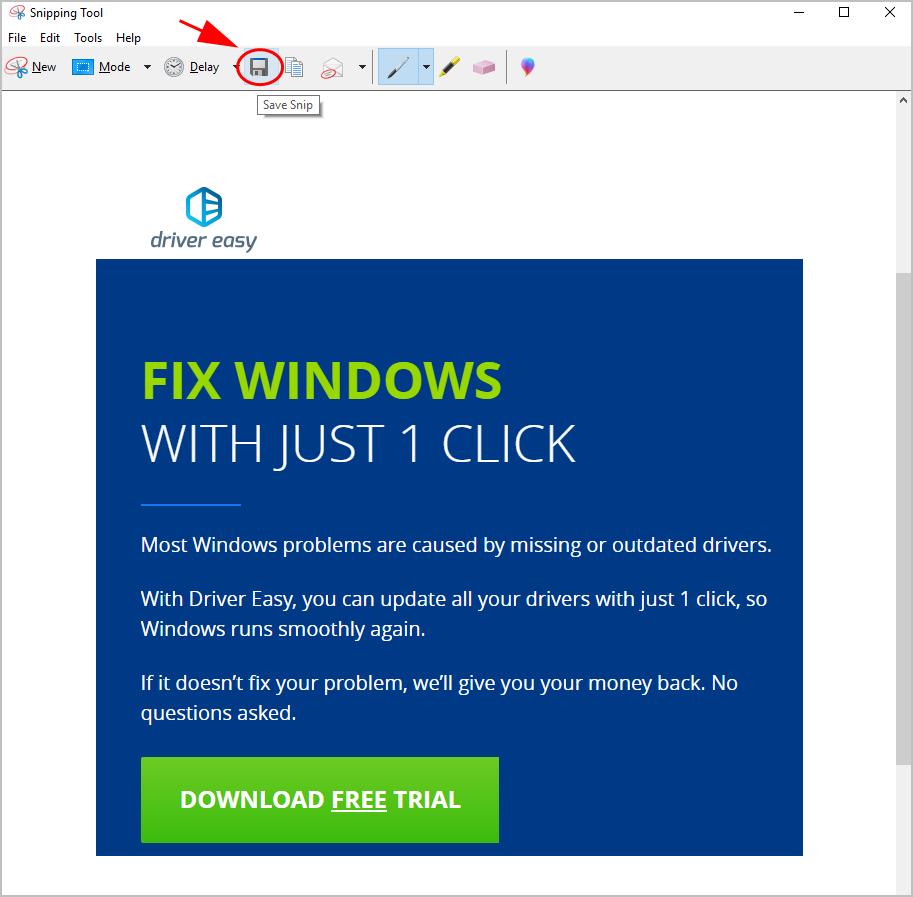
Choose the location to save your screenshots.
Method 3: Take a screenshot with a robust screen recorder
Snagit is a screenshot program that captures video displays and audio output.
To do so, follow the steps below:
- Download and install Snagit in your Toshiba laptop.
- Run and sign in, then click the Capture button.
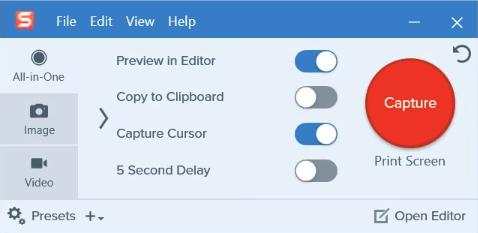
- Click and select the screen that you want to take a screenshot of.
- Click the Camera button to save your screenshot.
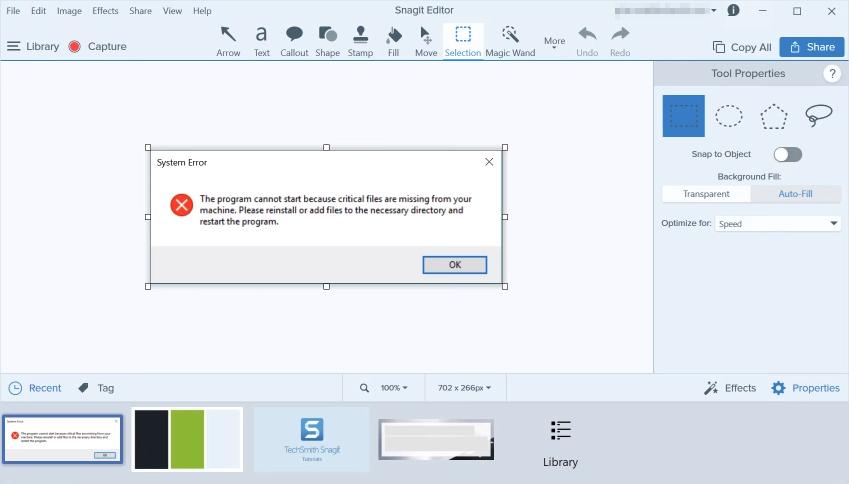
- Edit your screenshot using the editor.
- Save your screenshot to wherever you want in your laptop.
That’s it. Hope this post helps in taking a screenshot on your Toshiba laptop.