


Virtual Private Network (VPN) on Windows 10/11 has become quite popular for Windows 10/11 users. But how to set up a VPN in Windows 10/11? You’ve come to the right place. This post will show you how to set up VPN on Windows 10/11.
Why should we use VPN in Windows 10/11? Using a VPN, on one hand, can protect your online activities from spams and snooping eyes. On the other hand, a VPN enables you to access to the geo-blocked content.
There are two ways to set up a VPN in your Windows 10/11 computer:
Method 1 – Set up VPN manually: This requires time and computer skills. We recommend this when you’re confident in your computer skills.
Method 2 – Set up VPN automatically: This is the quickest and easiest option. It’s all done with just a couple of clicks.
Method 1: Set up VPN manually
In Windows 10/11 you can directly create a VPN profile and connect to VPN. Here’s what you need to do:
Step 1: Subscribe to a VPN service
To create a VPN profile in your Windows 10/11 computer, you’ll need to subscribe to the VPN service to get the VPN server address.
You can search on the Internet to get a VPN. If you don’t have the time or patience, you can try NordVPN.
Step 2: Create a VPN profile
After having the VPN server name from your VPN service provider, you can now configure settings in Windows 10/11.
To do so:
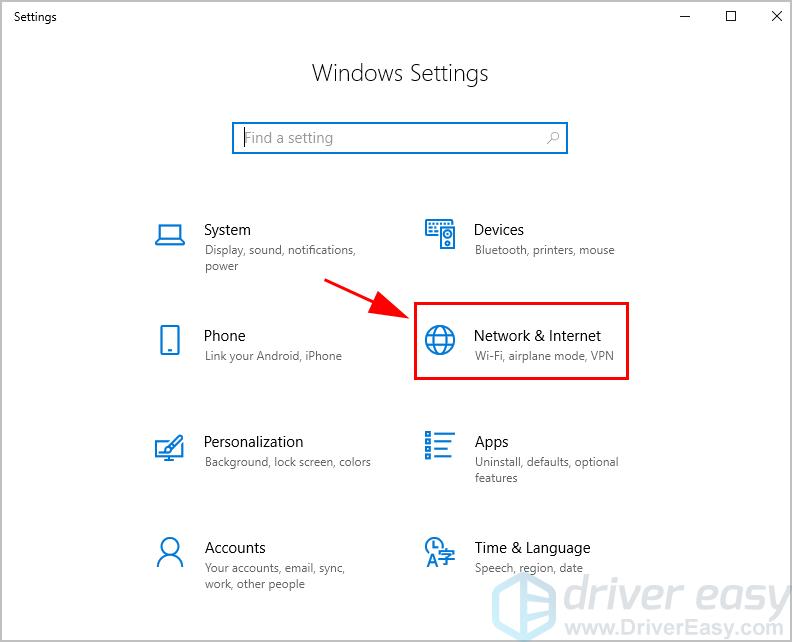
- On your keyboard, press the Windows logo key and I at the same time to invoke the Settings app.
- Click Network & Internet.
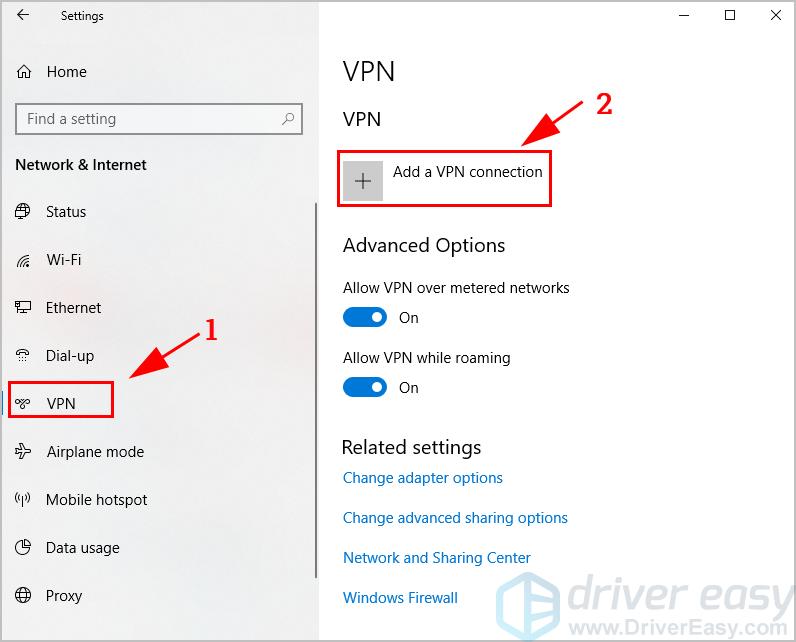
- Click VPN on the left, then click Add a VPN connection.
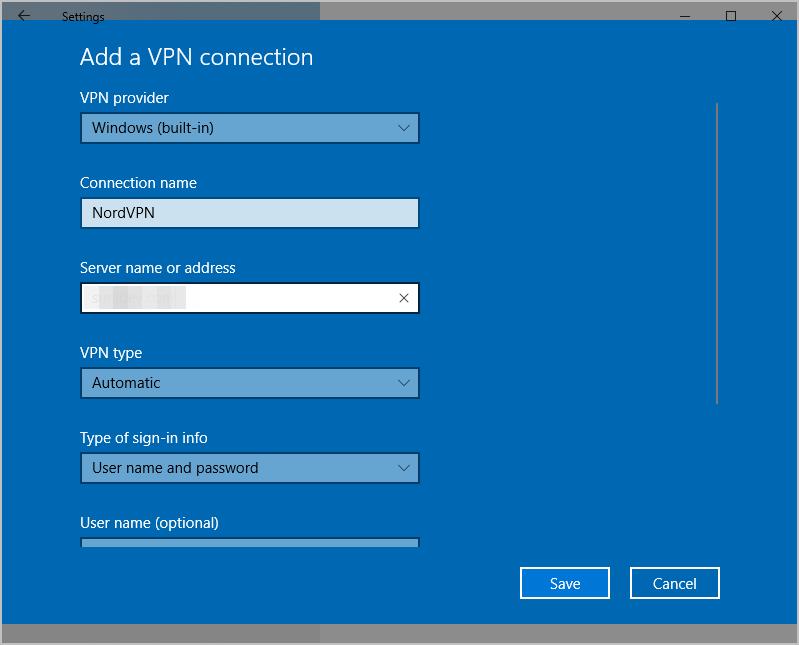
- Then you should enter the following VPN information:
- VPN provider: choose Windows (built-in)
- Connection name: enter a name for your VPN
- Server name or address: enter the VPN server from your VPN service provider
- VPN type: you can choose Automatic, IKEv2, SSTP, L2TP/IPsec, or PPTP depending on your VPN service
- User name and Password: enter the user name and password of your VPN service.
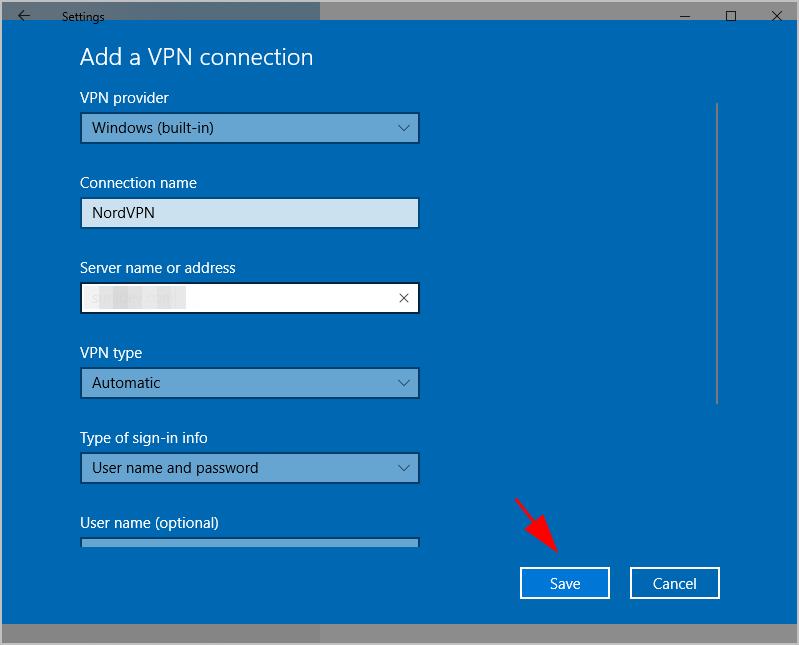
- Then click Save.
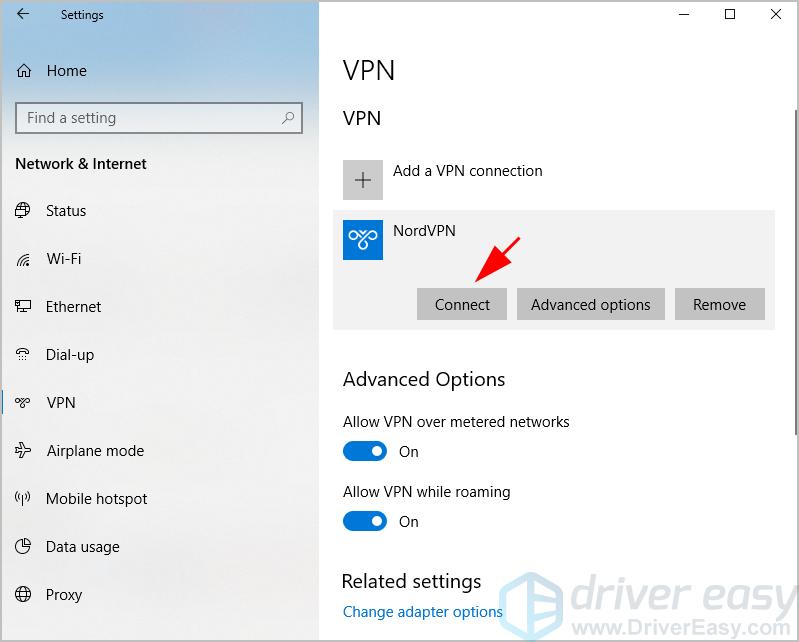
Step 3: Connect to VPN
After the setup, you can now connect to the VPN.
On the Network & Internet pane, you’ll see the VPN available to connect. Click Connect.
Or you can click the Internet icon at the bottom right corner, and choose your VPN to connect. Enter your user name and password if prompted.
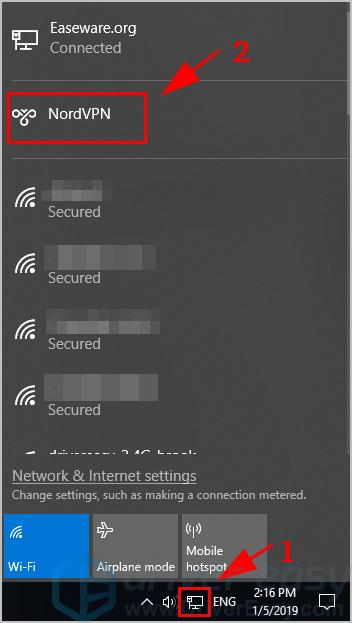
Now you should be able to use your VPN in Widnows 10/11.
If this method doesn’t work for you, don’t worry. There is something else to try.
Method 2: Set up VPN automatically
Setting up VPN on Windows 10/11 automatically, is rather easy and fast. Most of the VPN service providers offer applications to be installed in Windows 10/11. So you can just download and install the application and connect to the VPN servers.
You can search on the Internet and pick up a VPN with great reviews and reasonable price. Or you can try NordVPN.
NordVPN can secure your Apple TV, set your location to any one of more than 60 countries where it has servers. And it’s easy and safe to use!
- Download and install NordVPN in your computer. You can get up to 75% discount.
- Run NordVPN and open it.
- Connect to a server in a chose location.

Test it and your Windows 10/11 computer should be using the VPN now.