


Please do not worry if you have no idea how to take a screenshot in Windows. In this article, we’ll show you how to take a screenshot in Windows. Quickly & Easily!
For Windows 11 users, follow the steps in How to take a screenshot in Windows 11.
If you’re using Windows 10, follow the steps in How to take a screenshot in Windows 10.
If you’re using Windows 7 & 8, follow the steps in How to take a screenshot in Windows 7 & 8.
How to take a screenshot in Windows 11
Way 1: Take a screenshot using Snipping Tool
Windows 11 provides a built-in screenshot app – Snipping Tool. Here’s how to use it:
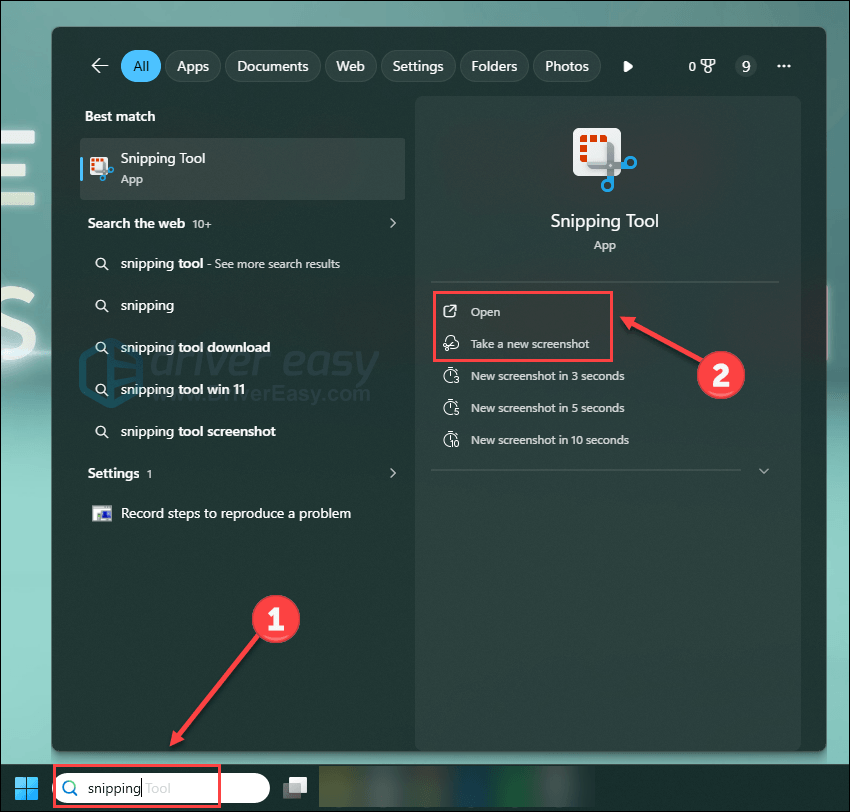
- Type Snipping in the Windows search bar and click Open under the Snipping Tool.
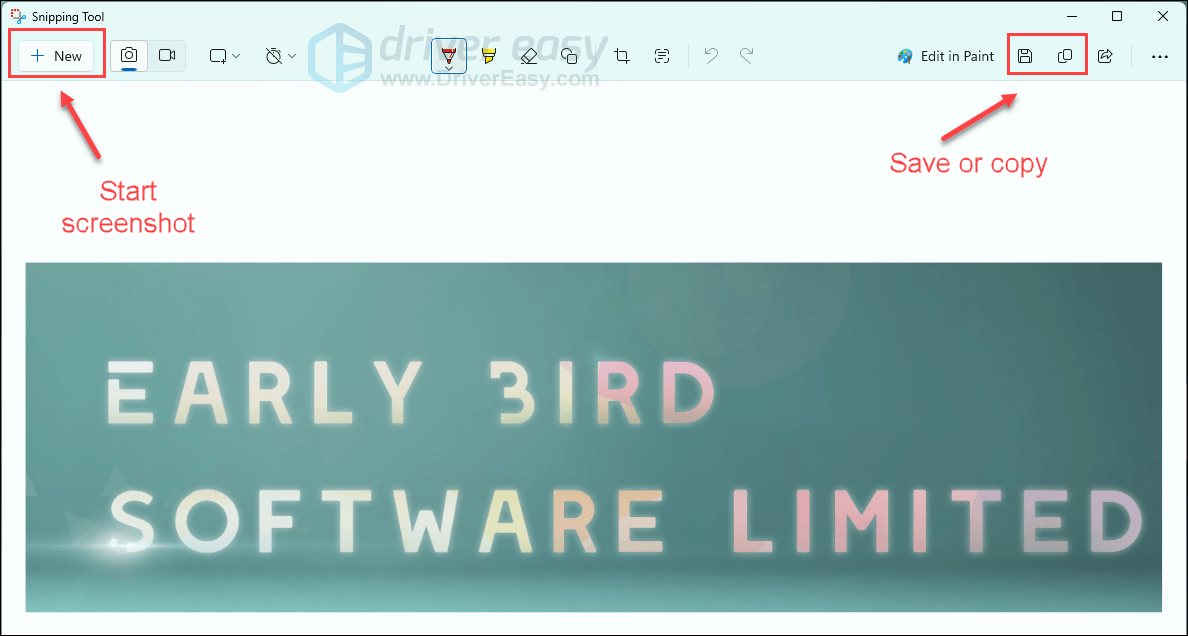
- Click +New in the upper-left corner and select the area you want to take a screenshot. Save or copy your screenshot in the upper-right corner.
Way 2: Take a screenshot using keyboard shortcut
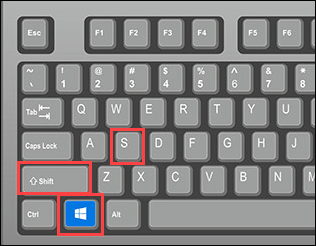
You can use a keyboard shortcut to invoke the Spinning tool directly. Simply press the Windows logo key + Shift + S on your keyboard at the same time, and then you can start to select the area you want.
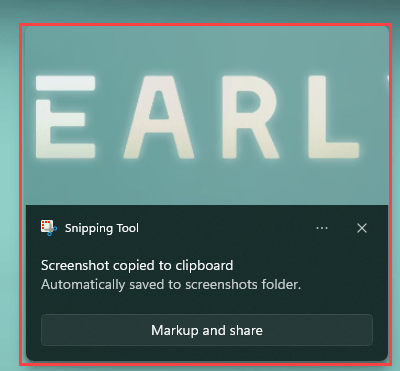
Once you take the snip, it’s saved to your clipboard (ready to paste) and a notification will pop up. Click that notification to edit, draw on, or save the image as a file.
How to take a screenshot in Windows 10
The following are the two ways for you to take screenshots in Windows 10. Choose the way you want to take a screenshot and follow the simple steps.
Way 1: Take a screenshot using Snip & Sketch
Way 2: Take a screenshot using the keyboard
Way 1: Take a screenshot using Snip & Sketch
Snip & Sketch is an app in Windows 10. It was not available until the October 2018 Update (version 1809) was released. So if you’d like to use this tool to take screenshots, you need to ensure you’re using Windows 10 version 1809 or newer.
Here’s how to use Snip & Sketch to take a screenshot in Windows 10.
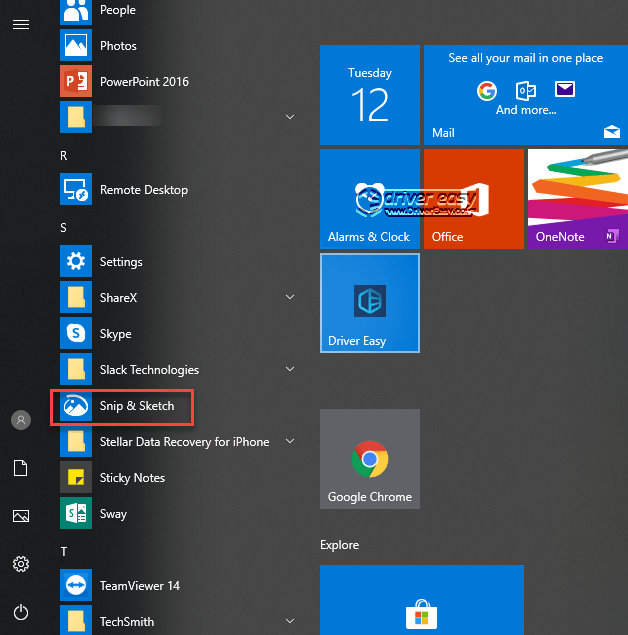
1) On your keyboard, press the Windows logo key to open the Start menu.
2) Scroll down and click Snip & Sketch under the “S” section.
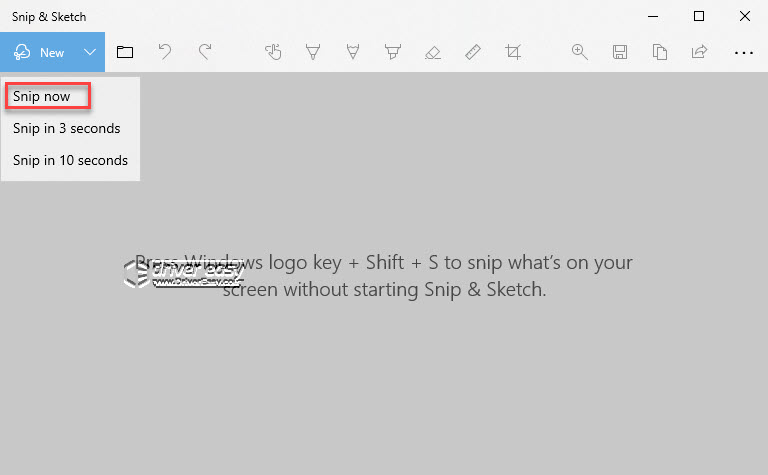
3) Click New in the toolbar and select Snip now from the drop-down list.
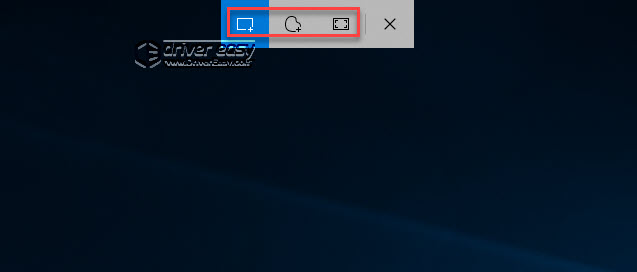
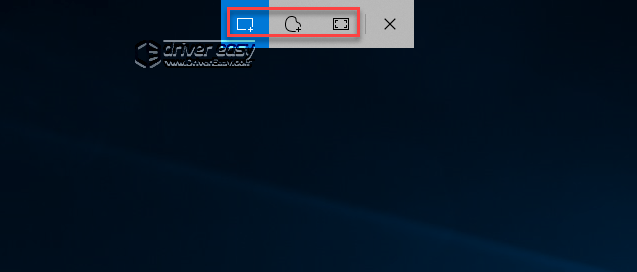
4) Select the type of snip you’d like to use.
Three types of snip for you to choose:
- Rectangular Clip: allow you to take a screenshot in a rectangular shape.
- Freeform Clip: allow you to take a screenshot in any shape you like.
- Fullscreen Clip: allow you to take a screenshot of your entire screen.
5) Once you’ve taken a screenshot, the Snip & Sketch app opens and shows you the taken screenshot.
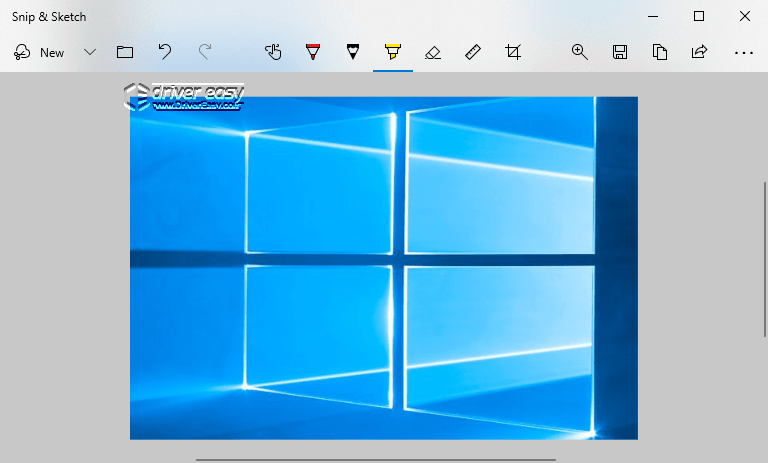
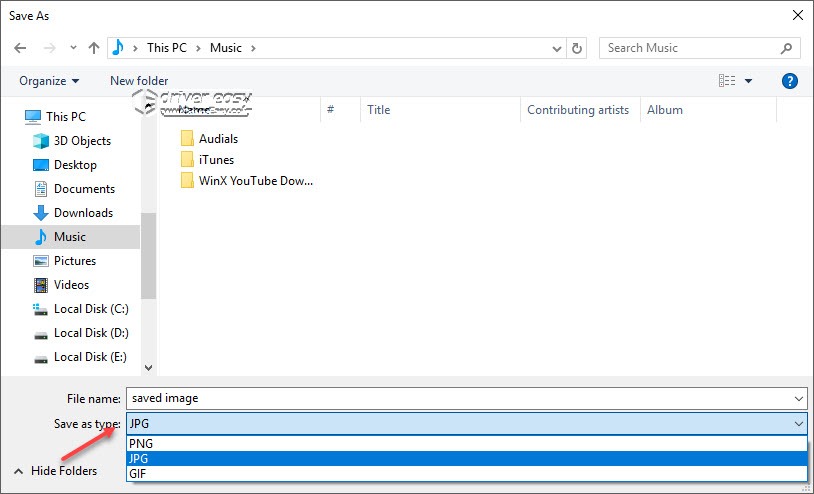
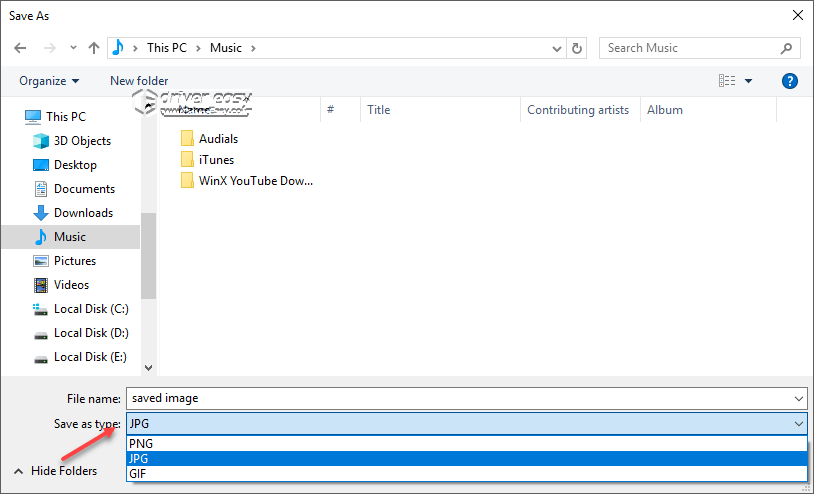
6) On your keyboard, press Ctrl+S (the Ctrl key and the S key) at the same time and choose the type you want to save the the screenshot to the folder where you want to store the screenshot.
Way 2: Take a screenshot using the keyboard
You can also take a screenshot using your keyboard.
Use the shortcut Windows logo key+ Shift+S
1) On your keyboard, press Windows logo key+Shift+S (the Windows logo key, the Shift key and the S key) at the same time.
2) Select the type of snip you’d like to use.
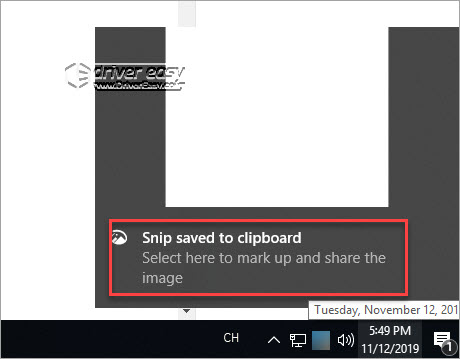
3) Once you’ve taken a screenshot, the screenshot is saved to the clipboard automatically. Click the dialog box popping up at the bottom right corner of the desktop, then the Snip & Sketch opens and shows you the taken screenshot.
4) On your keyboard, press Ctrl+S (the Ctrl key and the S key) at the same time and choose the type you want to save the screenshot to the folder where you want to store the screenshot.
How to take a screenshot in Windows 7 & 8
The following are the two ways for you to take screenshots in Windows 7 & 8. Choose the way you want to take a screenshot and follow the simple steps.
Way 1: Take a screenshot using Snipping Tools
Way 2: Take a screenshot using the keyboard
Way 1: Take a screenshot using Snipping Tools
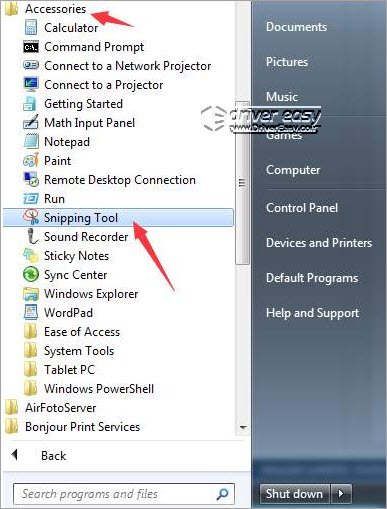
1) On your keyboard, press the Windows logo key to open the Start menu.
2) Navigate to All Programs -> Accessories. Then click Snipping Tool. (See the screenshot below)
3) Click the arrow next to the New button and select the type of snips you wish to use from the dropdown list (see below screenshot).
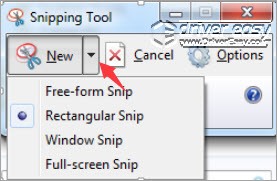
- Free-Form Snip: select the area of the screen you want to capture in any shape you like
- Rectangular Snip: select the area of the screen you want to capture in a rectangular shape
- Window Snip: click the window that you want to capture
- Full-screen Snip: take a screenshot of the entire screen
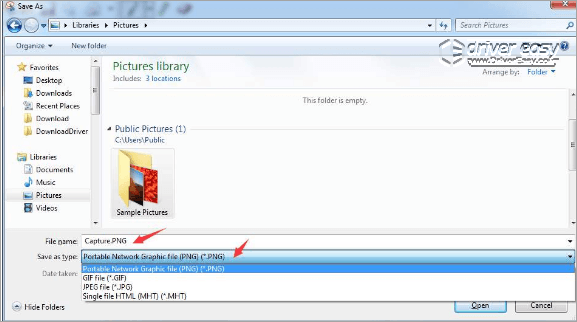
4) On your keyboard, press Ctrl+S (the Ctrl key and the S key) at the same time to save the screenshot. You will need to set the name and the file type of the picture.
Way 2: Take a screenshot using the keyboard
1) If you want to take a full screenshot, press PrtScn key (on some keyboards, the key could be Print Screen). The entire screen will be captured and copied to the clipboard.
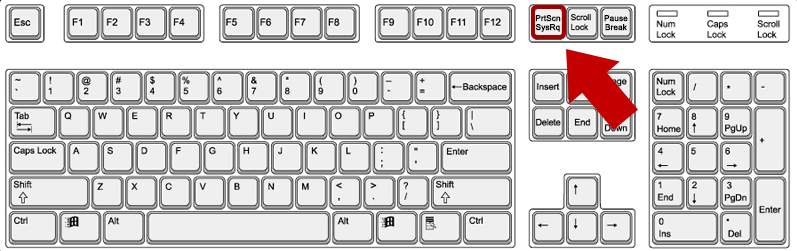
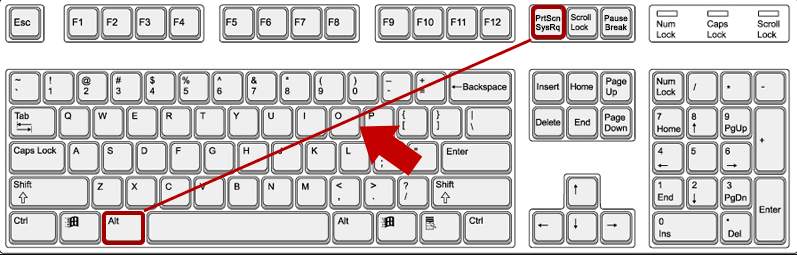
2) If you want to take a screenshot of single window, click the window then hold down Alt key and press PrtScn. The picture will be saved to the clipboard.
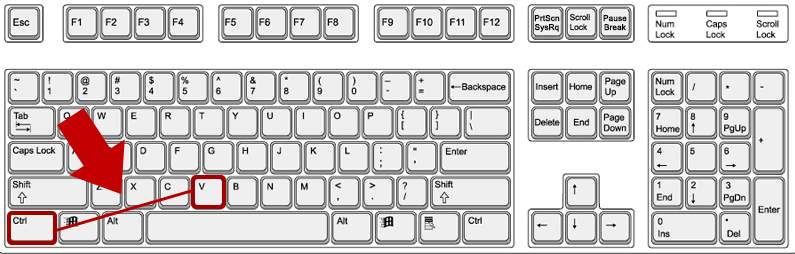
3) Open an editing software (Word and Paint, for instance). On your keyboard, press Ctrl+V (hold down Ctrl key and press V) to paste the picture into the document.
If you are not sure which editing software you can use, we recommend you use Paint. To open Paint, Go to Start -> All Programs ->Accessories -> Paint.

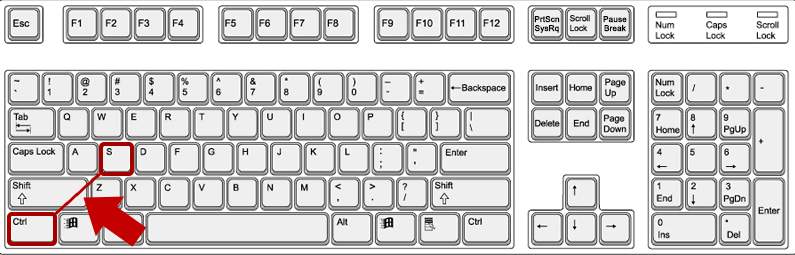
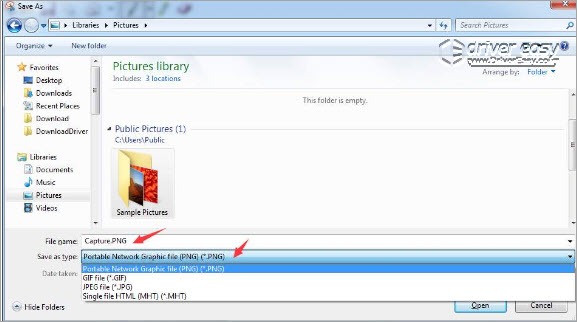
4) On your keyboard, press Ctrl+S (hold down Ctrl and press S ) to save the screenshot. You will need to set the name and the file type of the picture.
Hopefully, you find this article helpful. If you have any questions, ideas or suggestions, feel free to leave a comment below.
