


Wondering how to take screenshots on your brand new Windows 11 OS? You’ve come to the right place!
Taking normal full-screen and selected area screenshots is just as easy on Windows 11 as it is on previous Windows versions. This post will show you how to do it.
Table of contents
1. Take a full-screen screenshot on Windows 11
The easiest way to take a standard full-screen screenshot on any Windows device is using Windows keyboard shortcuts.
Use Windows 11 Screenshot Shortcuts
- PrtSC key: Simply press the PrtSC key or the Print Screen key and you can copy a full desktop image to the clipboard then paste the screenshot elsewhere (e.g. in an email or Slack thread).
For example, if you want to share the screenshot with someone on Slack, just open Slack, click the text box, then press the Ctrl key and V on your keyboard.
That’s it.
- Windows logo key + PrtSc: You can use this key combo to take a full-screen screenshot and save the screenshot automatically on your computer.
Just press the Windows logo key + PrtSc and your screen will dim for a second. Next, press the Windows logo key and E on your keyboard at the same time to open File Explorer, go to This PC > Pictures > Screenshots and you’ll find the screenshot you’ve taken there.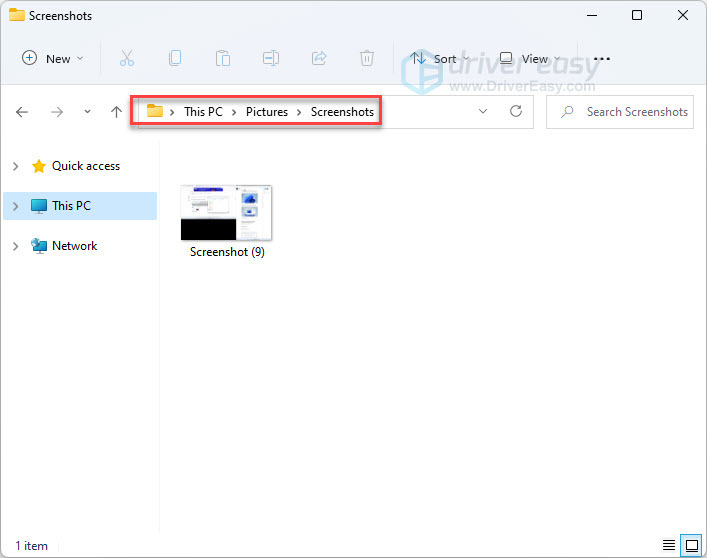
2. Take a selected area (region) screenshot on Windows 11
Use the PrtSc key + Alt to take screenshots of an active window
You can use this key combo to capture the current application window and then paste it into an imaging application.
Use the Snipping Tool
For a selected area screenshot:
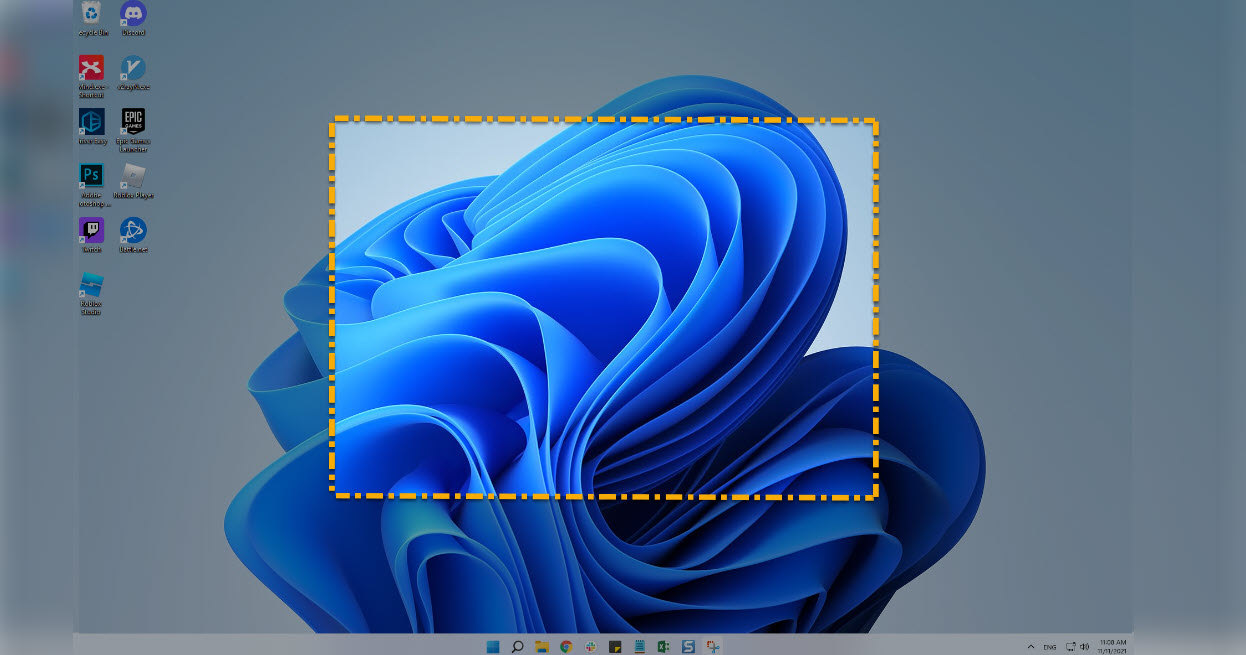
1) Press Windows logo key + Shift + S.
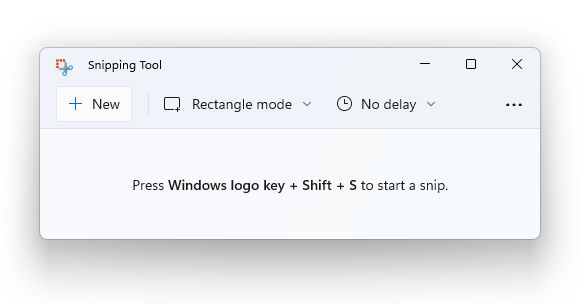
2) Click and drag with your mouse to select the area you want to capture.
3) Release your mouse button.
4) You’ll see a notification that your screenshot has been taken, and a prompt to edit and share the image.
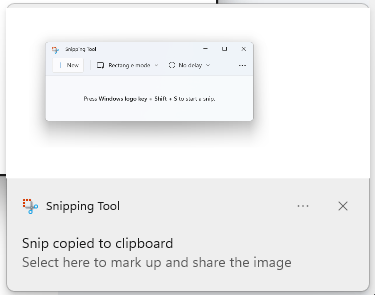
If you want to paste the screenshot elsewhere (e.g. in an email or Slack thread), just press Ctrl +V on your keyboard.
3. Take an annotated screenshot with Snagit (Recommended)
To take an annotated screenshot on your Windows 11 device, you can use our favorite screenshot tool Snagit.
You can easily get screen capture and video recording on Windows 11 using Snagit. The tool allows you to edit the screenshot and video with its advanced features.
1) Download and install Snagit.
2) Run and sign in to the program, then click the Capture button.
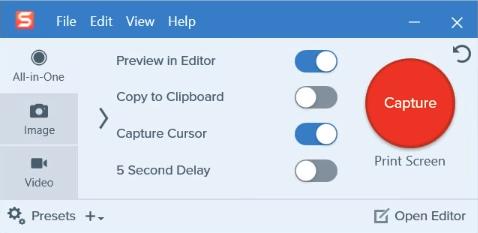
3) Hover over windows or regions to auto-select the area, then click it to capture the area. Or click and drag to select a custom area.

4) Click the camera icon on the toolbar to save your screenshot as an image.

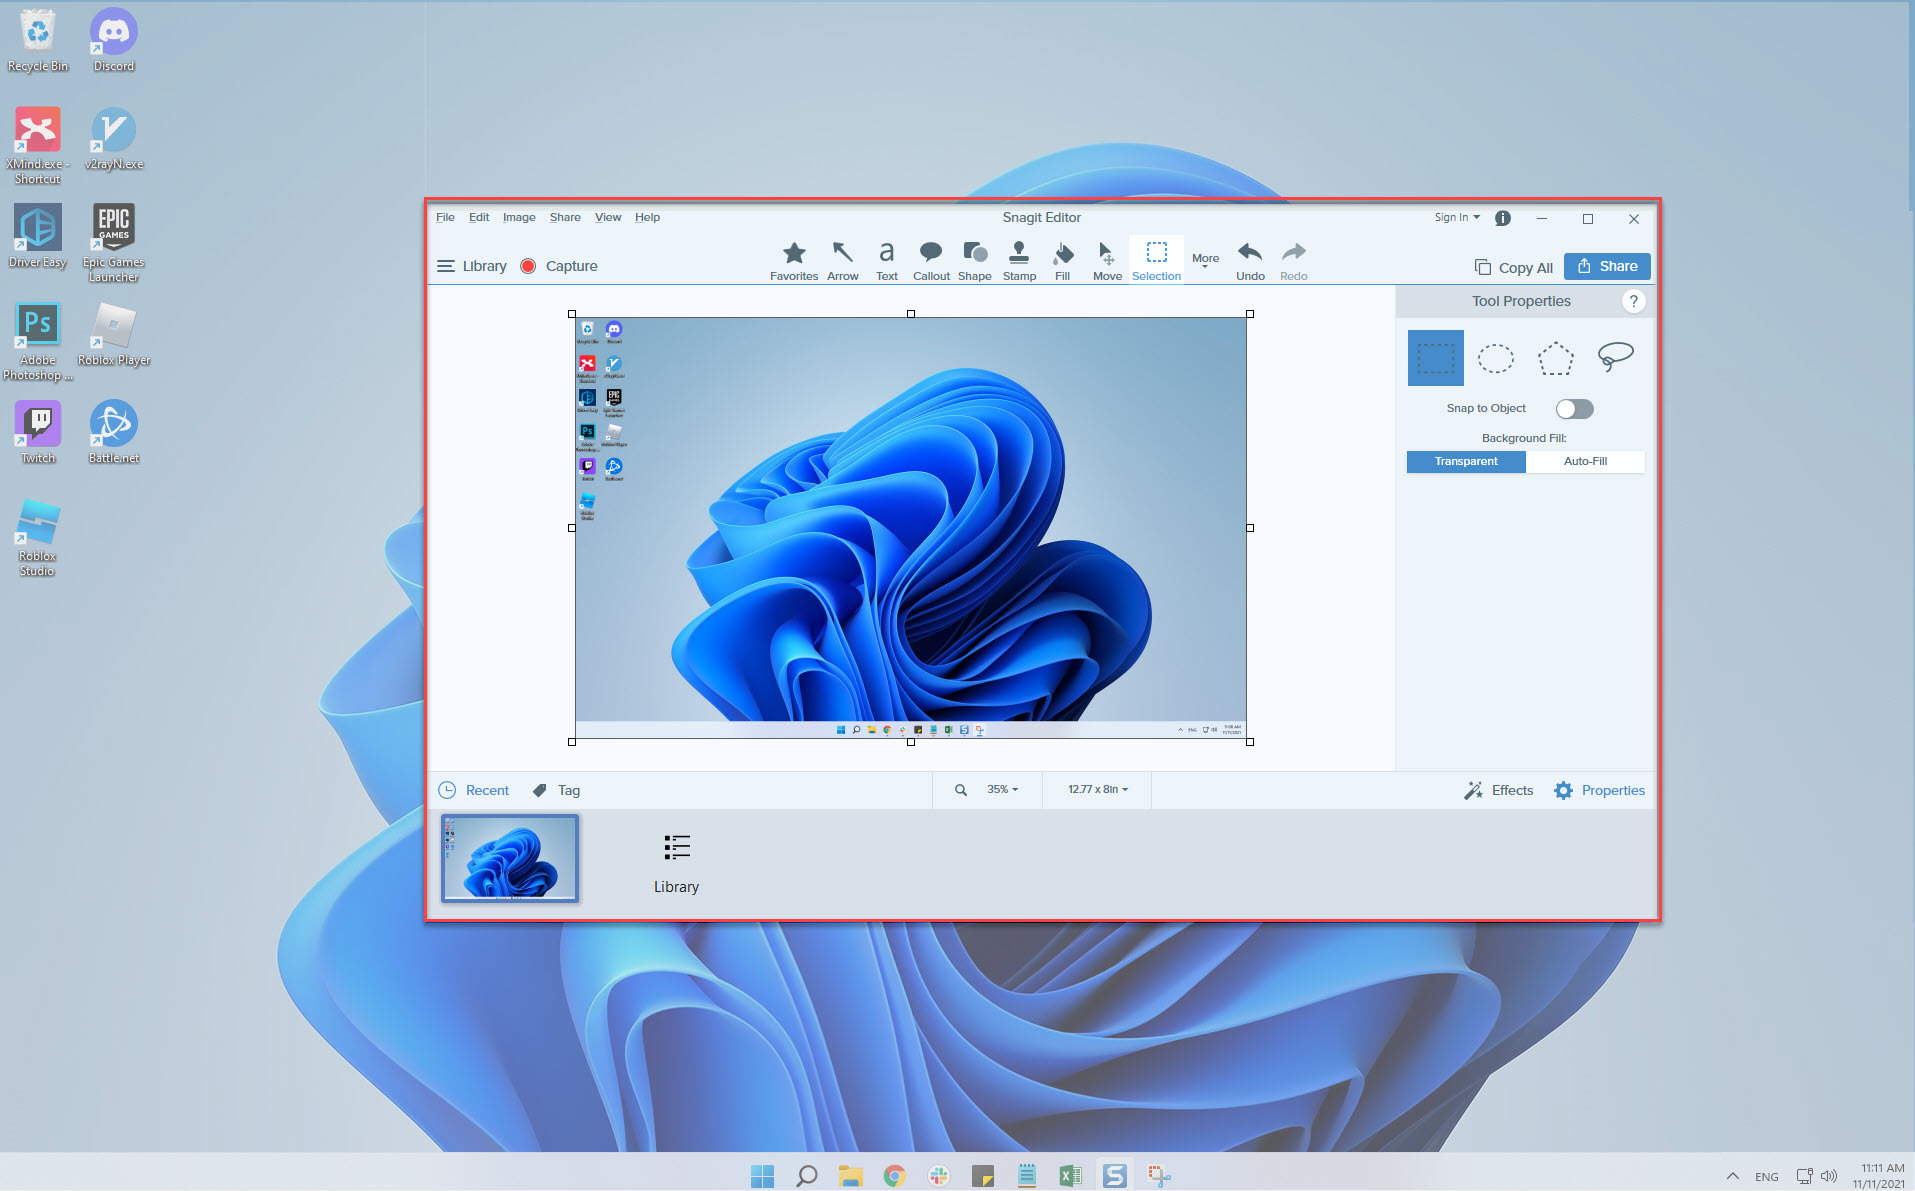
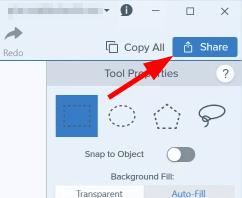
5) Edit your image on the pop-up Snagit Editor. You can add shapes, text, effects, or make adjustments to your image.
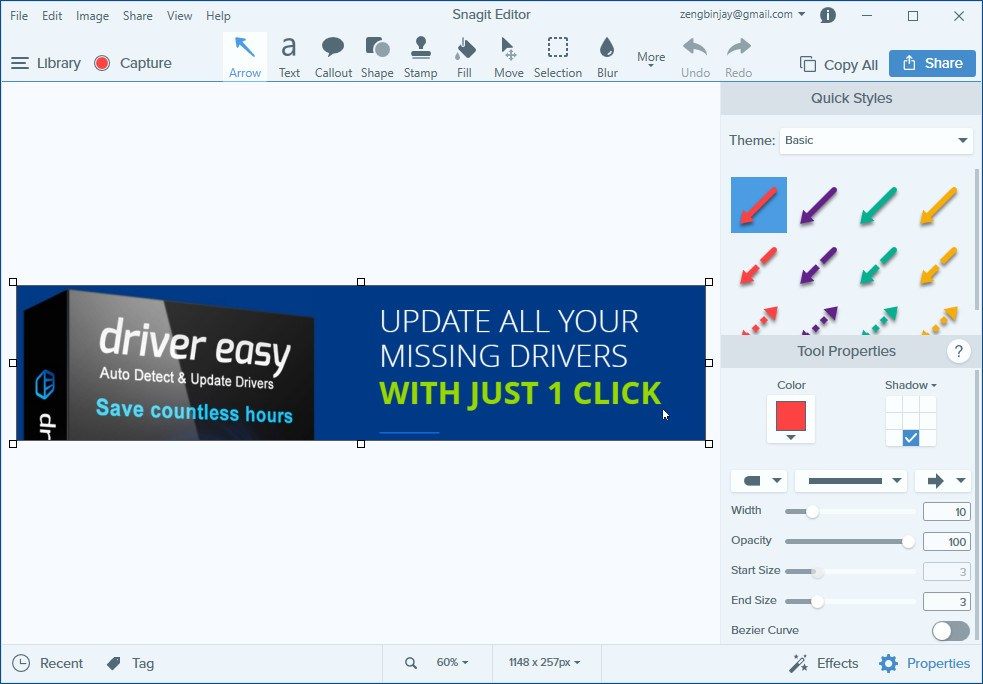
6) Save your image. Or click the Share button in the upper right corner to share it.
Hopefully, this post helped. Please comment below if you have any suggestions you’d like to see added to this article.