


To test if your webcam is working properly on your Windows computer is quick and easy. Here are the steps that help you test the camera:
- Make sure you’ve set up the webcam connection properly
- Install the latest driver for your webcam
- Run the testing software
Step 1: Make sure you’ve set up the proper webcam connection
The first thing you should do is to make sure you’ve properly connected your webcam to your computer:
- If your computer has a built-in camera, you don’t need to do anything.
- If you’re using an independent camera, you should connect it to your computer with a cable or via Bluetooth.
Once you’ve set up the connection, then you should install the latest driver for your webcam.
Step 2: Install the latest driver for your webcam
Outdated or wrong driver can cause issues with your webcam. You should make sure your webcam driver is up to date.
You can update or install your webcam driver manually. But if you don’t have the time, patience or skills, you can do it automatically with Driver Easy.
You don’t need to know exactly what system your computer is running, you don’t need to risk downloading and installing the wrong driver, and you don’t need to worry about making a mistake when installing. Driver Easy handles it all.
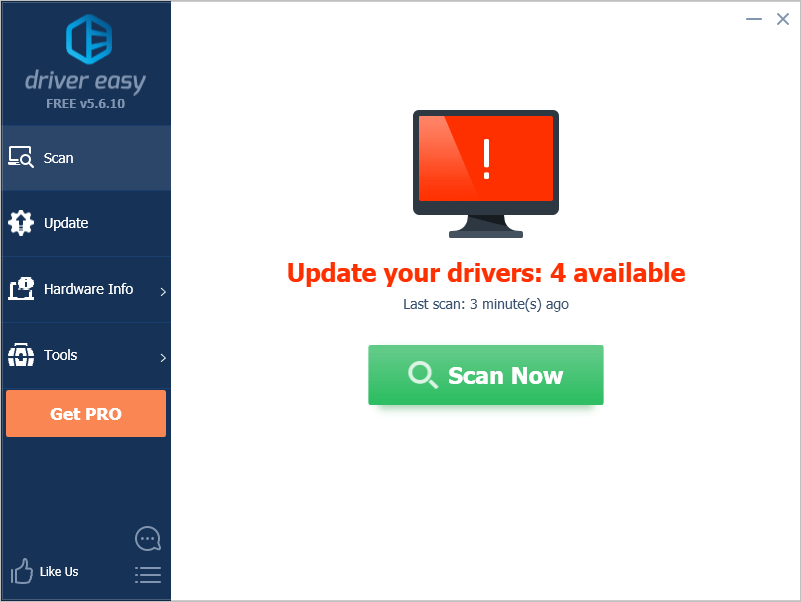
1) Download and install Driver Easy.
2) Run Driver Easy and click the Scan Now button. Driver Easy will then scan your computer and detect any problem drivers.
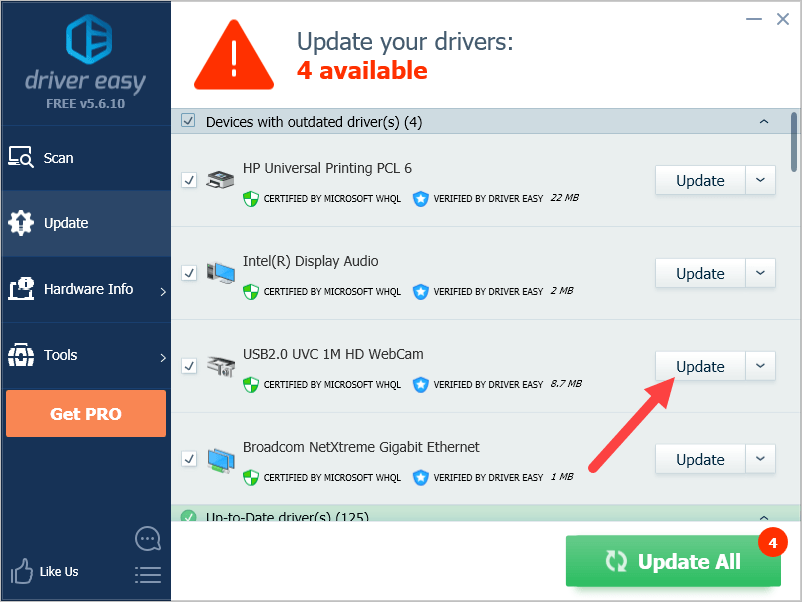
3) Click the Update button next to your devices to download the correct version of its driver, then you can manually install it. Or click the Update All button at the bottom right to automatically update all the drivers. (This requires the Pro version — you will be prompted to upgrade when you click Update All. You get full support and a 30-day money back guarantee.)
Step 3: Run the testing software
Once the camera is ready, you should start testing how it works. There are two ways you can do this:
Method 1: Test your webcam with Skype
You can use Skype to test your webcam. To do so:
1) Run the Skype app on your computer, and sign in your account.
2) Click the menu icon, then click Settings.

3) Click Audio & Video.
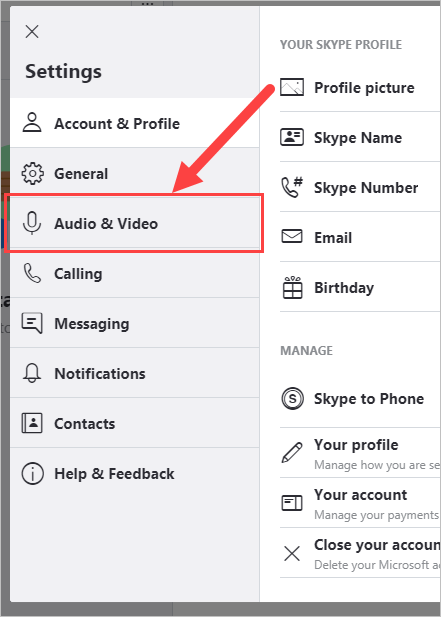
4) Check the camera preview under VIDEO.
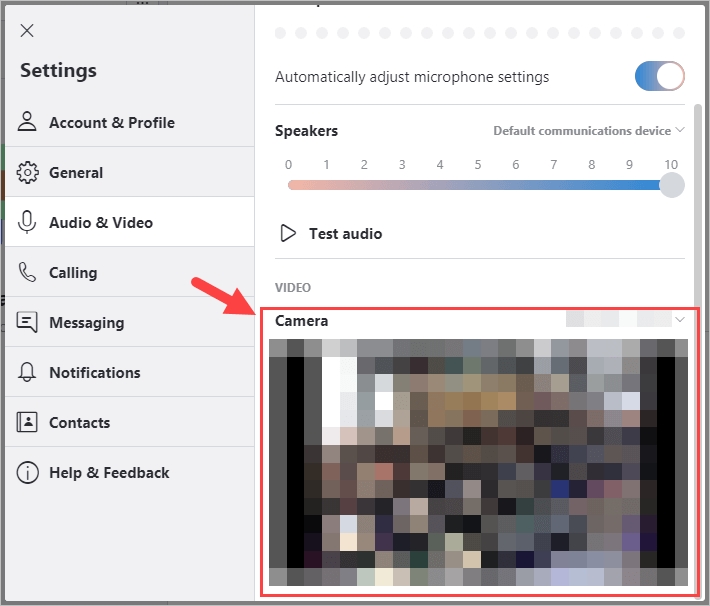
You’ll see images captured by your camera there if it’s working properly.
Method 2: Test your webcam with the Camera app (Windows 10 only)
Windows 10 has a built-in Camera app for you to take pictures. You can use it to test your webcam.
To open Camera:
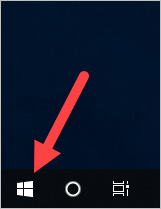
1) Click the Start button in the lower-left corner of your screen.
2) Type “camera” and click Camera.
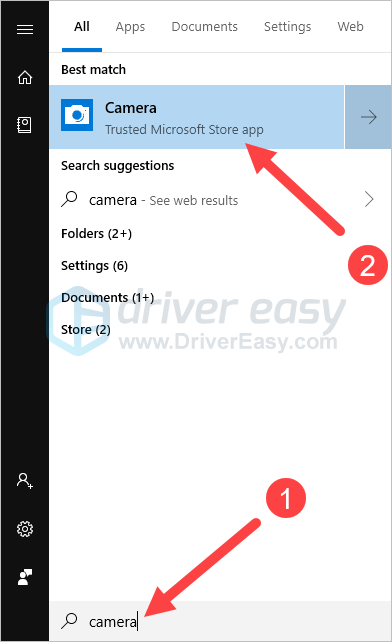
You should see a preview of your camera on the app.
Hopefully the instructions above helped you test your webcam successfully. If you have any questions or suggestions, you’re more than welcome to leave us a comment below.