


Follow these steps:
1. Plug your iPhone 7 to the computer using a USB cable.
2. You might need to unlock your iPhone using your password.
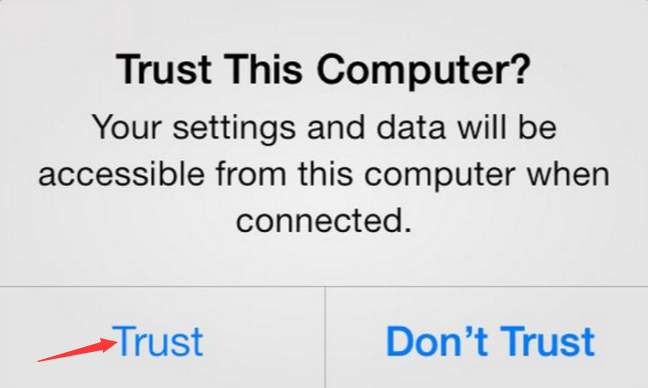
3. A prompt will pop-up on your iPhone asking you to Trust This Computer. Tap Trust.
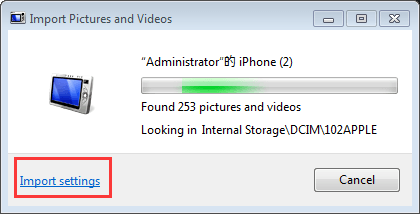
4. When your iPhone is recognized by PC, the AutoPlay window will pop up. Click Import picture and videos. Then the import process will begin.

The photos will be imported to My Pictures by default. If you want to save them to another location, you just need to change the Import settings.
a. Click Import settings in left corner bottom to open the Import settings dialog box.
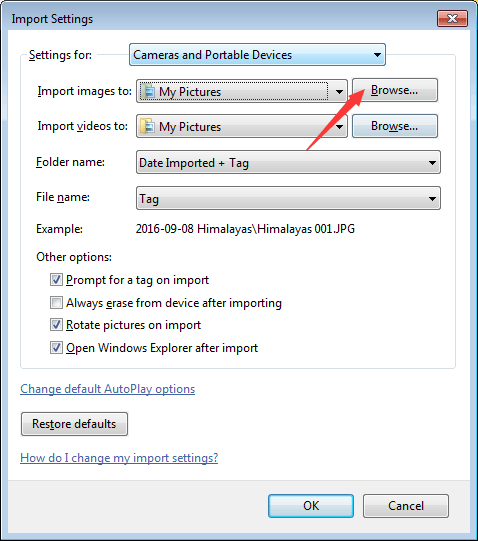
b. Click Browse… button to choose a location where you wish to save the photos. Then click OK button to apply the changes. After that, the import will restart.
Note that the specific steps will vary depending on different systems. Just follow the on-screen instructions.
The AutoPlay method does not allow you to choose the that you wish to import. If you just want to import some specific photos, please follow these steps.
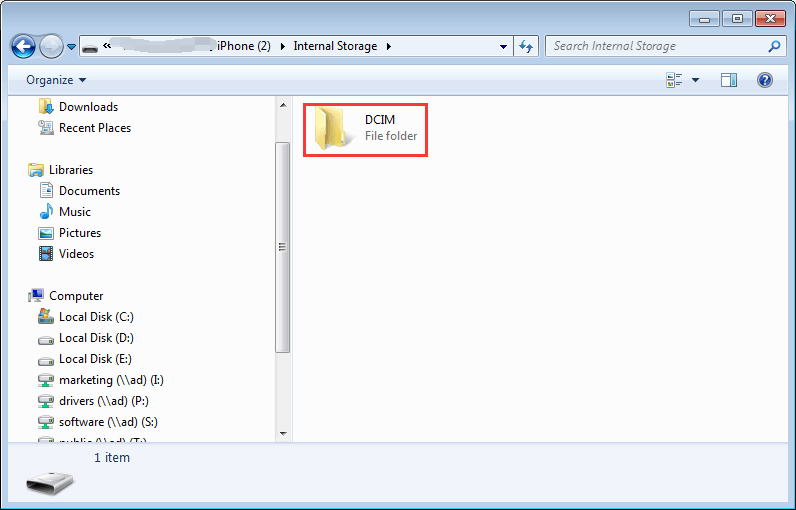
1. Open MyComputer. You will see your iPhone show up under Portable Devices.
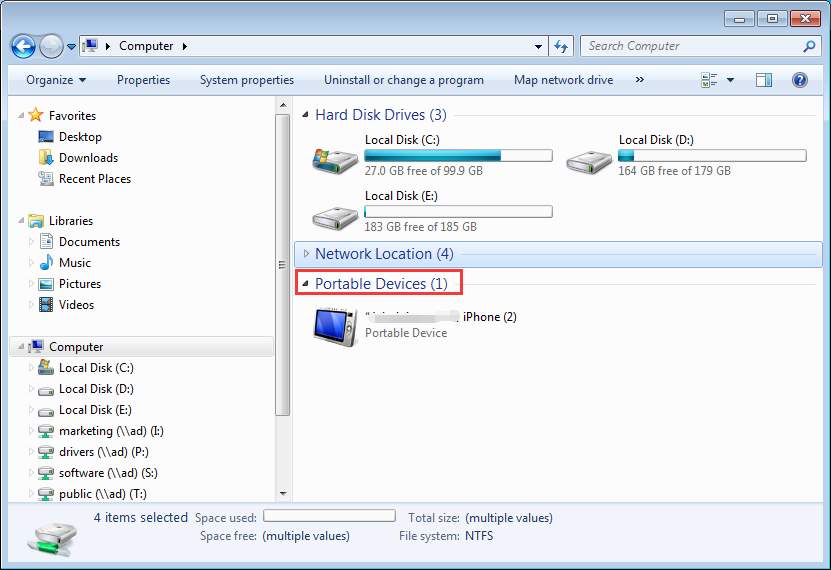
2. Open it and find the folder named DCIM. Find the photos that you would like to transfer to your computer. Then copy or cut them to your PC.
Since some users have reported that Windows computer cannot detect the DCIM file, or the DCIM does not have all photos on iPhone, sometimes, you can refer to this guide for the issues: How to Import Photos from iPhone to PC >