


WD external hard drive not recognized on your computer? Don’t worry, it’s often quite easy to fix…
3 Fixes For WD External Hard Drive Not Recognized In Windows 11, 10, 7 and 8.1
Depending on whether you’re a first-time user of your WD external hard drive:
- If yes, then start from Fix 1 and work your way down the list until the problem goes away.
- If not, then start from Fix 2.
- Partition your WD external hard drive
- Change your WD external hard drive letter and path
- Update your USB controller driver
- Update Windows
Fix 1: Partition your WD external hard drive
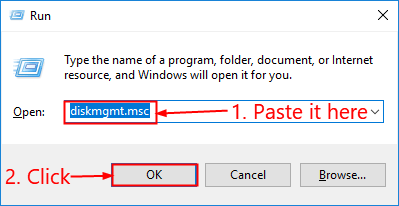
- On your keyboard, press the Windows logo key and R at the same time, copy & paste diskmgmt.msc into the box and click OK.
- Right-click on the Unallocated area and click New Simple Volume…
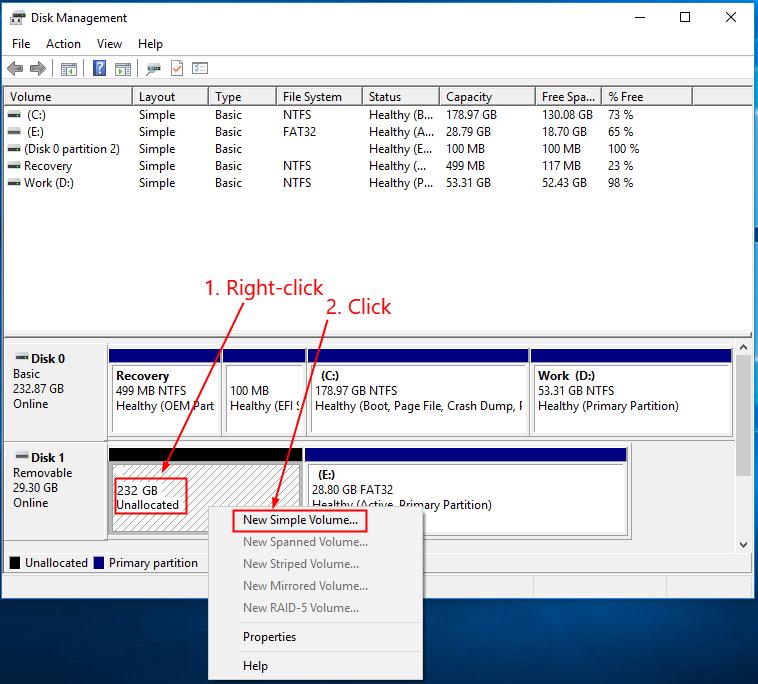
- Follow the wizard to create a partition.
- Restart your computer and see if your WD external hard drive not recognized problem has been solved. If yes, then congrats! If the problem persists, please move on to Fix 2, below.
Fix 2: Change your WD external hard drive letter and path
- On your keyboard, press the Windows logo key and R at the same time, copy & paste diskmgmt.msc into the box and click OK.
- Locate and right-click on your WD drive and click Change Drive Letter and Paths….
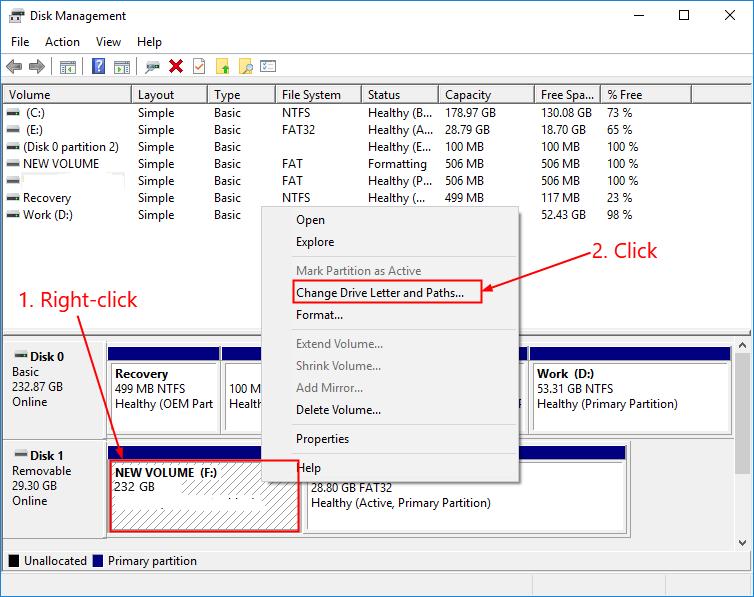
- Click Change. Then select from the drop-down menu to assign a letter and click OK.
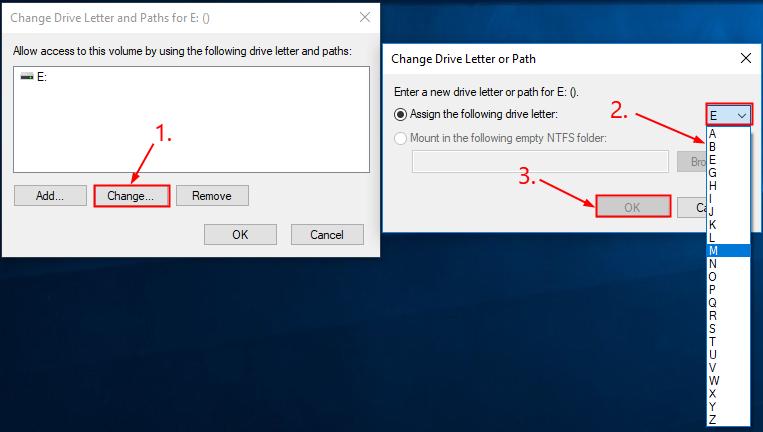
- Restart your computer and check if your WD external hard drive not recognized problem has been solved. If yes, then great! If the issue remains, you should try Fix 3, below.
Fix 3: Update your USB controller driver
This problem may occur if you are using the wrong USB controller driver or it’s out of date. So you should update your USB controller driver to see if it fixes your problem. If you don’t have the time, patience or skills to update the driver manually, you can do it automatically with Driver Easy.
Driver Easy will automatically recognize your system and find the correct drivers for it. You don’t need to know exactly what system your computer is running, you don’t need to be troubled by the wrong driver you would be downloading, and you don’t need to worry about making a mistake when installing. Driver Easy handles it all.
You can update your drivers automatically with either the 7 days free trial or the Pro version of Driver Easy. It takes just 2 clicks, and you get full support and a 30-day money-back guarantee with the Pro version:
- Download and install Driver Easy.
- Run Driver Easy and click the Scan Now button. Driver Easy will then scan your computer and detect any problem drivers.

- Click the Activate & Update button next to the flagged device to automatically download and install the correct version of this driver.
Or click Update All to automatically download and install the correct version of all the drivers that are missing or out of date on your system (You’ll need the Pro version for this – when you select Update All, you’ll get a prompt to upgrade. If you’re not prepared to purchase the Pro version yet, Driver Easy provides a 7-day trial at no cost, granting access to all Pro features like fast downloads and easy installation. No charges will occur until after your 7-day trial period ends.)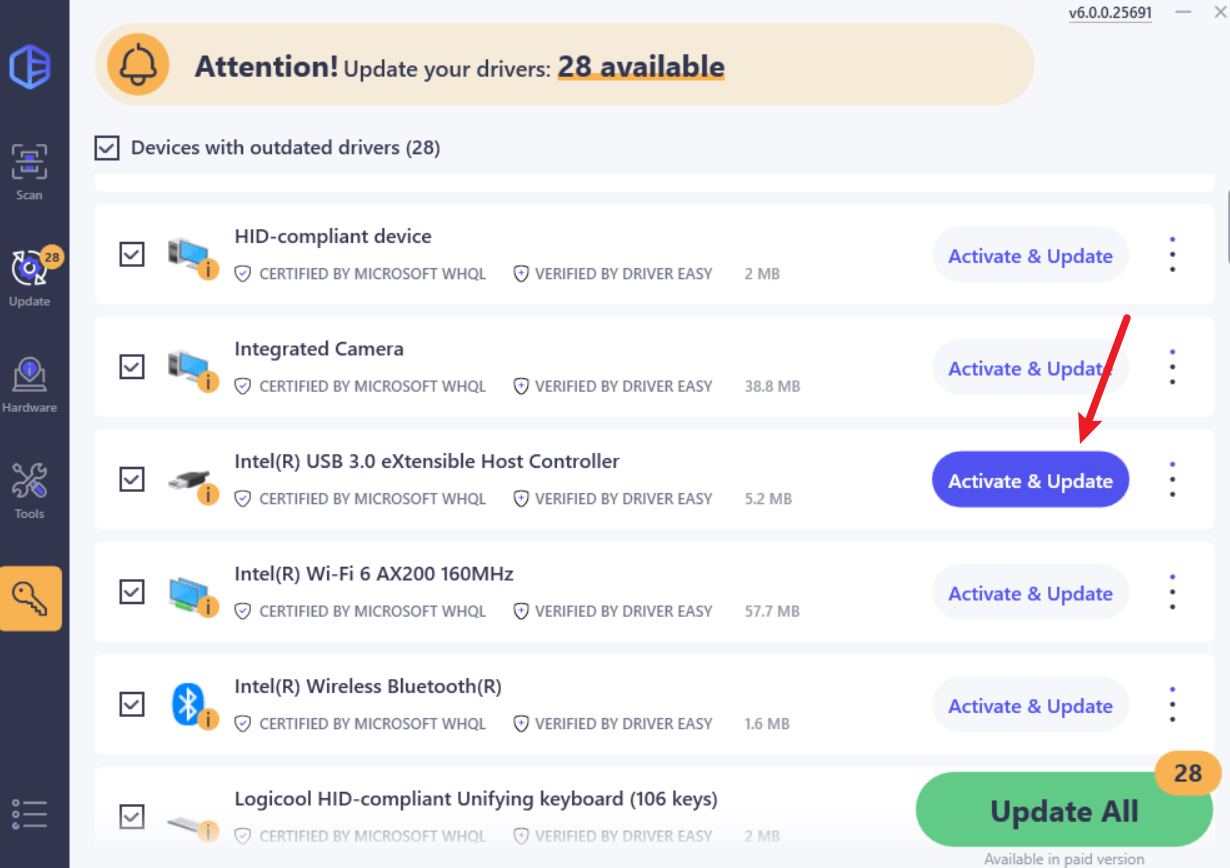
- After updating, restart your computer to take effect.
Test to see if your WD external hard drive not recognized problem has been resolved.
Fix 4: Update Windows
As new WD SES drivers are no longer available for download, the only way to get them is via Windows updates. So to make sure that all necessary WD drivers are updated, please keep your Windows updated:
On Windows 10
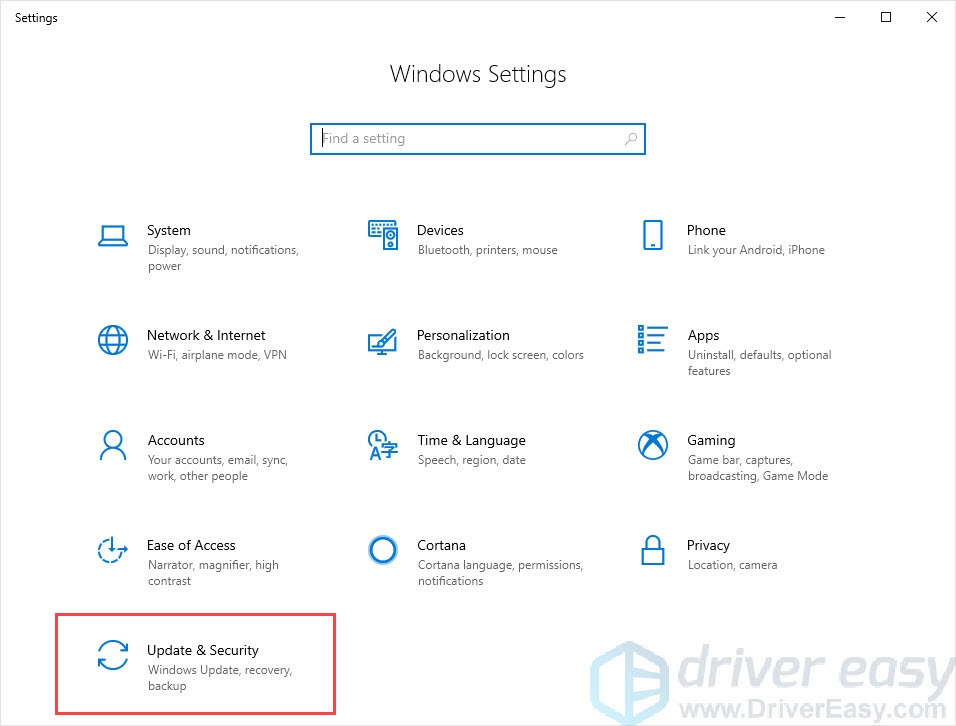
- On your keyboard, press the Windows logo key and I at the same time to open Windows Settings. Then click Update & Security.
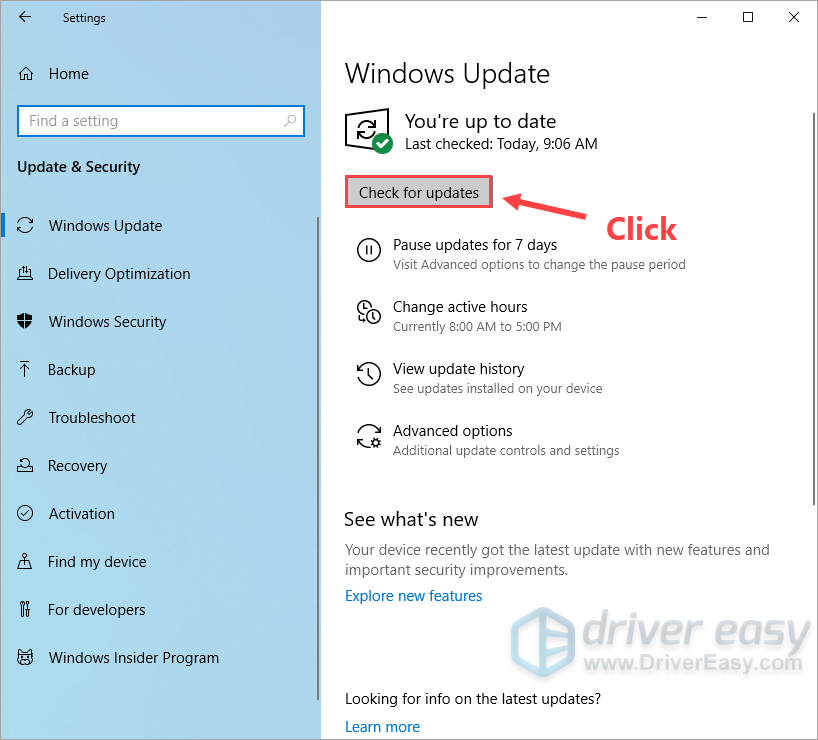
- Click Check for updates. Windows will start searching for available updates. If there are any, Windows will automatically download and install the updates.
On Windows 11
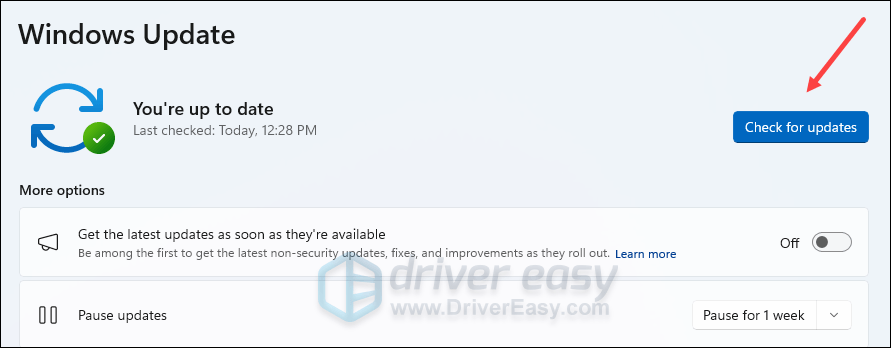
- On your keyboard, hit the Windows key, then type check for updates, then click Check for updates.

- Click Check for updates, and Windows will scan for any available updates.
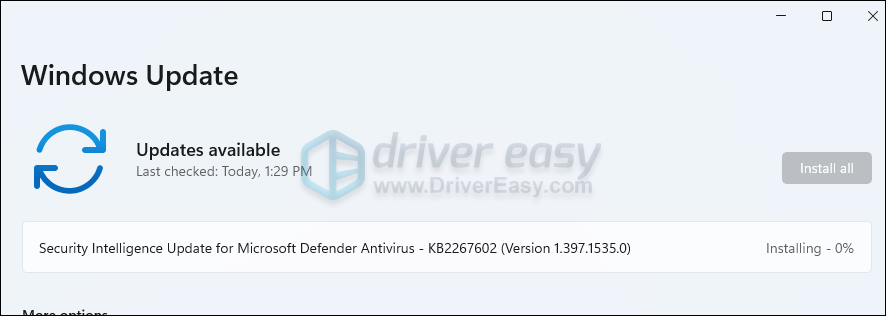
- If there are available updates, Windows will automatically download them for you. Restart your computer for the update to take effect if needed.
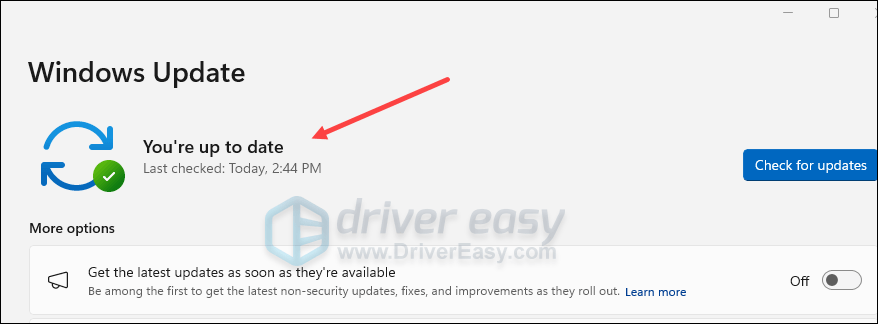
- If there are no available updates, you’ll see You’re up to date like this.
Hopefully you have successfully resolved the WD external hard drive not recognized by now. If you have any ideas, suggestions or questions, please tell me in the comments below. Thanks for reading!