


Kodi, previously called XBMC, is a famous media player that streams videos and brings you a fantastic watching experience. In this guideline, we’ll show you how to update Kodi on different platforms, such as Windows, Mac OS, FireStick, Android and iOS.
How Do I Update Kodi?
Below is the list to the instructions on how to update Kodi to the latest Kodi 17.6 (Kodi Krypton). Click the instructions that you want to update on your device and try it out!
- How to update Kodi on Windows
- How to update Kodi on MacOS
- How to update Kodi on FireStick
- How to update Kodi on Android
- How to update Kodi on iOS devices
- Bonus Tip: Use a VPN
How to update Kodi on Windows
If you are using a Windows PC or laptop, you have 3 ways to update and install the latest version of Kodi in your Windows. You don’t need to try them all; just work your way down until you have installed the latest Kodi on your computer.
Way 1: Update the latest Kodi from the official website
Way 2: Update the latest Kodi from the Microsoft Store
Way 3: Update the latest Kodi from the Kodi repository
Way 1: Update the latest Kodi from the official website
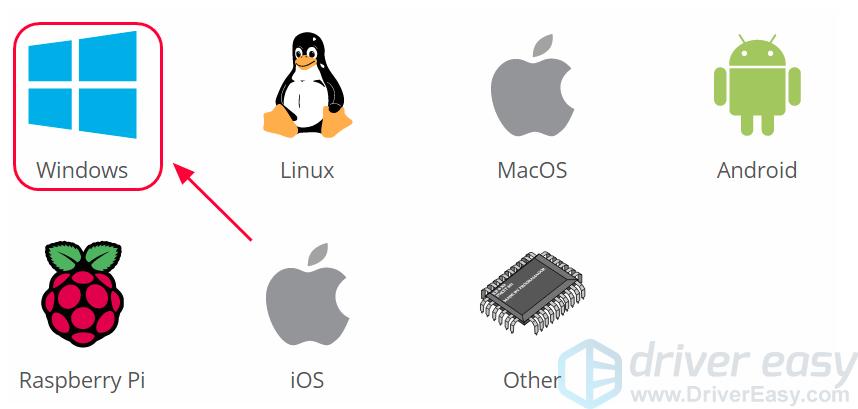
1) Go to Kodi downloading website, then select Windows.
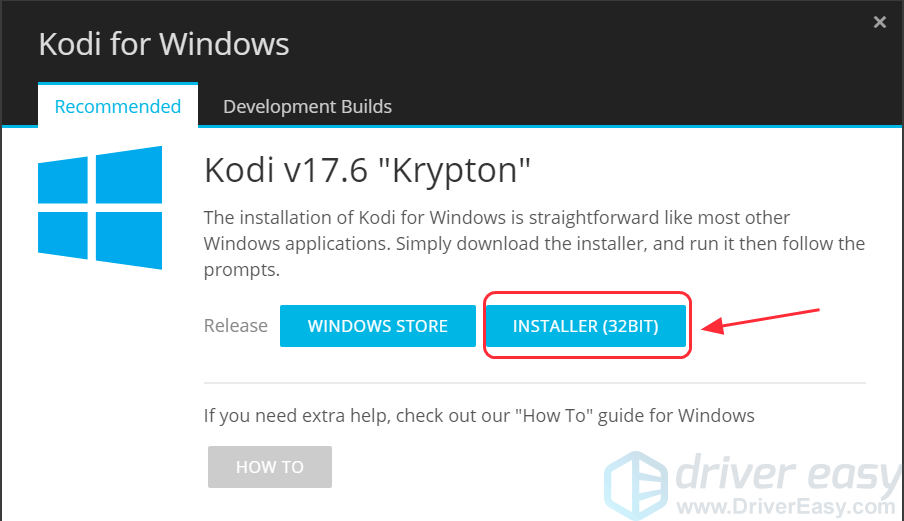
2) Click INSTALLER to download the file. Then it will automatically download the installation package matched with your Windows OS.
3) Click the downloaded file, and click Yes to continue.
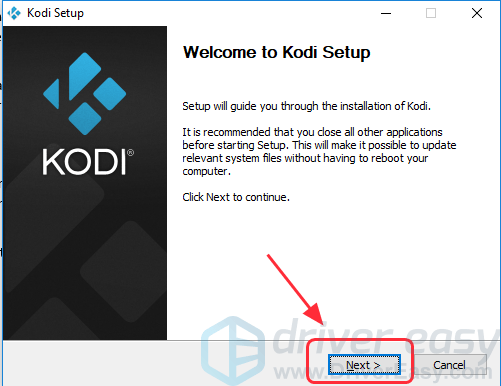
4) The Kodi setup wizard pops up. Click Next to continue.
5) Click I Agree to agree the license agreement.

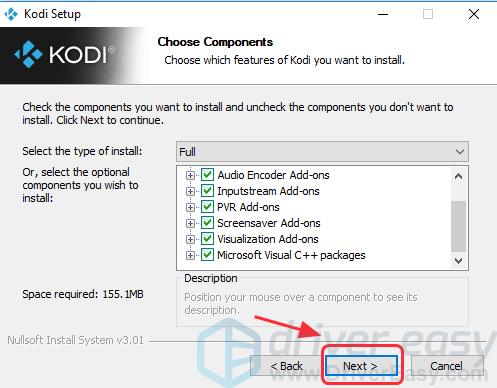
6) Select the components to install, then click Next. It selects all the components by default, and it’s recommended to select all to install.
7) Click Browse to customize the location you want to save the files to, then click Next. If you want to save it in the default path, just click Next.
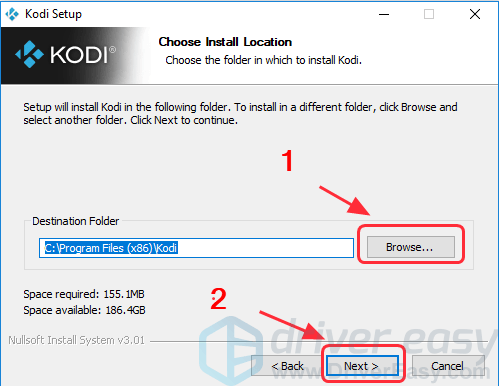
8) Click Install.
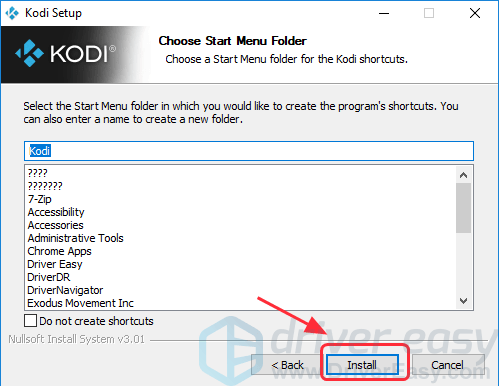
If you don’t want to create shortcuts for Kodi, check the box next to Do not create shortcuts. Then click Install. But it’s recommended to create shortcuts so that you can find Kodi very easily in your Windows.

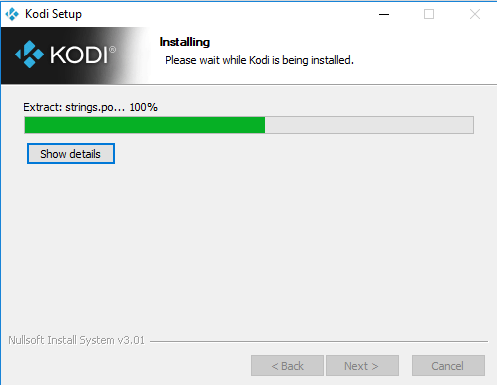
9) Wait for the installation processing.
10) Click Finish. If you want to run Kodi now, check the box next to Run Kodi, then click Finish so that you can launch Kodi after finishing installation.
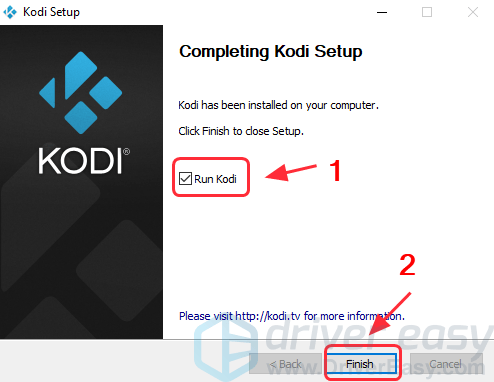
Now you can enjoy using Kodi.
Way 2: Update the latest Kodi from the Microsoft Store
Kodi has been available in Microsoft Store application now, so you can directly install it from the store.
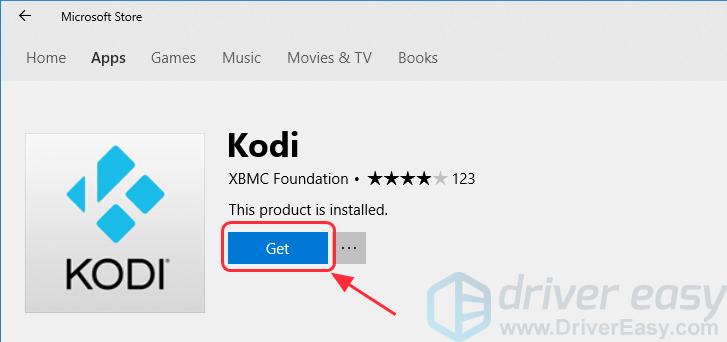
1) Open Microsoft Store app in your computer, type Kodi in the search box, then press Enter.
2) Select Kodi, then click Get to install.
3) Wait a few seconds for downloading.
4) After downloading, click Launch to run and open Kodi in your Windows.
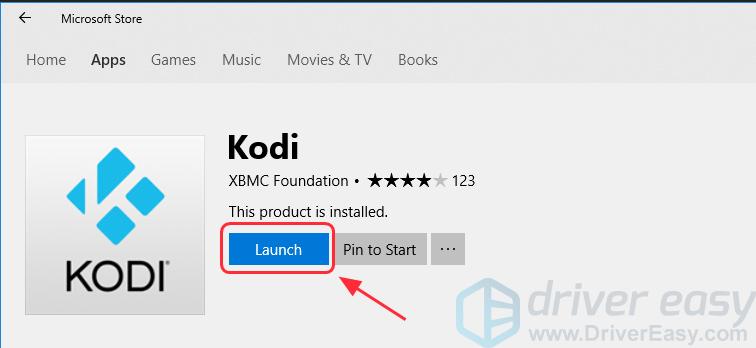
Now you can enjoy using Kodi in your computer.
Way 3: Install the latest Kodi from the Kodi repository
You can also try to update your Kodi to the latest version with the Kodi repository within the application. Follow these steps:
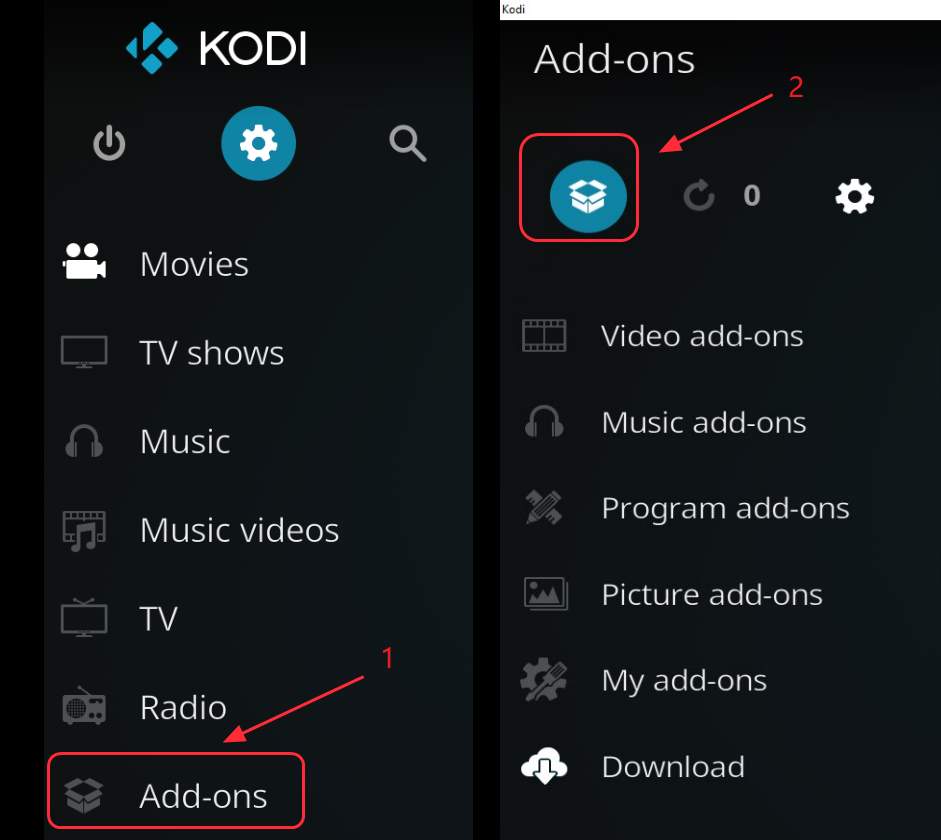
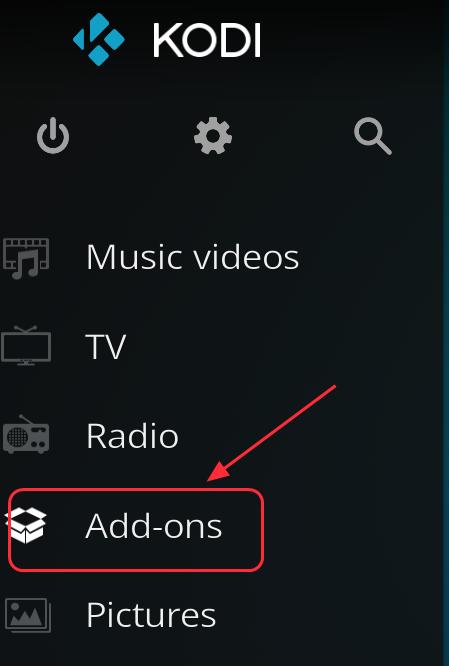
1) Open Kodi on your computer, and click Add-ons, then click the Package icon on the upper peft.
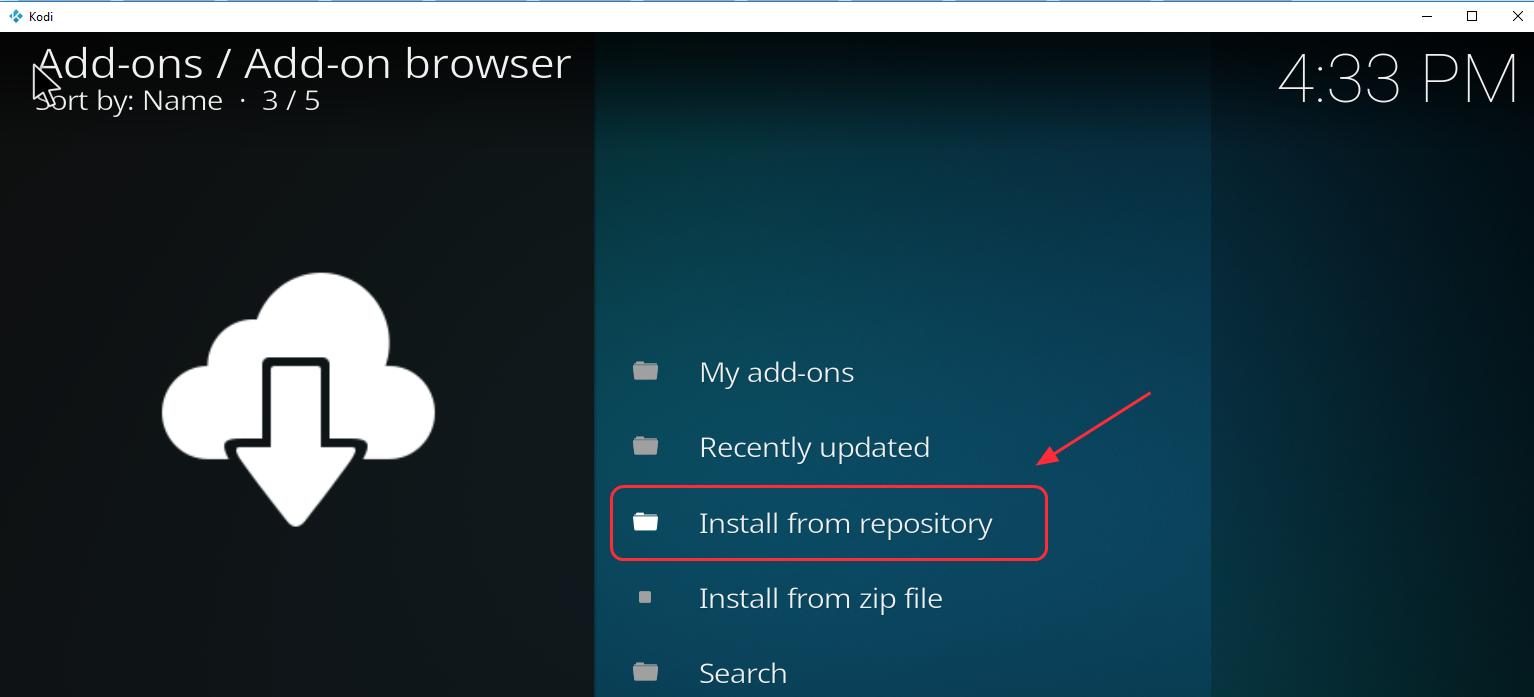
2) Select Install from repository.
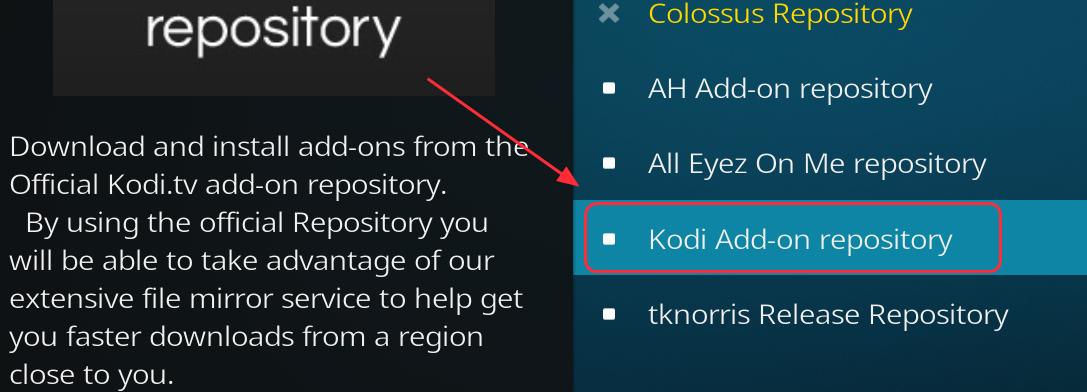
3) You’ll see a list of all the repositories installed in your Kodi. Click Kodi Add-on repository.
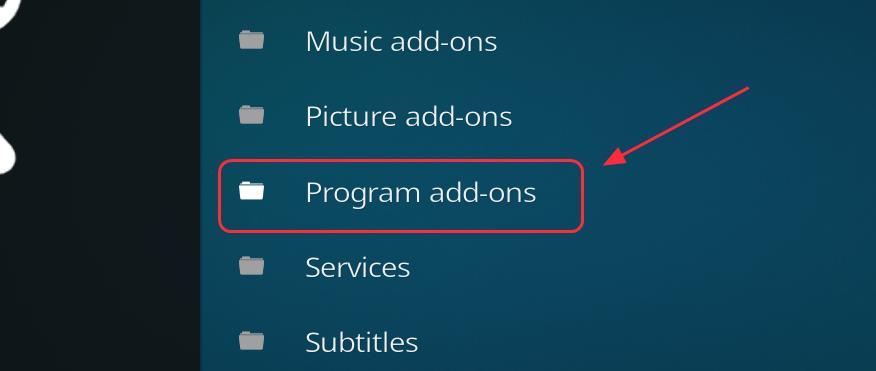
4) Click Program add-ons.
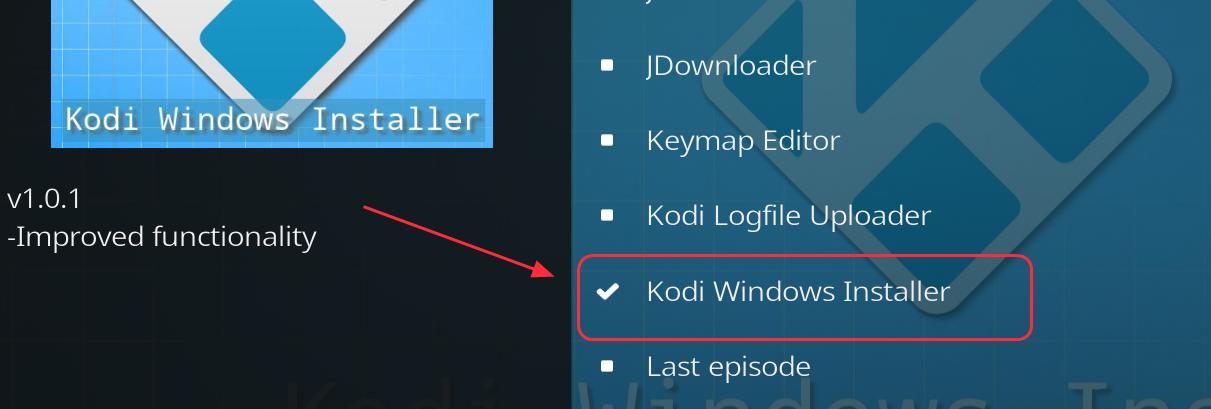
5) Select Kodi Windows Installer in the list.
6) There is a list of menu at the bottom, then click Install.
7) After downloading, click Backspace or Esc to go back to the Kodi homepage. Select Add-ons.
8) Click Program add-ons.

9) Click Kodi Windows Installer.

10) Select Kodi 17.6 of the latest version in the popup list. Then it’ll start downloading the latest Kodi in your Windows.
How to update Kodi on MacOS
To update Kodi for Mac simply follow the normal install steps with the newer version. All your settings and files will be preserved as they are located in a different place in the userdata folder.
1) Go to the official downloading website to on Kodi.
2) Select MacOS.

3) Click INSTALLER (64BIT).
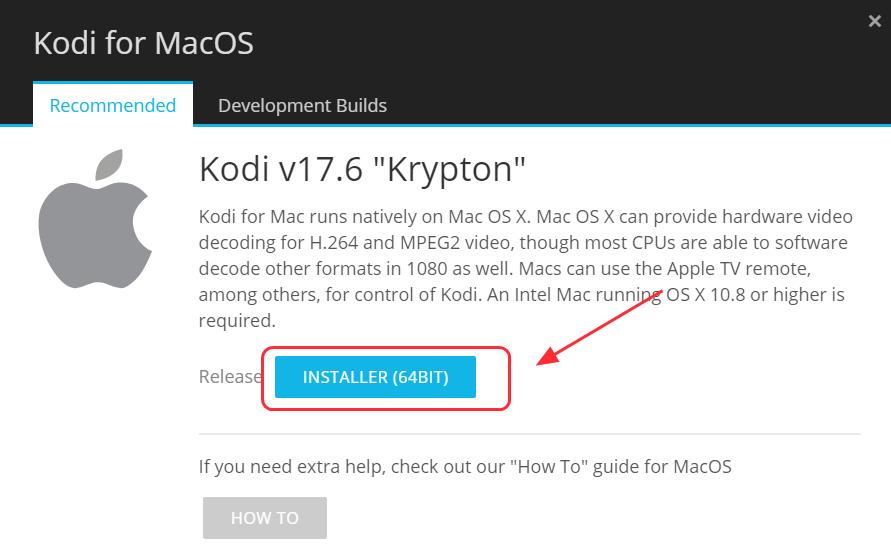
4) Then it’ll download the package. After downloading, open the package file.
5) Follow the on screen wizard to process the installation.
6) After installing, launch Kodi on your Mac to enjoy the latest version.
How to update Kodi on FireStick
If you have a FireStick and want to install and update Kodi on your FireStick, try one of the two ways below to do that.
Way 1: Update Kodi from the Downloader on your FireStick
Way 2: Update Kodi from the ES File Explorer on your FireStick
Way 1: Update Kodi from the Downloader on your FireStick
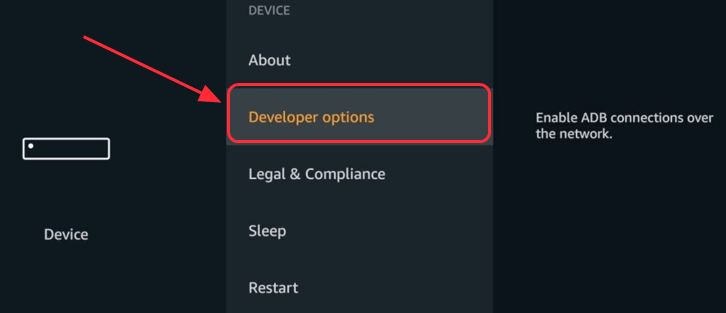
1) On your FireStick, go to Main Menu > Settings > Device> Developer options.
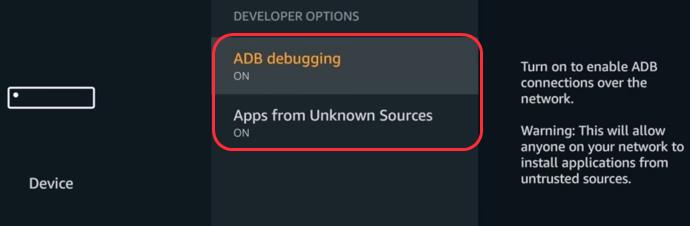
2) Turn on ADB debugging and Apps from Unknown Sources.
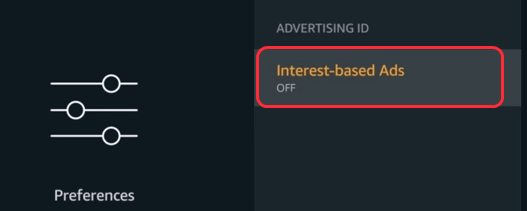
3) Back to Preference, click Advertising ID, and turn off Interest-based Ads.
4) Go back to the home page, and click the Search button. Then type Downloader.
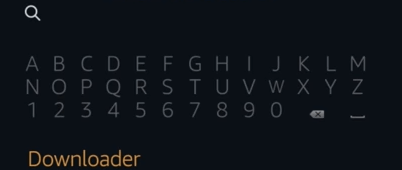
5) In the search result list, select Downloader. Then click Download to install it in your FireStick.
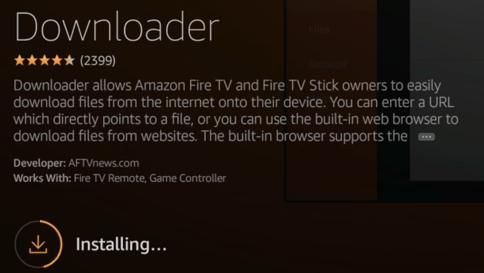
6) After downloading, click Open to launch Downloader. Then click OK.
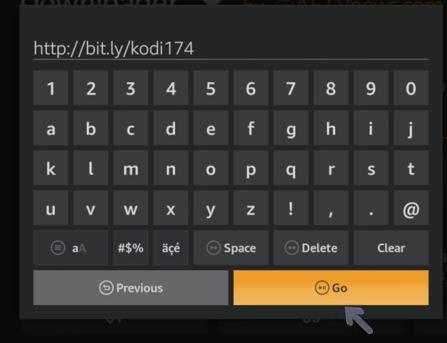
7) Type the follow URL source to download Kodi. Then click Go. The Downloader starts downloading Kodi.
http://bit.ly/kodi174
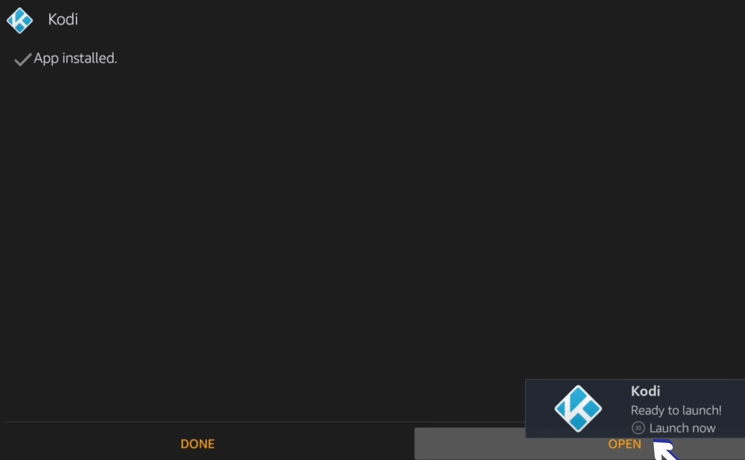
8) After downloading, you’ll be asked to install Kodi in your device. Click Install at the bottom right corner.
9) Wait for a few seconds, and you’ll see App installed on the screen. Click OPEN to open Kodi.
Way 2: Update Kodi from the ES File Explorer on your FireStick
You can also try to update your Kodi from the ES File Explorer:
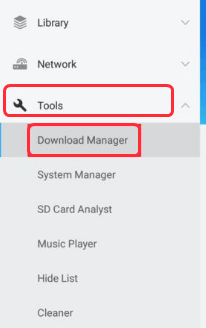
1) On your FireStick, go to Main Menu > Search, then type ES File Explorer. And open ES File Explorer.
2) Click Tools > Download Manager.
3) Select +New at the bottom.
4) Enter the following Path and click OK.
http://bit.ly/Kodi-17_6-Krypton-APK
5) Enter a name for the path, so you can type Kodi 17.6.
6) Click Download Now, and it starts to download the latest version of Kodi.
7) After downloading, Select Open File, then it will install the Kodi 17.6 in your FireStick.
8) Launch Kodi after installation.
How to update Kodi on Android
If you are using an Android device, including Android mobile phones or Android TV box, you can either update Kodi from the Google Play Store or from the Kodi download website.
Way 1: Update Kofi from the Google Play Store
Way 2: Update Kodi from the Kodi download website
Way 1: Update Kofi from the Google Play Store
1) You can launch the Google Play Store on your Android device, then log in your Google Play account.
2) Search Kodi in the Play Store, and you’ll see the Kodi listed in the search result.
3) If you have already have Kodi installed in your Android device, you should be able to see the available updates, and click to update Kodi.
4) Follow the instructions on screen to install the latest version.
Way 2: Update Kodi from the Kodi download website
If you don’t have the Google Play Store, you can also update Kodi from the website.
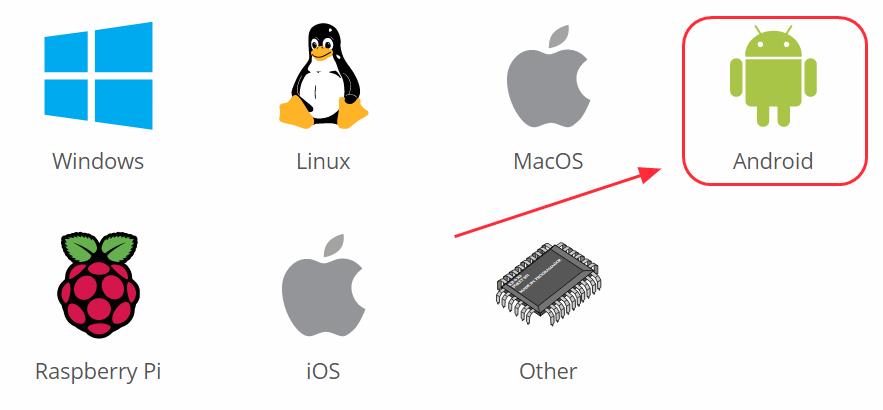
1) Go to Kodi download website, and click Android since we are updating Kodi on Android device. (It’s recommended to open the website directly on your device, so you can download the .apk file on your device.)
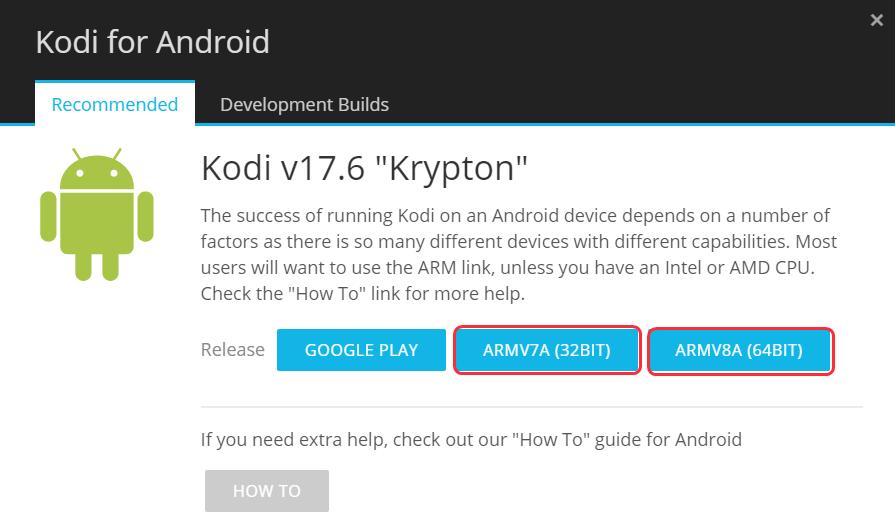
2) Select the ARM version. If your device is 32 bit like most Android TV box, you can select ARMV7A (32BIT); If your device is 64 bit, you can select ARMV8A (64BIT).
3) Then it starts download the .apk file. After downloading, click the .apk file and follow the wizard to install it in your device.
Now you have the latest Kodi installed in your Android device.
How to update Kodi on iOS devices
It used to be a tedious process to install Kodi on your iPhone or iPad. Now it becomes easier. Just follow this method:
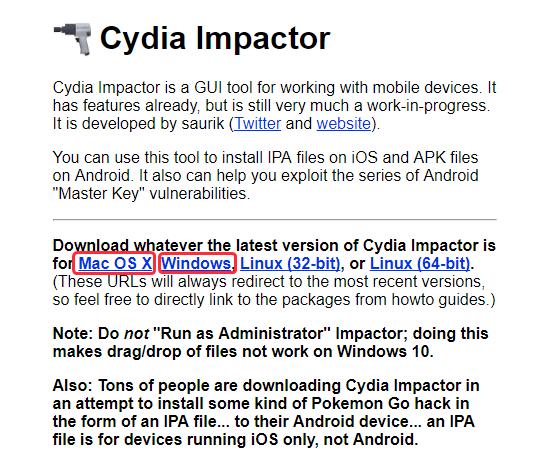
1) First, you’ll need to download the Cydia Impactor on your PC/Mac. If you are using Windows, click Windows to download; If you are using Mac, click Mac OS X to download.
2) Download Kodi 17.6 ipa on your computer or Mac.

3) Connect your iPhone/iPad to your PC/Mac with the USB cable.
4) Create a new folder on your PC/Mac, then copy and paste the downloaded Cydia Impactor to the new folder.
5) Click Impactor.exe in the file to run the program.
6) Drag and drop the downloaded Kodi 17.6 ipa file into the Cydia Impactor.
7) You’ll be asked to enter your Apple ID, enter your Apple ID.
8) Then it will start installing the latest Kodi in your iPhone/iPad.
Bonus Tip: Use a VPN
Using add-ons on your Kodi can be geo-restricted if you’re using Internet from your ISP. That is to say, you may not be able to watch videos or TV shows because of your network location. That’s why you need to use a VPN in order to use Kodi and stream videos without geo-restrictions.
To prevent any possible problems like Exodus not working, video not streaming, you should install a Virtual Private Network (VPN). A VPN will mask the video, so your ISP won’t recognize it as a Kodi video and, as a result, won’t block it.
To find a VPN, just search VPN in your browser, then pick the one with the best reputation. If you don’t have time or patience, you can try NordVPN.
NordVPN helps you bypass geo-restrictions to get all add-ons desired, keeps you protected from snooping eyes, and secures your data to keep your online activity private. It’s safe and easy to use!
Click NordVPN coupon to get NordVPN coupon code first, then you’ll be redirected to NordVPN homepage.
- Download NordVPN in your device.
- Run NordVPN and open it.
- Connect to a server in a chosen location.
All Set! Now you can use Kodi without being restricted by your network. Enjoy it!
These are the easy tutorials on how to udpate Kodi on Windows, MacOS, FireStick, Android and iOS platforms. Feel free to comment below if you have any question, and we will see what more we can do to help.