


If your HP LaserJet 1020 printer series are not working properly, for instance, you see certain error when trying to print, or your printer’s status is off, don’t panic. You can update your HP LaserJet 1020 printer driver to the latest version to fix the issues.
How to Update HP LaserJet 1020 Driver
- Update the printer driver manually
- Update the printer driver in Device Manager
- Update the printer driver automatically
Method 1: Update the printer driver manually
Time needed: 3 minutes
This method shows you how to download and install HP LaserJet 1020 printer driver from HP support.
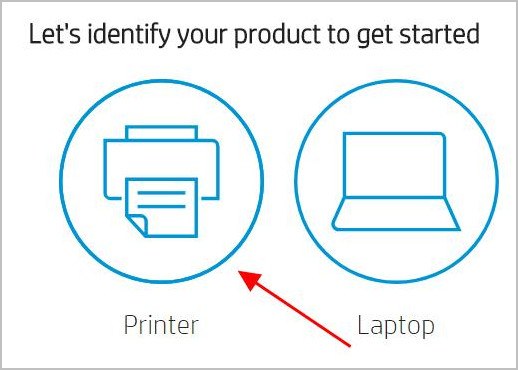
- Go to the HP support website.
Open HP support website, and select Printer to continue.
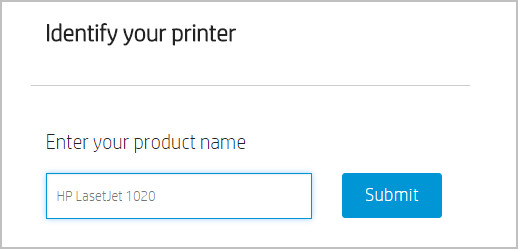
- Find your printer device.
Type the HP printer model (HP LaserJet 1020) in the Search box, and press Enter.
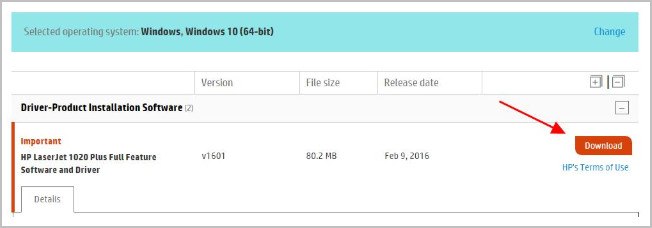
- Download the correct driver.
Make sure to select the correct operating system, and click Download.
- Install the driver for your printer.
Run the downloaded file, and follow the wizard to finish.
Method 2: Update the printer driver in Device Manager
You can also update your printer driver using the Windows built-in solution – Device Manager.
So in this method, you’ll learn how to update your HP LaserJet 1020 driver from Device Manager.
- Make sure you’ve connected your HP printer to your Windows computer.
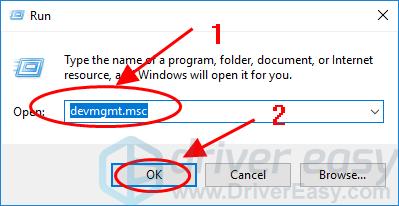
- On your keyboard, press the Windows logo key and R at the same time to invoke the Run box.
- Type devmgmt.msc and click OK.
- In Device Manager, double click Printers or Print queues to expand it.
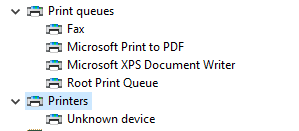
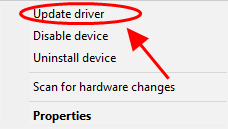
- Right click on your printer (it may display as Unknown device), and select Update driver.
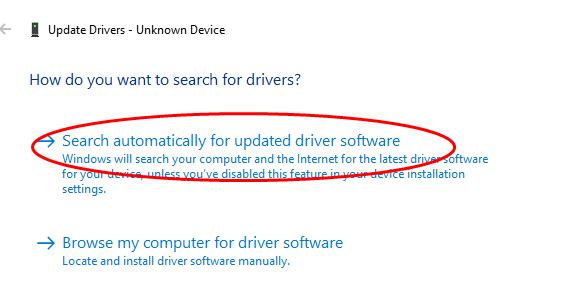
- Choose Search automatically for updated driver software.
- Follow the on-screen instructions to finish updating the driver.
After updating, restart your computer.
If this fix doesn’t work for you, don’t worry. There’s another method to try.
Method 3: Update the printer driver automatically (Recommended)
Manually installing the HP Laserjet 1020 printer driver requires time and computer skills. If you don’t have time or patience, you can do it automatically with Driver Easy.
Driver Easy will automatically recognize your system and find the correct drivers for it.You don’t need to know exactly what system your computer is running, you don’t need to risk downloading and installing the wrong driver, and you don’t need to worry about making mistake when installing.
You can update your drivers automatically with either the FREE or the Pro version of Driver Easy. But with the Pro version, it takes just 2 clicks (and you will get full support and a 30-day money back guarantee).
- Download and install Driver Easy.
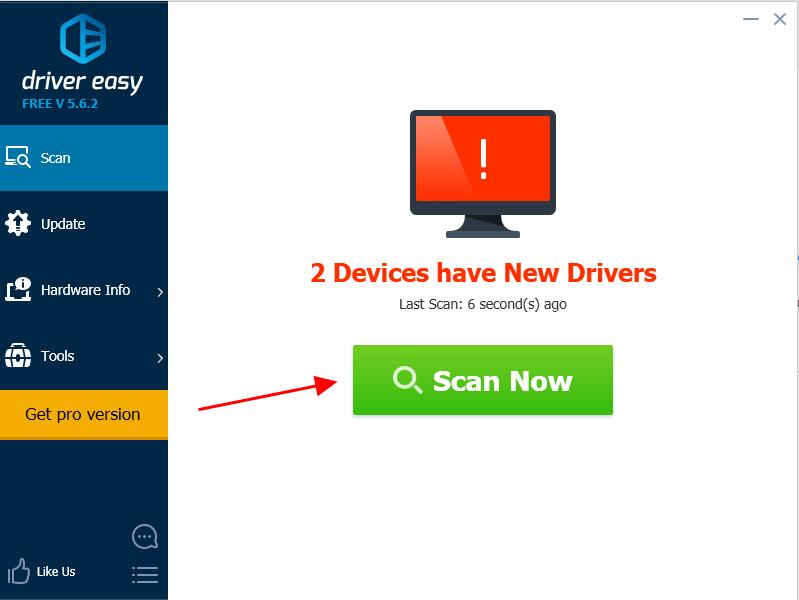
- Run Driver Easy and click the Scan Now button. Driver Easy will then scan your computer and detect any problem drivers.
- Click the Update button next to the flagged printer driver to automatically download the correct version of the driver (you can do this with the FREE version), and install the driver in your computer.
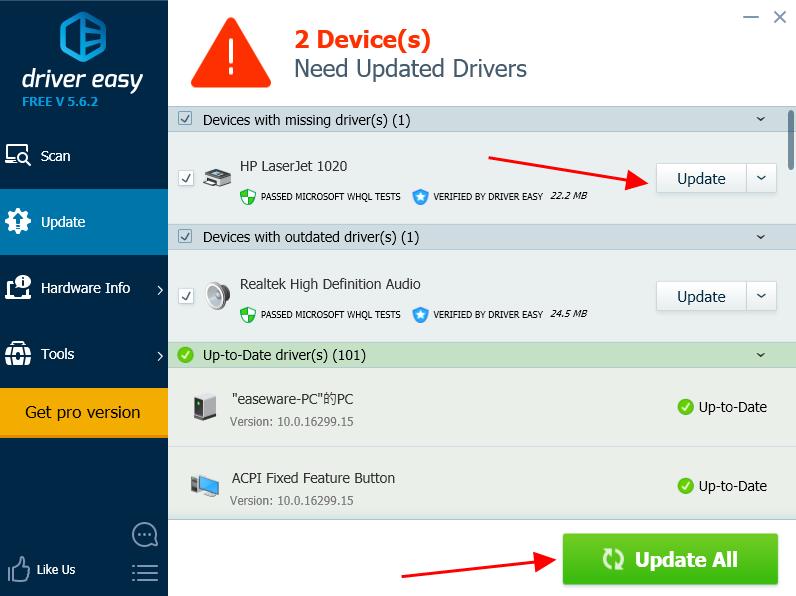
Or click Update All to automatically download and install the correct version of all the drivers that are missing or out of date on your system (this requires the Pro version – you’ll be prompted to upgrade when you click Update All).
- After updating, restart your computer to take effect.
This is a rather easy method, isn’t it?!
There you have it – three easy methods to update your HP LaserJet 1020 driver for your printer.
If you have any questions, feel free to add a comment below and we’ll see what more we can do to help.