


Cloud Alpha S is still one of the most popular products of HyperX. But some users have reported their headset mic is not working. If you’re on the same boat, don’t worry. It’s rather easy to fix, and we’ve put together some working fixes for you. Read on and find out what they are…
Try these fixes…
You don’t have to try them all; just work your way down the list until you find the one that does the trick!
1: Make sure your microphone connection is solid
2: Enable your headset mic for recording
3: Set your headset as the audio input device
4: Turn on the mic access on your PC
Fix 1: Make sure your microphone connection is solid
HyperX Cloud Alpha S continues the design of the detachable microphone from the regular Cloud Alpha. If your microphone is not connected firmly, you may still hear sounds from your headset but can’t use the microphone.
If you’ve attached the microphone to your headset correctly but your mic still won’t catch your voice, try the next fix.
Fix 2: Enable your headset mic for recording
When your microphone doesn’t have access to your PC to record your audio, it won’t work. Here’s how to enable your headset mic:
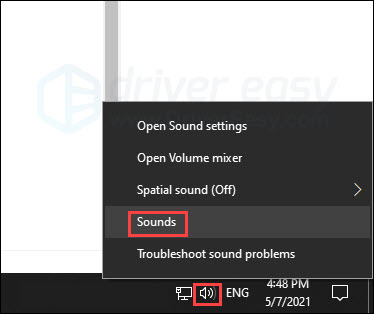
- Right-click the speaker icon on your taskbar, and click Sounds.
- Go to the Recording tab and you should see your headset. If you can’t find it, it could be hidden or disabled. You can right-click an empty area then select Show Disabled Devices.
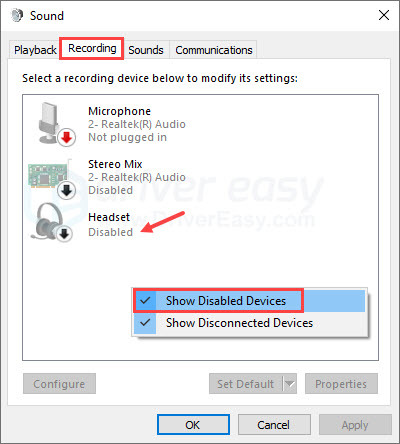
- Right-click your headset, then click Enable.
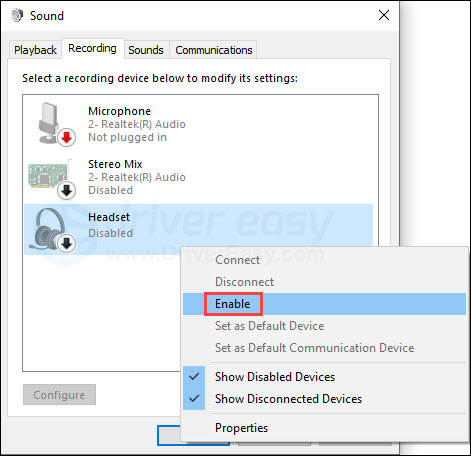
- Click Apply then OK.

If your headset is enabled for recording but the microphone is still not working, move on to the next fix.
Fix 3: Set your headset as the audio input device
Using Cloud Alpha S is quite straightforward – you just need to plug it into your PC and it’s set as the audio output device of your PC automatically. But you may need to manually set it as the audio input device as well for the mic to work. Here’s how:
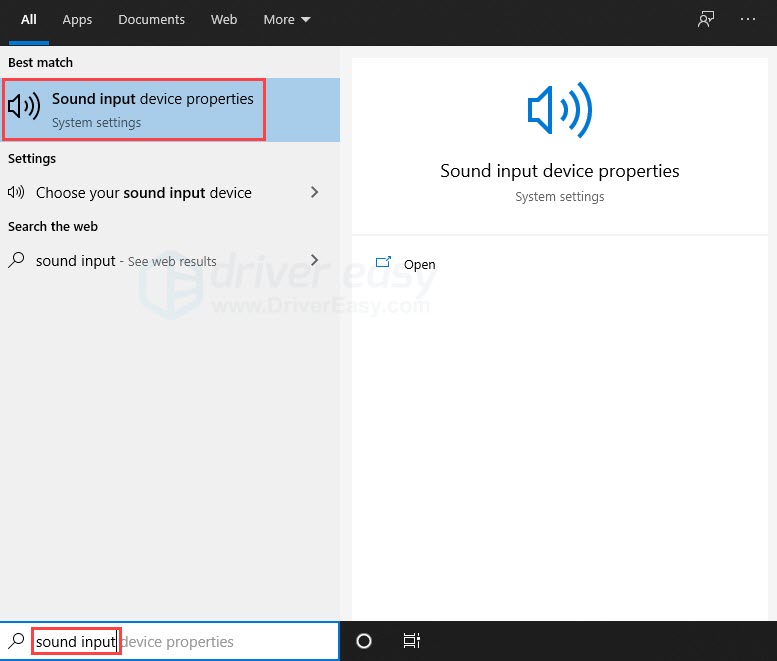
- Type sound input in the search bar on your taskbar, then click Sound input device properties.
- Select your headset as the input device. It could be shown as HyperX Cloud Alpha S or Headset.
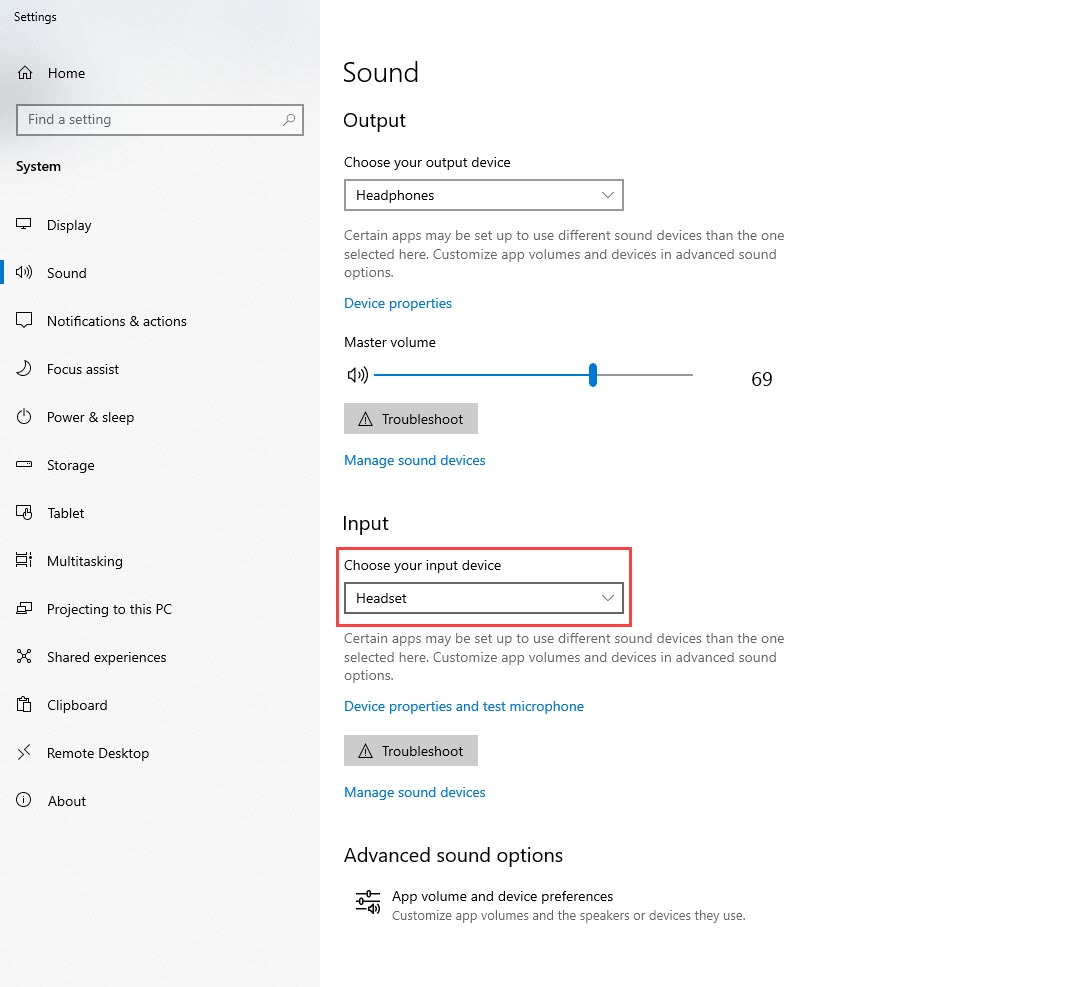
- Test your microphone.
If your headset is set as the input device but the mic still won’t work, try the next fix.
Fix 4: Turn on the mic access on your PC
If you’ve tried the above fixes but nothing worked, then the problem may be on your PC. You may need to check if the microphone access on your PC is enabled. Here’s now:
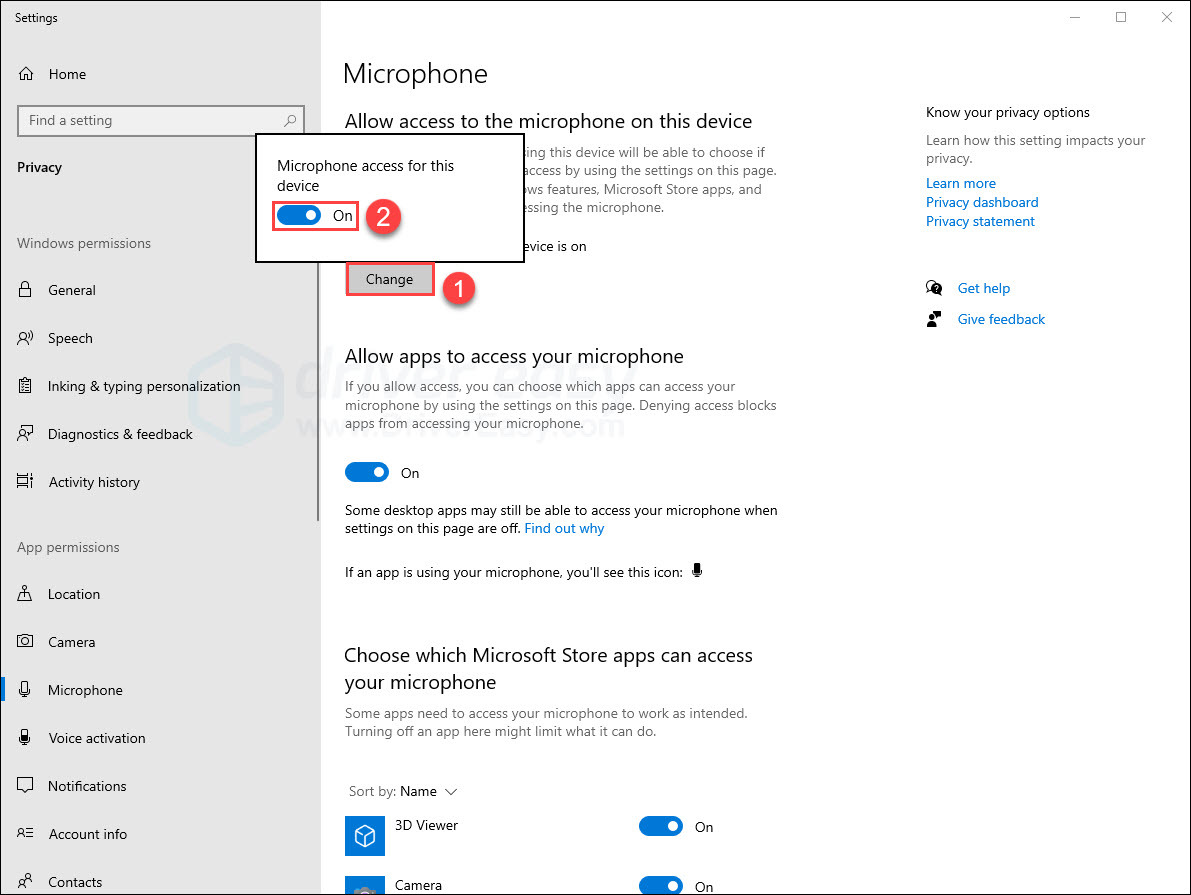
- Type microphone in the search bar next to the Start button, and click Microphone privacy settings.
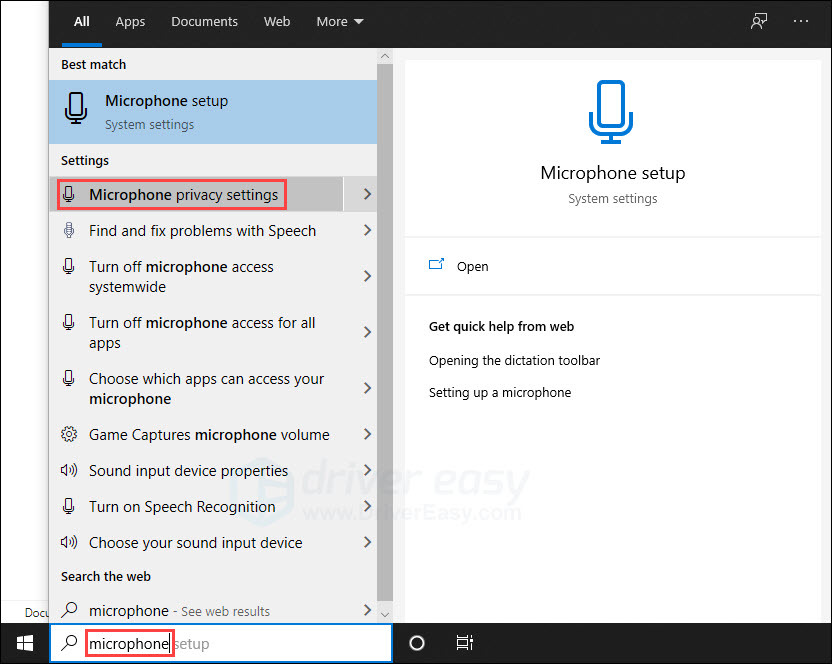
- Click Change, then turn on the microphone access for this device.
If this doesn’t fix your mic problem, try the next fix.
Fix 5: Update your audio driver
A faulty or outdated audio could lead to mic problems on your PC. If your mic is down, you may want to check your audio driver to make sure it’s up-to-date and functioning properly.
There are two ways you can get the right audio driver: manually or automatically.
Manual driver update – You can update your audio driver via Device Manager. Notice that although Windows will automatically scan for your driver’s available updates, you may get no results since Windows doesn’t update its database very often. You may need a new version of audio driver but Device Manager won’t detect any.
Automatic driver update – If you don’t have the time, patience, or computer skills to update your driver manually, you can, instead, do it automatically with Driver Easy. Driver Easy will automatically recognize your system and find the most recent driver for your exact audio card as well as your Windows version. Then it will download and install the driver correctly:
- Download and install Driver Easy.
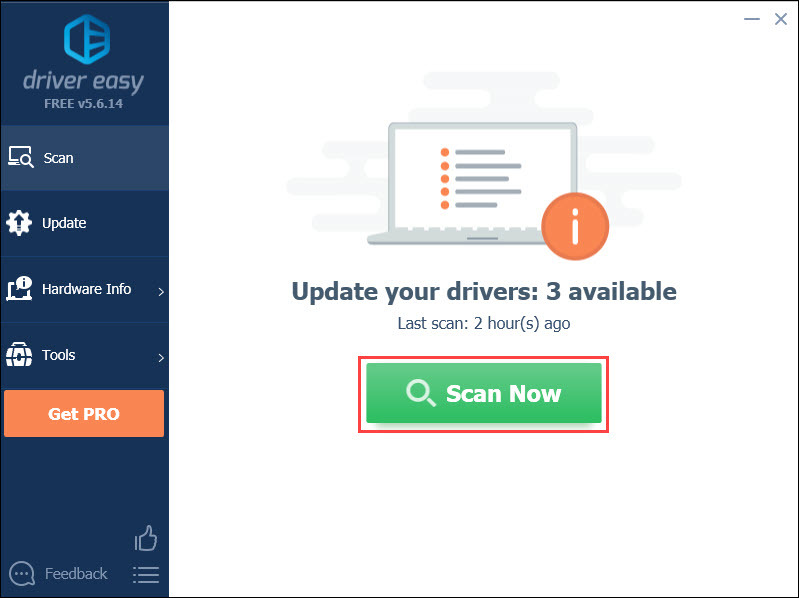
- Run Driver Easy and click the Scan Now button. Driver Easy will then scan your computer and detect any problem drivers.
- Click the Update button next to the flagged audio driver to automatically download the correct version of the driver, then you can manually install it (you can do this with the FREE version).
Or click Update All to automatically download and install the correct version of all the drivers that are missing or out of date on your system. (This requires the Pro version which comes with full support and a 30-day money-back guarantee. You’ll be prompted to upgrade when you click Update All.)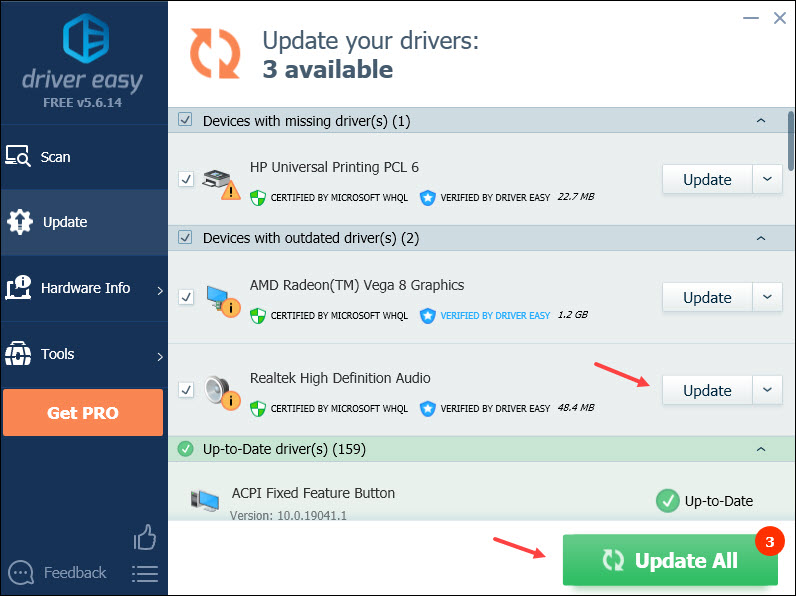
Hopefully this article solves your problem and you can now use your HyperX Cloud Alpha S for voice chatting or recording! Please feel free to leave a comment if you have any suggestions or questions.