


Just find a new font you like so much that want to install for your Windows 10? But wonder how to? Read on to follow this post, it will tell you the easy way to install fonts for Windows 10.
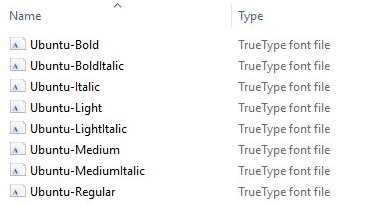
Before we start, prepare the font you like, you can download it from Google Fonts, Fonts.com or any trustworthy website you found. The downloaded font file shows like this:
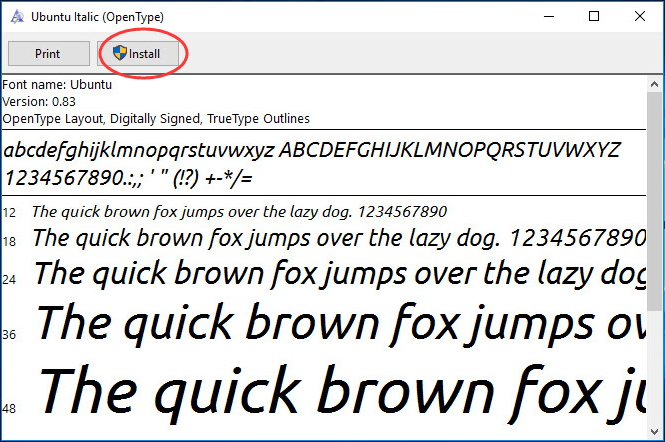
1) Double click on the font you want to install.
2) Then click Install on the pop-up window.
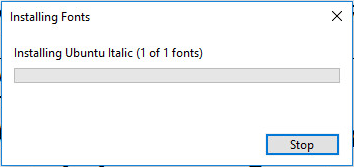
3) Wait just a second for installing.
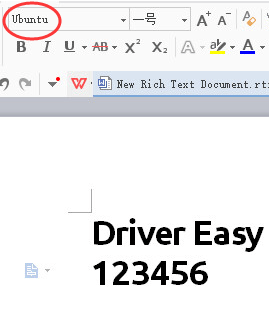
4)Now try the new font in Word or any other text edit software.
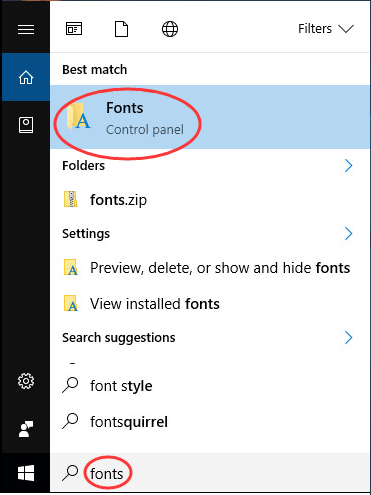
1) Type fonts in search box via Start menu.
Then click Fonts control panel.
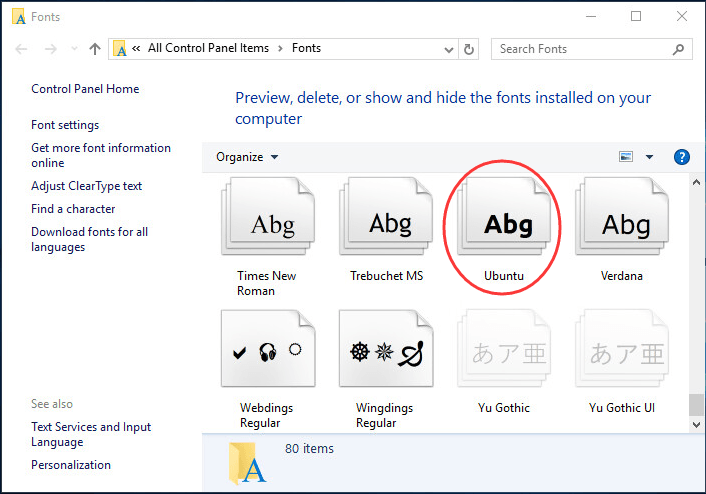
2) Here you can see all the fonts you installed for Windows 10.
Meantime open the folder with new font.
Then drag new font file in Fonts control panel window.
3) Try the new font.
That’s all there is to it. Just so easy. Try to install a new font for your Windows 10 now.
Before we start, prepare the font you like, you can download it from Google Fonts, Fonts.com or any trustworthy website you found. The downloaded font file shows like this:
Way 1 Install new fonts directly
1) Double click on the font you want to install.
2) Then click Install on the pop-up window.
3) Wait just a second for installing.
4)Now try the new font in Word or any other text edit software.
Way 2 Drag new fonts file in Fonts control panel window
1) Type fonts in search box via Start menu.
Then click Fonts control panel.
2) Here you can see all the fonts you installed for Windows 10.
Meantime open the folder with new font.
Then drag new font file in Fonts control panel window.
3) Try the new font.
That’s all there is to it. Just so easy. Try to install a new font for your Windows 10 now.
0 Comments
Most Voted