


If you find Internet Explorer won’t open in Windows, here are some trouble-shooting steps you may try to fix the problem. They are tips recommended by many users. You may not have to try them all. Just work your way down the list until you find the one that works for you.
Try these tips
- Run Internet Explorer as administrator
- Reset Internet Explorer
- Run System File Checker
- Disable your security software
- Restore your system to a restore point
Tip 1: Run Internet Explorer as administrator
A quick fix for your problem would be running IE as administrator. Here’re a few ways to do so:
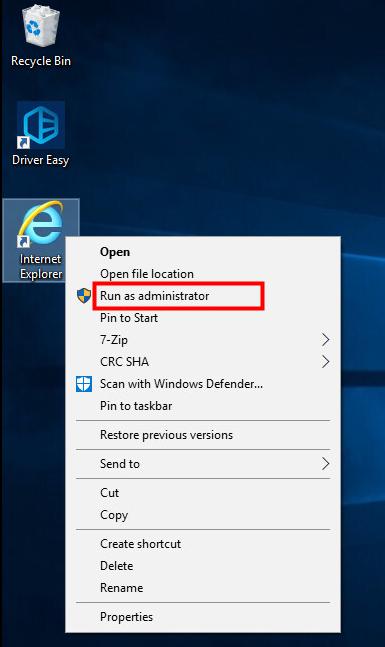
- On your Windows desktop, right-click the Internet Explorer icon and select Run as administrator.
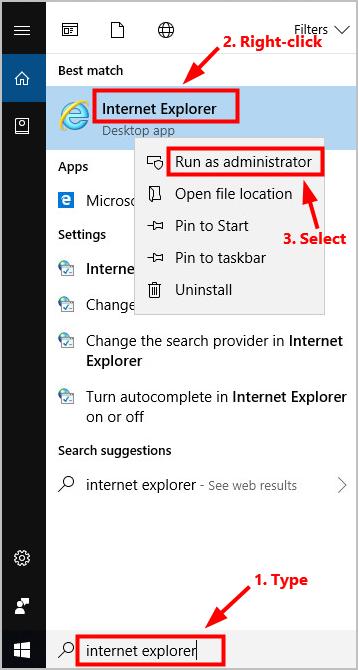
If you can’t find the IE icon on your Desktop, you can type internet explorer in the search box, right click on the matching result and select Run as administrator.
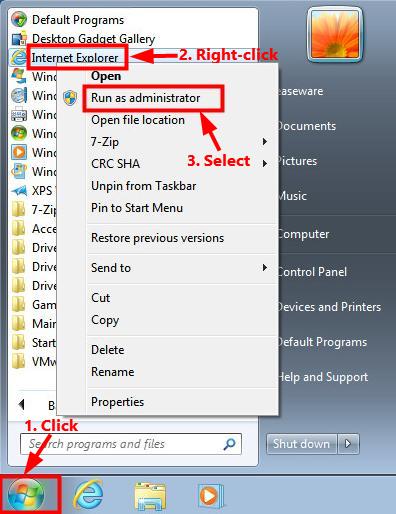
- Windows 7 users can simply click the Start button > All Programs > right-click Internet Explorer and select Run as administrator.
Tip 2: Reset Internet Explorer
If some add-on is causing your IE browser not working properly, resetting IE to its default settings should fix the issue. To do so:
- Make sure Internet Explorer is closed.
- Search Windows for Internet Options and select the matching result.
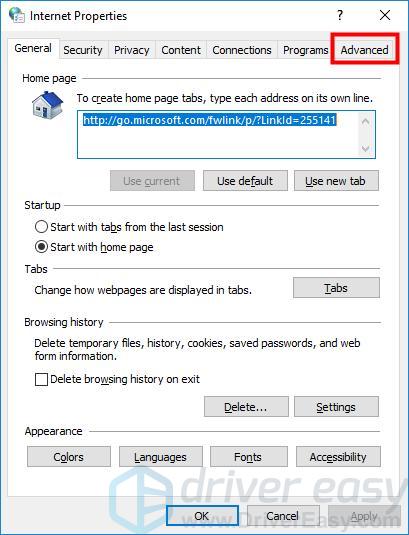
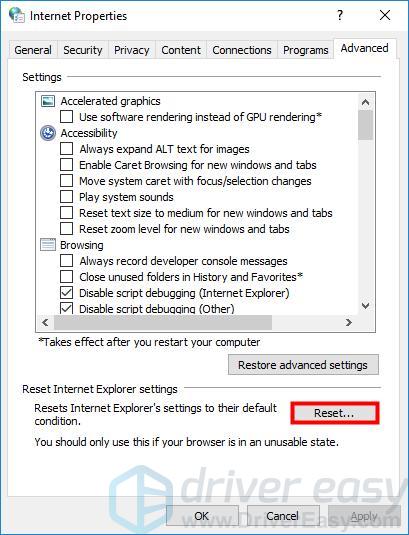
- Click the Advanced tab.
- Under Reset Internet Explorer settings, click the Reset button.
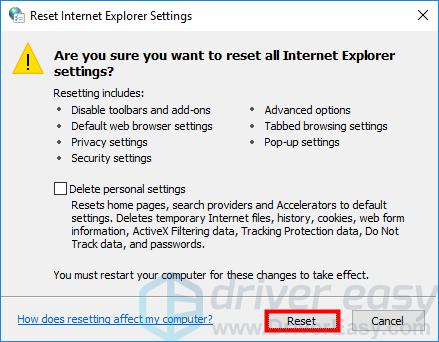
- Click Reset.
- Click Close.

- Try to launch Internet Explorer, and it should respond normally now.
If it isn’t successful, there may be something wrong with the Internet Explorer files.
Tip 3: Run System File Checker
As Internet Explorer is a built-in browser, corrupted system files could cause IE not responding properly. Then you can use System File Scanner to run a scan.
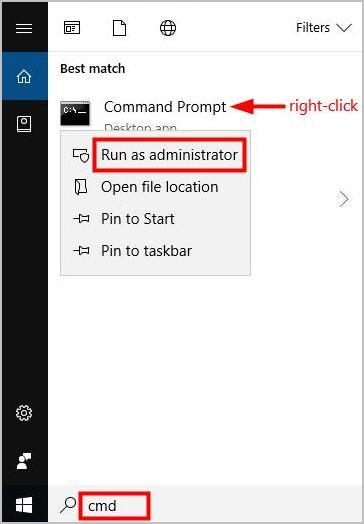
- Type cmd in the Windows search box.
- Right-click on Command Prompt and select Run as administrator.
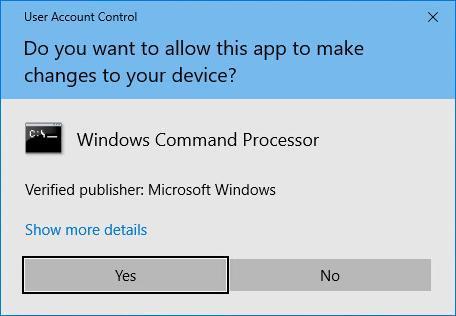
- Click Yes at the User Account Control prompt.
- Once Command Prompt is open, type the sfc /scannow command and press Enter on your keyboard.
Note: There’s a space between sfc and /scannow.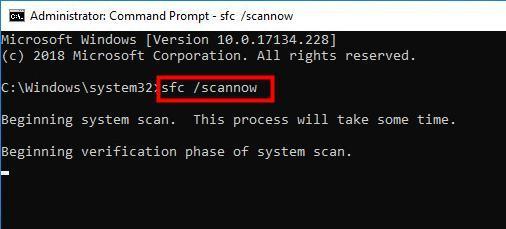
- When the verification reaches 100%, you’ll see something like this if issues were found and corrected:
Windows Resource Protection found corrupt files and successfully repaired them.
If that’s the case, restart your PC. - Check if you can open IE normally.
Tip 4: Disable your security software
It could also be possible that some piece of your security or antivirus software, say, Trusteer Rapport, is causing the problem. Try disabling or uninstalling it to fix the issue, as it worked for some users. Here’s how to disable security software:
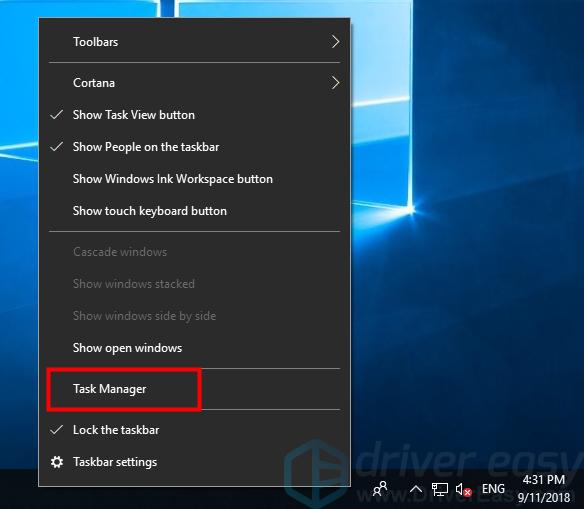
- Right-click on the Taskbar and select Task Manager.
- Click the Startup tab.

- Select the program(s) you want to disable and click the Disable button in the bottom right corner. Then, IE should open normally.
Tip 5: Restore your system to a restore point
If none of the above works, you may try using System Restore to undo system changes and sort out the issue. Following are steps of how to restore your system to a restore point.
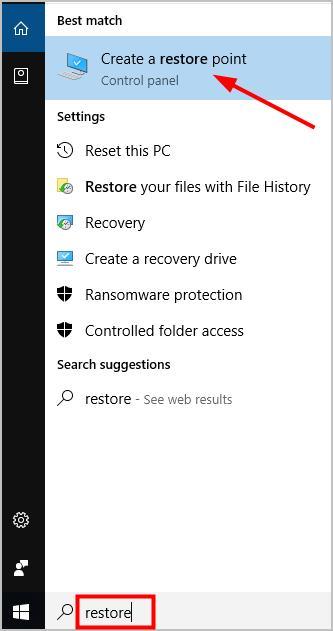
- Type restore in the Windows search box and select Create a restore point or System Restore.
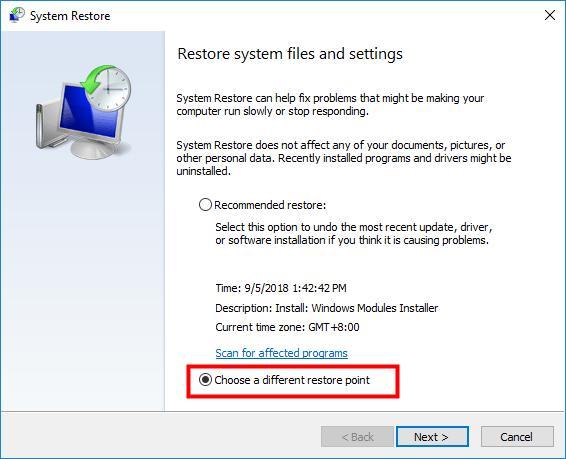
- When the System Restore window pops up, select Choose a different restore point and click Next.
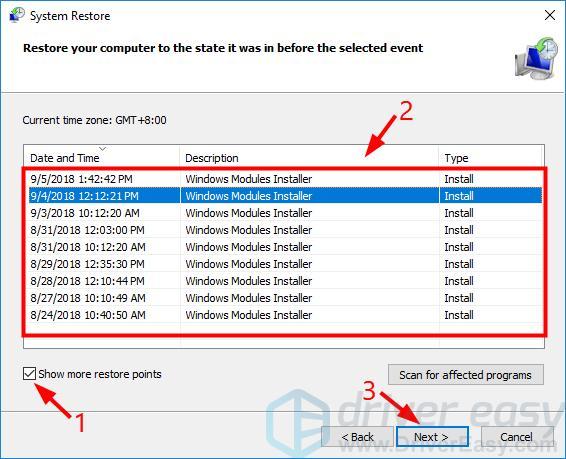
- Check the box beside Show more restore points, and select a point in time when you remember IE was last working properly, then click Next.
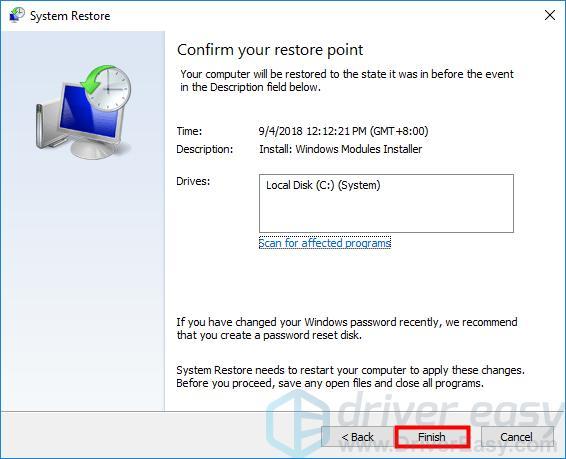
- Save any open files on your PC, then click Finish.
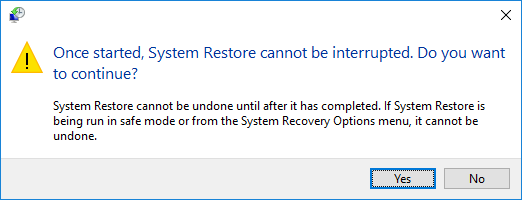
- Click Yes, and your PC will restart.
Hopefully this can help you out.
Bonus tip:
If the driver for your network adapter is faulty or outdated, it could cause other problems when you’re visiting a website on your Internet Explorer. Just to be on the safe side, you should make sure your network adapter driver is up to date.
If you’re not confident playing around with drivers manually, you can do it automatically with Driver Easy.
Driver Easy will automatically recognize your system and find the correct drivers for it. You don’t need to know exactly what system your computer is running, you don’t need to risk downloading and installing the wrong driver, and you don’t need to worry about making a mistake when installing.
You can update your drivers automatically with either the FREE or the Pro version of Driver Easy. But with the Pro version it takes just 2 clicks (and you get full support and a 30-day money back guarantee):
- Download and install Driver Easy.
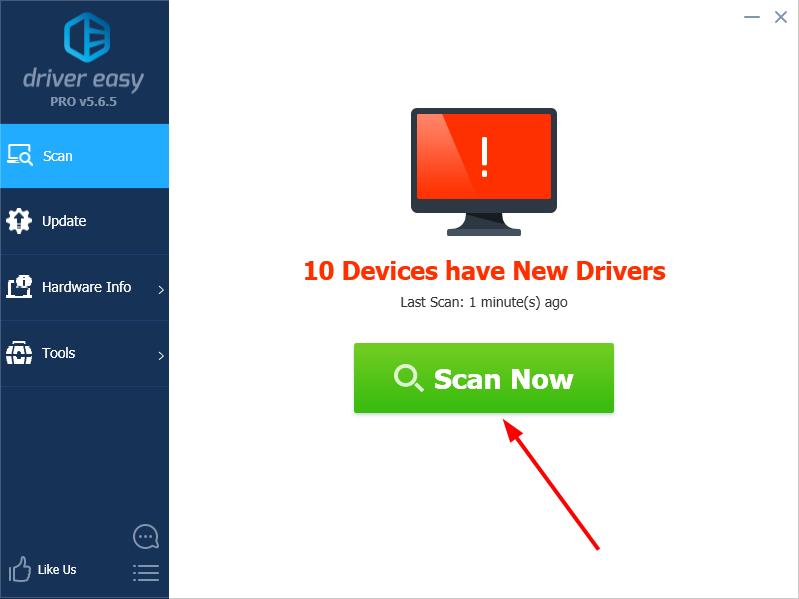
- Run Driver Easy and click Scan Now. Driver Easy will then scan your computer and detect any problem drivers.
- Click the Update button next to your network adapter driver to automatically download the correct version of this driver, then you can manually install it (you can do this with the FREE version).
Or click Update All to automatically download and install the correct version of all the drivers that are missing or out of date on your system (this requires the Pro version – you’ll be prompted to upgrade when you click Update All).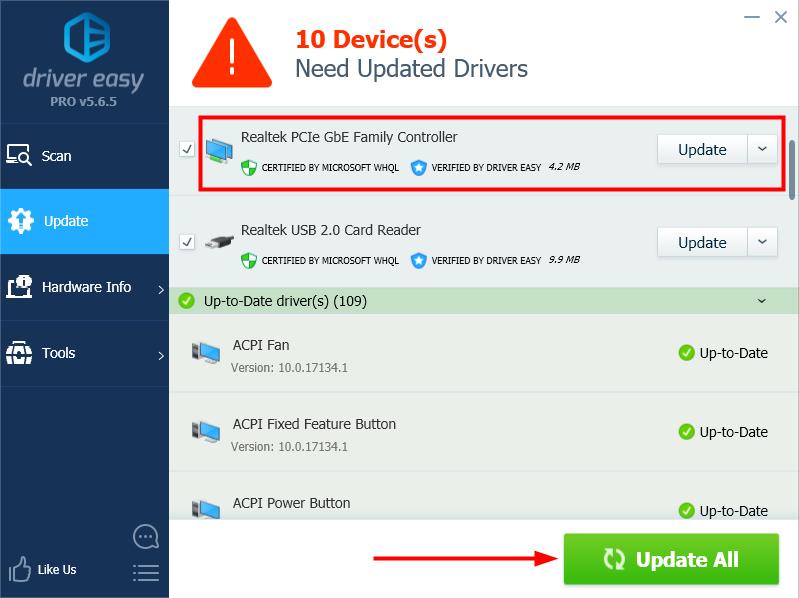
Please do reply if you got your problem fixed.