


It’s rather confusing that your internet is connected but not working at all. Why is that? The cause might be as obvious as a router problem, which can be solved by a proper reboot. However, in many cases, it may not be so apparent.
To fix the problem, you should tell if the issue is limited to one single device or if it’s affecting the entire network.
1. Multiple devices have the problem
If all of your devices can’t access the internet, the possible causes are as follows:
- Problem with your router (or modem)
- The ethernet cable is damaged
- ISP is down temporarily
How to fix the ‘internet connected but not working’ problem?
- Restart your router and modem. Unplug the modem and router and leave them unplugged for a minute or so. Once you have plugged it back in, wait for a few seconds and you can tell the internet is on if the light (usually white or green) is solid or flashing.
- If you’re using an ethernet connection, you can try a spare ethernet cable when possible.
- Wait for the ISP to fix the problem.
2. Only one device has the problem
If the internet is connected but not working on just one device, it’s usually caused by the following factors:
- Misconfigured setting
- Faulty drivers or WiFi adapter
- DNS issues or wrong IP address
How to fix the ‘internet connected but not working’ problem?
- Restart your device
- Reset network settings
- Flush the DNS cache
- Update your network driver
- Change your DNS Server Address
Fix 1. Restart your device
Simple as it may seem, a reboot can sometimes do the trick. If you haven’t tried it yet, we recommend you restart your PC to see if this makes a difference.
Fix 2. Reset network settings
Forgetting the network helps restore network settings and it might fix the internet connected but not working problem.
Alternatively, you can run the Network Troubleshooter to let Windows fix the problem.
on Windows 10
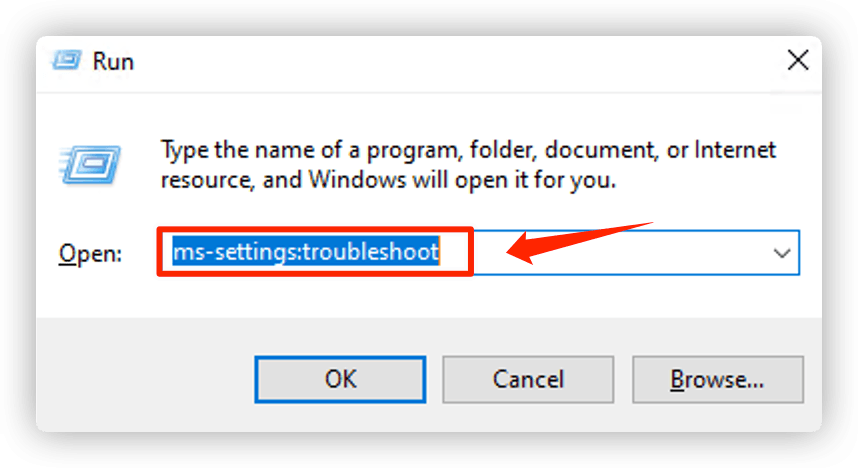
- On your keyboard, press the Windows key + R at the same time type in ms-settings:troubleshoot, and press Enter.
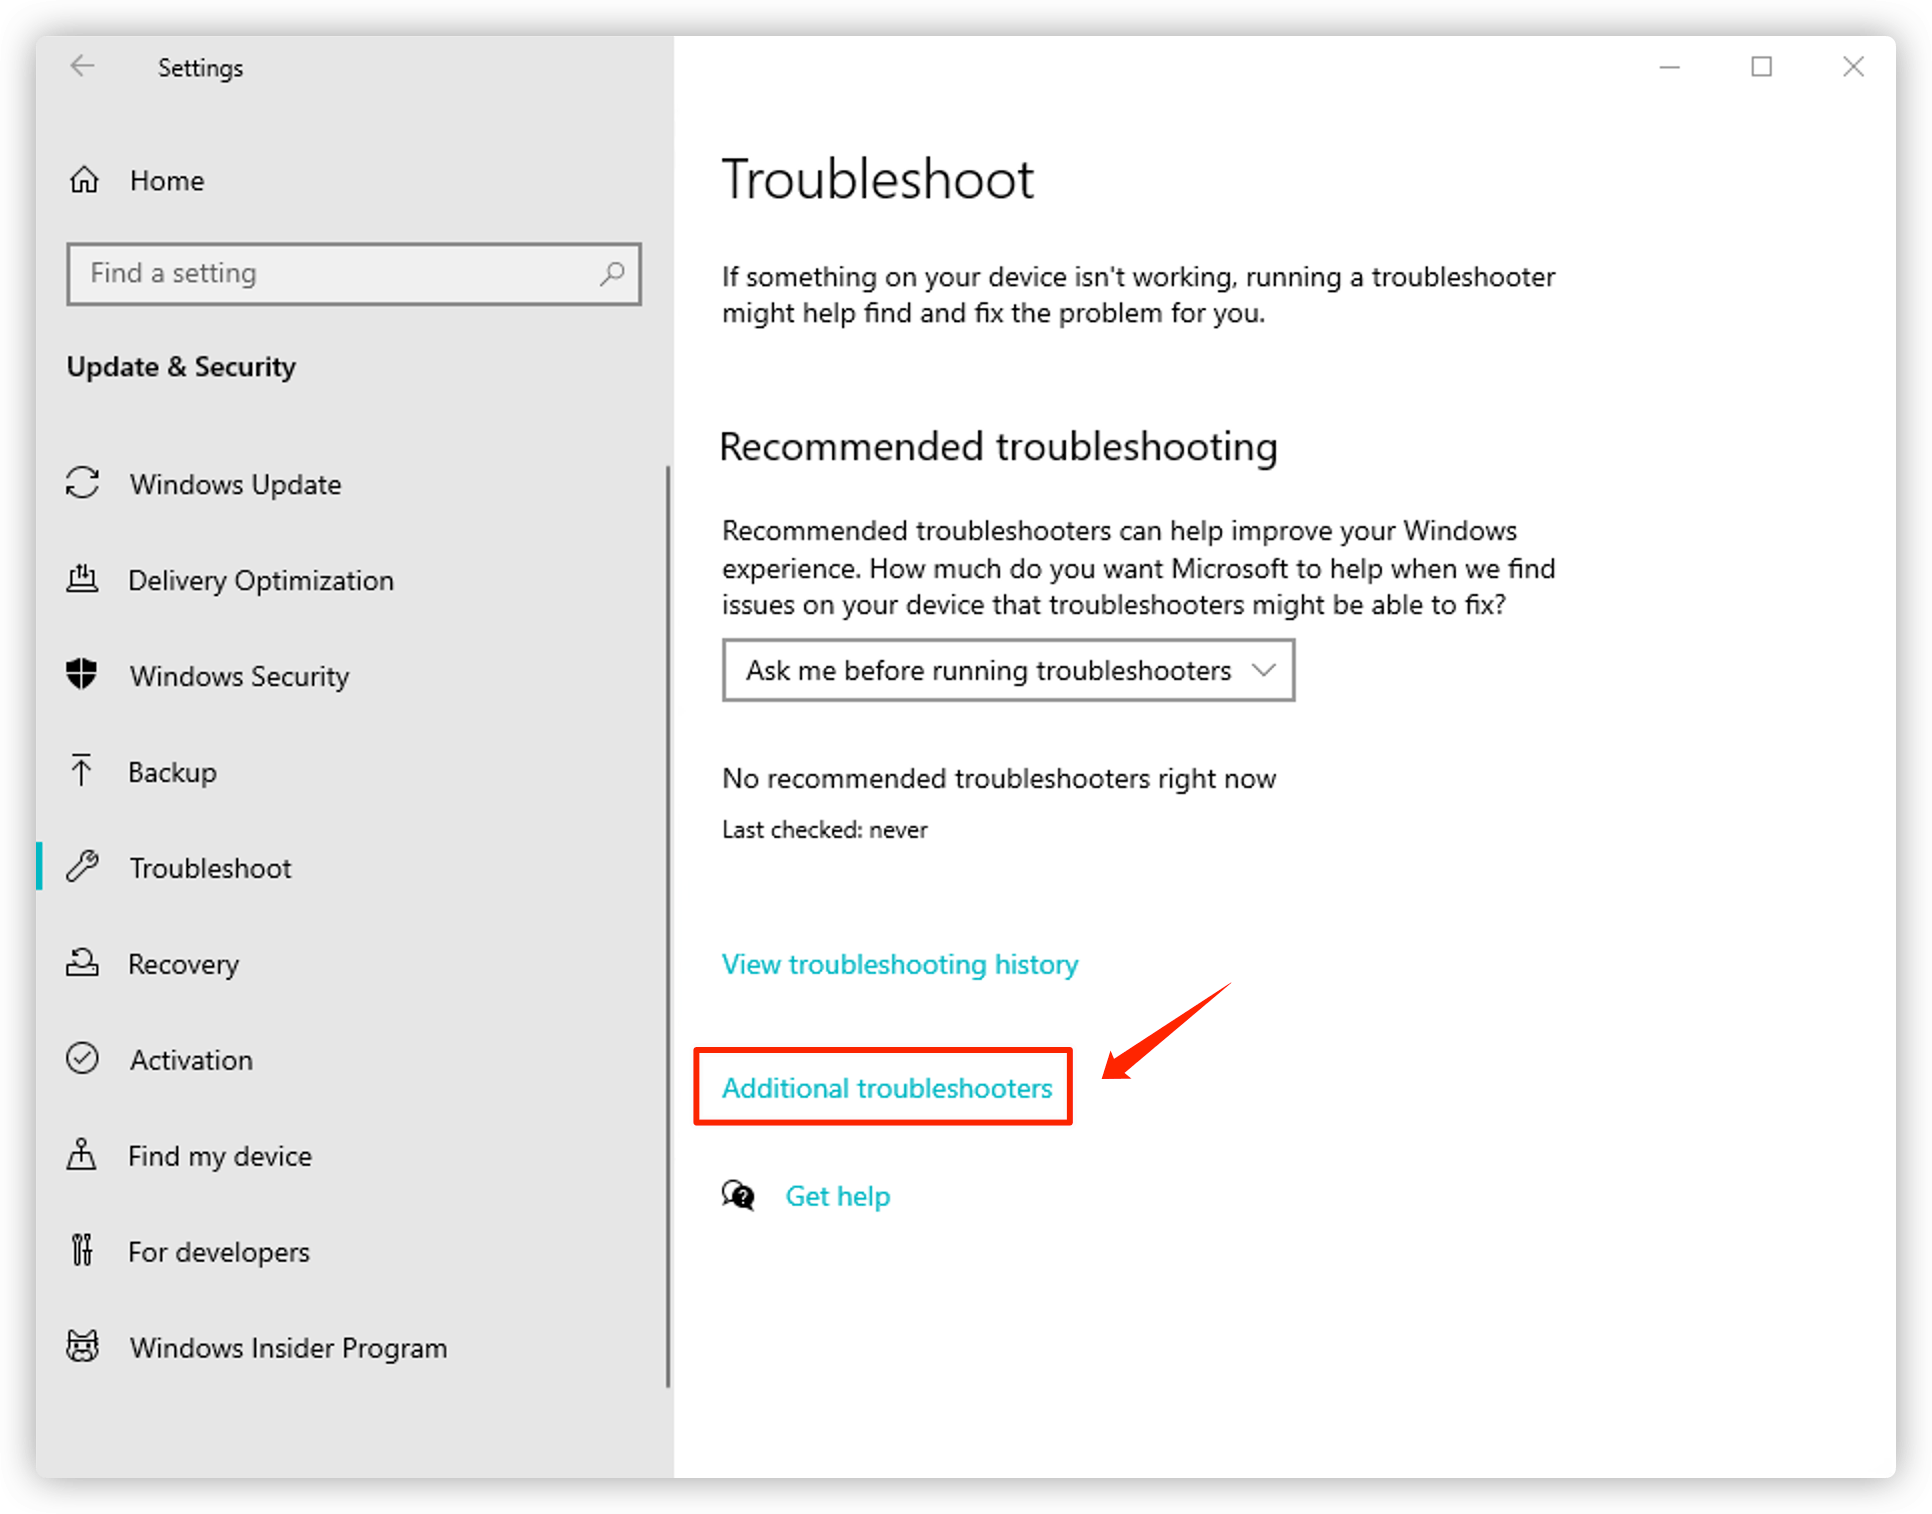
- Click Additional troubleshooters.
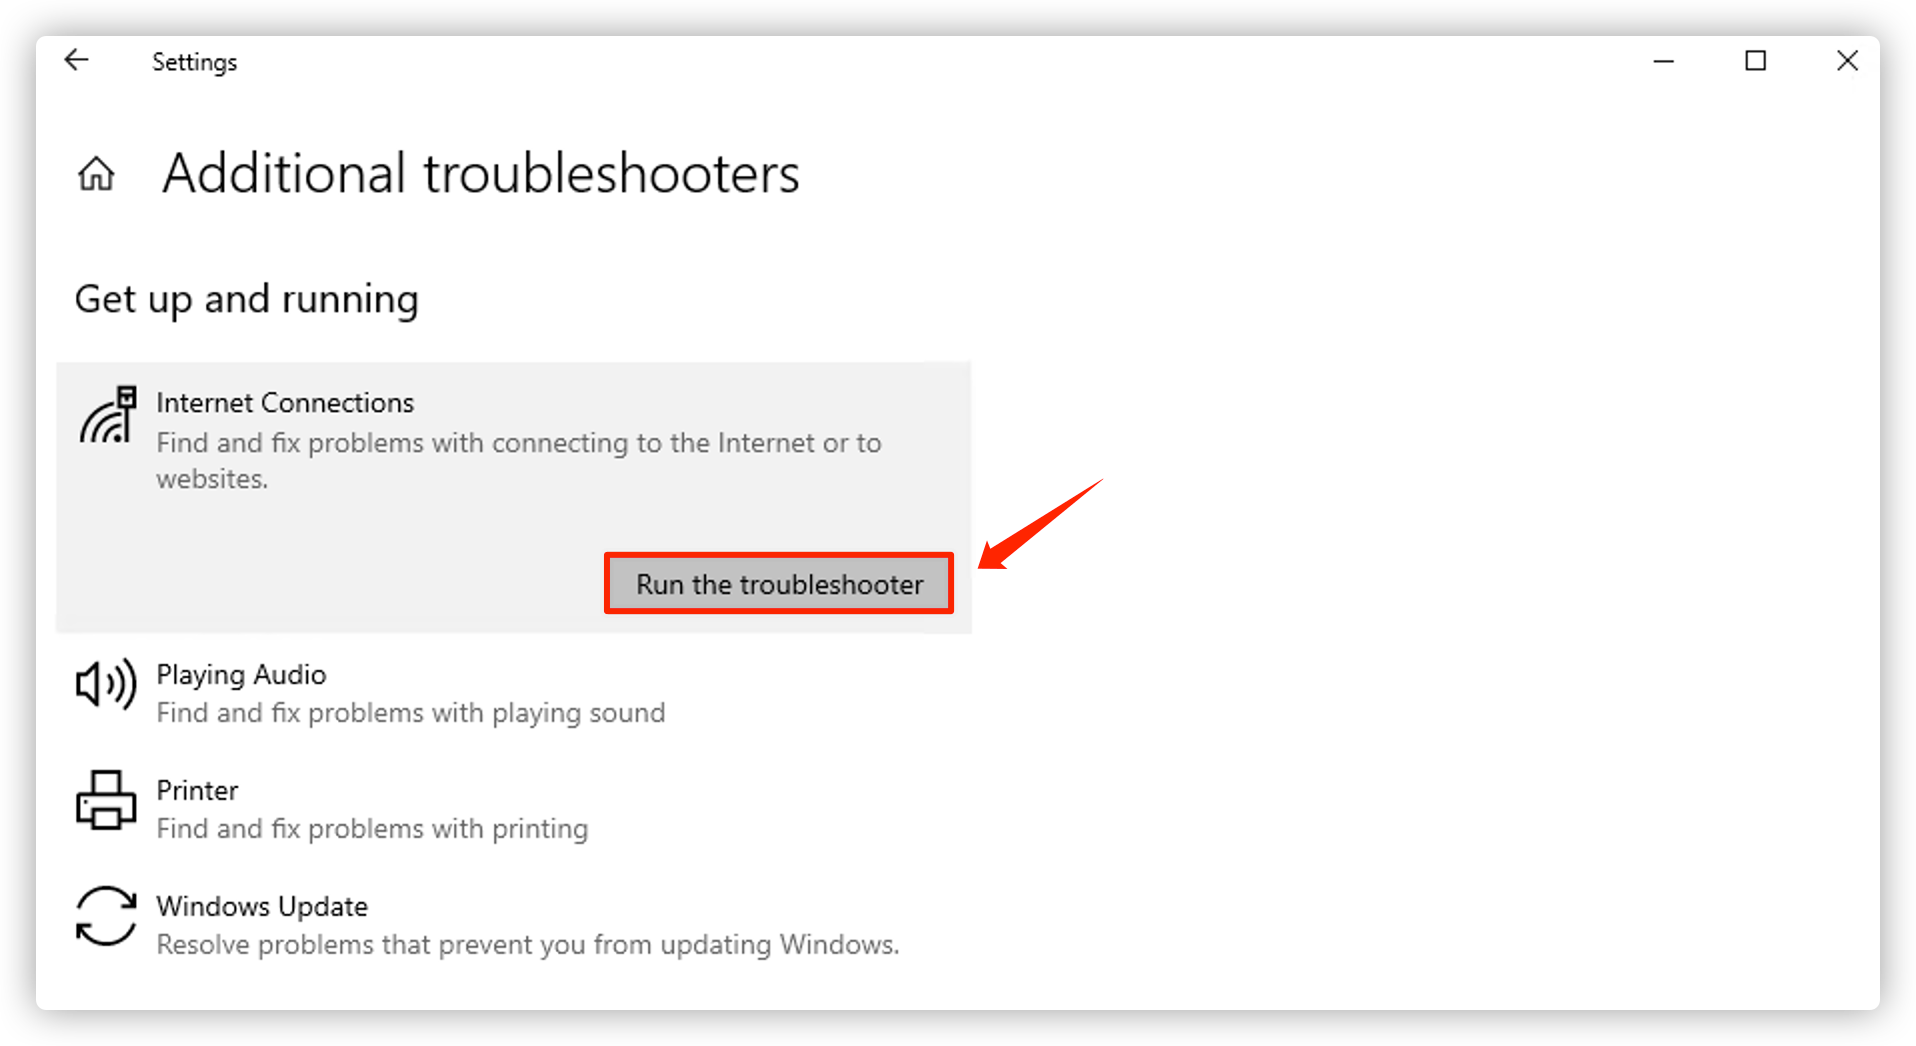
- Select Internet Connection and click Run the troubleshooter.
- Alternatively, you can scroll down and find Network Adapter and run this troubleshooter, too.
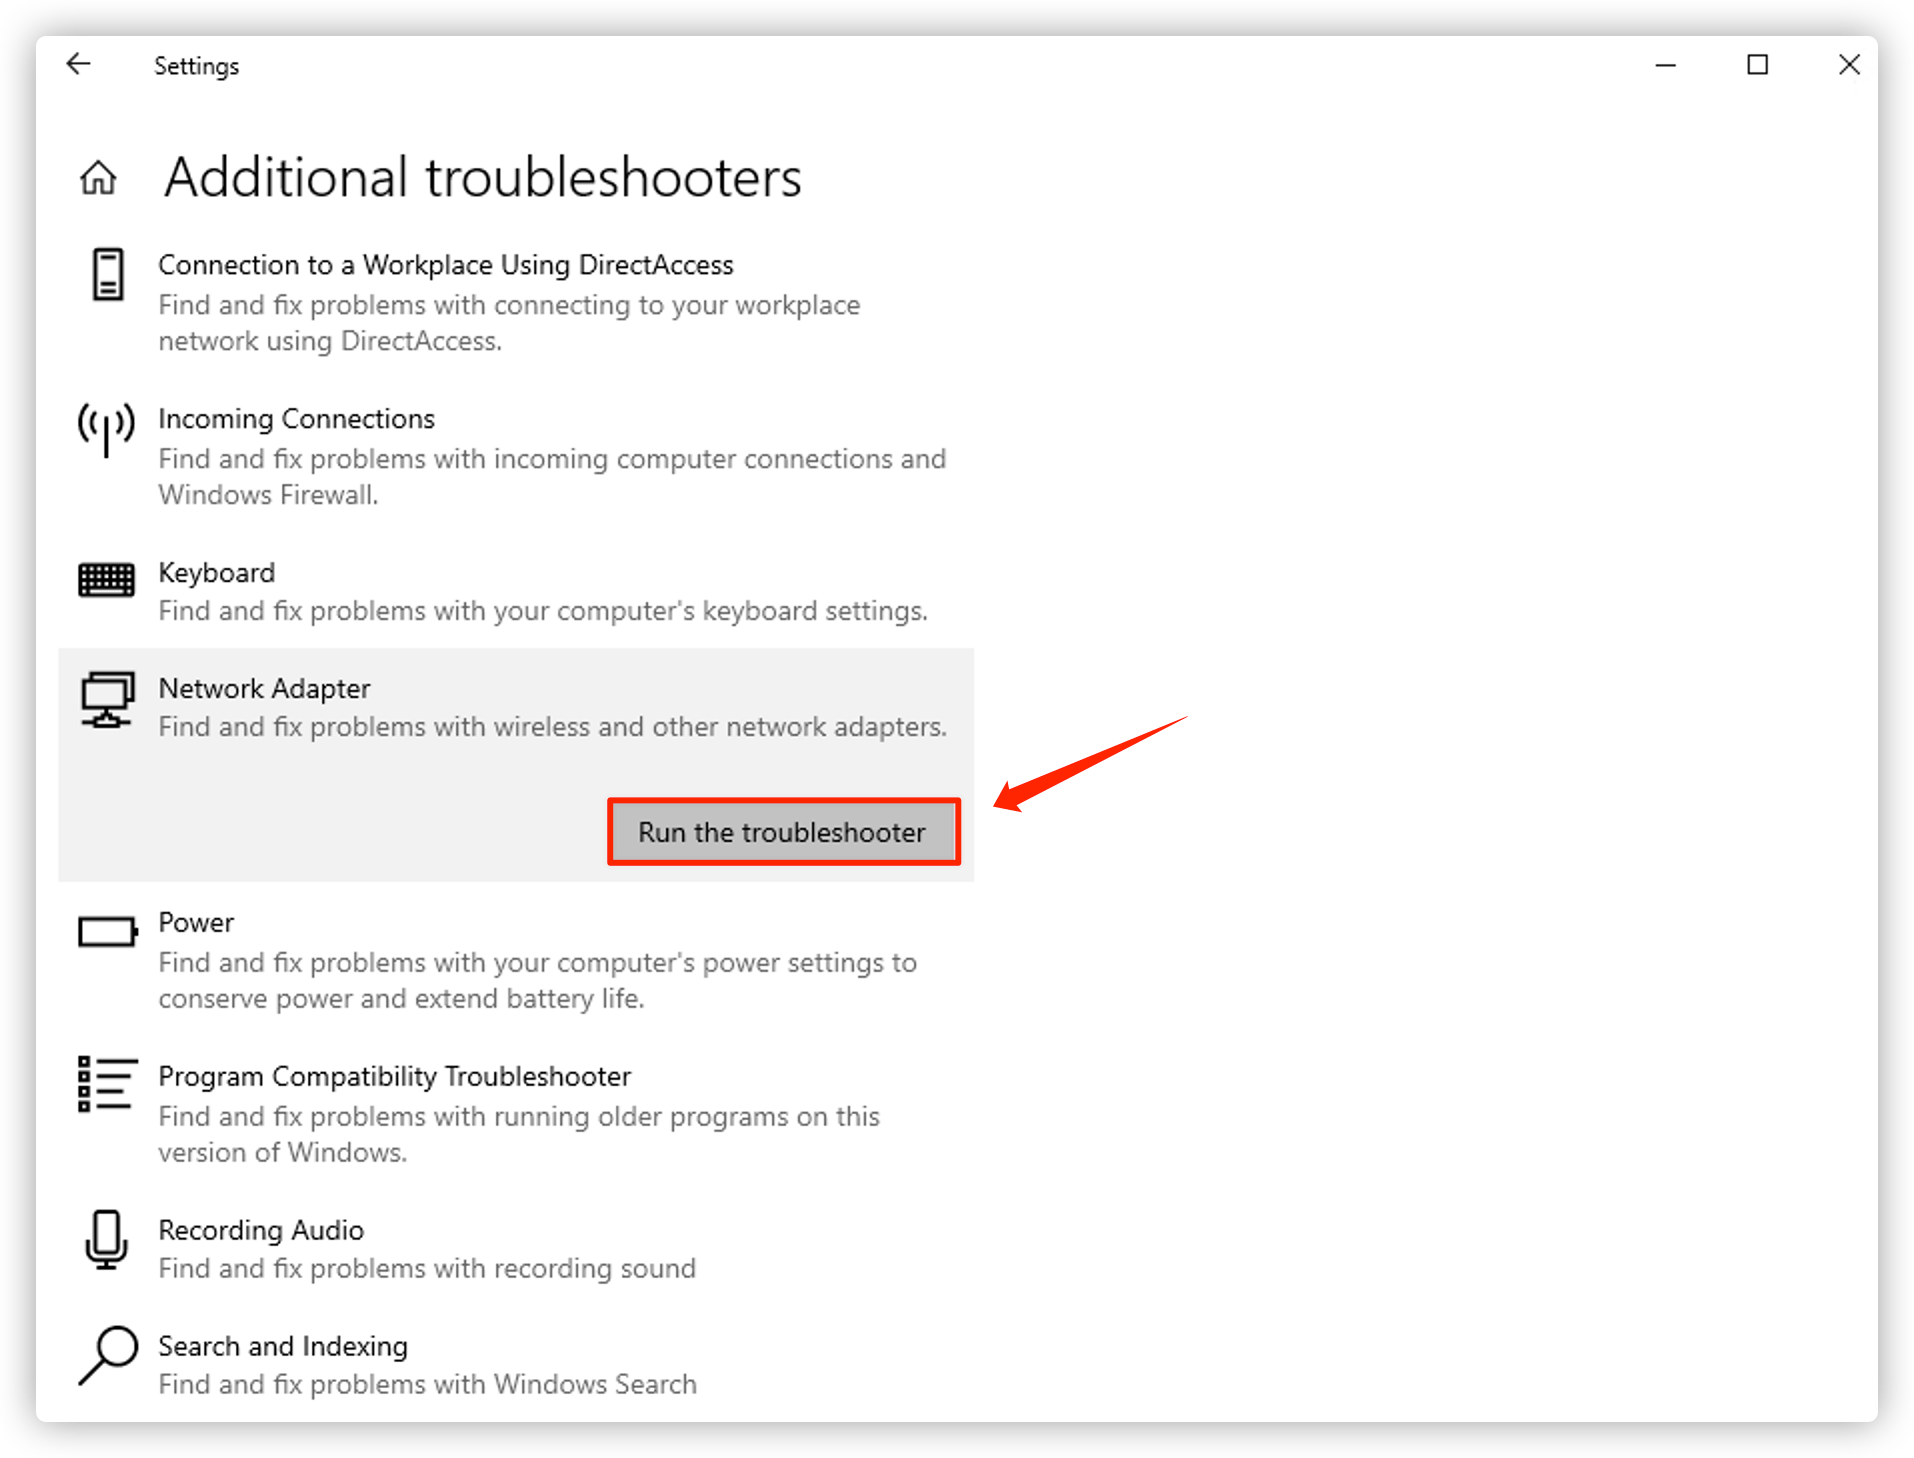
- If the troubleshooter finds a known issue and fixes it automatically, congrats. If not, don’t worry and there’re a few more fixes for you below.
on Windows 11
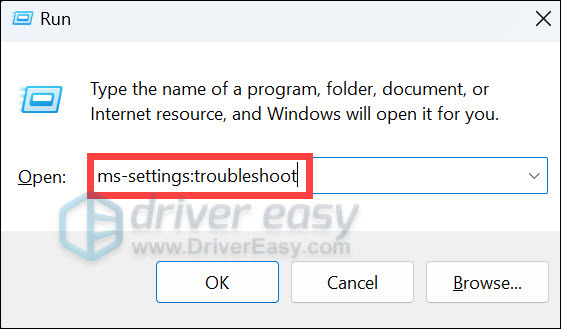
- On your keyboard, press the Windows logo + R keys simultaneously to open the Run box.
- Type ms-settings:troubleshoot and hit Enter.
- Click on the Run button next to Network and Internet.
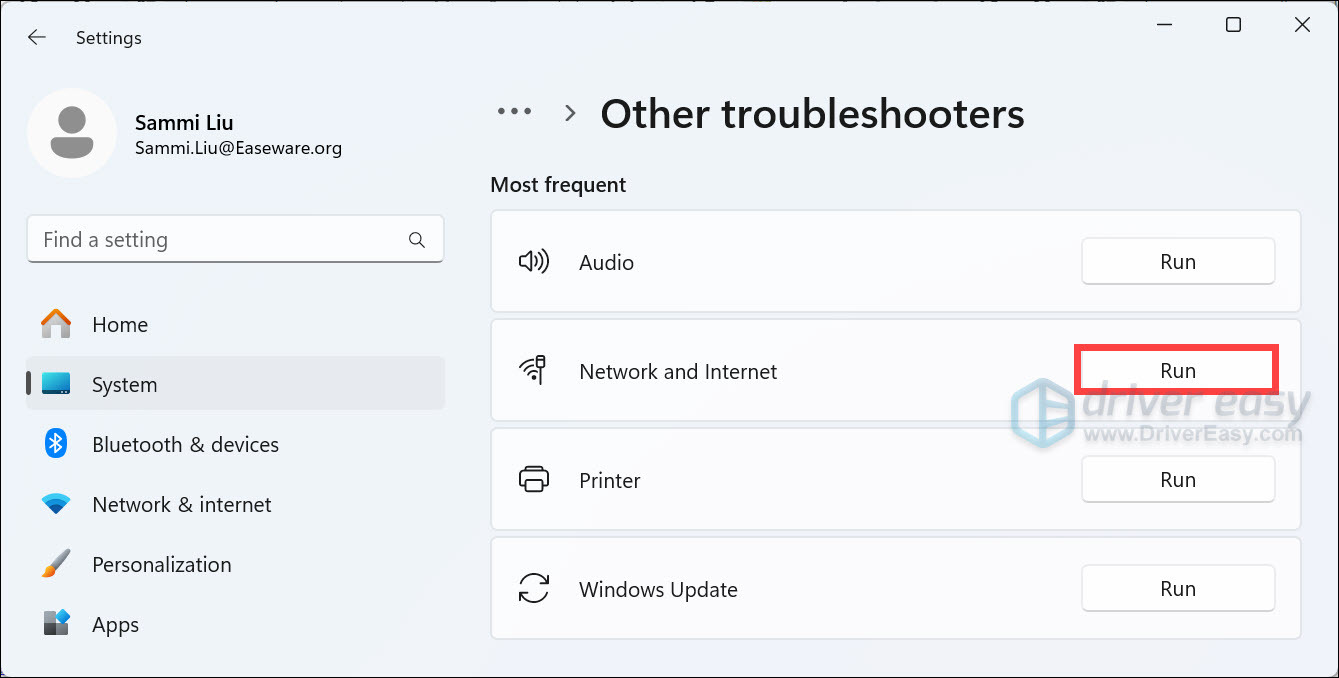
- If the troubleshooter finds a known issue and fixes it automatically, congrats. If not, don’t worry and there’re a few more fixes for you below.
Fix 3. Flush the DNS cache
Corrupted DNS cache matters can prevent you from connecting to the internet because it can cause a mismatch in your IP address. Therefore, you might need to flush the DNS cache to fix the internet that is connected but not working issue.
- In the search bar, type in “cmd” and select Run as admnistrator.
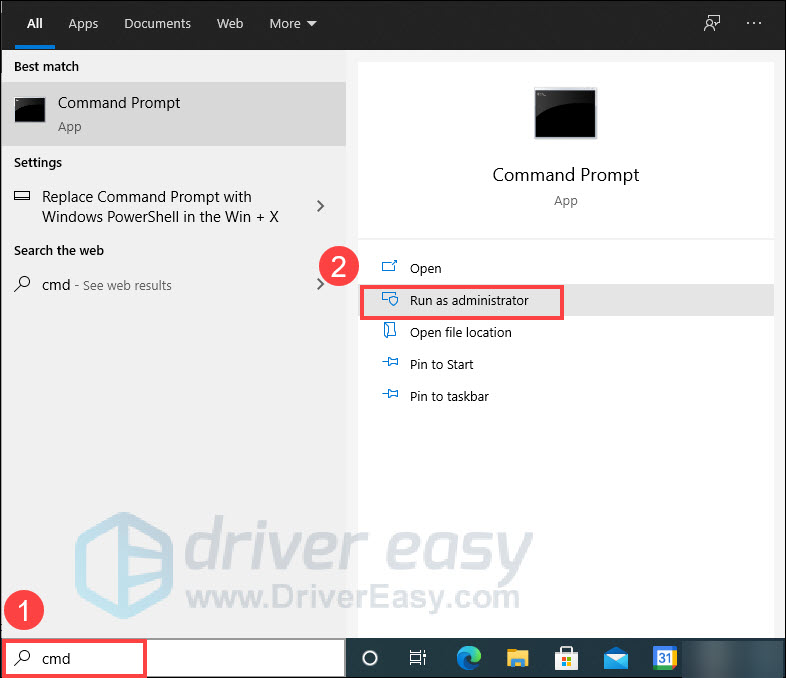
- Now type in the following commands and hit Enter after each one.
- ipconfig /flushdns
- ipconfig /release
- ipconfig /renew

- Once this is done, close the Command Prompt window and see if you have an internet connection.
Fix 4. Update your network driver
The network driver plays a significant part in making sure your device has access to the network. An outdated or corrupt network driver can cause the internet to be connected but not work.
There are two ways to update drivers: manually and automatically.
Manually update driver – You can manually update the network driver by searching the correct driver that matches your Windows OS on the manufacturer’s website and installing it on your computer. This requires time and computer skills.
Automatically update driver – If you don’t have time or patience to manually update drivers, you can do that automatically with Driver Easy.
Driver Easy will detect the drivers’ condition in your computer, and install the correct drivers for your PC. More importantly, with Driver Easy, you don’t need to struggle to figure out the Operating System, and you don’t need to worry about making mistakes while processing. That will tremendously save you time and patience.
You can update your drivers automatically with either the FREE or Pro version of Driver Easy. It only takes 2 simple clicks with the Pro version (and you will get full support and a 30-day money-back guarantee).
- Download and install Driver Easy.
- Run Driver Easy and click Scan Now. Then Driver Easy will scan your computer and detect any problem drivers.
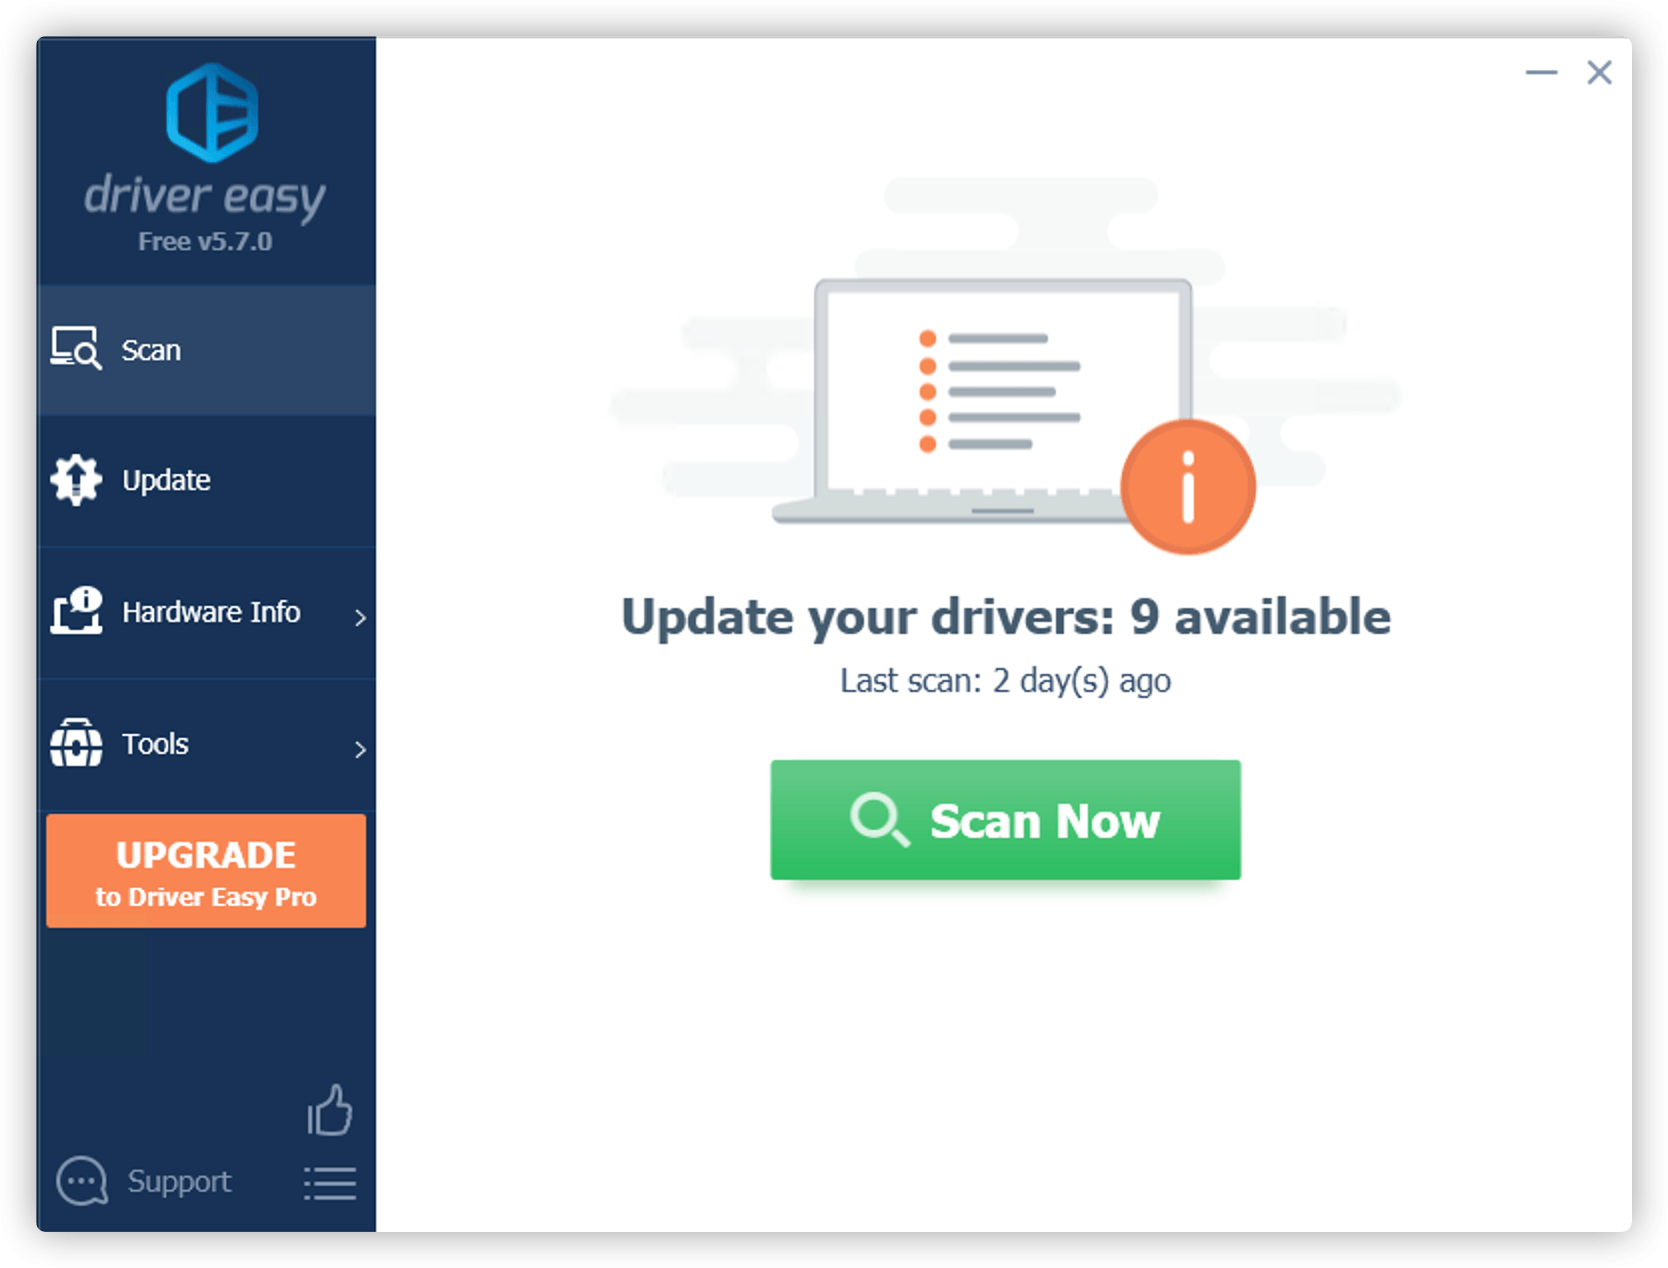
- Click Update button next to the driver name to download the correct driver (you can do that with the FREE version), then install it on your computer.
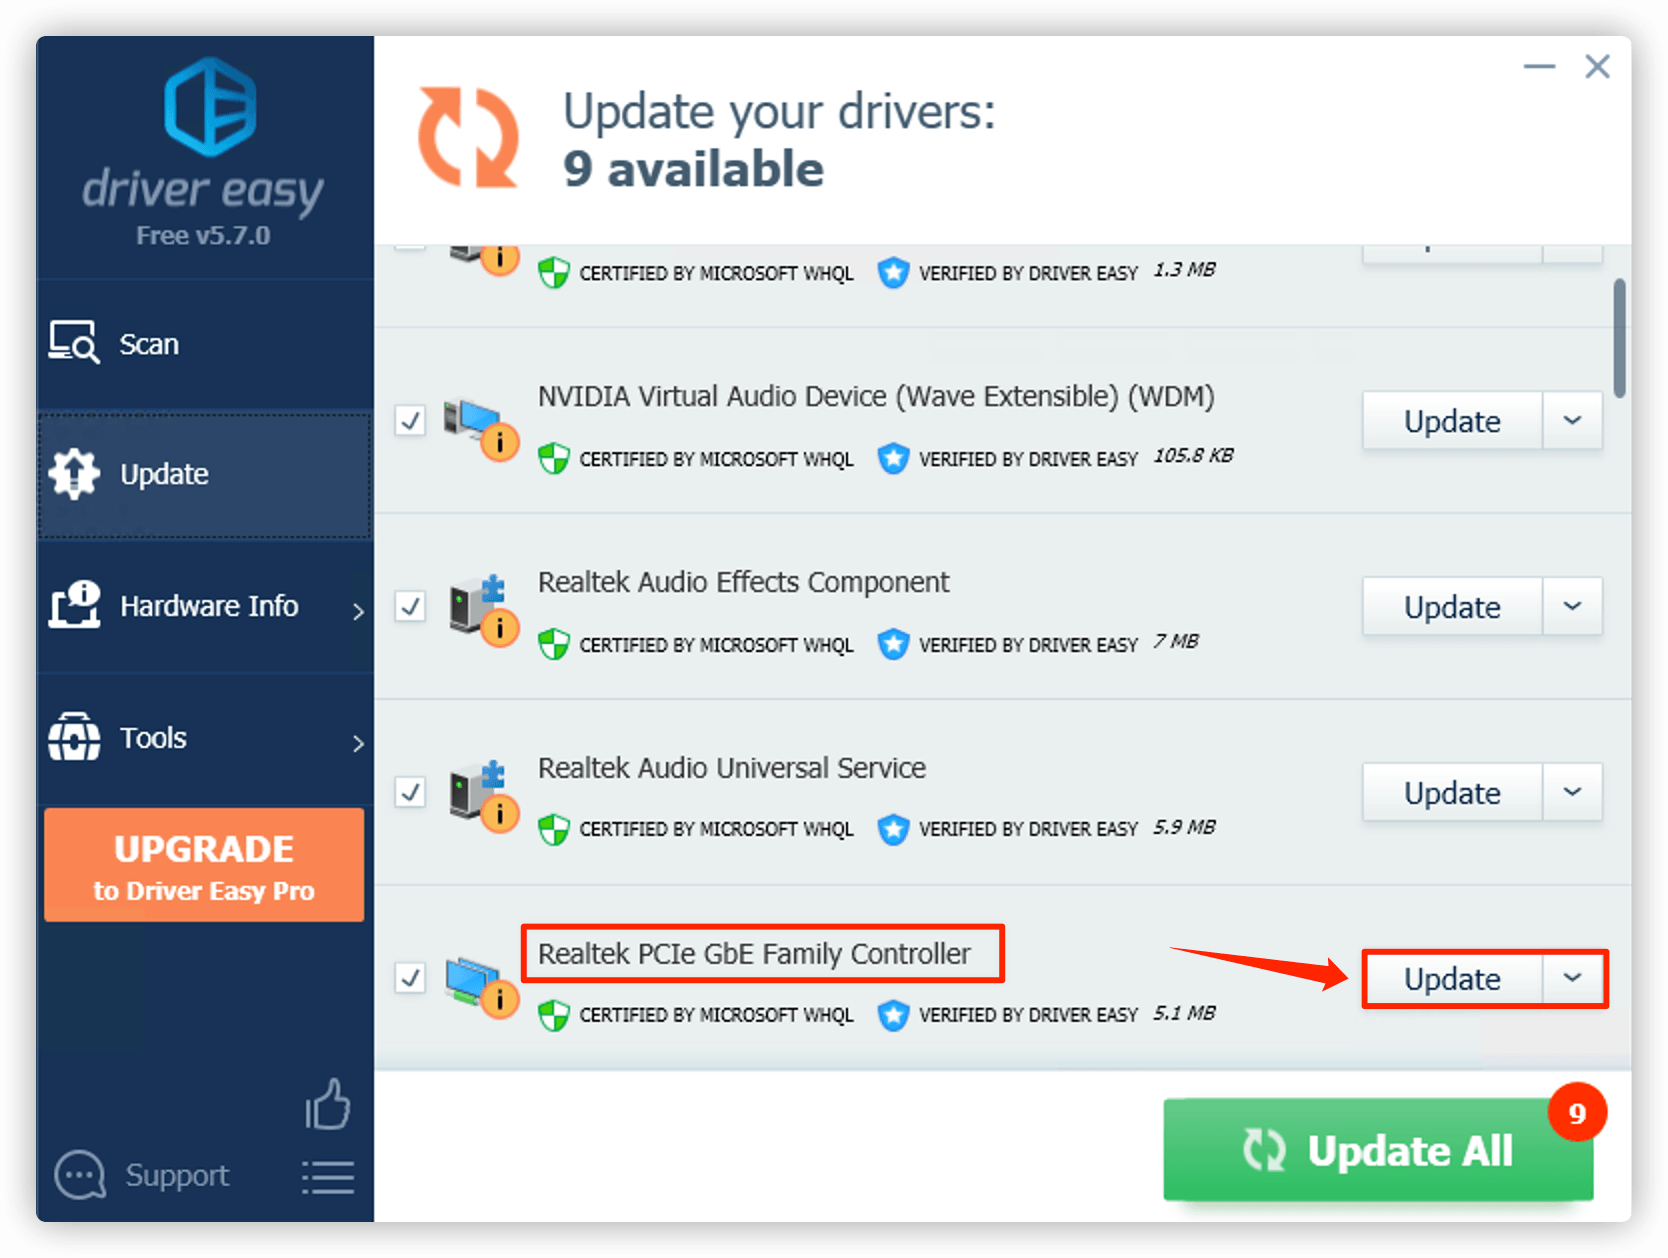
Or click Update All to automatically download and install the correct version of all the problem drivers (you can do that with the Pro version, and you will be prompted to upgrade when you click Update All). - Once complete, restart your PC for the changes to take effect.
Fix 5. Change your DNS Server Address
If you have flushed the DNS cache, but your internet is connected but not working, your DNS server address might be incorrect. To fix this, you can set a fixed DNS address. Here’s how:
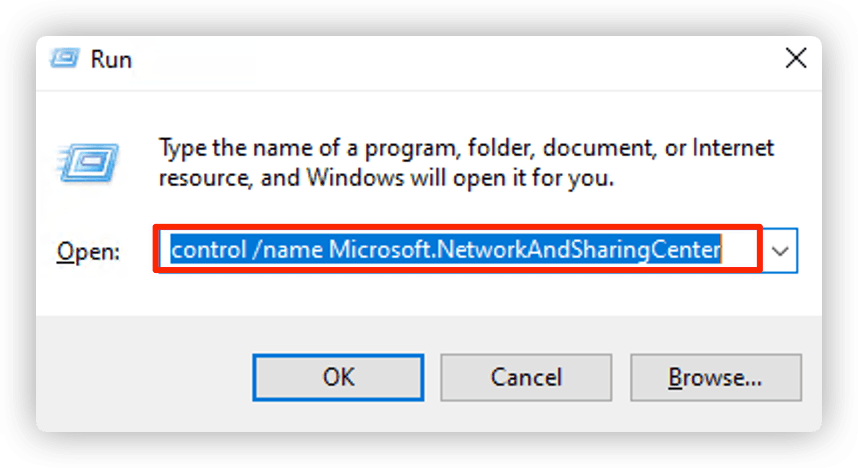
- On your keyboard, press the Windows key + R at the same time to open the Run box. Type in control /name Microsoft.NetworkAndSharingCenter and press Enter.
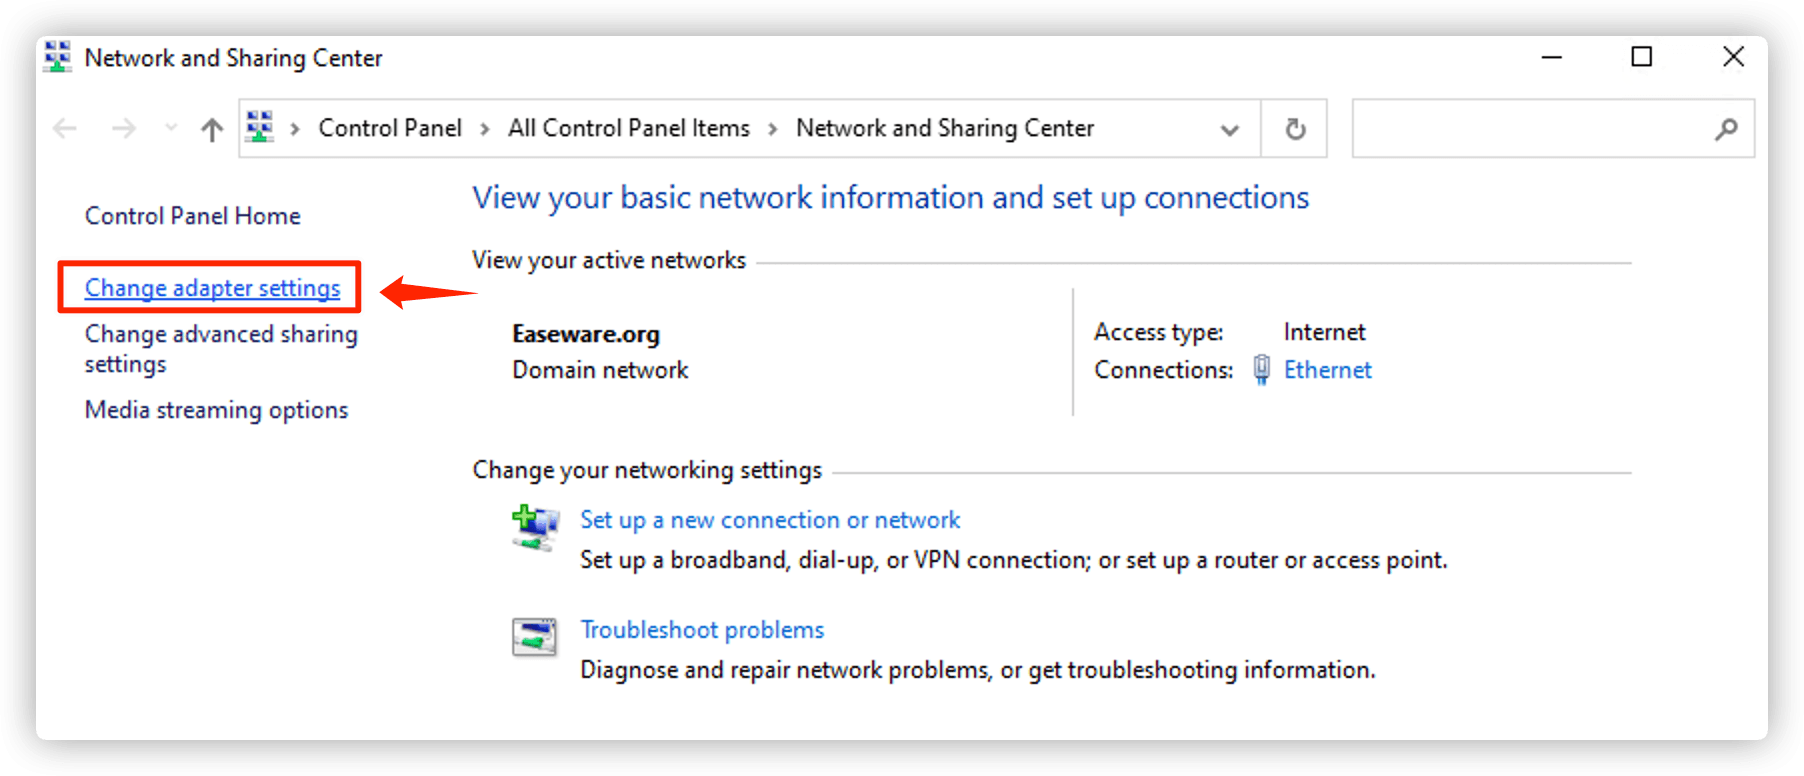
- On the left pane, select Change adapter settings.
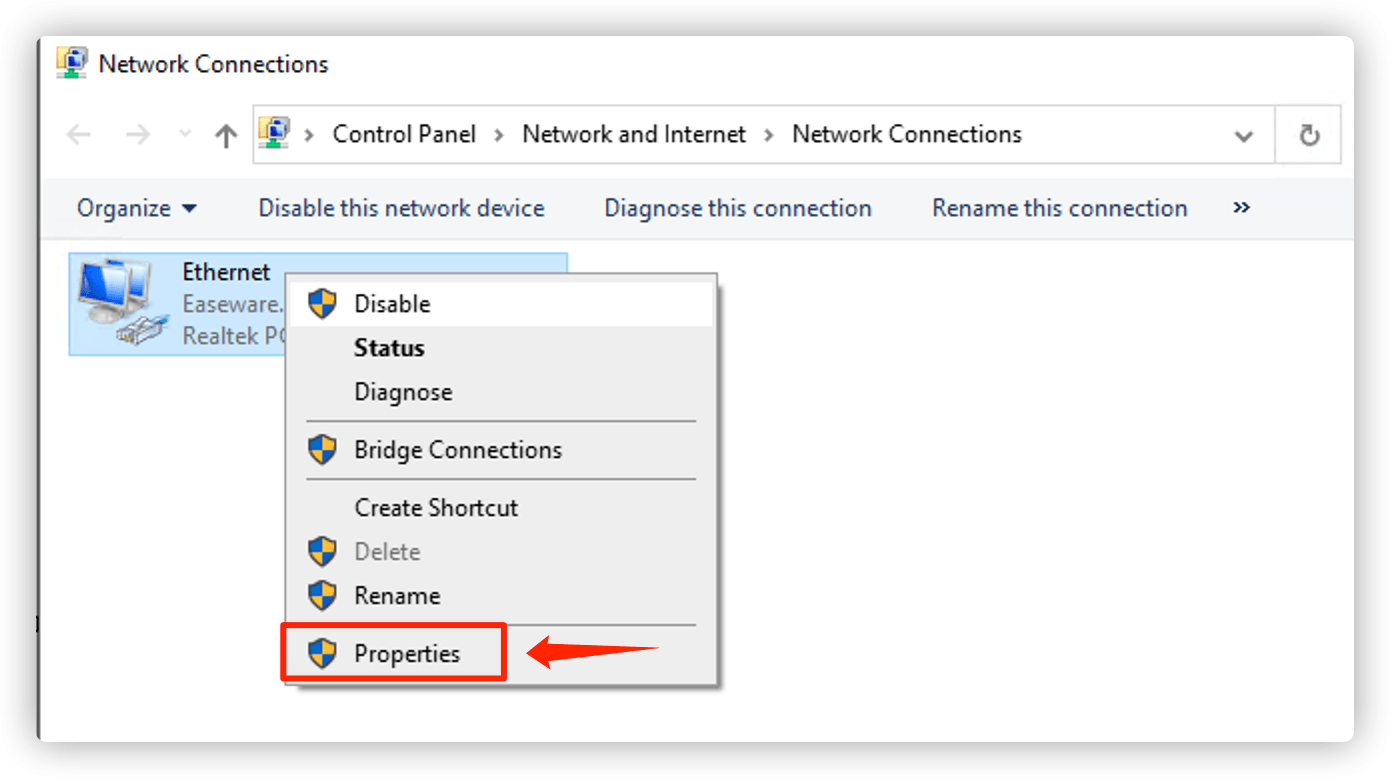
- Right-click your connection type (Ethernet or WiFi) and select Properties.
- Double-click Internet Protocol Version 4 (TCP/IPv4).

- Select Use the Following DNS Server Address, and enter the following DNS servers:
- Preferred DNS server: 8.8.8.8
- Alternate DNS server: 8.8.4.4
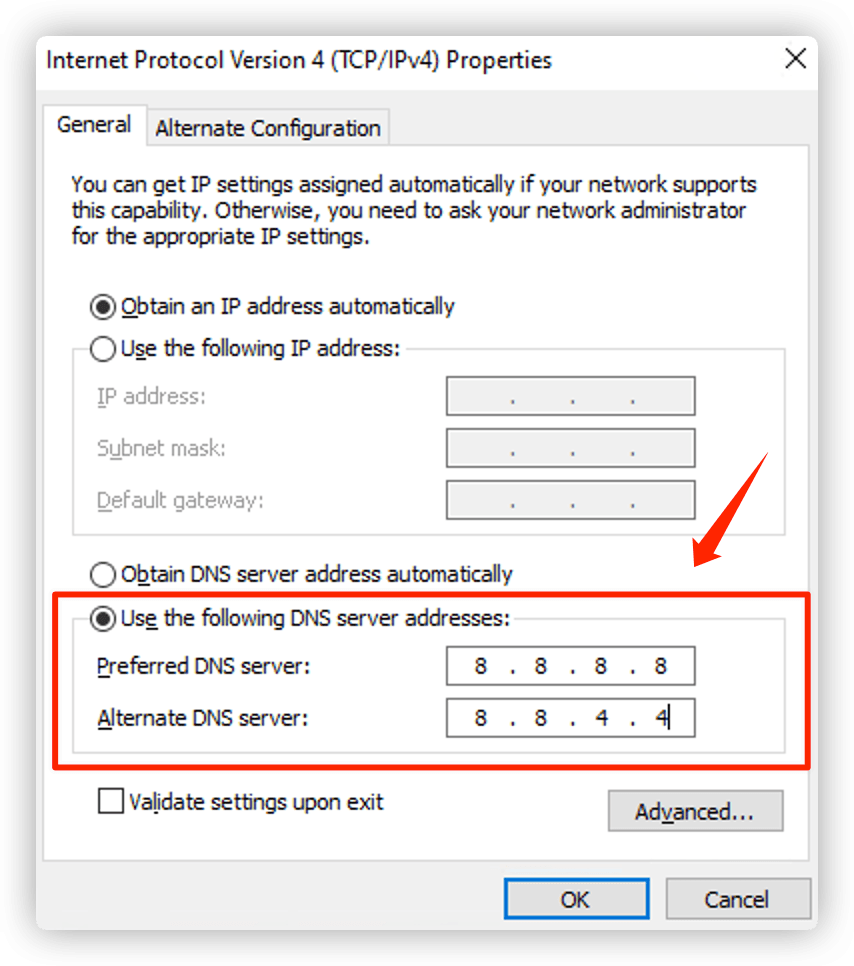
- Hit OK to save the changes.
Do these methods above fix your “internet is connected but not working” problem? Feel free to leave your comment below if you have any questions or suggestions.