


 When you say your Internet isn’t working on PC, you probably refer to one of these situations:
- Your computer hasn’t been able to connect to either the wired or wireless Internet.
- Your wireless Internet is connected but not working on PC.
- Your wireless Internet is connected for a short time and then disconnects itself regularly.
- Your Internet is connected but your browser isn’t working.
Don’t worry, Internet issues have happened to almost everyone; and many people got their Internet working again with one of the fixes below.
Try these fixes
Here are 6 fixes that have helped many users get their Internet working again. You may not have to try them all; just work your way down the list until you find the one that works for you.
- Delete temp files and clear browsing data
- Reset your DNS server
- Reset TCP/IP and Winsock
- Update your network adapter driver
- Run the network adapter troubleshooter
- Disable any proxy connection
If you can use your Internet on other devices but not PC, try the troubleshooting steps below.
Fix 1: Delete temp files and clear browsing data
There’re many reasons that may cause Internet not to work. But resetting the computer to its default state often helps bring back the Internet. Deleting temp files and clearing browsing data are two of the ways to help reset your computer to its initial state.
You can try manually deleting your system temp files to fix your Internet not working — how to delete system temp files.
If your Internet is connected but only your browser isn’t working, you can also try clearing your browsing data in your browser — how to clear browsing data.
How to delete system temp files
- On your keyboard, press the Windows logo
 key and E at the same time to open File Explorer.
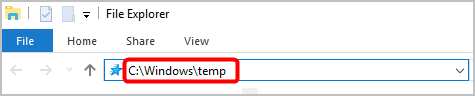
 - In the address box, type C:\Windows\temp and press Enter.
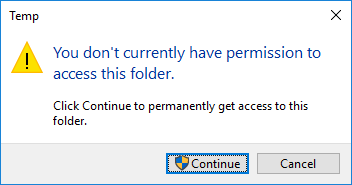
- If you’re prompted for administrator permission, click Continue.
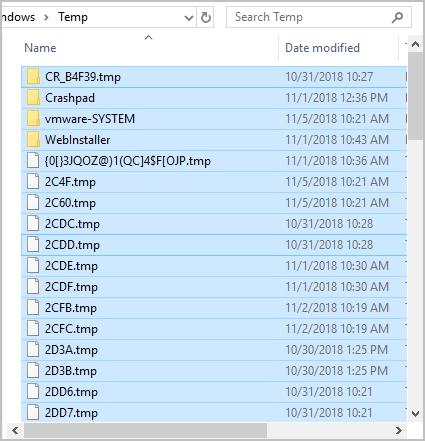
- You’ll see all the system temp files in this folder. Press Ctrl+A at the same time to select all the files, then press the Del key to delete them.
- Try to connect to the Internet. Does it work? If it does, congrats! If not, try Fix 2.
How to clear browsing data
If you use Chrome:
- Click the three dots on the far right, select History > History.

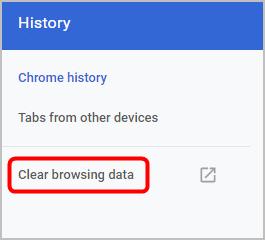
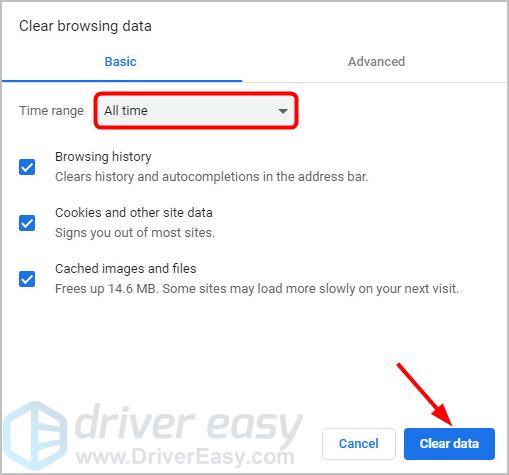
- On the left, click Clear browsing data.
- Select All time from the drop-down menu, and click Clear data.
- Restart Chrome and check if it works now. If not, try Fix 2.
If you use Firefox:
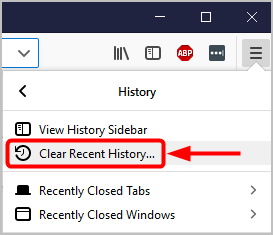
- Click the three lines on the upper right, then select Library > History > Clear Recent History.
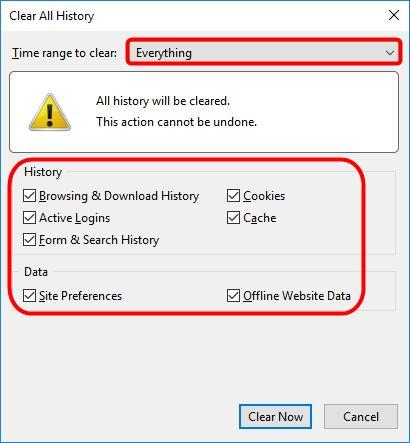
- A small window will pop up and ask you for details about what to delete. Select all checkboxes and set the time range to Everything.
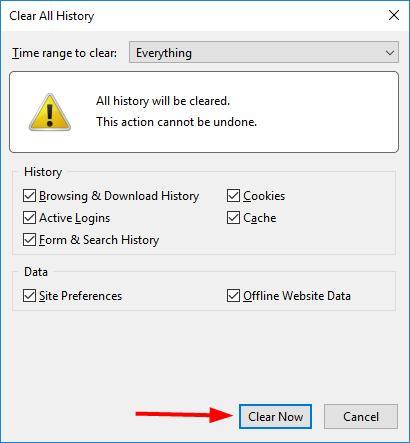
- Click Clear Now.
- Relaunch Firefox and test. If it still doesn’t work, try Fix 2.
If you use Internet Explorer:
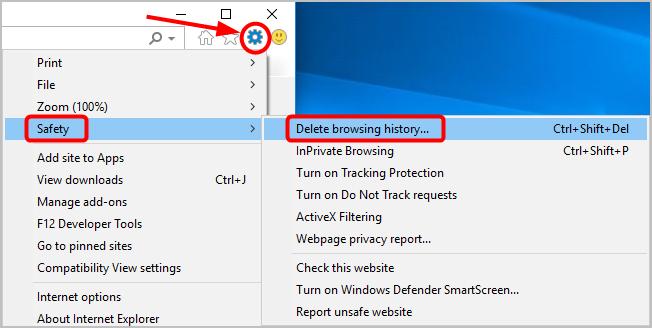
- Click the Tools icon in the upper-right corner, and select Safety > Delete browsing history.
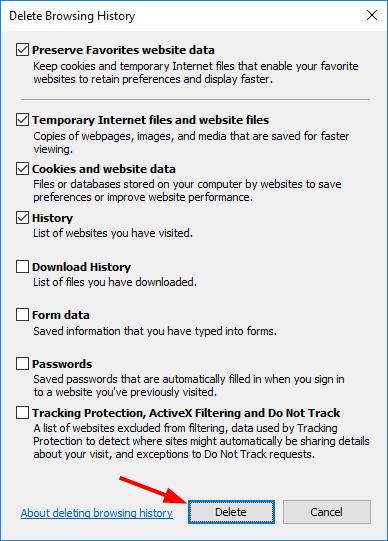
- Click Delete.
- Close IE and launch it again to check for your Internet not working problem. If the problem still exists, try Fix 2, below.
Fix 2: Reset your DNS server
You can also try resetting your DNS (Domain Name System) server. DNS is responsible for translating a website address into an IP address, so your computer will understand it. If your computer can’t access the Internet, your DNS server may be having a problem, then you can try resetting your DNS server to Google Public DNS to fix the issue:
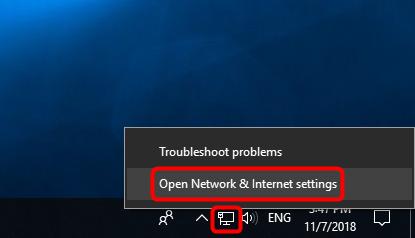
- Right-click the Internet access icon on the bottom right of your screen, then select Open Network & Internet settings.
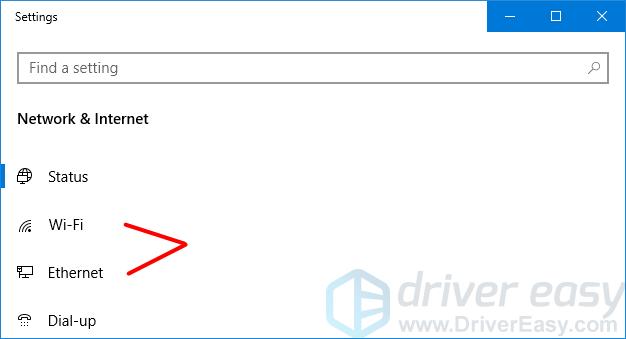
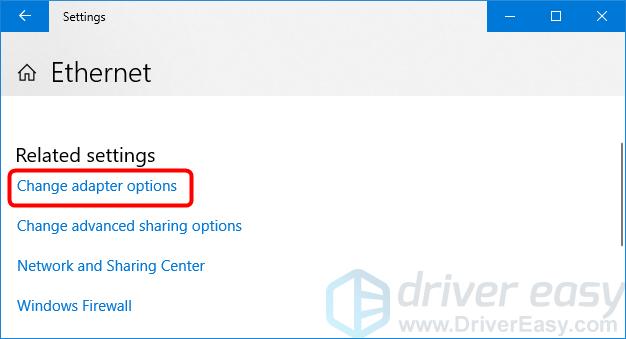
- If you can’t use the wired Internet, click Ethernet. Or if you can’t use the wireless Internet, click Wi-Fi.
- Click Change adapter options.
- Right-click on your Ethernet or Wi-FI, and select Properties.
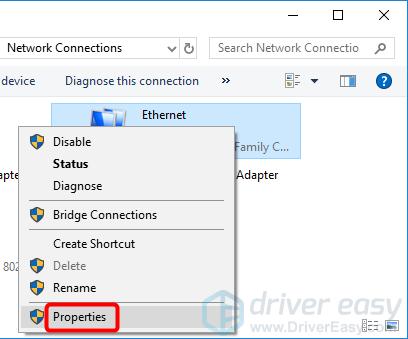
- Select Internet Protocol Version 4 (TCP/IPv4) and click Properties.

Make sure you select Obtain IP address automatically. (If you already did,) then in the section below, select Use the following DNS server addresses, and in the first box enter 8.8.8.8 then 8.8.4.4 in the second box.
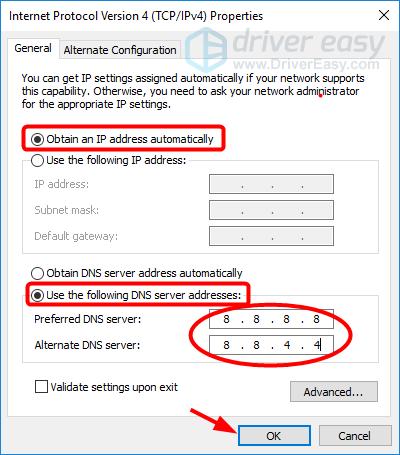
Click OK.
- Try to connect to the Internet. If it sill doesn’t work, try Fix 3, below.
Fix 3: Reset TCP/IP and Winsock
When TCP/IP or Winsock corrupts, you may also not be able to establish a connection to the server, load a web page and surf the Internet. You can try running the commands below as administrator to reset TCP/IP and Winsock.
- Type cmd in the Windows search box, then right-click Command Prompt and select Run as administrator.
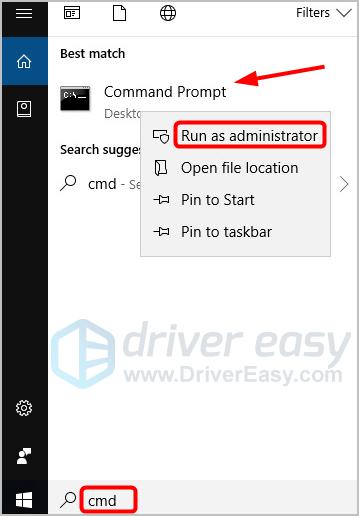
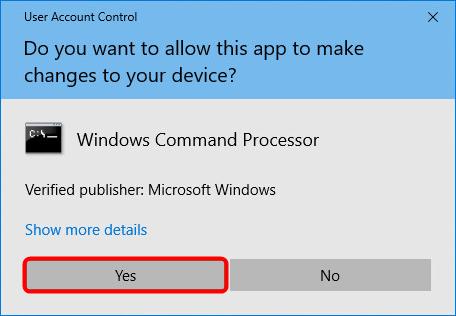
- When prompted for administrator permission, click Yes.
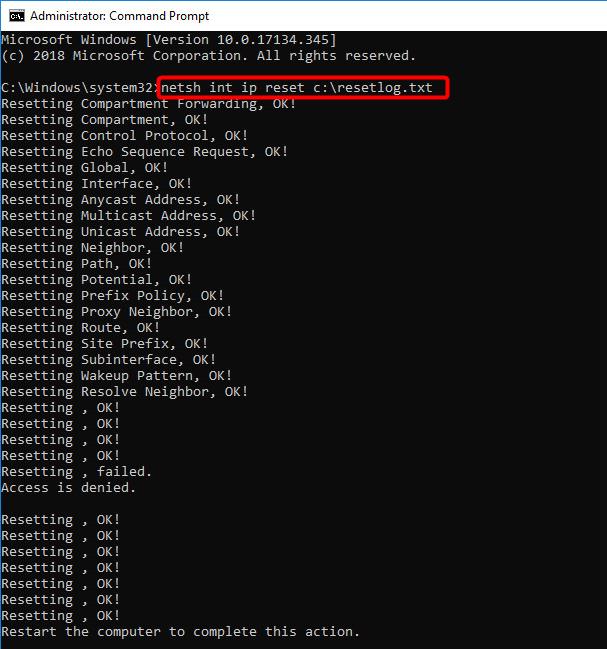
- Type netsh int ip reset c:\resetlog.txt then press Enter.
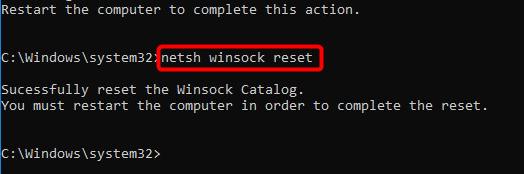
- Type netsh winsock reset and press Enter.
- Restart your computer and check if your Internet now works properly. If not, try Fix 4, below.
Fix 4: Update your network adapter driver
If the fixes above didn’t work for you, the most likely cause is a network adapter driver problem.
Fortunately, this is also one of the easiest problems to fix.
There are two ways to update your network adapter driver: manually and automatically.
Update your network adapter driver manually — You can update your driver manually by going to the hardware manufacturer’s website, and searching for the latest driver for your network adapter. But if you take this approach, be sure to choose the driver that’s compatible with the exact model number of your hardware, and your version of Windows.
or
Update your network adapter driver automatically — If you don’t have the time, patience or computer skills to update your driver manually, you can, instead, do it automatically with Driver Easy. You don’t need to know exactly what system your computer is running, you don’t need to risk downloading and installing the wrong driver, and you don’t need to worry about making a mistake when installing. Driver Easy handles it all.
- Download and install Driver Easy.
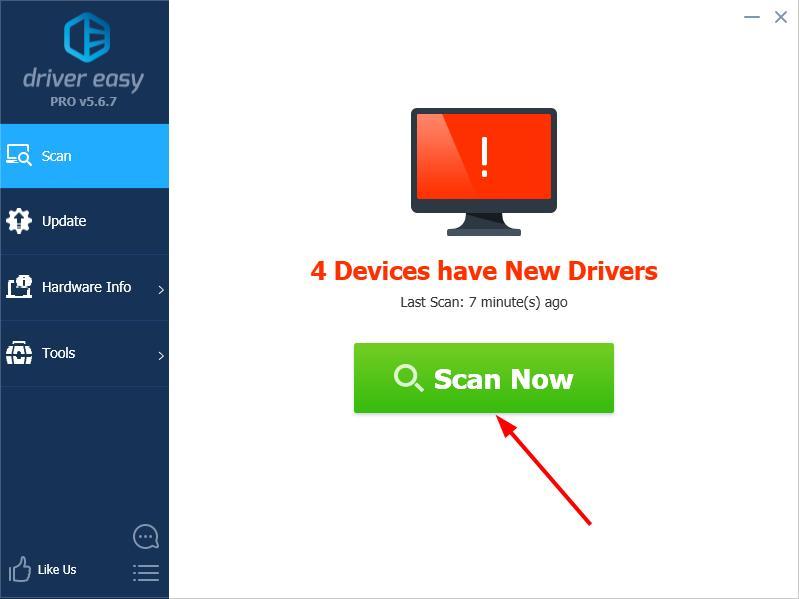
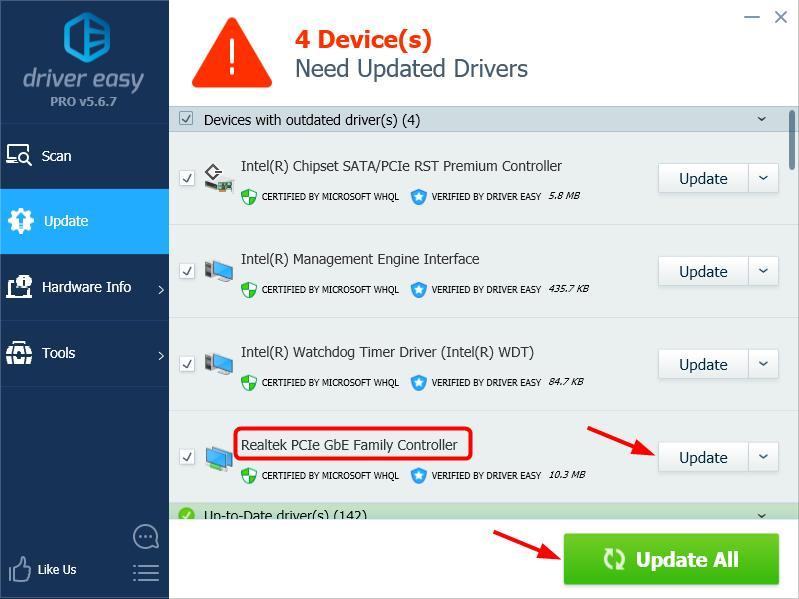
- Run Driver Easy and click Scan Now. Driver Easy will then scan your computer and detect any problem drivers.
- Click Update next to any flagged devices to automatically download the correct version of their drivers, then you can install them manually. Or click Update All to automatically download and install them all automatically. (This requires the Pro version – you’ll be prompted to upgrade when you click Update All. You get full support and a 30-day money back guarantee.)
- Restart your computer and check if your Internet now works properly. If it doesn’t, contact Driver Easy’s support team at support@drivereasy.com for further assistance. They’d be happy to help you. Or you can move on to Fix 5 below.
Fix 5: Run the network adapter troubleshooter
You can also use the handy tool — network adapter troubleshooter — to try fixing your Internet not working problem. You can run the network adapter troubleshooter by following the the steps below.
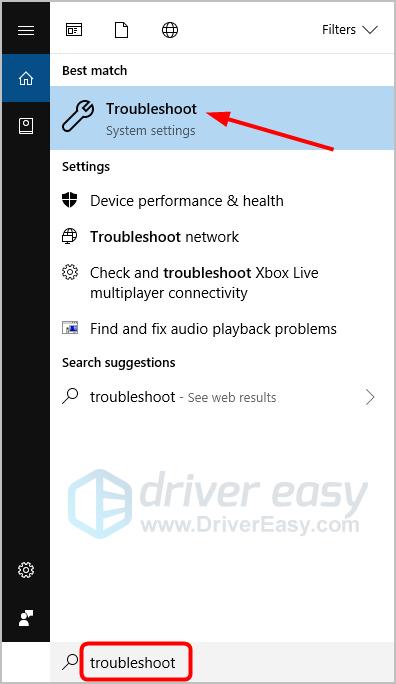
If you’re using Windows 10:
- Type troubleshoot in the search box and press Enter.
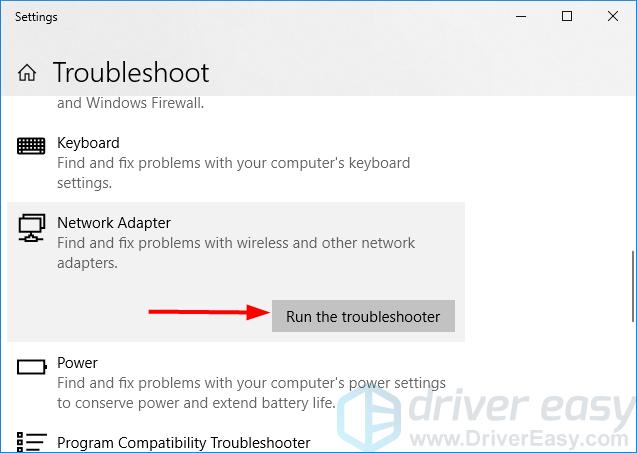
- Click Internet Connections, then click Run the troubleshooter.

- Click Network Adapter, then click Run the troubleshooter.
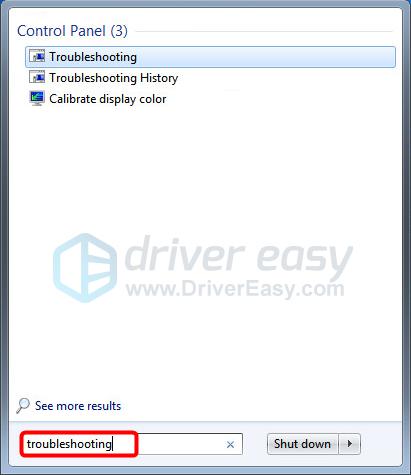
If you’re using Widows 7:
- Type troubleshooting in the search box and press Enter.
- Click View all.
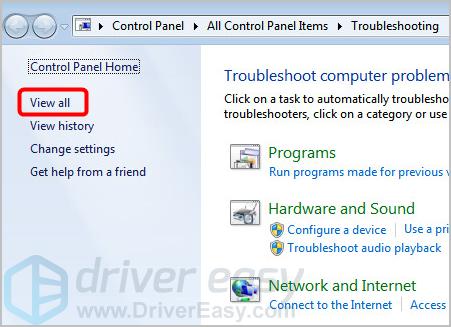
- Select Network Adapter and follow the on-screen prompts for troubleshooting.
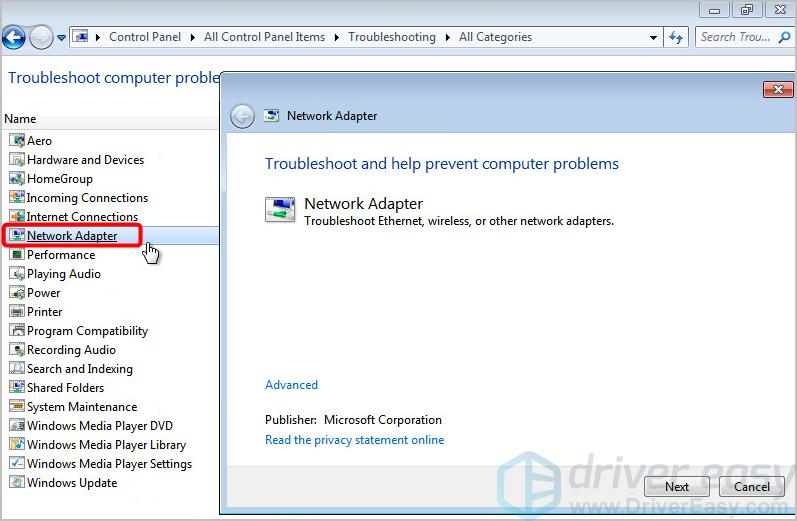
Check if your Internet works properly now; if not, try Fix 6, below.
Fix 6: Disable any proxy connection
If you still can’t use the Internet in a browser, try disabling any proxy connection and check.
We’ve explained, below, how to do this in Internet Explorer. If you use a different browser, obviously the process will be different. For example, if you use Google chrome, you can take these steps to check: click the three dots on the far right, select Settings, scroll down to the bottom, click Advanced, under System, click Open proxy settings, and the next steps are the same as in Internet Explorer.
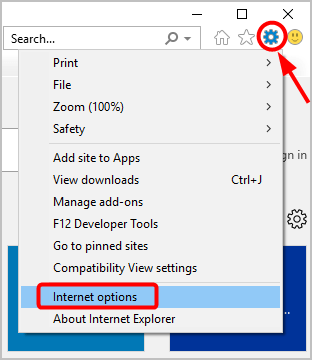
To disable proxy connection in Internet Explorer:
- Click the Tools button in the upper-right corner in Internet Explorer, then select Internet options.
- Click the Connections tab, then the LAN settings button.
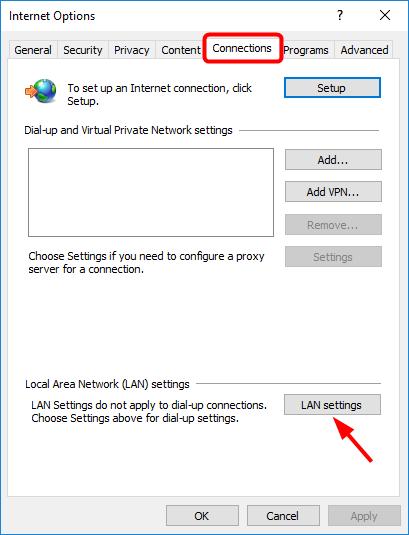
- De-select Use a proxy server for your LAN.
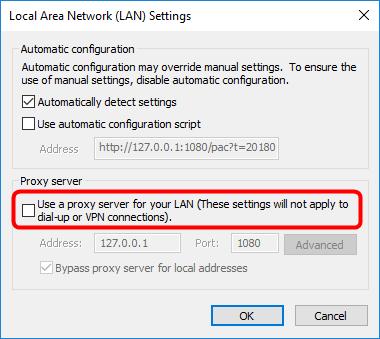
- Click OK.
- Restart your browser and check if it helps.
After trying the above fixes, are you now able to use the Internet? If not, don’t give up hope. Our IT specialists will help you fix it for free, if you buy Driver Easy. Plus you get a super-easy way to automatically update all you drivers, and keep your computer in tip-top shape!
Either way, as always, you’re more than welcome to leave a comment below to share your results or any other suggestions.