


“iPhone is disabled, connect to iTunes.”
You may come across this frustrating issue when you are a iPhone user. You cannot unlock your iPhone when this message is shown on the screen. Even worse, all data in your iPhone is erased if you have opened Erase Data in Settings.
The reason why this iPhone is Disabled Connect to iTunes problem happens is that you have exceeded the incorrect passcode attempts limit. That is to say, you have entered a certain number (10 for iPhone) of different wrong passcodes to try to unlock your phone.
At this time, there is no way you can unlock your iPhone without connecting to computer. And you cannot restore your data if you have not backed up your iPhone before. If you want to enable your iPhone again, you have to connect it to iTunes or iCloud, erase all your data and start your phone over.
Here is how to fix this iPhone is Disabled Connect to iTunes problem:
1. Enable your iPhone with iCloud
2. Enable your iPhone using iTunes
3. Set up your iPhone.
1. Enable Your iPhone with iCloud
If you have set up Find My iPhone in Settings on your iPhone, you can use iCloud to erase your data and enable your iPhone. (Note that your iPhone has to be connected to a WiFi or cellular network when you are using this method.)
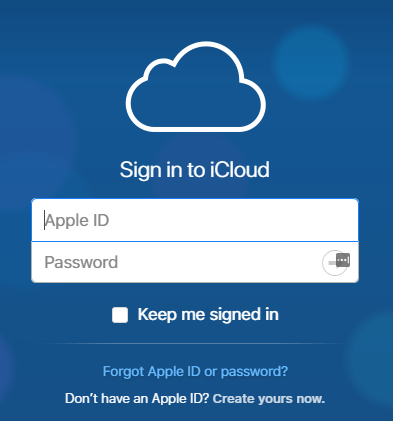
1) Go to icloud.com/find, and sign in with your Apple ID.
2) Click All Devices at the top and select the iPhone you want to erase.

3) Click Erase iPhone.

4) Now you have erased your iPhone and you can set it up.
2. Enable Your iPhone using iTunes
You can also put your iPhone in recovery mode and enable it using iTunes.
1) Connect your iPhone to a computer with the latest version of iTunes.
2) Open iTunes. And the force restart your iPhone and put it in recovery mode.
* To force restart your iPhone, press and hold the Sleep/Wake and Home (for iPhone 6s or earlier) or Volume Down (for iPhone 7 or 7 Plus) buttons at the same time till you see the the recovery mode screen (DO NOT let go when you see the Apple logo).

3) Choose Restore when you see this dialog shown below appear on iTunes.
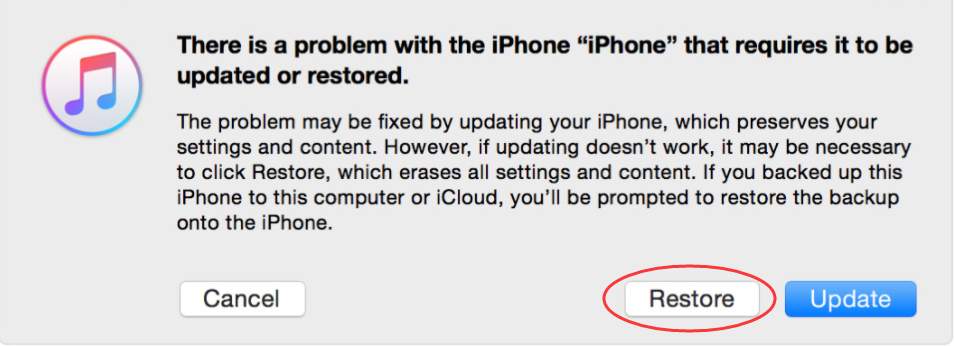
*iTunes will then download software for your iPhone. And you may repeat the steps b to c several times when it takes more than 15 minutes and your device exits recovery mode.
4) After the process finishes, you can set up your device.
3. Set up your iPhone
Once your device is erased, turn it on and you should see a Hello screen. Follow the setup steps till you reach the Apps & Data screen. And there are three options now:
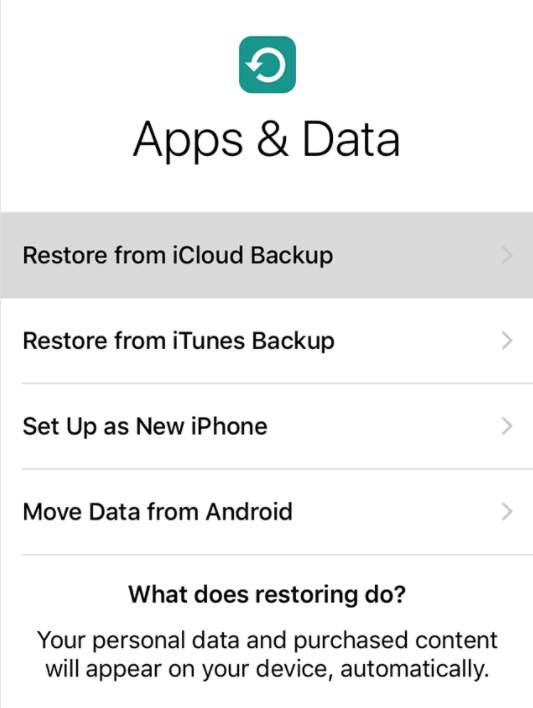
1) If you have never backed up before, tap Set Up as New iPhone. Then complete the following steps to finish the setup.
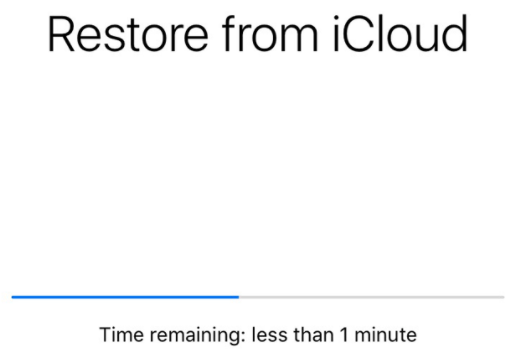
2) If you have backed up your data to iCloud, you can connect your iPhone to the Internet and select Restore from iCloud Backup. Then log in to iCloud with your Apple ID and choose a backup you want to restore to. A progress bar will appear and you should wait for it to complete.
3) If you have backed up your iPhone using iTunes, you can connect your device to a computer with the iTunes that you have used to back up your phone. Then:
i. Select your iPhone in iTunes.

ii. Choose Restore from iTunes backup on your phone.
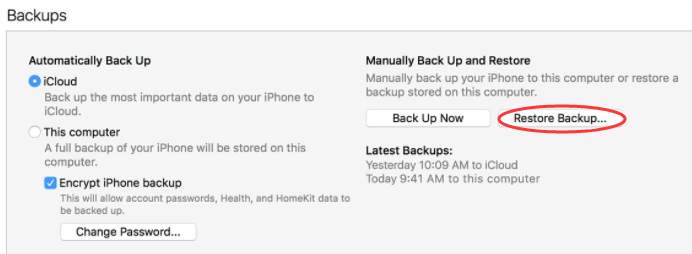
iii. In Backups section, select Restore Backup
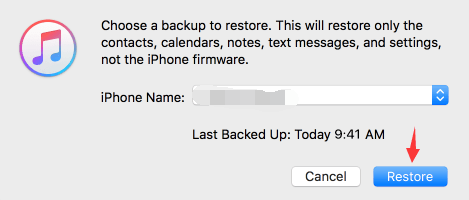
iv. Pick a backup you want to restore and click on Restore button when the restore dialog pops up.
v. Keep your iPhone connected to your computer before it complete the Restore process.
Once the setup is completed, you can start to use your iPhone.