


Just now you turn on your laptop but find it not connecting to Wi-Fi? That would be really bothersome. But there’s no need to panic. You’re certainly not the only one. We’ve seen many Windows users are reporting this laptop won’t connect to Wi-Fi issue. More importantly, it’s usually easy to fix. Read on and find how…
Fixes for ‘my laptop won’t connect to Wi-Fi’:
- Restart your modem and router
- Restart your laptop
- Reset your Wi-Fi driver
- Update your Wi-Fi driver
- Renew your IP address
- Temporarily turn off the third-party antivirus software on your laptop
Before we go…
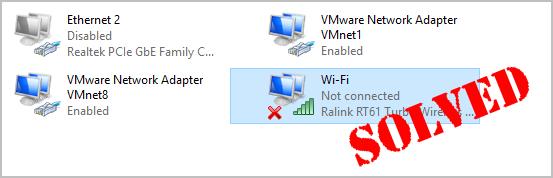
Before we go, make sure Wi-Fi is enable on your laptop, after that, do a simple check to figure out the cause to this problem is your Wi-Fi network or your laptop.
Connect your working smartphone or tablet to the same Wi-Fi network. Could your smartphone or other device connect to the Wi-Fi?
If your other device can connect to the Wi-Fi successfully, probably you should troubleshoot the problem on your laptop, you can then start with Method 2;
If your other device can’t connect to the Wi-Fi either, probably you should troubleshoot the problem on your Wi-Fi network, try Method 1.
Method 1: Restart your modem and router
You can quickly troubleshoot your Wi-Fi network issue by restarting your modem and Wi-Fi router.
Here’s how you can do it:
- Remove the cables of both your modem and router.
- Wait for a moment (at least 30 seconds).
- Plug your modem back in.(Please not that just your modem.) If your modem doesn’t power on, you may need to press the power button on it.
- Wait for a moment (at least 1 min).
- Plug your router back in. If your router doesn’t power on, you may need to press the power on it.
- Wait for at least 2 mins.
See if your laptop is connecting to the Wi-Fi.
Method 2: Restart your laptop
A simple restart can always help you fix a lot of computer woes. When your laptop won’t connect to Wi-Fi, you can try restarting your laptop and then once it reboots, see if it connects to your Wi-Fi network.
Method 3: Reset your Wi-Fi driver
Sometimes your Wi-Fi adapter may encounter conflicts with other devices and power interruptions, as a result, your laptop won’t connect to Wi-Fi. If this is the case, you can solve the problem through resetting your Wi-Fi driver.
Follow these easy steps:
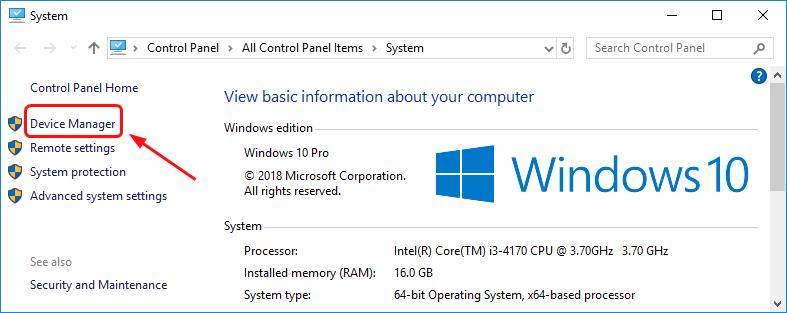
- On your keyboard, hold down the Windows logo key, then press Pause.
- Click Device Manager.
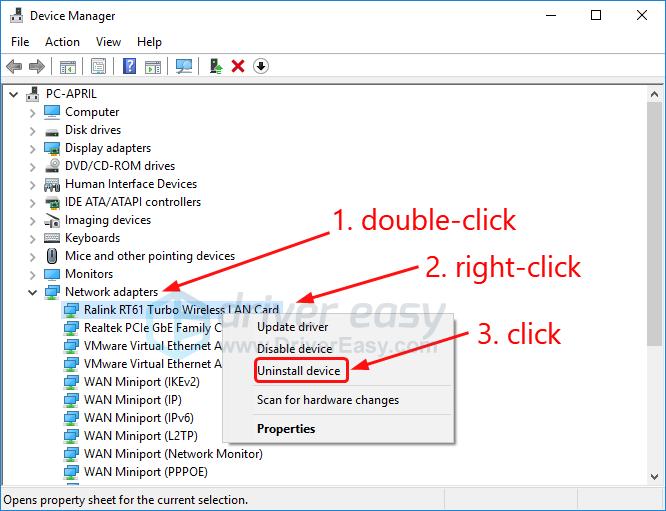
- Double-click Network adapters. Then right-click on your Wi-Fi driver software to select Uninstall device.
- Restart your laptop.
Once your laptop boots, wait a few seconds to see if it connects to Wi-Fi successfully.
If your laptop connects to Wi-Fi, great! If it still won’t connect to Wi-Fi, there’re something else you can try…
Method 4: Update your Wi-Fi driver
An old, corrupt, or missing Wi-Fi driver could also prevent your laptop from connecting to Wi-Fi. We recommend updating your Wi-Fi driver to the latest version to solve your network issue and improve the performance of your laptop.
There’re two ways to get the correct Wi-Fi driver of your laptop: manually or automatically.
Manually update your Wi-Fi driver — You can update your Wi-Fi driver manually by going to the manufacturer’s website for your wireless network card, like Broadcom, Realtek, Atheros, and searching for the most recent correct driver for it. Be sure to choose the only driver that is compatible with your Windows system.
Automatically update your Wi-Fi driver — If you don’t have the time, patience or computer skills to update your Wi-Fi driver manually, you can, instead, do it automatically with Driver Easy. Driver Easy will automatically recognize your system and find the correct driver for your exact wireless network card, and your Windows system, and it will download and install it correctly:
- Download and install Driver Easy.
- Run Driver Easy and click the Scan Now button. Driver Easy will then scan your computer and detect any problem drivers.

- Click Update All to automatically download and install the correct version of all the drivers that are missing or out of date on your system. (This requires the Pro version which comes with full support and a 30-day money back guarantee. You’ll be prompted to upgrade when you click Update All.)
Note: You can do it for free if you like, but it’s partly manual.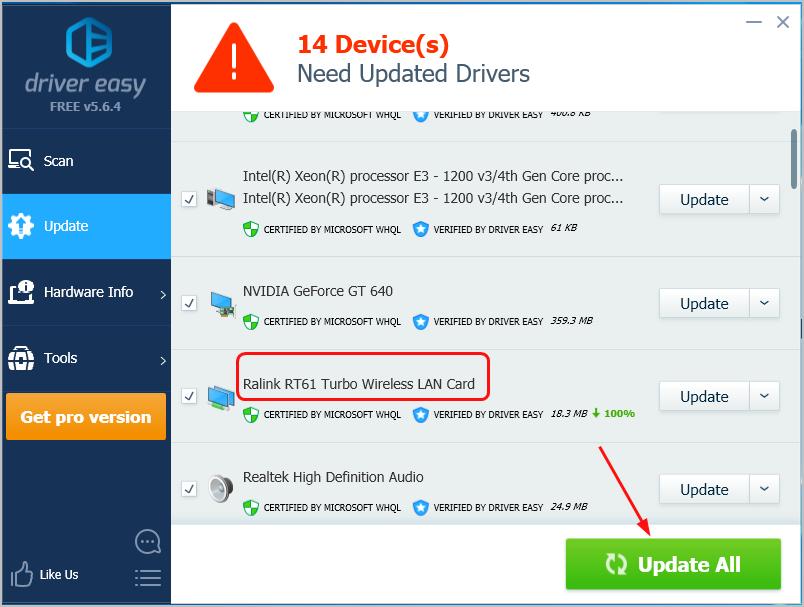
Once you update your Wi-Fi driver, connect your laptop to Wi-Fi to see if it works.
Method 5: Renew your IP address
Sometimes, IP conflicts may also cause your laptop not to connect to Wi-Fi successfully. You can simply solve it by renew the IP address on your laptop.
Here’s how you can do it:
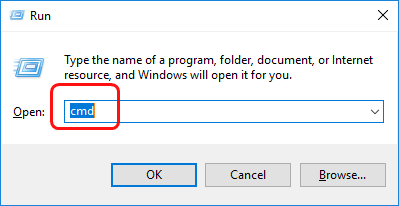
- On your keyboard, hold down the Windows logo key, then press R to bring up the Run box.
- Type cmd and press Enter.
- On the open black window, type ipconfig /release and press Enter. Wait for the command to complete.
ipconfig /release
Once the command completes, proceed to type ipconfig /renew and press Enter. Wait for the command to complete.
ipconfig /renew
Once you do, connect your laptop to Wi-Fi to see if it works. If it connects successfully, great! If your laptop still won’t connect to Wi-Fi, don’t give up hope, move onto Method 6.
Method 6: Temporarily turn off the third-party antivirus software on your laptop
The third-party antivirus software may also block Wi-Fi on your laptop. If all the methods above fails, you can try to temporarily turn off your antivirus software, then see if your laptop could connect to Wi-Fi.
Hopefully this post helps. Feel free to comment below with your own experiences and share with your friends if they’re having the same problem.