


Miracast is the built-in feature in Windows 8.1 and Windows 10, so computers that are running Windows 8.1 and Windows 10 can cast their screen to another screen wirelessly and seamlessly. But can I use Miracast on Windows 7? The answer is Yes. To know how to use Miracast in Windows 7, go on reading.
This post includes three parts:
What is Miracast
Miracast is a standard technology for wireless connections. It enables you to mirror your devices (such as PCs, tablets, or mobile phones) to screens like TVs and projectors, wirelessly and seamlessly. To simply put, it’s regarded as HDMI over WiFi.
This is a widespread technology that has been adopted by many device manufacturers, and Microsoft has been one of them. As a result, for Windows 8.1 and Windows 10, Miracast is supported and you can use Miracast easily.
If your computer came with Windows 8.1 or Windows 10 OS, you can just add your TV or projector wireless.
If your computer has been upgraded to Windows 8.1 or Windows 10 from an older version, you can use a Microsoft Miracast adapter to connect.
Can I use Miracast in Windows 7
Though Microsoft doesn’t provide built-in Miracast in Windows 7 and Windows 8, you can also enjoy Miracast with Windows 7 computers.
Before setting up, you should check your computer and see if it supports Miracast technology. Follow the steps below:
1. Does your Windows 7 computer support Miracast technology?
You can use Miracast technology if your computer supports wireless display. You can check the information with the methods below:
Method 1: Check Miracast support in cmd
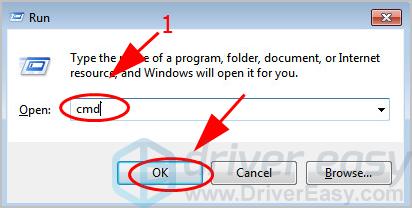
- On your keyboard, press the Windows logo key
 and R at the same time to invoke the Run box.
 - Type cmd and click OK.
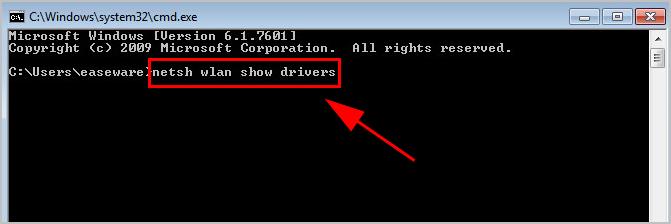
- Copy and paste the follow command in your cmd, and press Enter.
netsh wlan show drivers
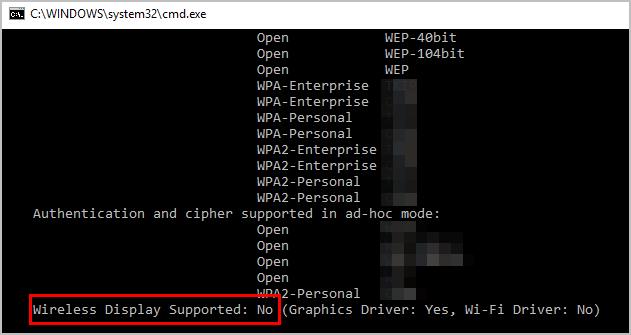
- In the result, find Miracast and see if it’s supported.
If you see Wireless Display Support: No, your computer doesn’t support Miracast unfortunately. But you can still streaming your screen to your TVs via Google Chromecast, which is the alternative for Miracast.
If you see Wireless Display Supported: Yes, then your computer supports Miracast and you can use Miracast directly. Then continue to the next part: 2. Update avaialble drivers in your computer.

Method 2: Check Miracast support in DirectX Diagnostic Tool
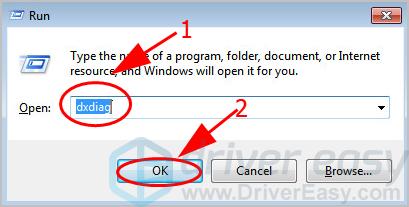
- On your keyboard, press the Windows logo key and R at the same time to invoke the Run box.
- Type dxdiag and click OK.
- DirectX Diagnostic Tool pops up. Click Save All Information.
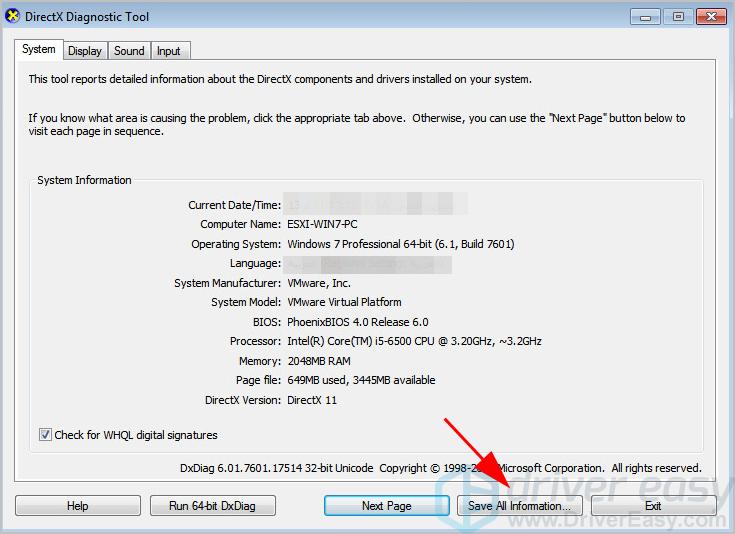
- Save the information in your computer.
- Open the text that you just saved, and find Miracast to see if it’s available.
If Miracast is not supported, your computer doesn’t support Miracast unfortunately. But you can still streaming your screen to your TVs via Google Chromecast, which is the alternative for Miracast.
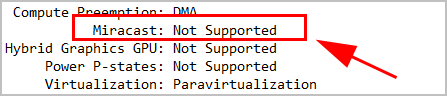
If Miracast is available, that’s great. And you’re good to go.

2. Is device drivers up to date in your computer?
Since Miracast is available in your Windows 7 computer or laptop, you can connect your computer screen to TVs or projectors wirelessly. Before setup, you should ensure that the drivers in your computer are up to date, especially your graphics card driver and network adapter driver.
There are two ways to update your drivers: manually and automatically.
Manually update drivers – You can manually update your drivers by downloading the latest version of your drivers from manufacturers, and installing it in your computer. This requires time and computer skills.
Automatically update drivers – If you don’t have time or patience, you can do it automatically with Driver Easy.
Driver Easy will automatically recognize your system and find the correct drivers for it. You don’t need to know exactly what system your computer is running, you don’t need to risk downloading and installing the wrong driver, and you don’t need to worry about making a mistake when installing.
You can update your drivers automatically with either the FREE or the Pro version of Driver Easy. But with the Pro version it takes just 2 clicks (and you get full support and a 30-day money back guarantee):
- Download and install Driver Easy.
- Run Driver Easy and click the Scan Now button. Driver Easy will then scan your computer and detect any problem drivers.
- Click the Update button next to flagged devices to automatically download the latest drivers (you can do this with the FREE version). Then install the drivers in your computer.
Or click Update All the automatically download and install the correct version of all the drivers that are missing or out of date on your system (this requires the Pro version – you’ll be prompted to upgrade when you click Update All).
- Restart your computer to take effect.
After updating device drivers in your computer, you can now start setting up Miracast for Windows 7.
How to use Miracast in Windows 7
Now you can start the setup for Miracast in Windows 7. There two options to use Miracast in Windows 7.
Way 1: Use Miracast with Intel WiDi
Intel WiDi (Intel Wireless Display) is the technology that allows people to stream videos wirelessly to TVs. Intel WiDi has been discontinued since 2015 because of Miracast in Windows 8.1 and Windows 10. However, for Windows 7 users, you can continue using Intel WiDi.
So if you’re using Intel WiDi, you can stream your computer screen to another screen via Intel WiDi.
- Set up the Intel WiDi by following the product manual.
- Open Intel WiDi software.
- Search for your wireless display in the software, and then connect to it.
For more details of the setup, you can check this video for details: https://www.youtube.com/watch?v=oUN8rbhfShg
Now enjoy the wireless casting videos!
Way 2: Use Miracast via Miracast adapter
Another option to use Miracast and cast your Windows 7 screen to another monitor, is to use a Miracast adapter or wireless display adapter.
- You’ll need a Miracast adapter or wireless display adapter. You can search this kind of adapter on the Internet.
- Connect your wireless display adapter or dongle to the ports (usually HDMI port or USB port) in your TV or other monitor you want to cast to.
- Power up your TV or monitor.
- On your Windows 7 computer, Go to Control Panel > Hardware and Sound > Add a device.
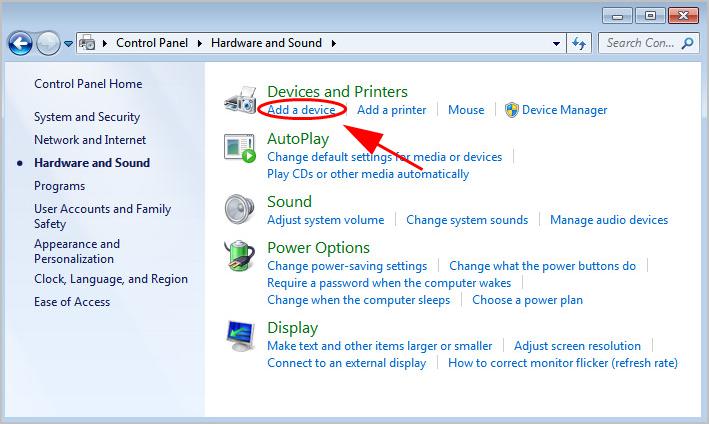
- Add your TV or monitor to your computer.
Tadah. Now you should be able to cast your Windows 7 screen to another monitor.