


If you have the need to play Steam games offline, then congratulations, Steam does have this function and this post will tell you how to set up offline mode step by step.
Before you set up offline mode in Steam, there are three things you need to check:
- Game requirement:
If your game needs an active connection or uses an external launcher, it can’t work in offline mode. - Steam version:
Make sure your Steam has updated to the latest version. - Initial game start-up:
Most games need an initial game start-up so that they can work in offline mode.
Set up offline mode:
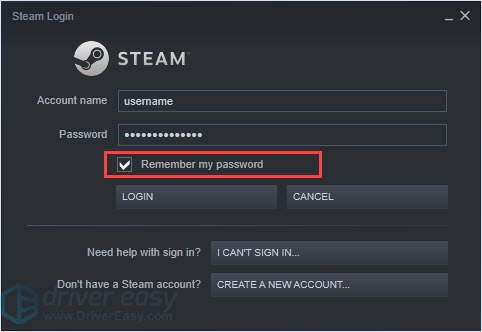
- Run Steam and log in while it’s connected to the internet. Remember to tick Remember my password.
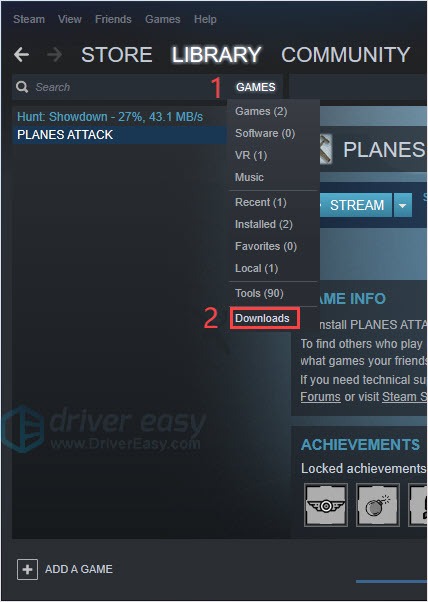
- Under the LIBRARY tab, click GAMES then choose Downloads. Verify that all the games are completely updated and no current downloads on Steam.
- Launch the game you want to play offline and make sure it has no other updates.
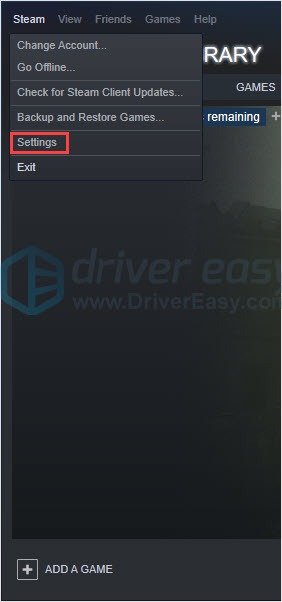
- Close the Game and click the Steam button in the upper left corner. Then click Settings.
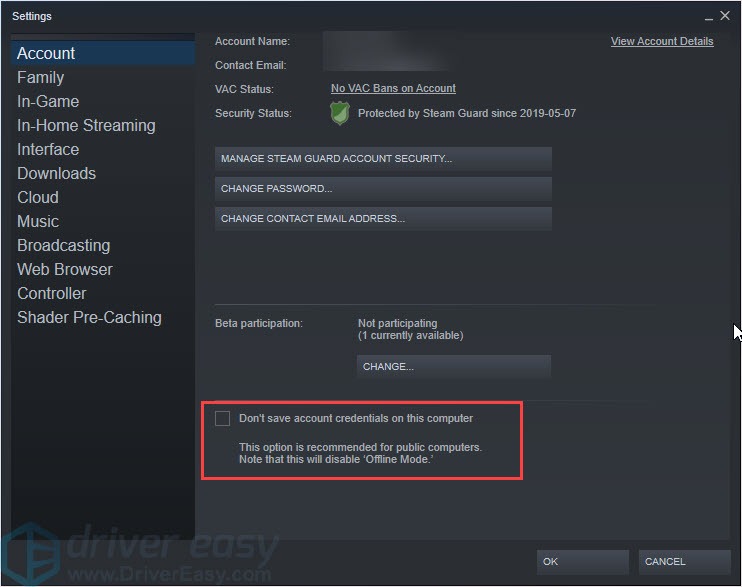
- Ensure you did NOT tick Don’t save account credentials on this computer. If you tick it, you can’t use the Offline Mode.
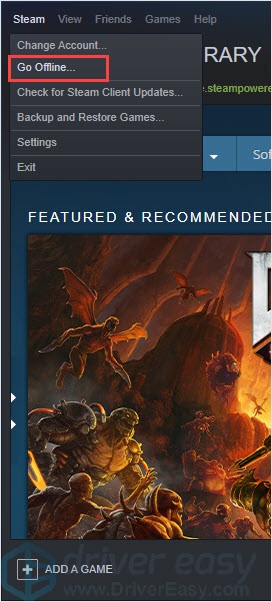
- Click the Steam button in the topper left and click Go Offline.
- Click RESTART IN OFFLINE MODE. Steam will restart in Offline Mode.
Note: If you would like to back online, you can click Go Online when you launch Steam.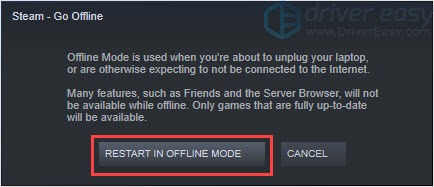
Tips for Play Steam Games Offline
1) Prevent losing stored information.
You may meet this problem: your games can’t function correctly in offline mode. It may be caused by losing the stored information required for offline mode to function correctly. To prevent this from happening, you have to make sure that Steam is completely shut down before shutting down your PC, and Steam is not forced to quit.
2) Update Steam client or game files when needed
After setting up offline mode, if your game status is “100%-Ready” but it failed to run in offline mode, you need to update the Steam client or game files.
3) Get a better game experience
To get a better gaming experience, it’s very important to keep your drivers updated. The outdated or wrong drivers for your graphics card, network card, sound card, etc. may cause problems.
Manually finding drivers for Windows takes forever and you may not find what you need. If you don’t have the time, patience or computer skills to update drivers manually, you can do it automatically with Driver Easy.
Driver Easy will automatically recognize your system and find the correct drivers for it. You don’t need to know exactly what system your computer is running, you don’t need to risk downloading and installing the wrong driver, and you don’t need to worry about making a mistake when installing.
You can update your drivers automatically with either the FREE or the Pro version of Driver Easy. But with the Pro version it takes just 2 clicks (and you get full support and a 30-day money back guarantee):
- Download and install Driver Easy.
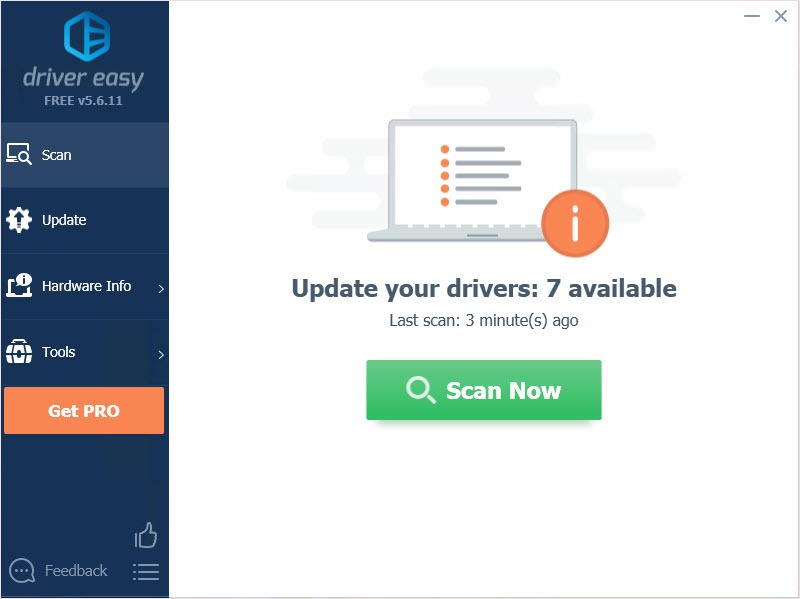
- Run Driver Easy and click the Scan Now button. Driver Easy will then scan your computer and detect any problem drivers.
- Click the Update button next to the driver to automatically download the correct version of that driver, then you can manually install it (you can do this with the FREE version).
Or click Update All to automatically download and install the correct version of all the drivers that are missing or out of date on your system. (This requires the Pro version which comes with full support and a 30-day money back guarantee. You’ll be prompted to upgrade when you click Update All.)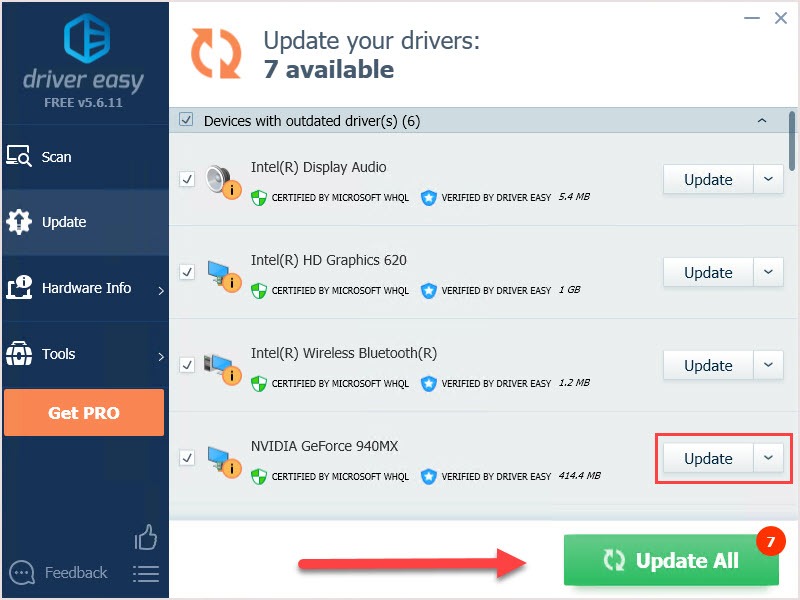
Thanks for reading. We hope you can successfully enjoy your offline games. If you have any suggestions or questions, you’re welcome to leave comments below.