


Have you noticed an option called REDUCE BUFFERING in your Overwatch graphics settings? If you’re wondering what it is and what it does, you’re not alone! Many Overwatch users are also curious about functions of this option.
In this article, we’ll talk about what the reduce buffering option does and if you should turn it on or off. Also, if you have any issues with this option, we’ve put together a few solutions to help you fix them.
What is Reduce Buffering and what does it do?
Buffering makes your game look smoother (by rendering some frames before they are displayed). But in many cases, you’ll be having input lag issues if this feature is enabled. So you may need to turn on the Reduce Buffering option to reduce input lag.
But when should you turn it on?
Usually, if you’re able to run your game at a frame rate (FPS) higher than your monitor highest refresh rate, we recommend you turn the Reduce Buffering option on to reduce input lag. Otherwise, you may need to disable this to avoid stuttering.
How to fix issues with the Reduce Buffering option?
Sometimes you may still have input lag or other issues like FPS drop when you’ve enabled this option. The following are a few things you can try to fix your issues:
Method 1: Restart your game
You may be having issues with Reduce Buffering especially after you press the Alt and Tab keys on your keyboard to switch between Overwatch and other programs. Restarting your game helps you fix this issue. After you do an Alt-Tab, try exiting your game and launching it again. Then check to see if this fixes the issue for you.
Hopefully it does. But if not, you may need to…
Method 2: Update your graphics driver
Updating your graphics driver may help you fix any issues caused by reduced buffering. Also, you should keep your graphics driver up to date, because it’s very common for a wrong or outdated driver to cause your computer to crash or lag under gaming conditions.
If you don’t have the time, patience or computer skills to update the graphics driver manually, you can do it automatically with Driver Easy.
Driver Easy will automatically recognize your system and find the correct driver for it. You don’t need to know exactly what system your computer is running, you don’t need to risk downloading and installing the wrong driver, and you don’t need to worry about making a mistake when installing.
You can update your driver automatically with either the FREE or the Pro version of Driver Easy. But with the Pro version it takes just 2 clicks:
- Download and install Driver Easy.
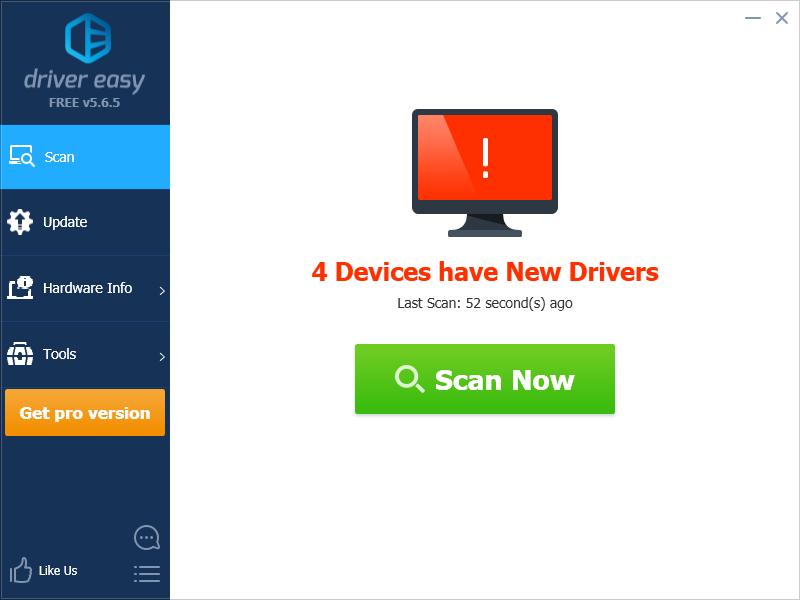
- Run Driver Easy and click the Scan Now button. Driver Easy will then scan your computer and detect any problem driver.
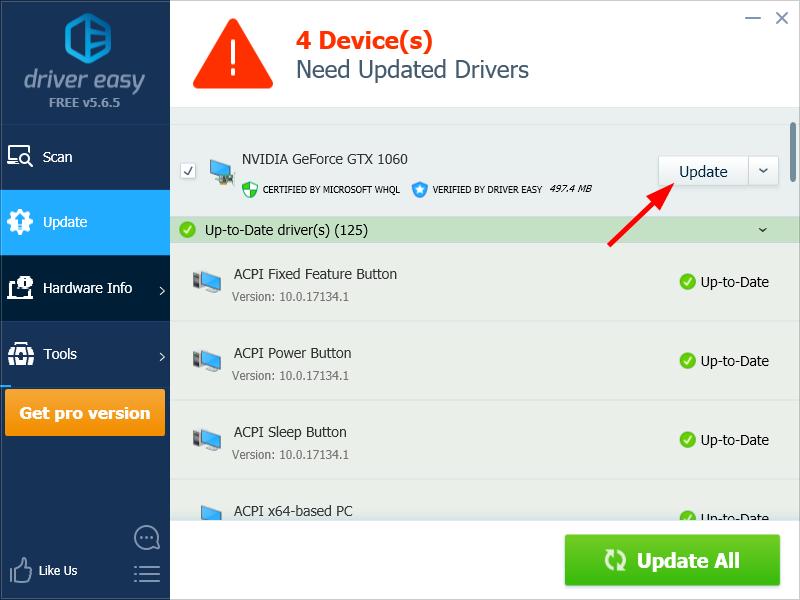
- Click the Update button next to your graphics card to download the latest and correct driver for it, then you can manually install it. You can also click Update All to automatically download and install the correct version of all the driver that are missing or out of date on your system (this requires the Pro version – you’ll be prompted to upgrade when you click Update All).
You can do it for free if you like, but it’s partly manual.