


Getting any error codes or messages during the gameplay could be quite frustrating. This happens to some players in Red Dead Redemption 2. They receive an error saying ERR_MEM_VIRTUAL_OF_MEMORY, which stops them from continuing the journey. Luckily, it’s fixable, simply by increasing the page file size. But some may need to try other methods in order to get rid of this error. Read on and find out how.
Try these fixes
Not all solutions are necessary, so just work the list down until you find the one that solves your problem.
How to increase the page file size
To increase the page file size, take these steps:
1) In the Search box, type advanced system settings. Then click View advanced system settings from the list of results. 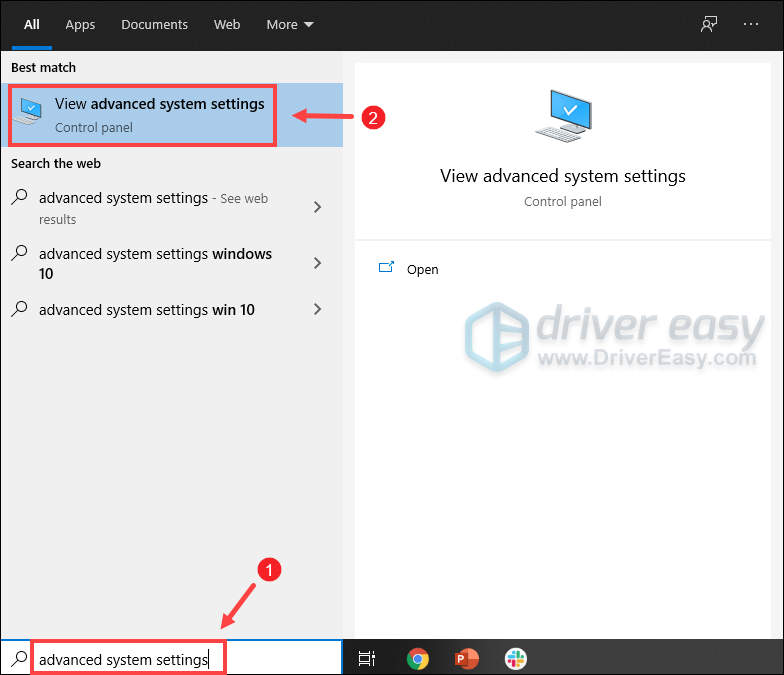
2) Under the Advanced tab, click Settings.
3) Select the Advanced tab and then click Change….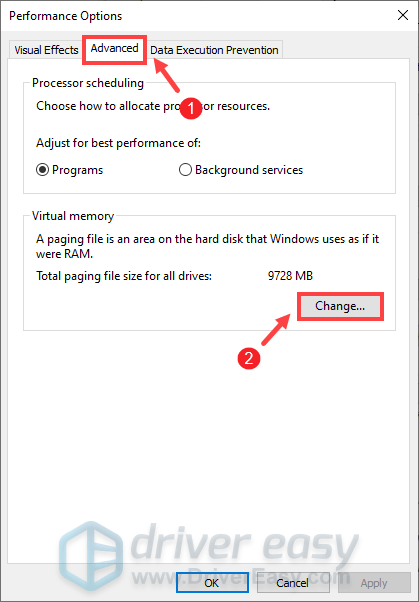
4) Uncheck Automatically manage paging file size for all drives.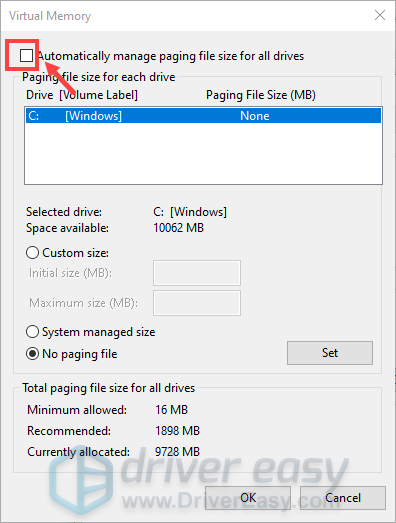
5) Select your C drive and then tick Custom size. 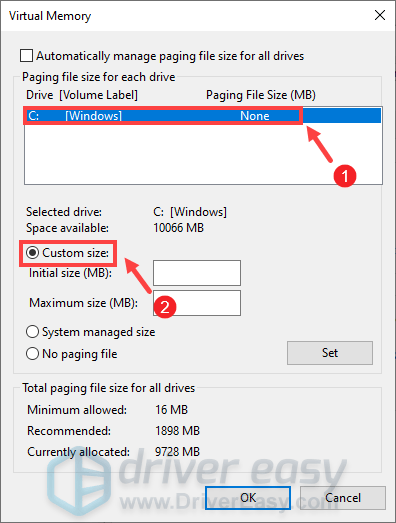
6) Type in the values for Initial size and Maximum size. Then click OK to save the changes.
(Tips: Microsoft recommends that the virtual memory you set is no less than 1.5 times and no more than 3 times the size of your RAM. To check RAM on Windows, follow the instructions below. )
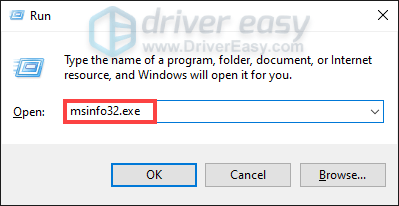
- On your keyboard, press Windows + R keys simultaneously to invoke the Run box.
- Type msinfo32.exe and press Enter.
- Scroll down and look for the Installed Physical Memory (RAM) entry.
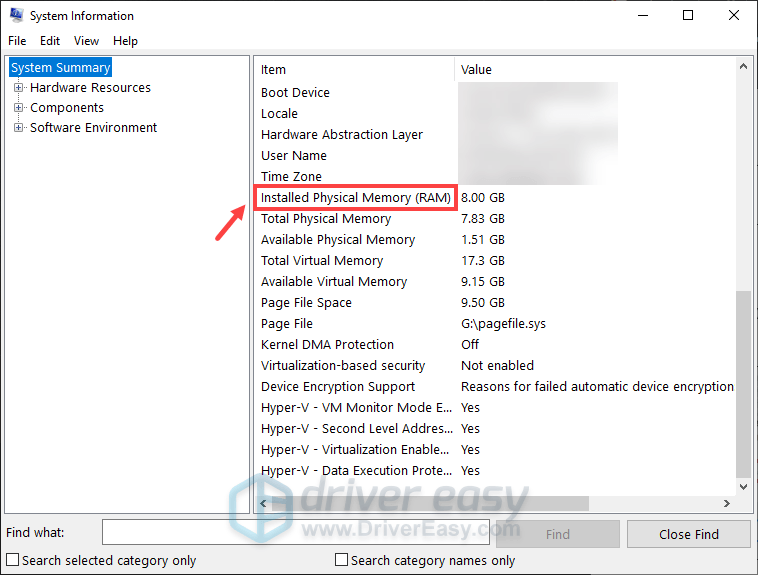
1 GB (Gigabyte) = 1000 MB (Megabyte)
So in my case, the recommended initial size is: 8 GB * 1000 * 1.5 = 12000 MB
For the recommended maximum size, it will be: 8 GB * 1000 * 3 = 24000 MB
After increasing the page file size, launch Red Dead Redemption 2 and you should be able to enjoy your gameplay without receiving the Out of virtual memory error. However, in case your issue persists, we’ve gathered some workarounds for you.
Change API from Vulkan to DirectX 12
By default, the API in Red Dead Redemption is set to Vulkan. However, players have found that most of the crashes along with error codes or messages are related to graphics API. To fix it, you can switch it to DirectX 12 and check if your problem is resolved:
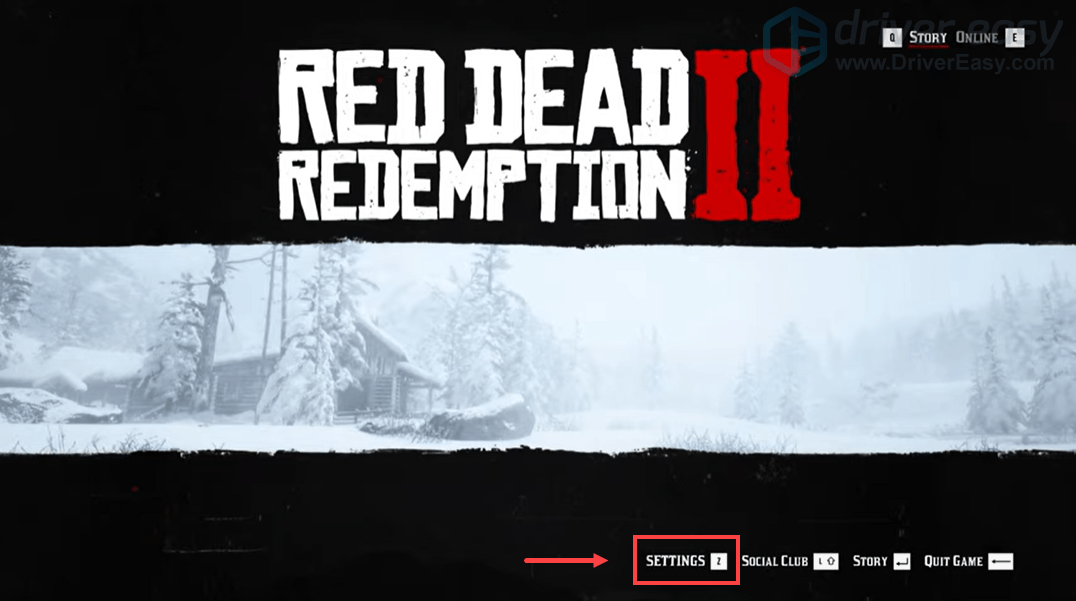
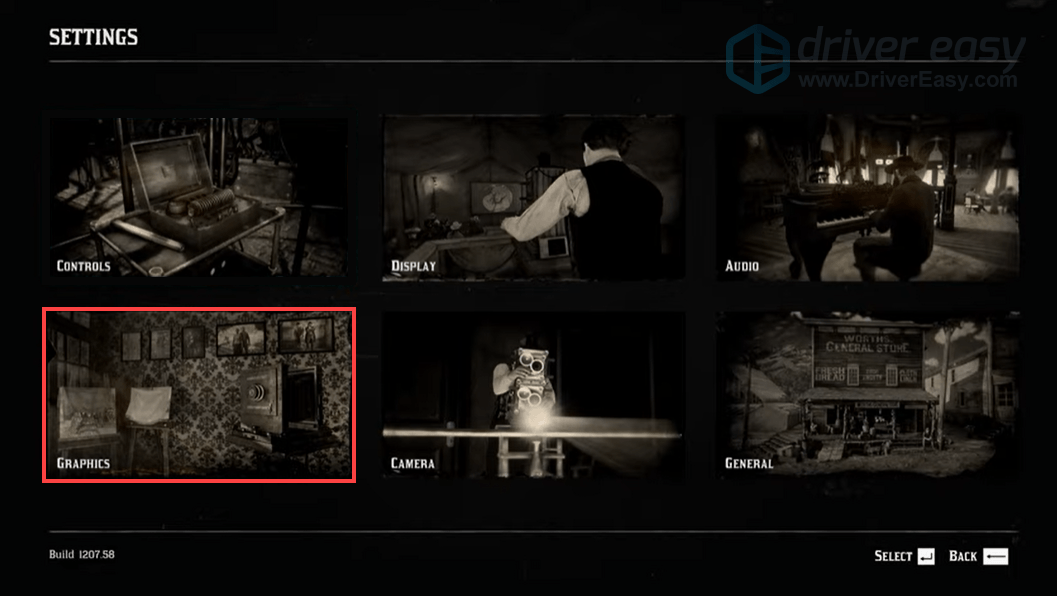
1) Go to the SETTINGS menu in the game.
2) Click GRAPHICS.
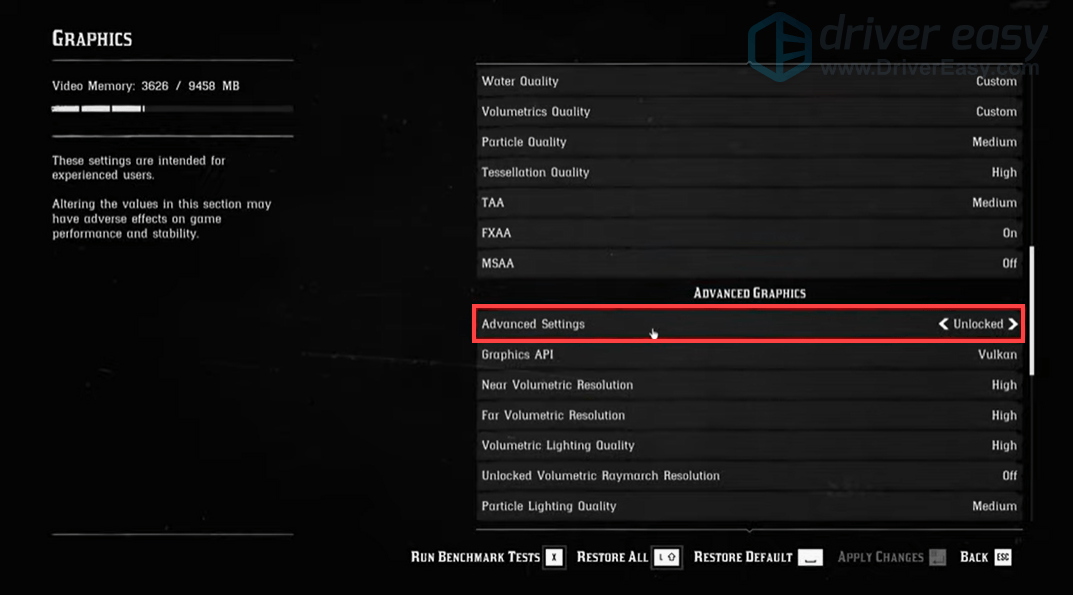
3) Scroll down to the Advanced Settings section and make sure the Advanced Settings option is set to Unlocked.
4) In the Graphics API section, change it to DirectX 12 by clicking on the arrow button.
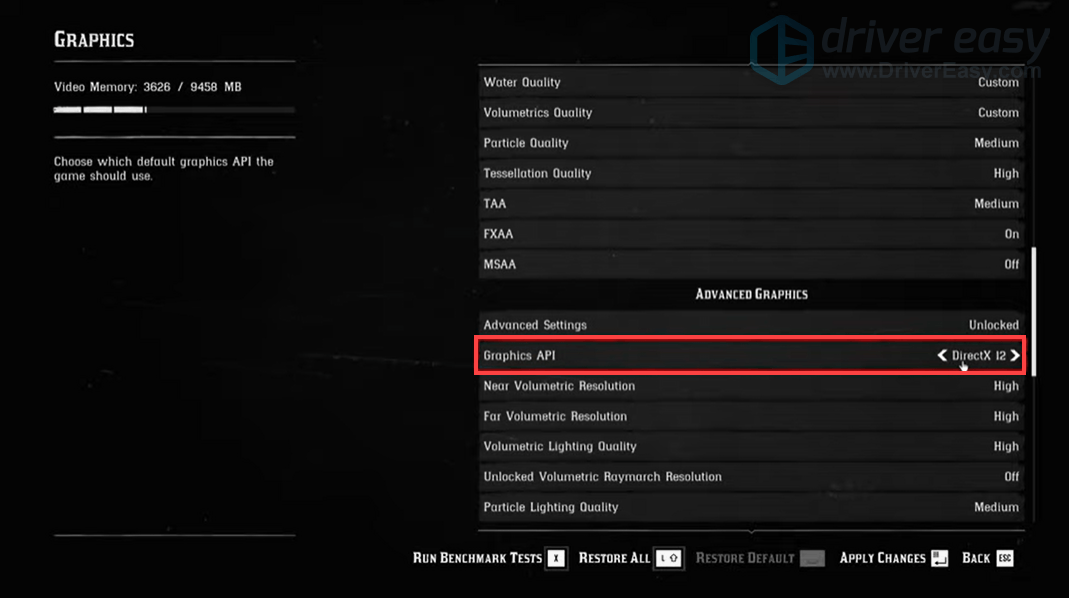
5) Press Enter to apply the changes.
If it didn’t work, attempt to update your device drivers, especially your graphics driver.
Update your device drivers
A driver is an essential piece of software that lets your system communicate with your hardware. If the device drivers are outdated, it would cause noticeable performance problems. Therefore, when you experience constant crashes when playing video games, you should make sure your drivers are up-to-date.
You may not be able to fix or prevent every single crash, but updating drivers can help you keep them down. Moreover, driver updates can give you a speed boost, fix problems, and sometimes even provide you with completely new features, all for free. So there are no apparent reasons not to update your drivers.
To update your device drivers, you can either do it manually via the Device Manager or head to the manufacturer’s driver download page to download and install the exact drivers for your system. This requires a certain level of computer knowledge and can be a headache if you aren’t tech-savvy. Therefore, we would like to recommend you use an automatic driver updater such as Driver Easy. With Driver Easy, you don’t need to waste your time hunting for driver updates as it will take care of the busy work for you.
1) Download and install Driver Easy.
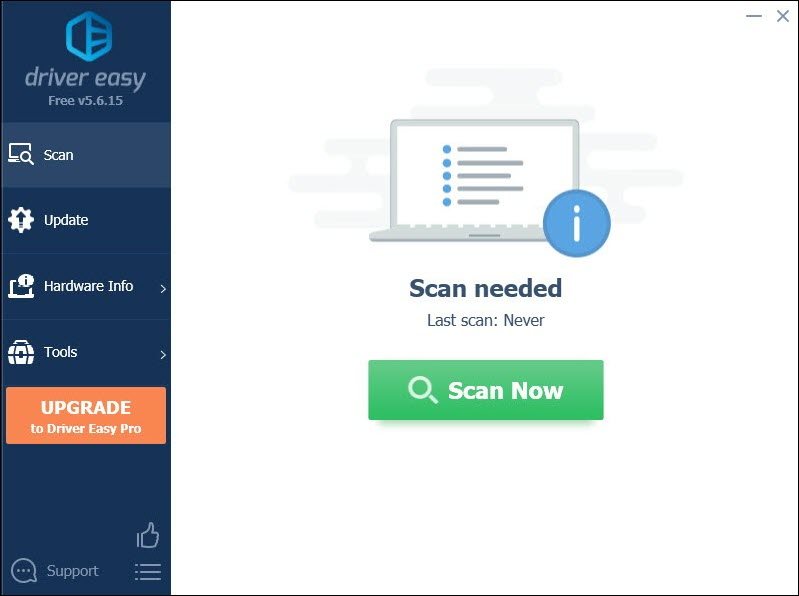
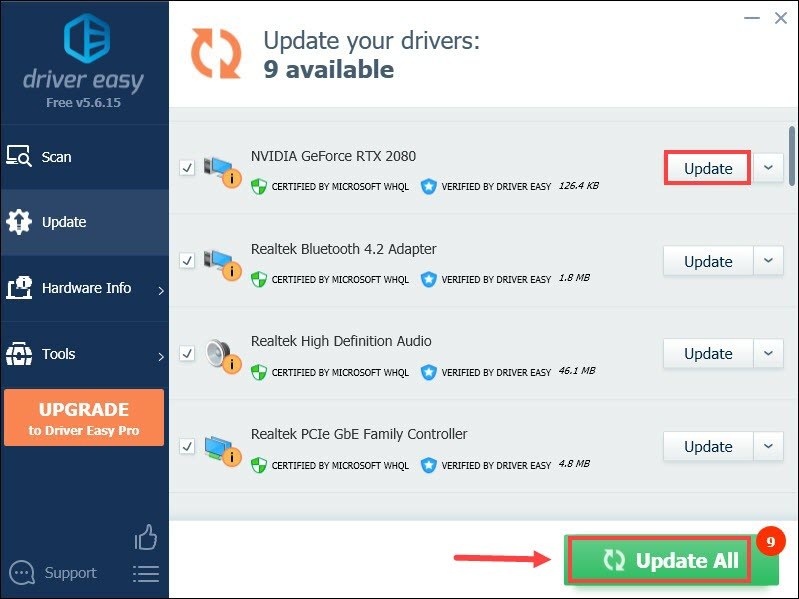
2) Run Driver Easy and click the Scan Now button. Driver Easy will then scan your computer and detect any devices with missing or outdated drivers.
3) Click Update All. Driver Easy will then download and update all your outdated and missing device drivers, giving you the latest version of each, direct from the device manufacturer.
(This requires the Pro version which comes with full support and a 30-day money-back guarantee. You’ll be prompted to upgrade when you click Update All. If you don’t want to upgrade to the Pro version, you can also update your drivers with the FREE version. All you need to do is to download them one at a time and manually install them. )
After updating your drivers, you may need to restart your PC in order to let the changes take full effect. Upon reboot, launch your game and your problem should be resolved.
Hopefully, this post helped! If you have any ideas or questions, feel free to drop us a line in the comment section below.