 You may often use Skype to contact colleagues and friends. If you somehow aren’t able to send messages on Skype, it’s not only causing inconvenience but annoyance. But don’t don’t worry, there’re practical solutions to Skype not sending messages.
Try these solutions
Here are 4 solutions that have helped other users get Skype sending messages again. You don’t have to try them all, just work your way down the list until you find the ones that works for you.
Solution 1 – Reset Skype
Resetting Skype to its default settings has solved the Skype messages not sending problem for a lot of users. So, we recommend it as the first option for you to try. Follow the steps below:
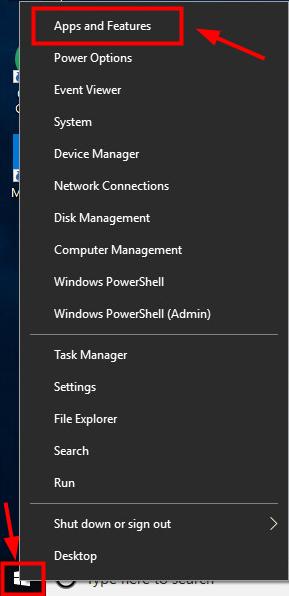
- Right-click the Start button and select Apps and Features.
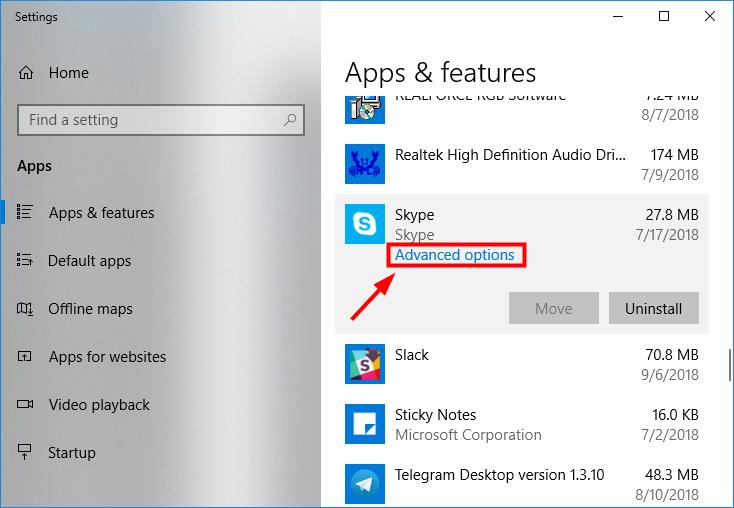
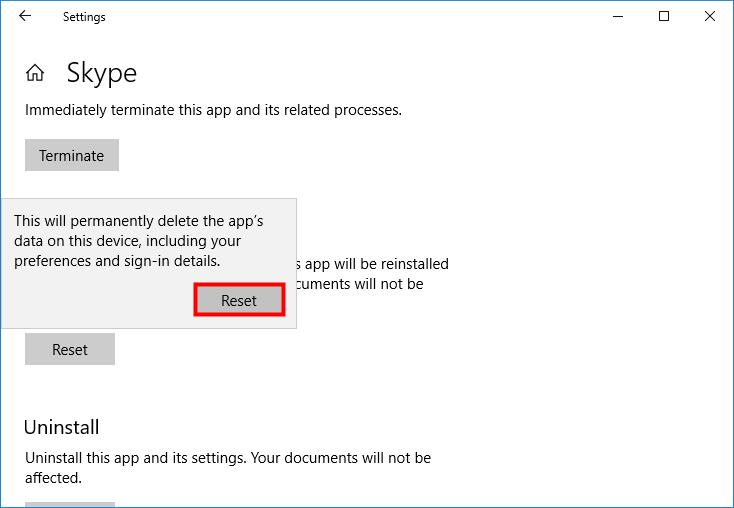
- Navigate to and select Skype, then click Advanced options.
- Under Reset, click the Reset button.
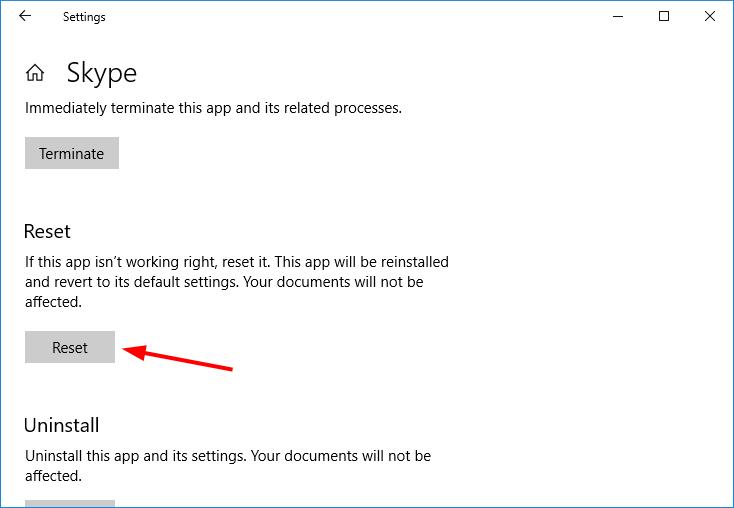
- Click Reset as confirmation.
- When the reset is finished, you’ll see a tick next to the Reset button. Then you can close the Settings window.
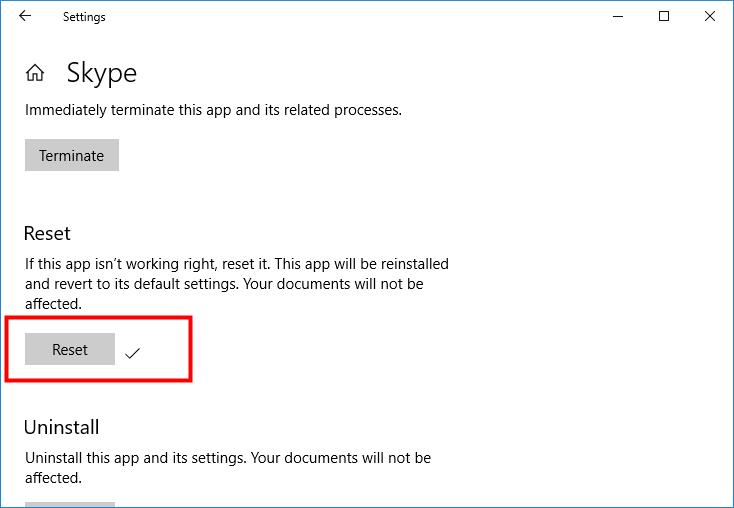
- Log into Skype and test by sending a message to a contact.

Solution 2 – Update your Skype to the latest version
If you’re using an older version of Skype on Windows 10, you can check for updates in the Microsoft Store to try fixing the Skype messages not sending problem.

For Windows 7 & 8 users, you can sign into Skype and select Help, then Check for updates.
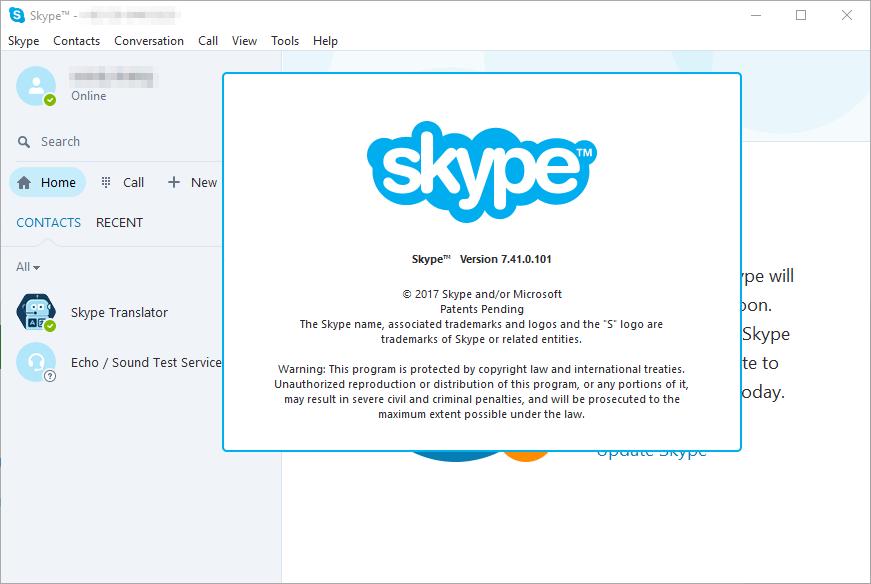
Solution 3 – Get the classic version of Skype
If the above steps produce no results in your Microsoft Skype, then you may try installing the classic version of Skype for your Windows PC. Click this link to download the classic Skype 7.41.0.101 for Windows.
Solution 4 – Reinstall Skype
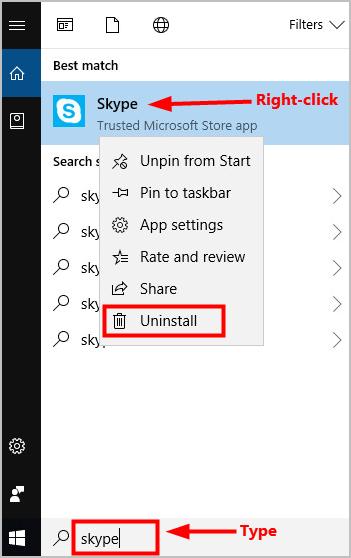
If feeling at your wit’s end, you might as well try reinstalling Skype to fix the issue. Follow these steps:
- Type skype in the Windows search box, right-click on Skype and select Uninstall.
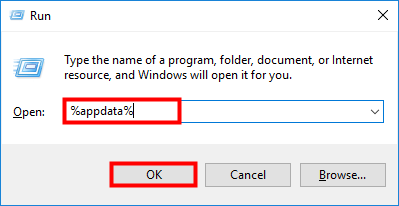
- On your keyboard, press the Windows

key and R at the same time to open the Run box.
- Type %appdata% and click OK.
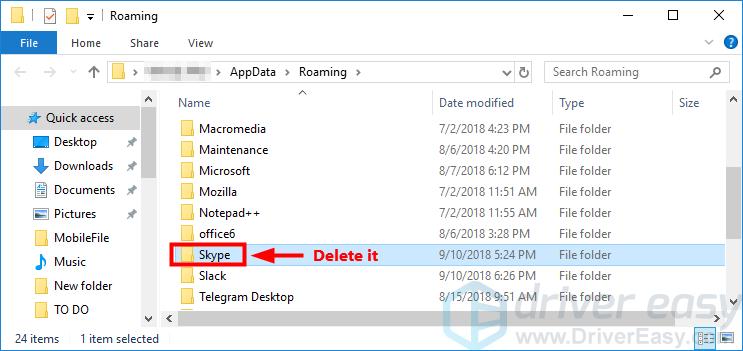
- Select the Skype folder and delete it to completely remove Skype from your computer.
- Click this link to download Skype.
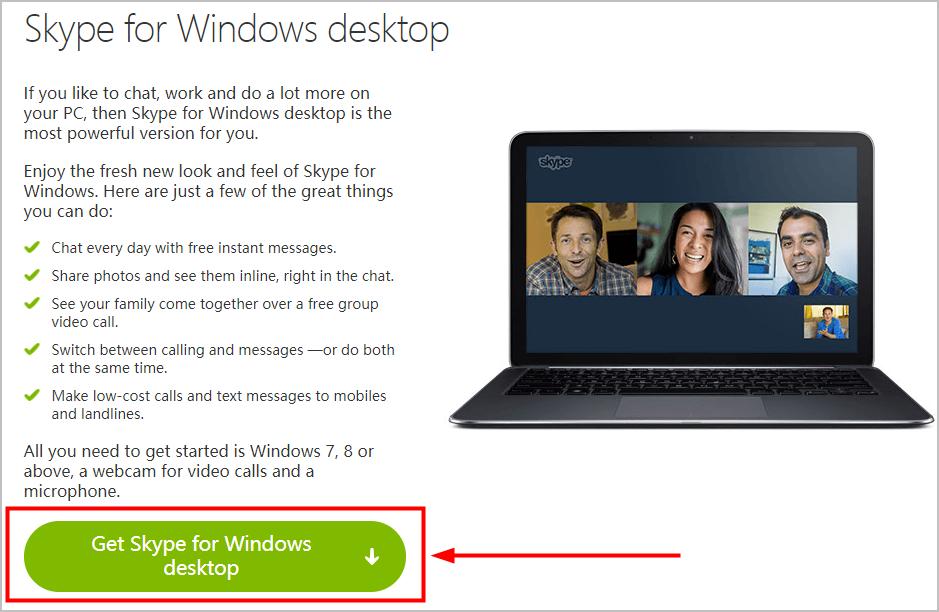
- When the download is completed, open the downloaded file and follow the onscreen instructions to reinstall Skype on your PC.
Hopefully this fixes your problem.
Bonus tip:
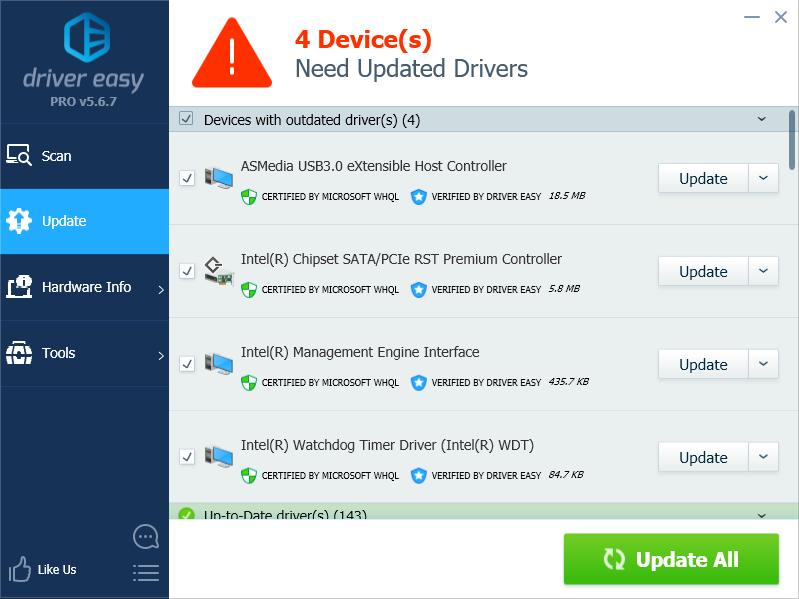
As you may often video chat with your contacts on Skype, to ensure a smooth chat, you should keep your device drivers up to date.
If you don’t have the time, patience or computer skills to update all your drivers manually, you can do it automatically with Driver Easy. You don’t need to know exactly what system your computer is running, you don’t need to risk downloading and installing the wrong driver, and you don’t need to worry about making a mistake when installing. Driver Easy handles it all.
- Download and install Driver Easy.
- Run Driver Easy and click Scan Now. Driver Easy will then scan your computer and detect any problem drivers.

- Click Update next to any flagged devices to automatically download the correct version of their drivers, then you can install them manually. Or click Update All to automatically download and install them all automatically. (This requires the Pro version – you’ll be prompted to upgrade when you click Update All. You get full support and a 30-day money back guarantee.)