


Battle.net is your destination for playing Blizzard & Activision games. However, there are circumstances when you cannot even open the program. That’s a nightmare! But we are here to help. In this guide, we’ll walk you through 6 methods to troubleshoot this issue.
Try these fixes
Not all methods are necessary; simply work your way down the list until you find the one that works for you.
(Note: Screenshots below come from Windows 10. If you’re running Windows 11, your screen might look slightly different. )
- Run Battle.net as an administrator and in compatibility mode
- Allow Battle.net through Windows Firewall
- Close conflicting programs running in the background
- Download & install all Windows updates
- Update your drivers
- Repair corrupted system files

1. Run Battle.net as an administrator and in compatibility mode
When a program fails to launch, it may due to the lack of administrative rights. All you have to do is try to open your Battle.net as an administrator. In addition, running it in compatibility mode is aslo one way to fix common issues. Simply follow the steps below.
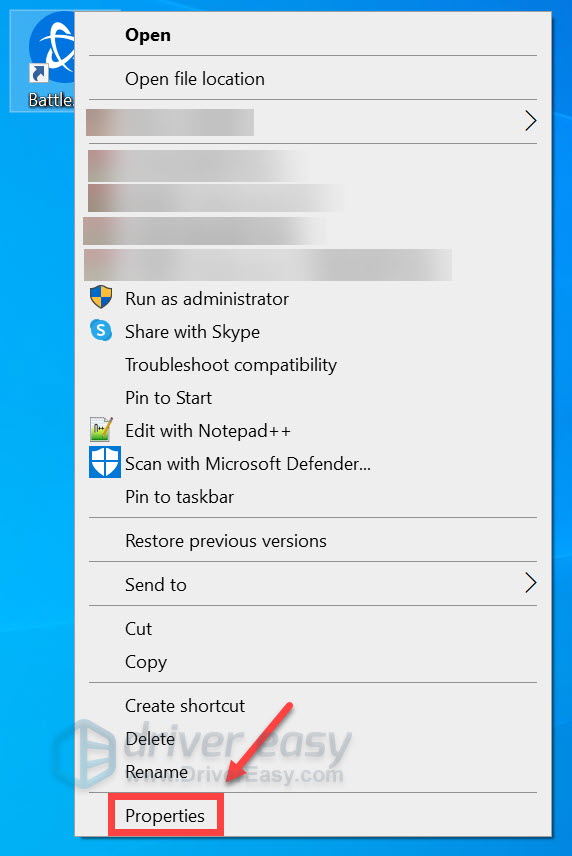
- Right-click on the Battle.net shortcut and select Properties.
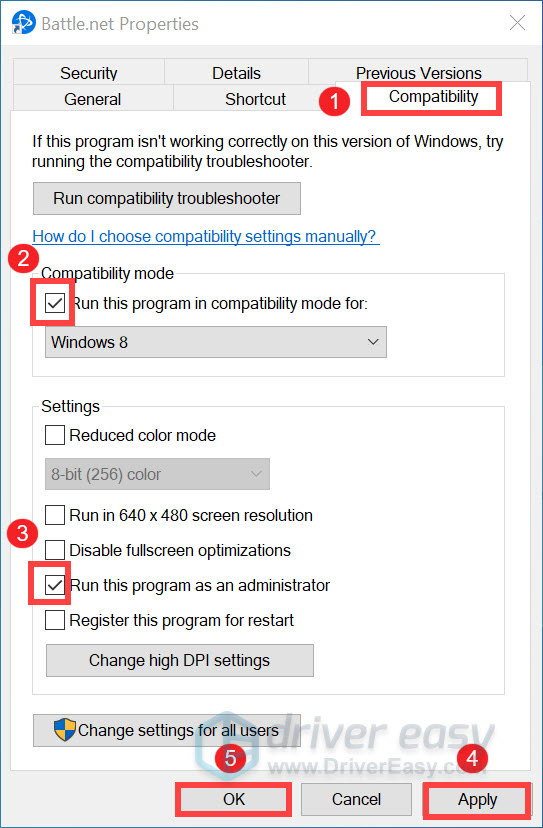
- Select the Compatibility tab. Check the box next to Run this program in compatibility mode for: and Run this program as an administrator. Then click Apply > OK.
After applying the changes, open Battle.net. When the UAC prompt shows up, simply click Yes. If it isn’t opening, don’t fret! Below are some other methods you can try.
2. Allow Battle.net through Windows Firewall
Windows Firewall is an important part of a layered security model that helps protect your computer from malicious attacks by blocking unauthorized network traffic flowing into or out of the local device. However, sometimes it may mistakenly identify your legitimate programs such as Battle.net as security threats and prevent them from launching. To verify if that’s your case, you should perform the steps as follows to manually add Battle.net to your Windows Firewall whitelist.
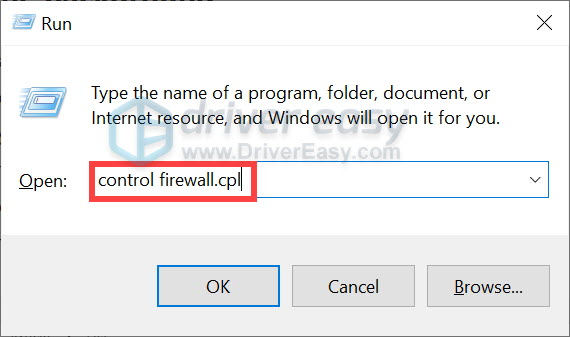
- On your keyboard, press the Windows logo + R keys simultaneously to open the Run box.
- Type control firewall.cpl and hit Enter.
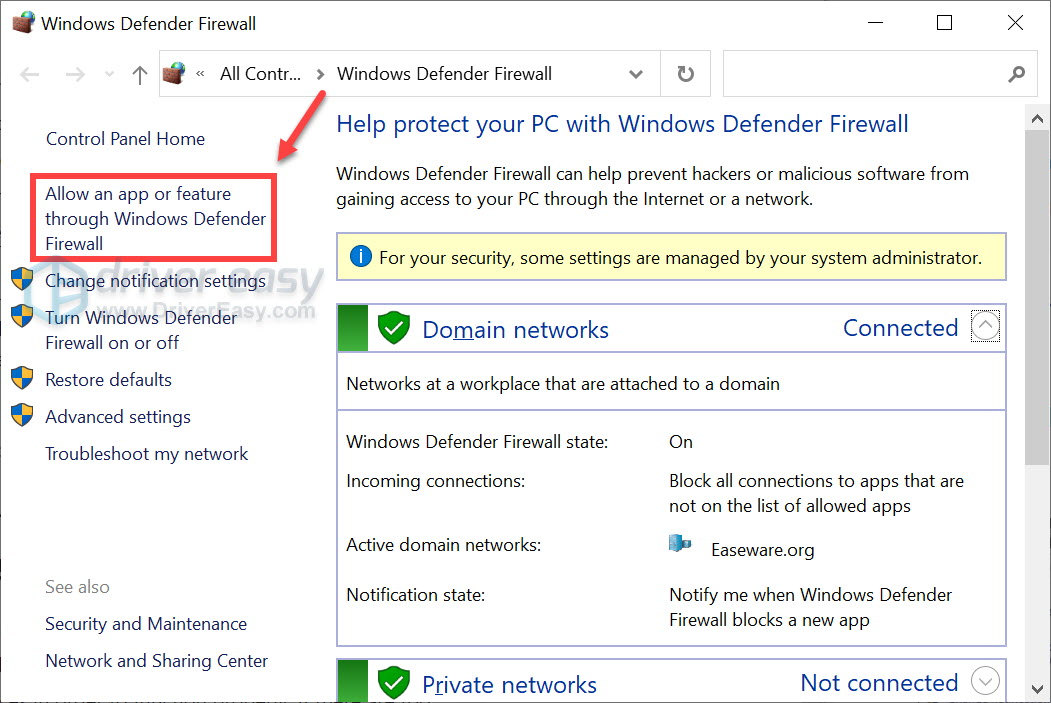
- From the left navigation pane, click Allow an app or feature through Windows Defender Firewall.
- Scroll down and check if Battle.net is on the list. If it isn’t, proceed to add it to the exception list.
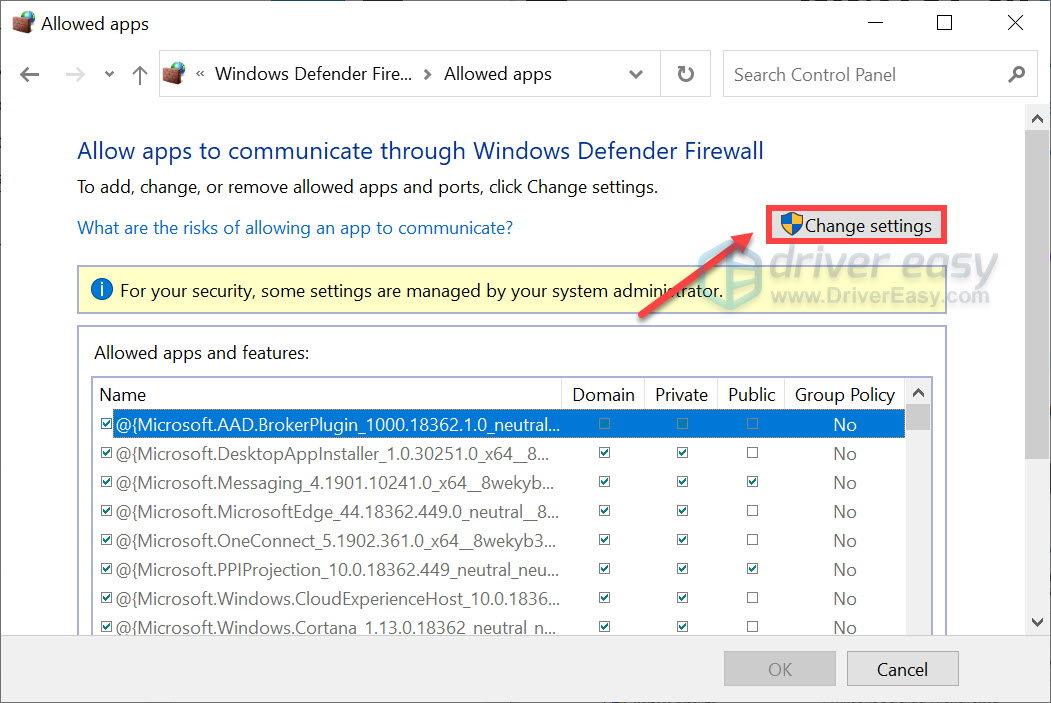
- Click on the Change settings button.
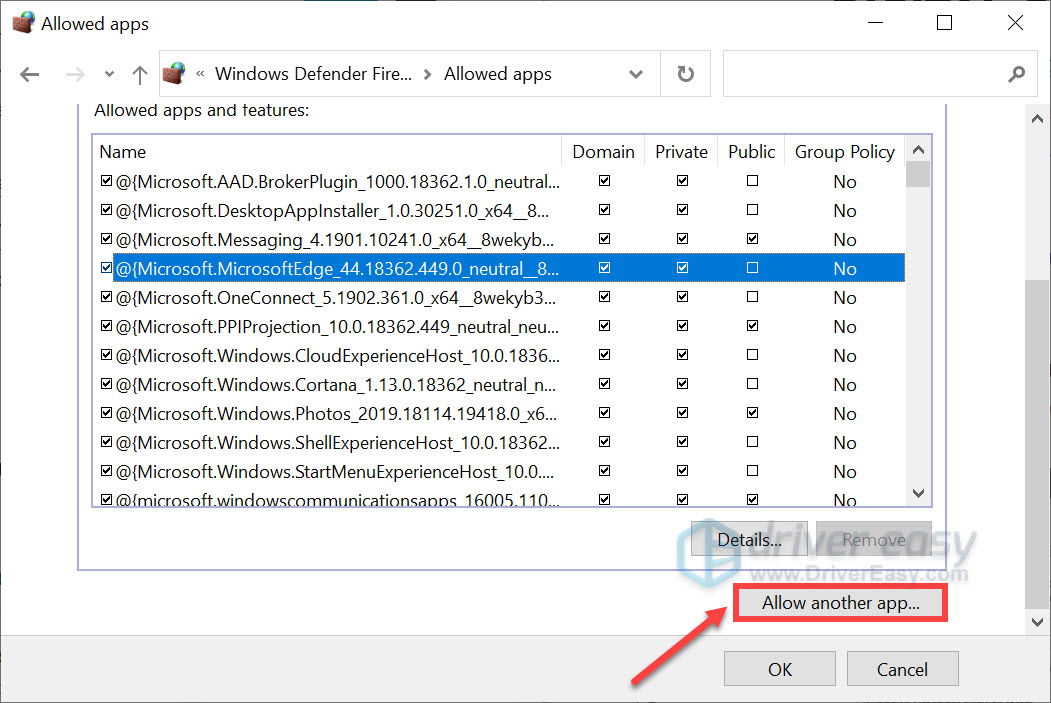
- Click Allow another app….
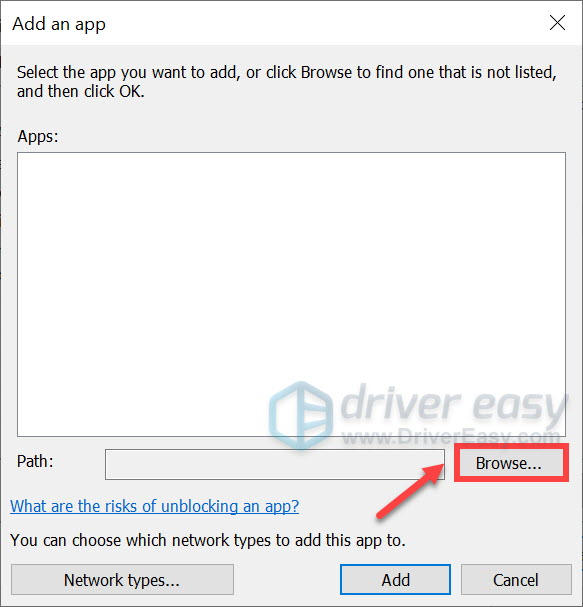
- Click Browse… and go to the installation folder.
If you have no idea of where the installation folder is, simply right-click on the shortcut and select Open file location.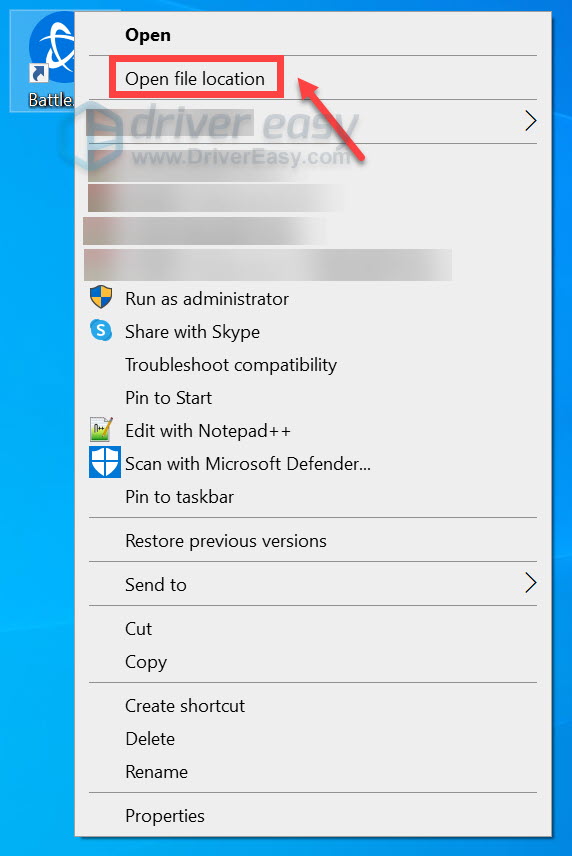
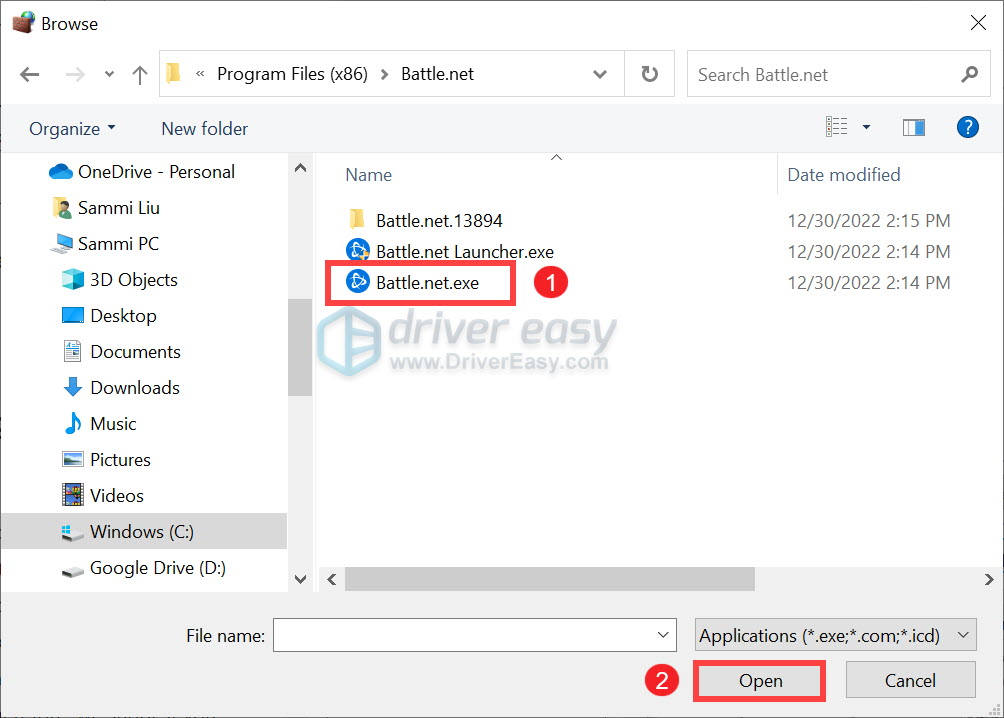
- Find Battle.net.exe and click on it. Then click Open.
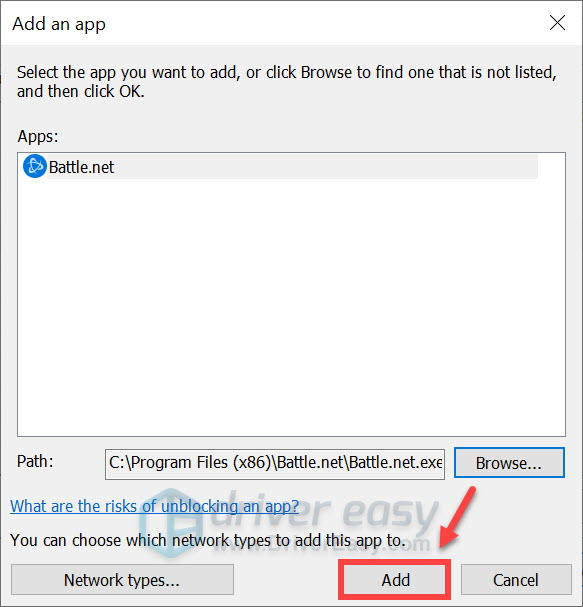
- When it’s located, click Add.
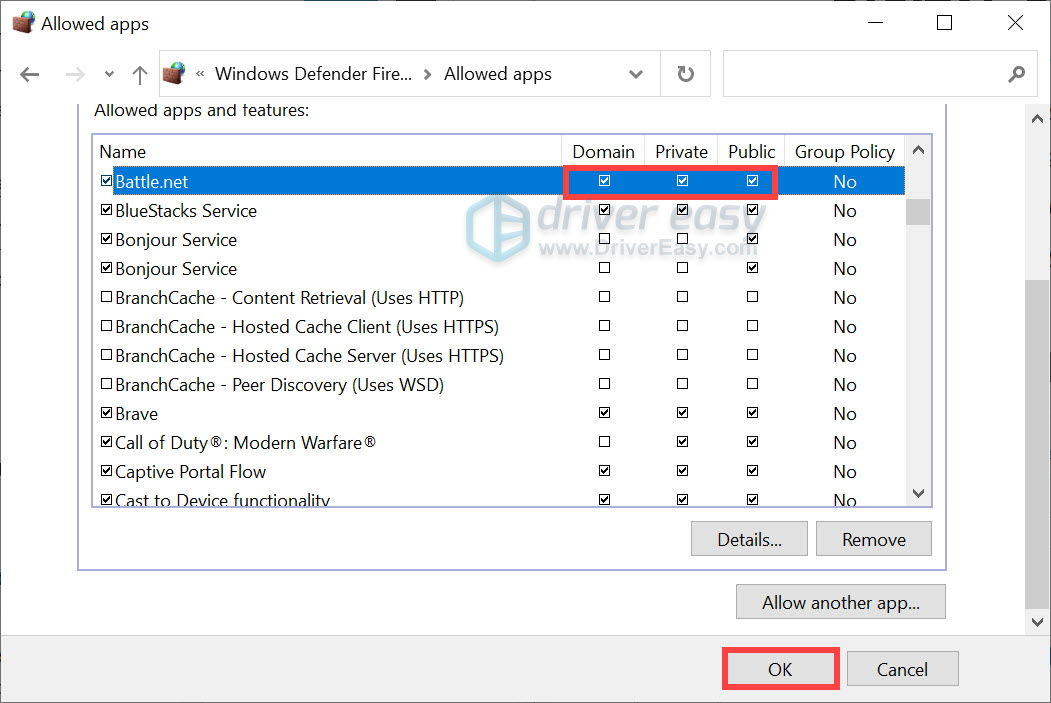
- Now make sure Battle.net is added to the list and tick Domain, Private, and Public. Once you’re done, click OK.
Now open Battle.net. If it isn’t opening, try the next fix below.
3. Close conflicting programs running in the background
Failure to launch a program may occur when there are software conflicts. In addition, at times, Batte.net may require significant system resources in order to function properly. If there are too many programs running in the background, they can eat up your system resources and thus make your resources insufficient for other programs. Therefore, we suggest you disable them while you’re using Battle.net. Below are the steps you can take to do this.
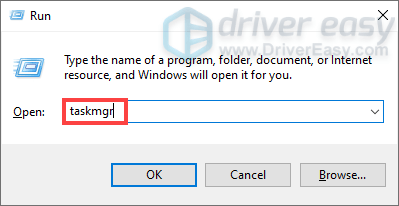
- On your keyboard, press the Windows logo + R keys to open the Run box.
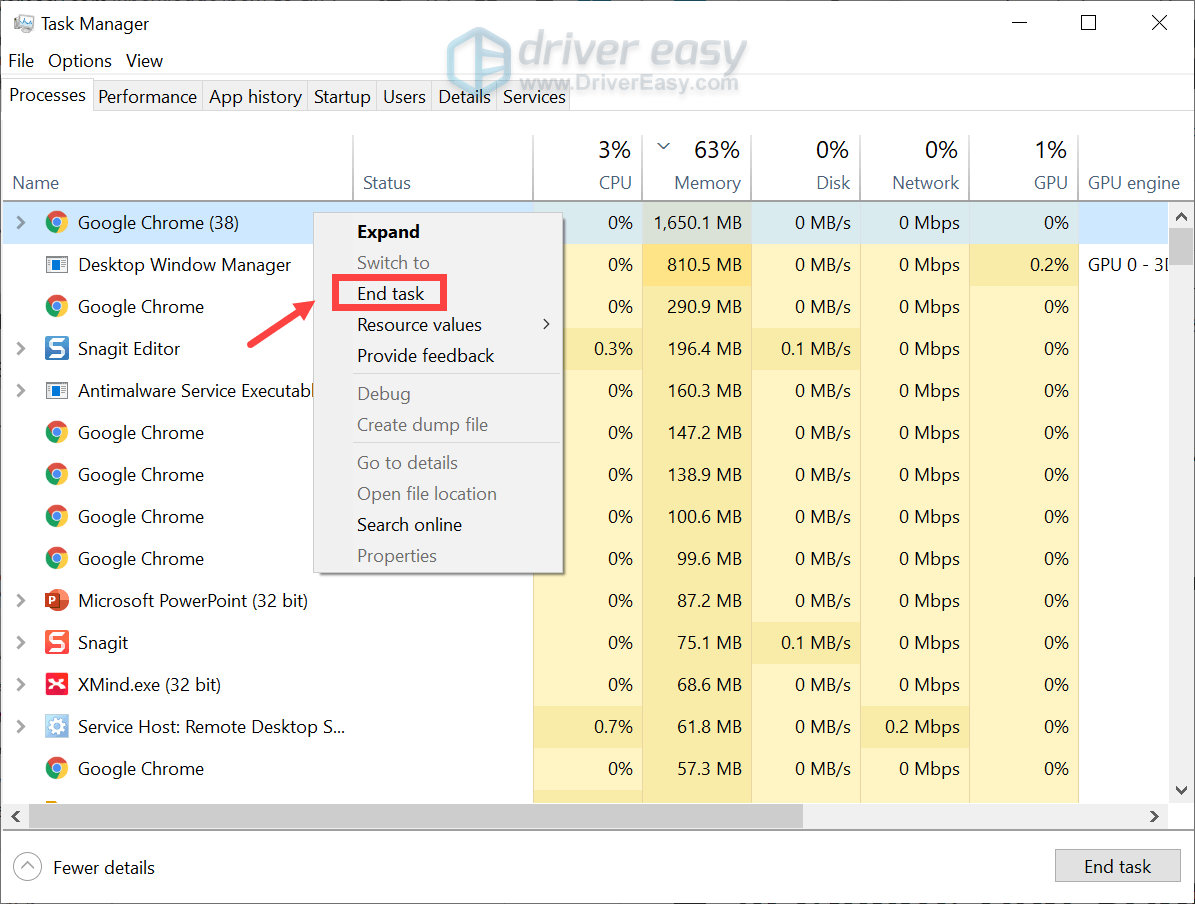
- Type taskmgr and hit Enter to open the Task Manager.
- Under the Processes tab, right-click the programs that are most likely to cause interference, such as Razer Synapse and those that are eating up your resources. Then select End task.
When you’re done, open the agent and check if your problem has been resolved. If it persists, move on to the next fix.
4. Download & install all Windows updates
Your issue may have something to do with your outdated Windows version. To troubleshoot your issue, you should download and install all Windows updates, which usually bring new features and most importantly, bug fixes. To do this, follow the instructions below.
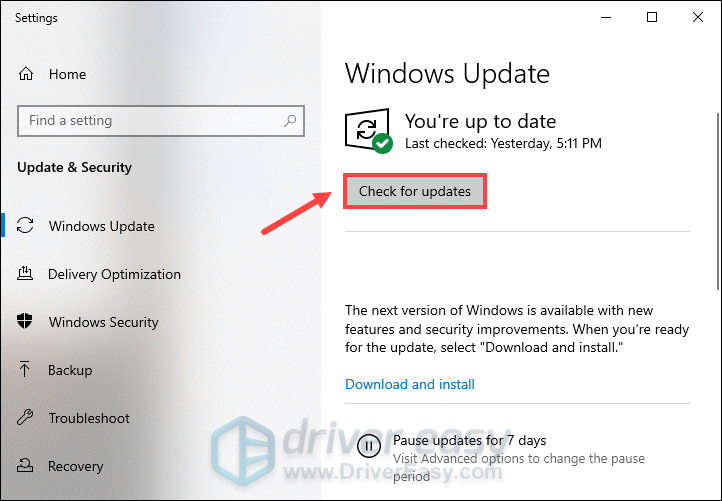
- In the search box on the taskbar, type check for updates. Then click Check for updates from the list of results.

- Click Check for updates. Then it will start checking for updates. When updates are available, follow the on-screen instructions to download and install them for your system.
After you’ve finished the process, restart your PC and try to launch the agent. If it still fails to open properly, try the next fix below.
5. Update your drivers
Each piece of hardware on your system, be it your video card, sound card or others, has its own specific driver, which ensures that different hardware components can work smoothly on your system. However, these hardware drivers are susceptible to corruption. When that happens, your PC performance would suffer and some programs may fail to work properly as expected. In this situation, you should attempt to update your drivers.
There are mainly two ways you can update your drivers: manually and automatically.
Option 1: Manually update your drivers
You can update your drivers via the Device Manager:
- On your keyboard, press the Windows logo + R keys simultaneously to open the Run box.
- Type devmgmt.msc and hit Enter.
.png)
- Click on the arrow > to expand the section. Then right-click on the device that you’re going to update the driver for and select Update driver.
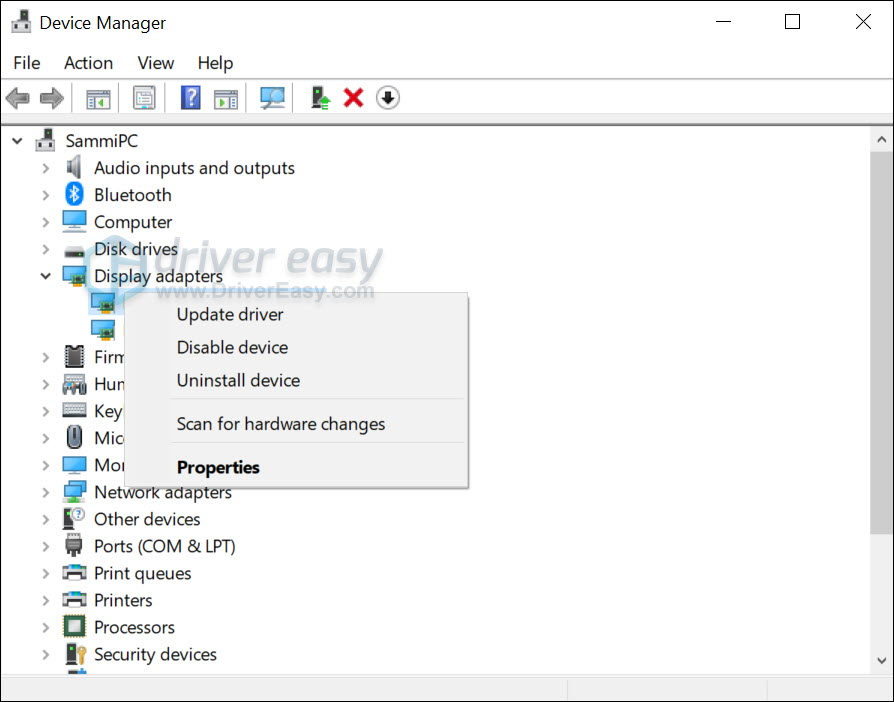
Then follow the on-screen instructions to get the updates.
Option 2: Automatically update your drivers (recommended)
If updating drivers on your own seems like a tedious task for you, you can use a dedicated driver updater Driver Easy to help you do the work without hassle. It’s a useful and legitimate tool that scans for any missing or outdated drivers, then downloads and installs the latest ones for your system, direct from the device manufacturers. With Driver Easy, updating drivers is just a matter of a few mouse clicks.
- Download and install Driver Easy.
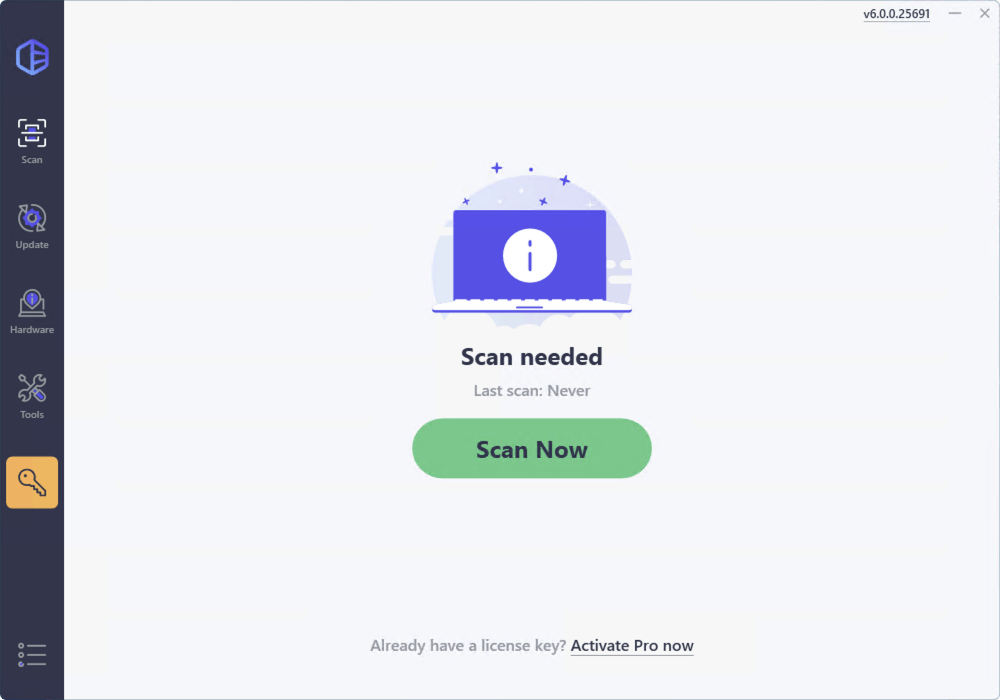
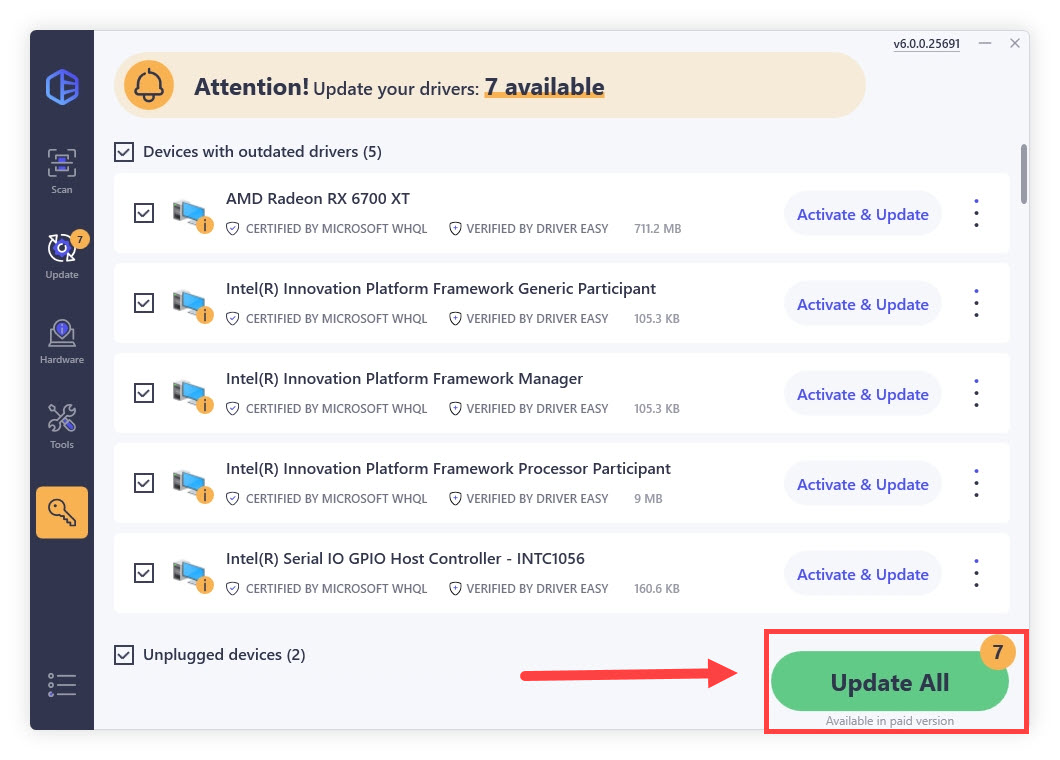
- Run Driver Easy and click on the Scan Now button. Driver Easy will then scan your computer and detect any devices with outdated drivers.
- Click the Activate & Update button next to any flagged device or click Update All to update all the outdated drivers. You can sign up for the free trial to update drivers with no upfront cost.
After updating drivers, reboot your PC and then try to open Battle.net. If your problem persists, proceed to the next fix.
6. Repair corrupted system files
If none of the above methods didn’t give you any luck, it’s time to dig deeper. It’s that you might have corrupted system files that could cause a wide variety of issues, ranging from minor glitches to critical performance issues. To check if that’s your case, use System File Checker, a utility in Windows to check for problems with files on your computer and hopefully repair the corrupted ones. To do this, follow the steps below.
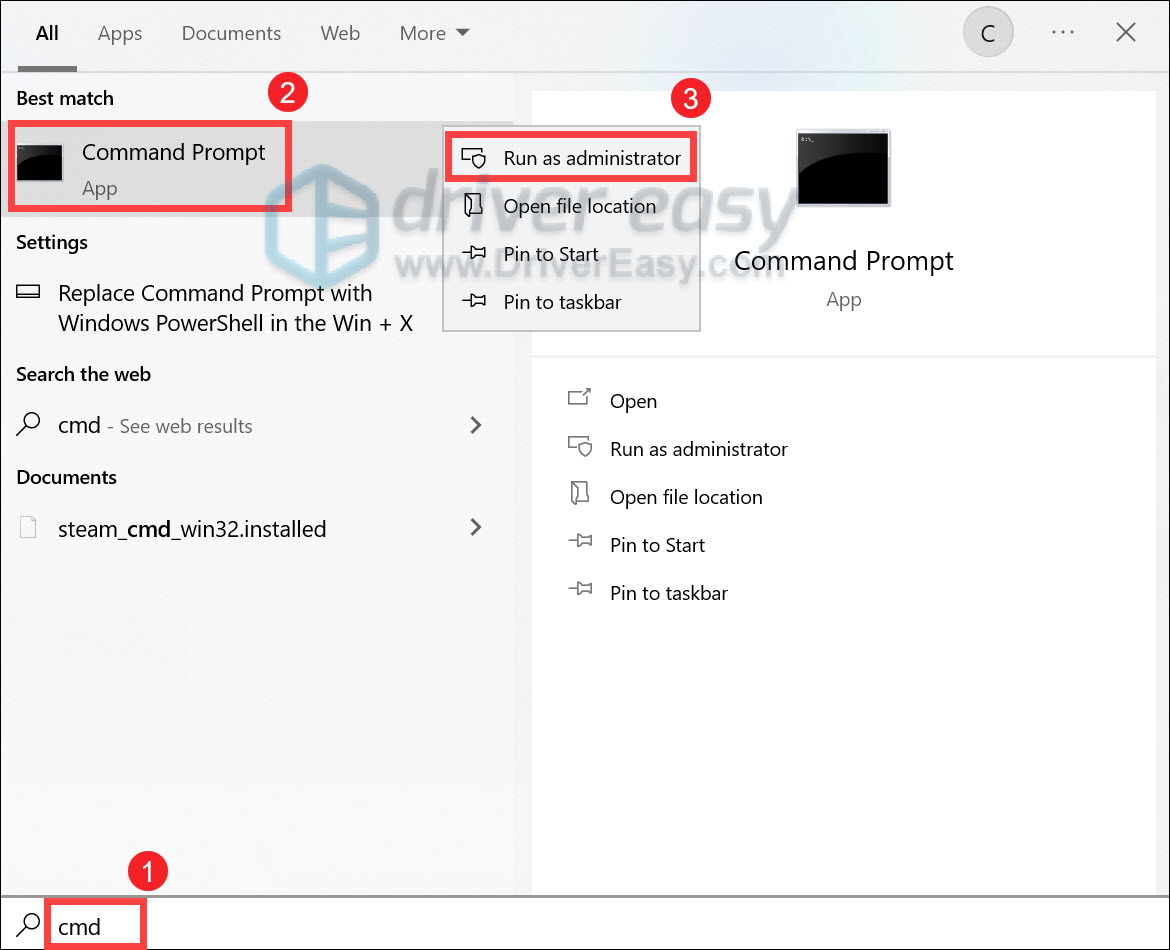
- In the search box on the taskbar, type cmd. Find Command Prompt from the list of results and right-click it. Then select Run as administrator.
- Click Yes when you receive a prompt.
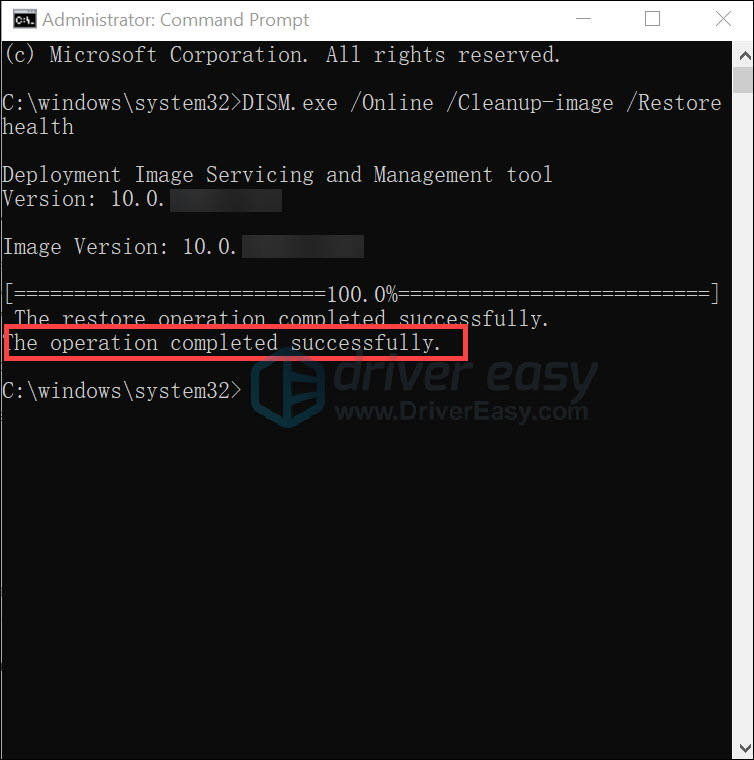
- Now copy and paste the following command, and then press Enter.
DISM.exe /Online /Cleanup-image /Restorehealth - Wait until you see a message saying “The operation completed successfully.”
- Now type sfc /scannow and press Enter. Then it’ll start scanning the integrity of all protected operating system files and replace incorrect, corrupted, changed, or damaged versions with the correct versions.
When you see a message that says “Verification 100% complete”, type exit and press Enter.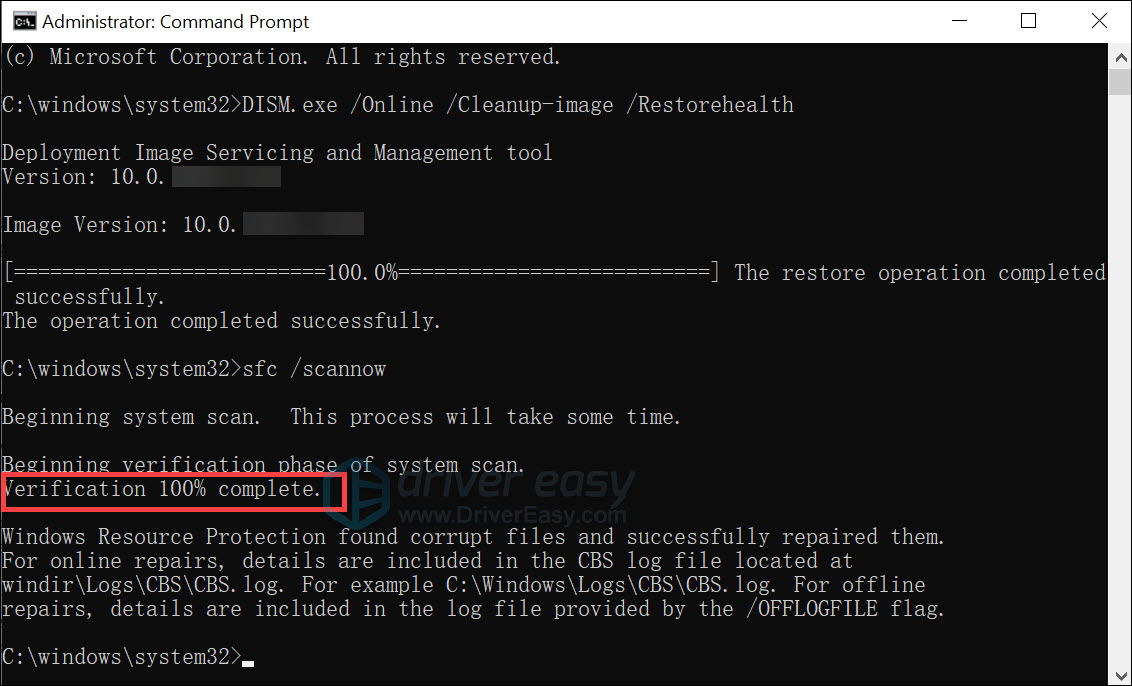
After the repair, try to launch Battle.net. If, unfortunately, it still fails to open, you’ll need to consider uninstalling and reinstalling the Battle.net app.
- On your keyboard, press the Windows logo + R keys simultaneously to open the Run box.
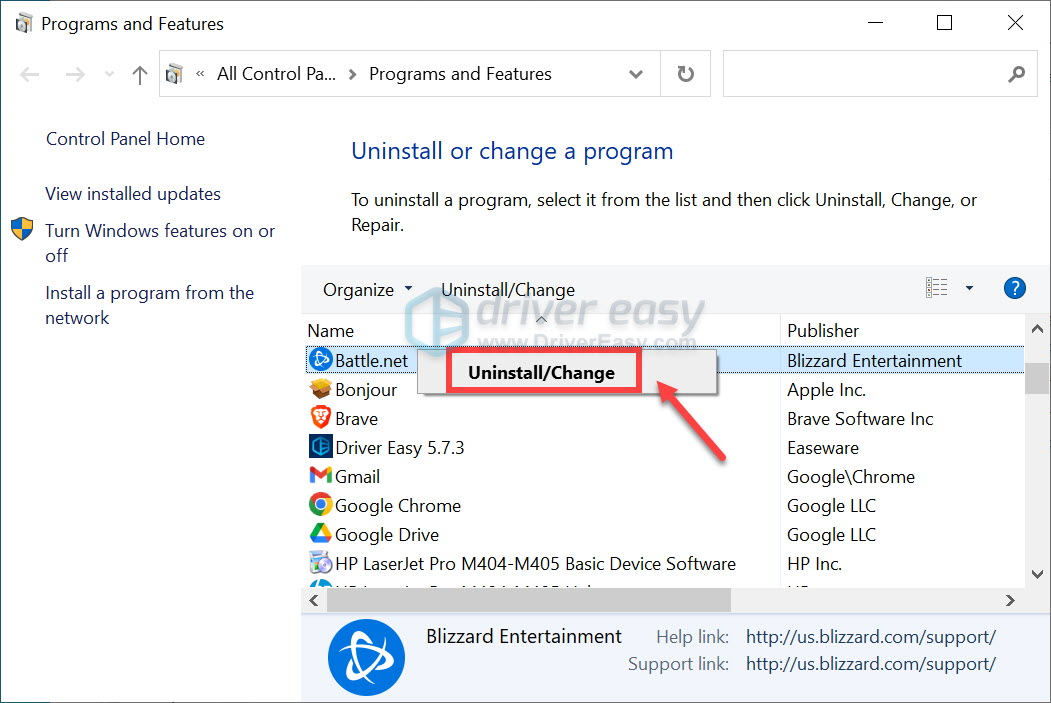
- Type appwiz.cpl and hit Enter.

- Locate Battle.net. Right-click it and click Uninstall/Change.
When you’re prompted for further confirmation, simply click Yes and proceed. After it’s successfully uninstalled. Go to the place where the Battle.net-Setup.exe file was installed and delete it. Then download and install it from the official website.
That’s it – the full guide on how to troubleshoot your Battle.net not opening issue. Hope it helps! If you have any problems regarding this troubleshooting guide, feel free to drop us a line in the comment section below. We’ll get back to you ASAP.