


THX Spatial Audio is a software suite that is engineered to level up your gaming audio with more authentic and detailed soundscapes, and better control of your gaming sound. However, some users reported that it is not working. For some, there’s no sound. For others, they can’t hear any difference or the sound is just crackling/ buzzing. Whatever the problems you’re having, you may hopefully be able to solve them by trying the solutions in this post.
Try these fixes
You may not need to try them all; simply work your way down the list until you find the one that works.
- Download and install all Windows updates
- Run the audio troubleshooter
- Make sure you set THX Spatial Audio as your device
- Update your audio drivers
- Perform a system restore
1. Download and install all Windows updates
Before diving into any advanced tweaks, ensure you restart both the Synapse software and the THX Spatial Audio app. Then you would need to install the latest Windows updates. They usually come with bug fixes, and bring new features.
On Windows 10
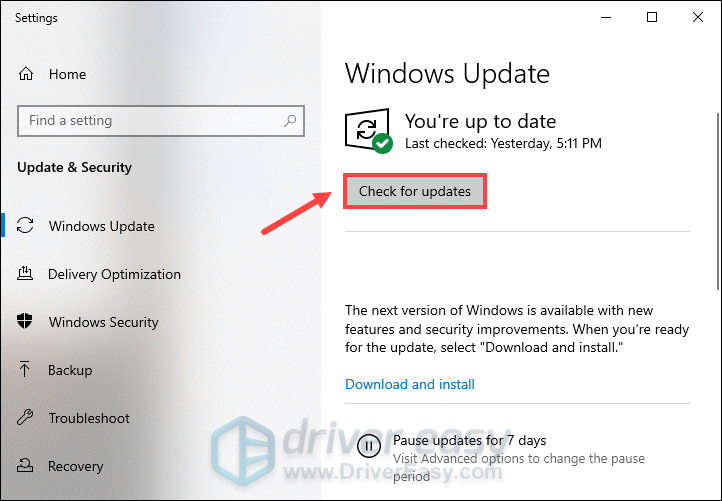
- In the Search box, type in check for updates. Click Check for updates from results.

- Click on the Check for updates tab. If there are any updates available, it’ll automatically start to download and install it. Simply wait for it to complete and you should be asked to restart your computer.
On Windows 11
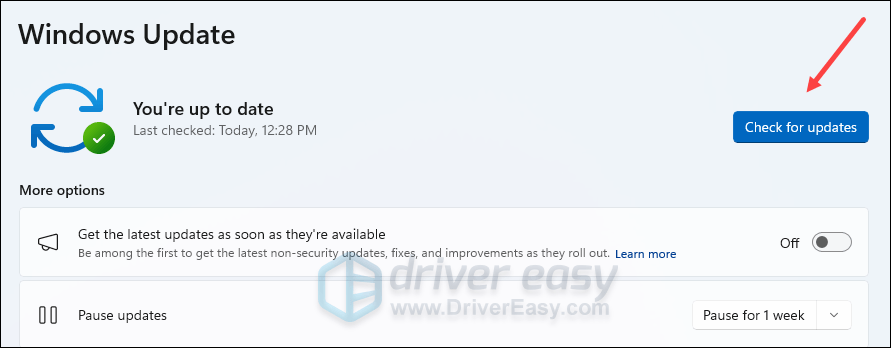
- On your keyboard, hit the Windows key, then type check for updates, then click Check for updates.

- Click Check for updates, and Windows will scan for any available updates.
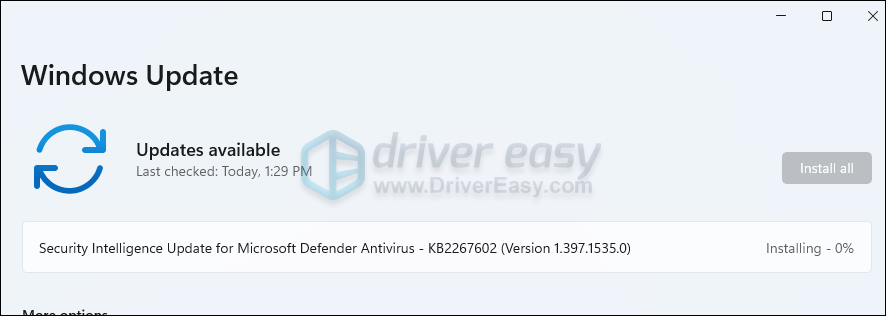
- If there are available updates, Windows will automatically download them for you. Restart your computer for the update to take effect if needed.
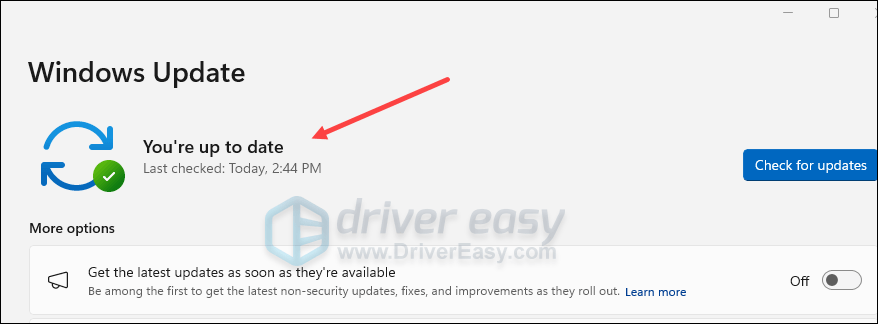
- If there are no available updates, you’ll see You’re up to date like this.
Upon reboot, play supported content to check if it works. If your THX Spatial Audio is still not working, move on to the next fix.
2. Run the audio troubleshooter
Whenever you’re faced with no sound or other audio-related issues, you can use a Windows troubleshooter. It helps you detect problems and attempts to resolve minor issues on Windows computers. To run the audio troubleshooter, follow the instructions below.
On Windows 10
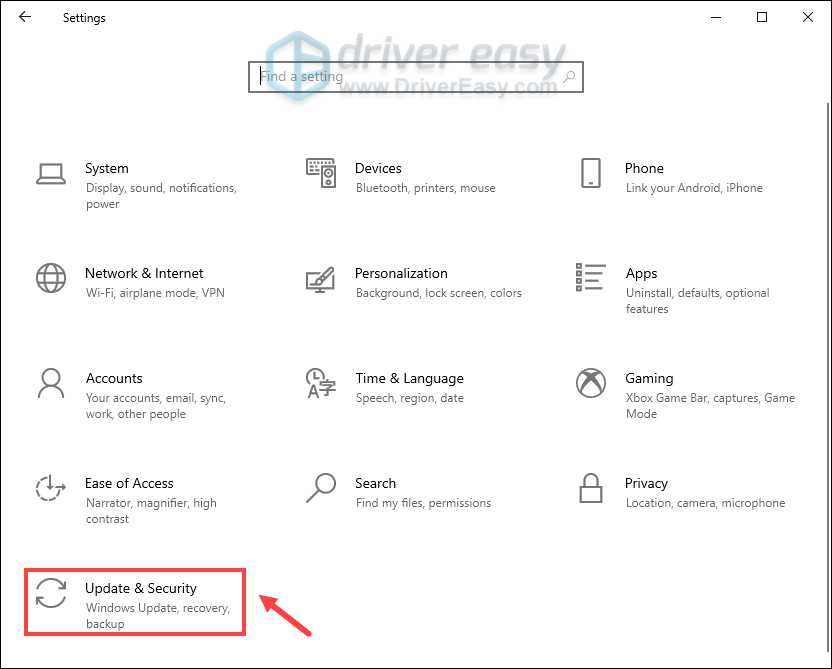
- On your keyboard, press the Windows logo + I keys simultaneously to open Settings.
- Click Update & Security.
- Select Troubleshoot from the left pane. Then highlight the Playing Audio troubleshooter and click Run the troubleshooter.
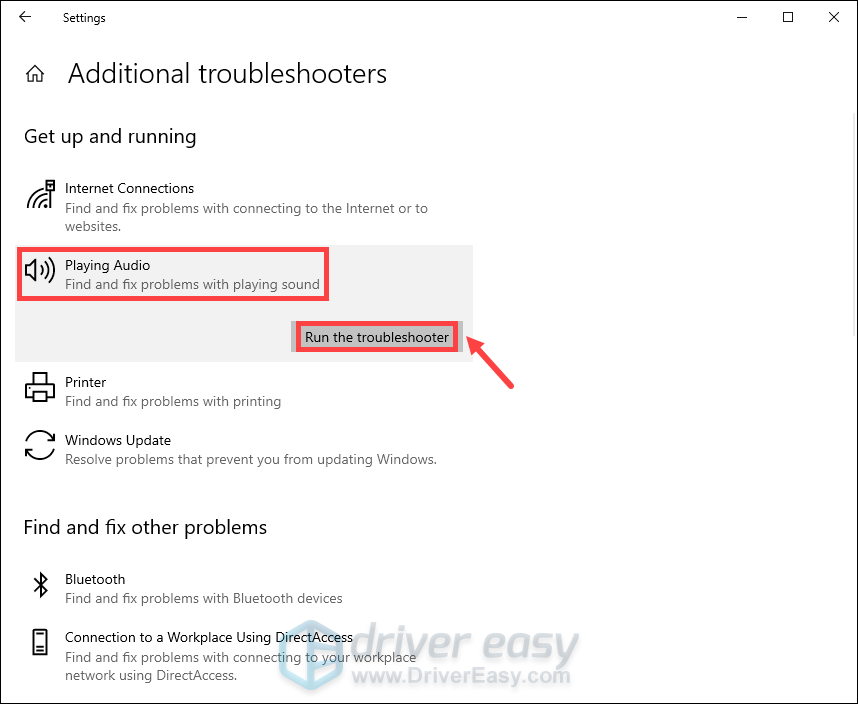
If there are no troubleshooters showing up here, click Additional troubleshooters.
On Windows 11
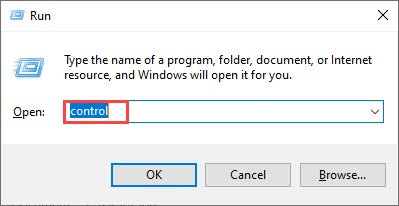
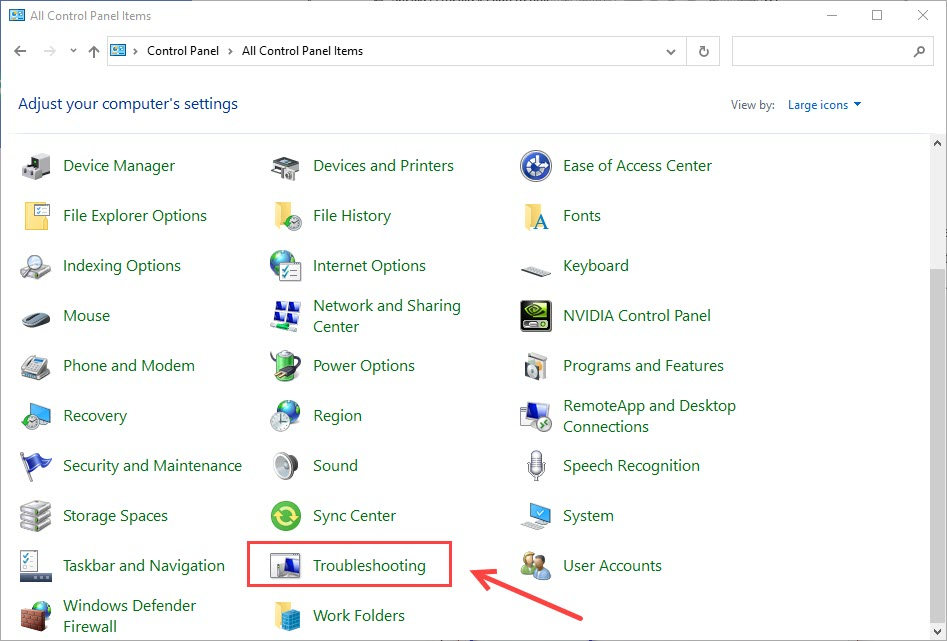
- On your keyboard, press the Windows logo key + R at the same time. Type control in the Run box, and press Enter.
- On the top right corner, click View by Large icons. Scroll down and select Troubleshooting.
- Click Run for Audio troubleshooter.
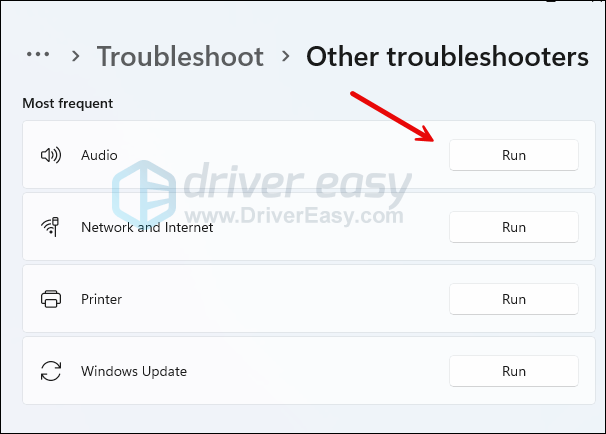
- Follow the on-screen instructions to run the troubleshooter and apply any fix if you see it.
If Windows fails to troubleshoot your issues, try the next fix below.
3. Make sure you set THX Spatial Audio as your device
If you can’t hear any difference after installing the THX Spatial Audio app, it may be possible that you haven’t set it as your playback device. In this case, follow the steps below for configurations. If you prefer to watch the tutorial video, check it out below.
- Launch your THX Spatial Audio app.
- In the AUDIO tab, turn on SPATIAL AUDIO. Click Open Windows Sound Properties.
In the Sound window that opens, right-click Speakers THX Spatial Ready and select Set as Default Device.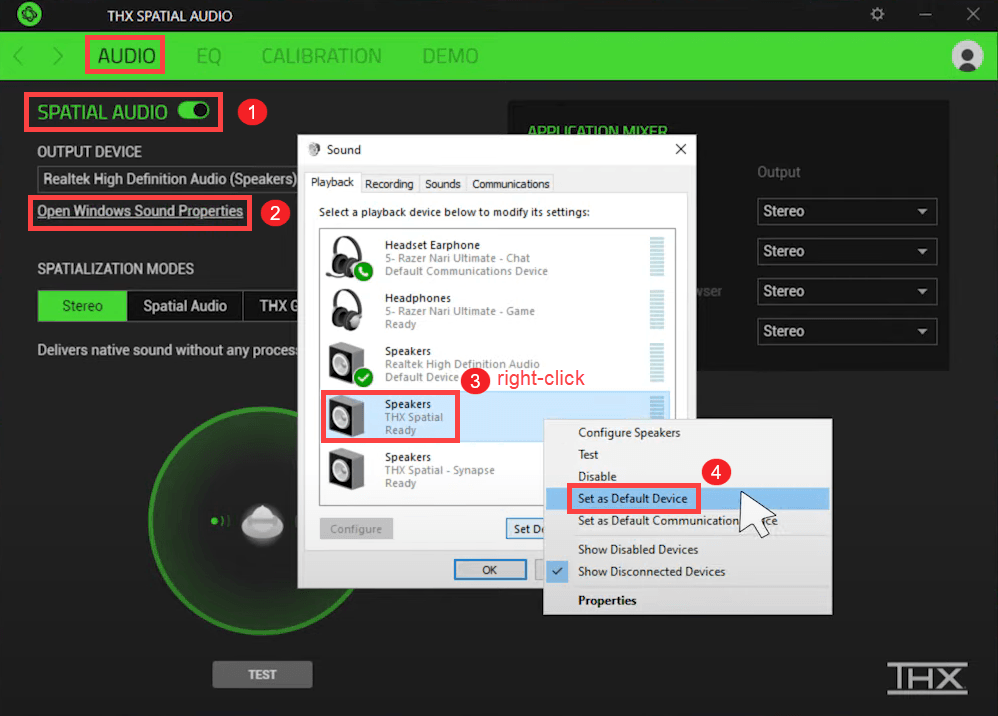
- Then in the APPLICATION MIXER section, select Spatial Audio as the output.
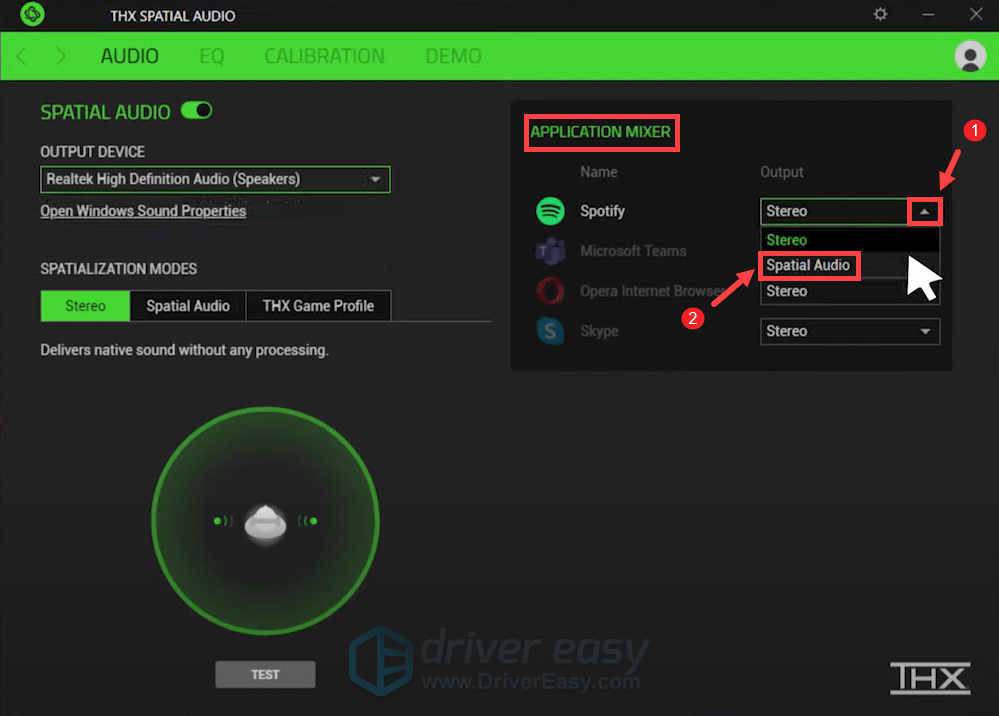
After you’ve done these, you should be able to enjoy the THX Spatial feature on your audio device.
4. Update your audio drivers
For most Windows audio-related issues, your corrupt or outdated audio driver is the chief culprit. Using outdated drivers may lead to incompatibility issues, causing your THX Spatial Audio to malfunction. Therefore, you need to update each of your audio driver in order to get THX Spatial Audio to work.
To update your audio drivers, you can either do it manually via the Device Manager or directly go to the sound card manufacturer’s websites to download and install the latest drivers. If you’re using any Razer devices, you would also need to update all of your headset’s drivers. Obviously, this is pretty time-consuming.
If you don’t have the time or patience to update drivers on your own, you can use Driver Easy to do the busy work for you. It’s a useful tool that automatically recognizes your system and finds the correct drivers for it.
You can update your drivers automatically with either the 7 days free trial or the Pro version of Driver Easy. It takes just 2 clicks, and you get full support and a 30-day money-back guarantee with the Pro version:
- Download and install Driver Easy.
- Run Driver Easy and click the Scan Now button. Driver Easy will then scan your computer and detect any problem drivers.

- Click the Activate & Update button next to the flagged device to automatically download and install the correct version of this driver.
Or click Update All to automatically download and install the correct version of all the drivers that are missing or out of date on your system (You’ll need the Pro version for this – when you select Update All, you’ll get a prompt to upgrade. If you’re not prepared to purchase the Pro version yet, Driver Easy provides a 7-day trial at no cost, granting access to all Pro features like fast downloads and easy installation. No charges will occur until after your 7-day trial period ends.)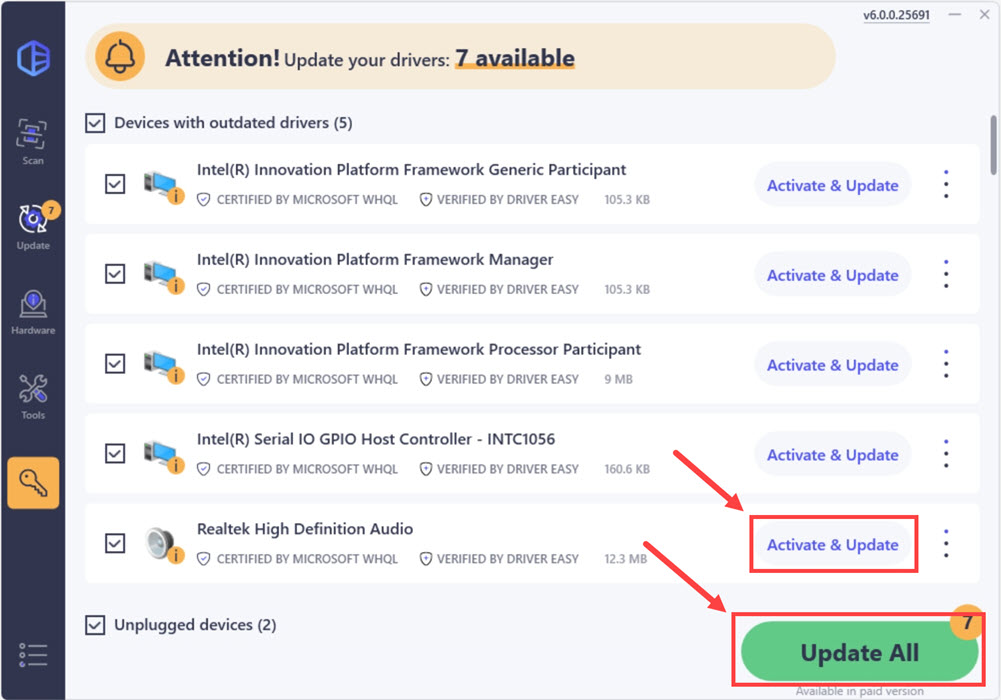
- After updating, restart your computer to take effect.
When the update completes, restart your computer. Then play supported content to check for changes.
5. Perform a system restore
After everything else, you can restore your system to a point from before THX Spatial Audio was acting up. It’s possible that the issue you’re having was facilitated by a change that your system has gone through recently which you cannot pinpoint.
System Restore is a Windows feature that can help fix certain types of computer problems. Therefore, when things go awry, you can perform a system restore. Here’s how you can do this.
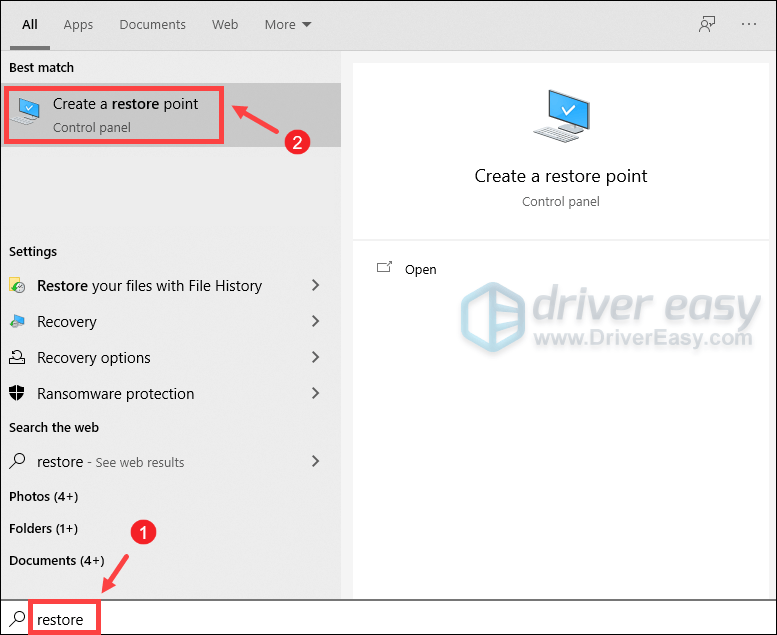
- In the search box, type restore. Then click Create a restore point from the results.
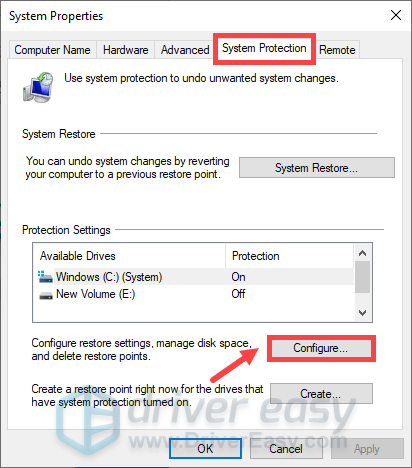
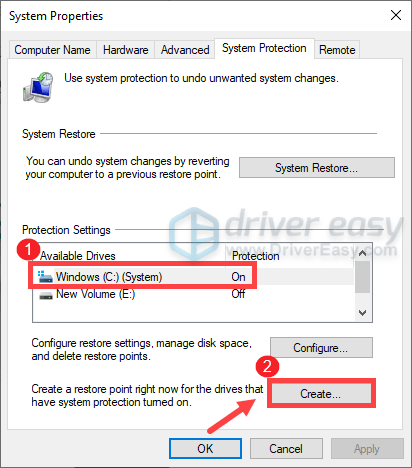
- Under the Protection Settings section, select your System driver and click on the Configure… button if the protection is not turned on.
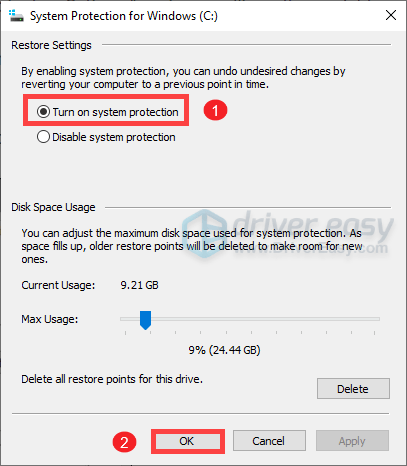
- Tick Turn on system protection. Then click OK.
- Now select your System drive and click Create….
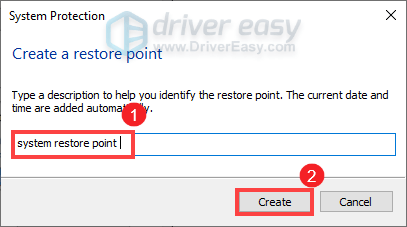
- Type a description for your restore point that you can recognize. Then click Create.
- When it successfully created the restore point, click Close.

Hope you find this post helpful! If your THX Spatial Audio is still not working. You’ll then need to uninstall and reinstall THX Spatial Audio or contact the support team.