


Warzone 2.0 is finally out! It’s one of the most awaited online first-person shooters. However, there’s a spike in crash reports, pissing players off. What’s causing this issue? In this guide, we’ll help you rule out the causes and gather fixes for you.
Before getting started
Before diving into this troubleshooting guide, you need to make sure that your PC can handle the game. Simply check the minimum and recommended system requirements below.
| Minimum | Recommended | |
| OS | Windows® 10 64 Bit (latest update) | Windows® 10 64 Bit (latest update) or Windows® 11 64 Bit (latest update) |
| Processor | Intel® Core™ i3-6100 / Core™ i5-2500K or AMD Ryzen™ 3 1200 | Intel® Core™ i5-6600K / Core™ i7-4770 or AMD Ryzen™ 5 1400 |
| Memory | 8 GB RAM | 12 GB RAM |
| Graphics | NVIDIA® GeForce® GTX 960 or AMD Radeon™ RX 470 – DirectX 12.0 compatible system | NVIDIA® GeForce® GTX 1060 or AMD Radeon™ RX 580 – DirectX 12.0 compatible system |
| DirectX | Version 12 | Version 12 |
| Network | Broadband Internet connection | Broadband Internet connection |
| Storage | 125 GB available space | 125 GB available space |
Unsure of your computer specs? Follow the steps below!
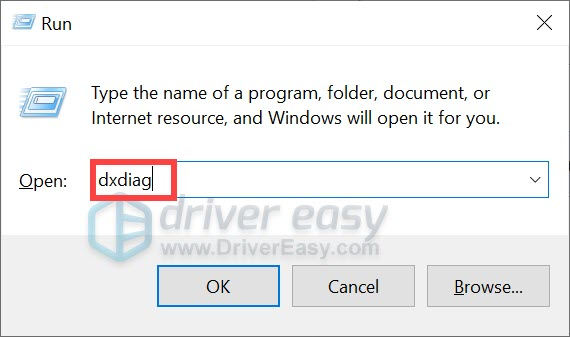
- On your keyboard, press the Windows logo + R keys simultaneously to open the Run box.
- Type dxdiag and hit Enter.
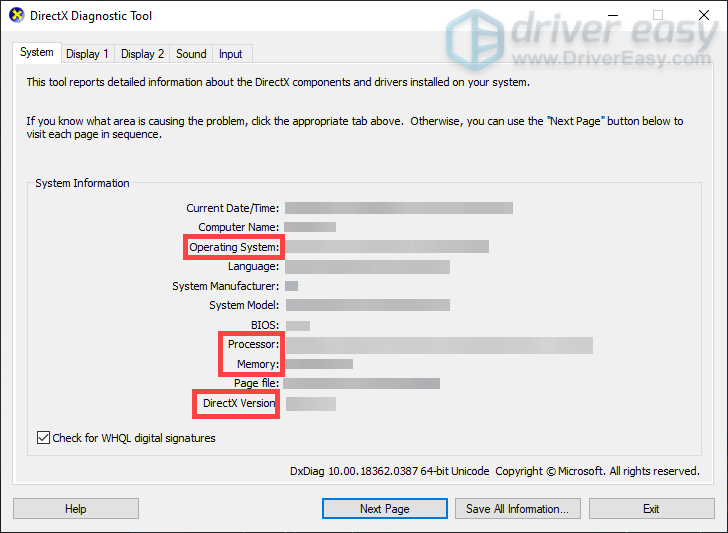
- Now you can check your system information under the System tab.
If your machine is just at or below the game’s minimum requirements, the game may not launch and you should upgrade your PC for gaming.
But if you’ve confirmed that your PC is perfectly capable of running League of Legends, you should try these fixes:
- Disable firewall & antivirus
- Close conflicting applications
- Update Windows
- Update your graphics driver
- Check for game updates
- Verify your game files
- Ensure that your computer is not overheating
1. Disable firewall & antivirus
Windows Firewall and antivirus software are designed to protect your computer from harmful programs. However, they can also block legitimate programs from running correctly. To ensure that your game has access to your network and it’s not blocked, you should follow the steps below to temporarily disable firewall and antivirus software.
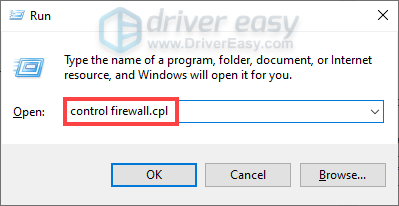
- On your keyboard, press the Windows logo + R keys simultaneously to open the Run box.
- Type or paste control firewall.cpl and hit Enter.
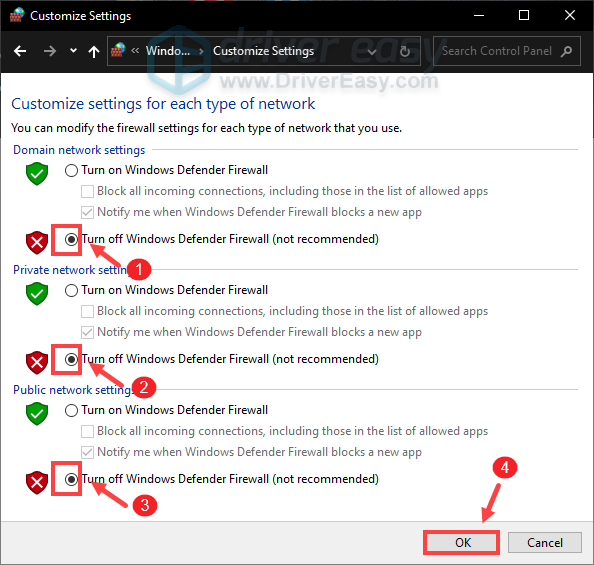
- Click Turn Windows Defender Firewall on or off.

- Select Turn off Windows Defender Firewall (not recommended) for Domain network, Private Network and Public network. Then click OK.
If you’re using any antivirus software, also make sure you disable it while playing Warzone 2.0. If this doesn’t do the trick, remember to repeat the similar steps to turn on the Firewall and enable antivirus to make sure your PC is protected.
2. Close conflicting applications
There are some situations when two programs cannot run on the same computer at the same time. Not often, but possible, the software conflict can be the reason why your game crashes on startup. And some players did find that the iCUE, Razer Synapse and some overclocking programs like Razer Cortex are more likely to be in conflict with a number of new titles.
Therefore, if you have it installed in your computer, stop it from running in the background. In addition, it’s suggested that you close the non-essential apps before you launch League of Legends, which can prevent those apps from significantly overloading your system.
Below is how you can do this.
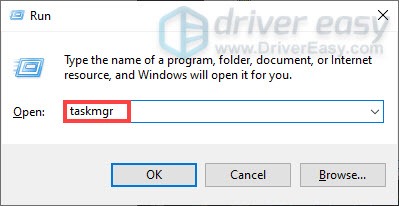
- On your keyboard, press the Windows logo key + R simultaneously to open the Run box.
- Type taskmgr and press Enter.
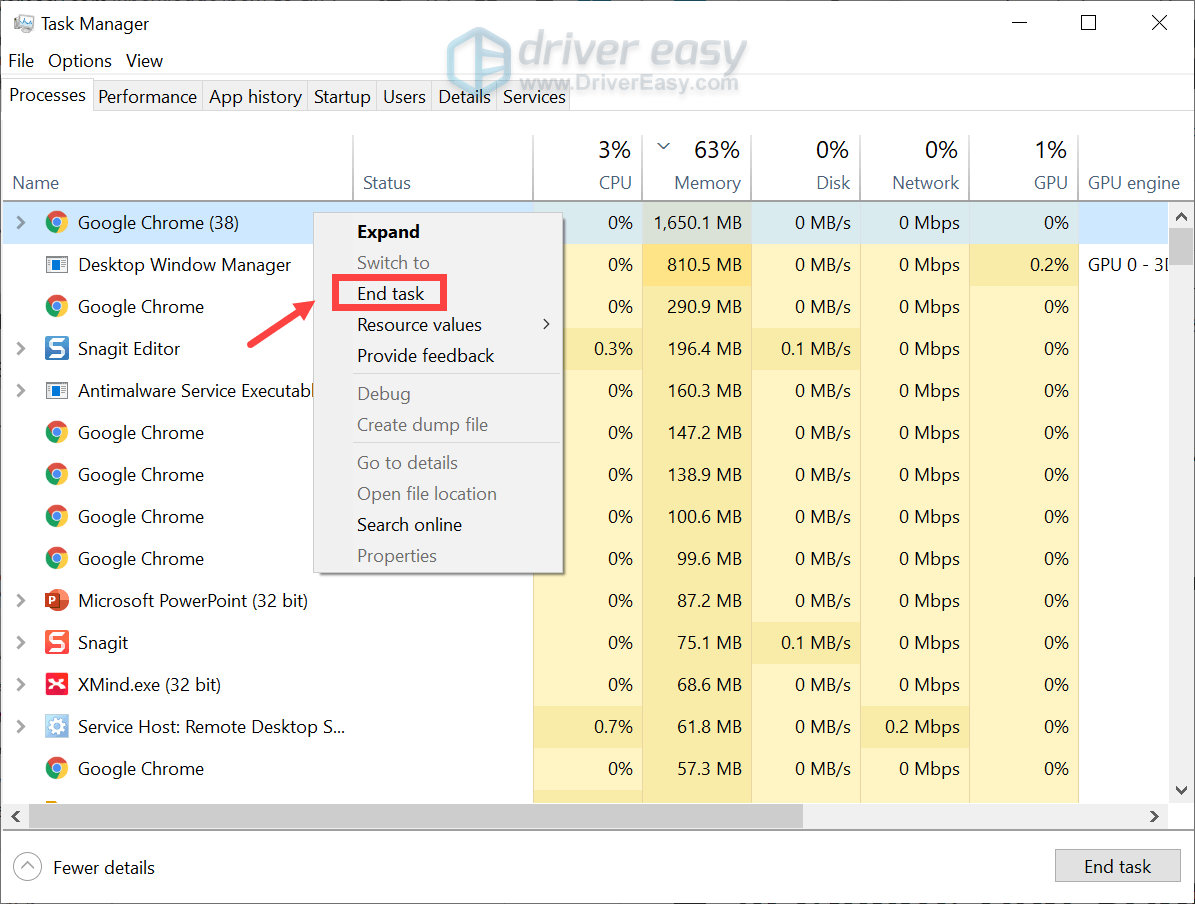
- Under the Processes tab, right-click the programs that are most likely to cause interference, such as Razer Synapse. Then select End task.
After you’ve done this, launch Warzone 2.0 and see if you still encounter constant crashes. If the problem persists, move on to the next fix.
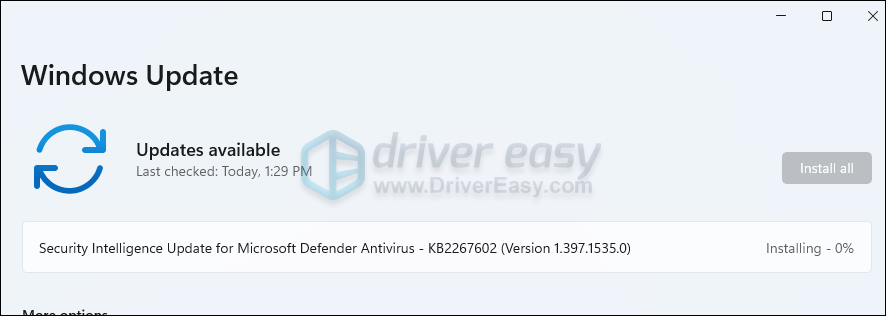
3. Update Windows
Windows updates are released on a regular basis to provide users with bug fixes and new features. So you should make sure they are installed in your system to get all the performance enhancements.
On Windows 10
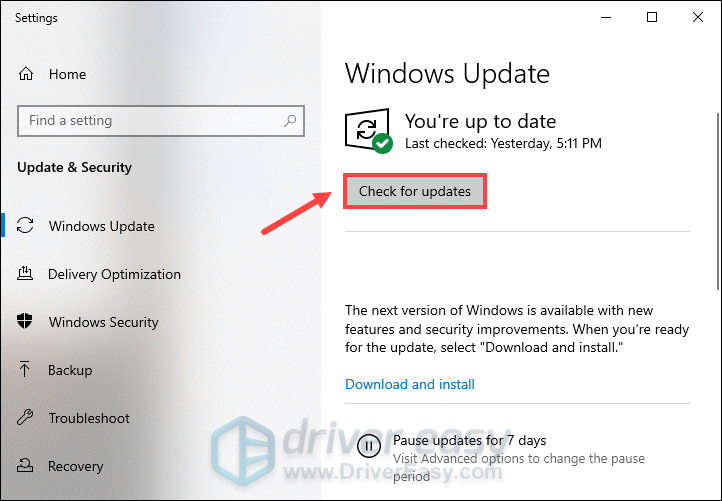
- In the Search box, type check for updates. Then click Check for updates from the list of results.

- Click on the Check for updates button. If updates are available, follow the on-screen instructions to download and install the updates for your system.
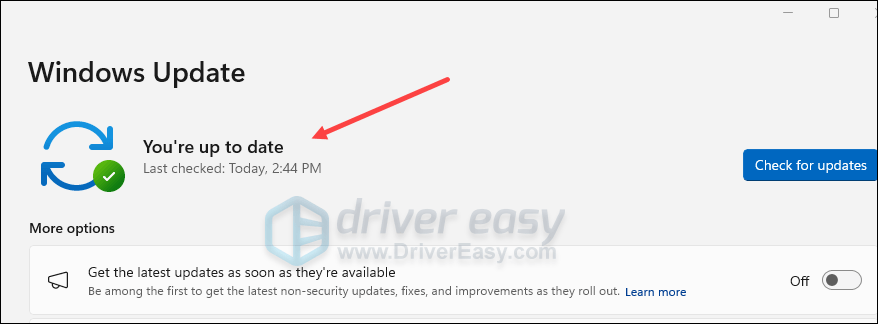
On Windows 11
- On your keyboard, hit the Windows key, then type check for updates, then click Check for updates.

- Click Check for updates, and Windows will scan for any available updates.
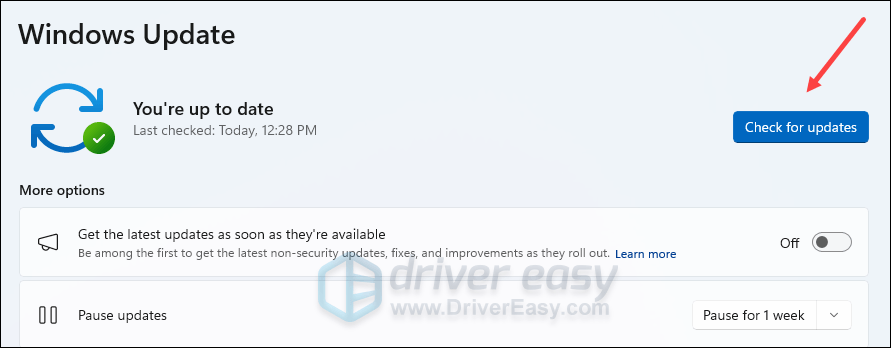
- If there are available updates, Windows will automatically download them for you. Restart your computer for the update to take effect if needed.
- If there are no available updates, you’ll see You’re up to date like this.
Once finished, reboot your PC and launch your game. If your problem persists, try the next fix below.
4. Update your graphics driver
Your graphics card is one of the core components of your computer. And your graphics driver is an essential piece of software that makes sure you can get the top performance from your graphics card. If it’s outdated or corrupt, you’ll be likely to encounter a wide variety of issues, ranging from minor performance issues to critical program issues. To fix it, you should download and install the latest graphics driver for your PC.
There are mainly two ways to update your graphics driver: manually and automatically.
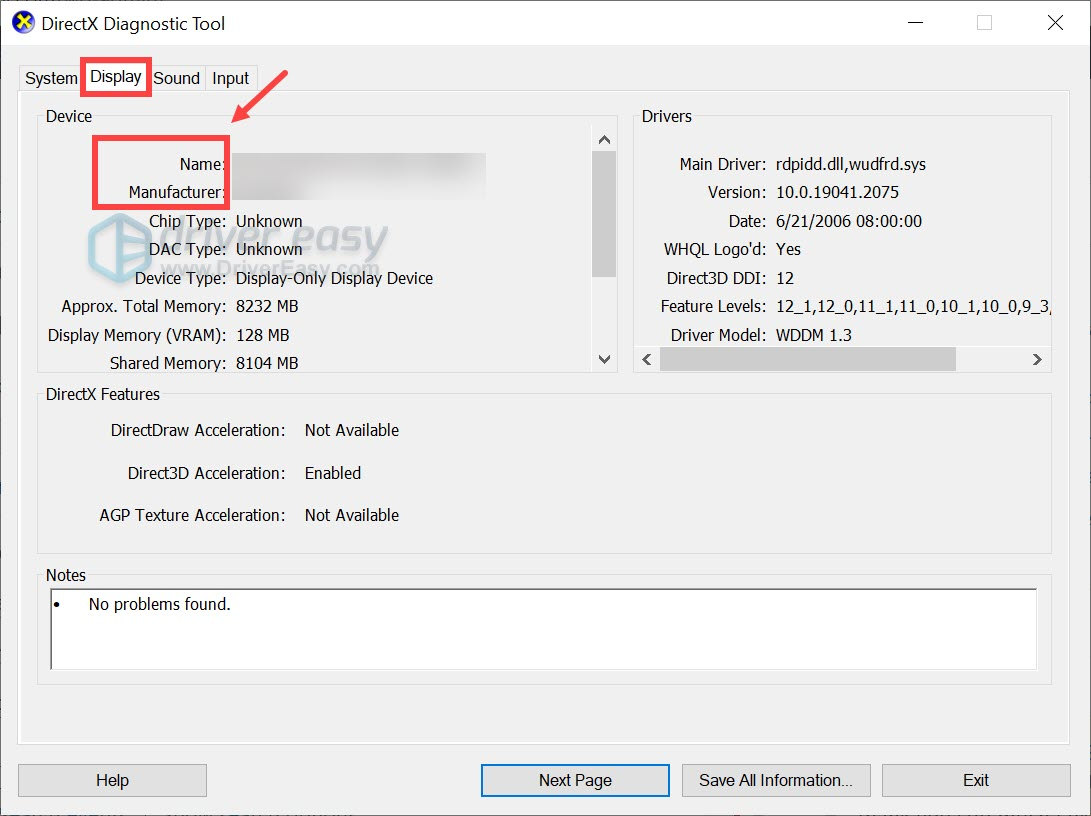
Option 1: Update your graphics driver manually
To update a graphics driver, you’ll first need to know your graphics card’s name and manufacturer.
- On your keyboard, press the Windows logo + R keys simultaneously to open the Run box.
- Type dxdiag and hit Enter.
- When the DirectX Diagnostic Tool loads, select the Display tab. Then you’ll find your graphics card’s name and manufacturer listed in the Device section.
Once you find out the brand of your graphics card, visit the manufacturer’s website to get the most up-to-date driver. All you have to do is follow the on-screen instructions to download and install the driver for your system.
Option 2: Update your graphics driver automatically
As described above, manually updating a graphics driver can be quite tedious and would require some computer knowledge. If you’re not feeling comfortable dealing with it on your own, you can use an automatic driver updater like Driver Easy to help you scan and detect any missing or outdated drivers, then download and install the latest drivers for your system, direct from the device provider.
Driver Easy will automatically recognize your system and find the correct drivers for it. You don’t need to know exactly what system your computer is running, you don’t need to risk downloading and installing the wrong driver, and you don’t need to worry about making mistakes when installing.
You can update your drivers automatically with either the 7 days free trial or the Pro version of Driver Easy. It takes just 2 clicks, and you get full support and a 30-day money-back guarantee with the Pro version:
- Download and install Driver Easy.
- Run Driver Easy and click the Scan Now button. Driver Easy will then scan your computer and detect any problem drivers.

- Click the Activate & Update button next to the flagged device to automatically download and install the correct version of this driver.
Or click Update All to automatically download and install the correct version of all the drivers that are missing or out of date on your system (You’ll need the Pro version for this – when you select Update All, you’ll get a prompt to upgrade. If you’re not prepared to purchase the Pro version yet, Driver Easy provides a 7-day trial at no cost, granting access to all Pro features like fast downloads and easy installation. No charges will occur until after your 7-day trial period ends.)
- After updating, restart your computer to take effect.
After installing driver updates, reboot your device. If your Warzone 2.0 still crashes, try the next fix below.
5. Check for game updates
Usually, when game updates are available, they will automatically be downloaded. However, there are some situations when it’s not prioritized or the automatic updates feature is disabled by mistake, which would prevent you from getting the game patch with bug fixes. To make sure you’re always playing your game with the latest updates, take the steps below.
On Steam
- Open your Steam client. Under LIBRARY, right-click on your game title and select Properties from the drop-down menu.
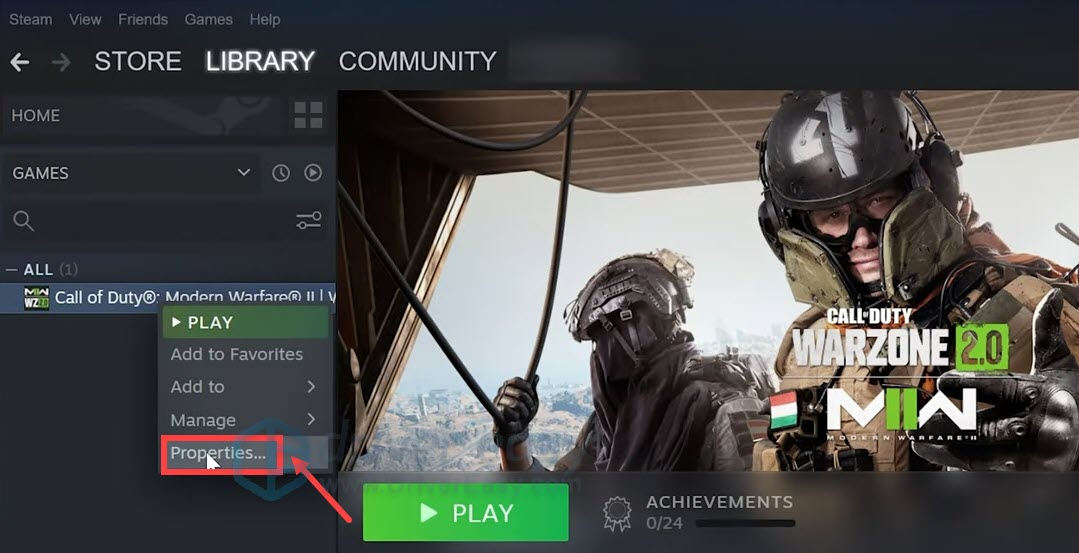
- Select the Updates tab. Then select High Priority – Always auto-update this game before others.
After confirming the changes, download and install the game updates. Till then, you can check if that works. If you still encounter constant crashes, proceed to the next fix.
On Battle.net
- Open the Battle.net desktop app.
- Select your game title.
- Click on the cogwheel next to the Play button and select Check for updates.
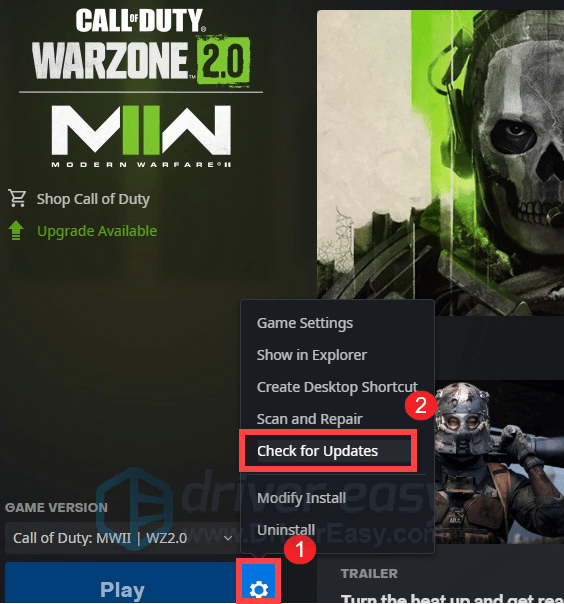
When updates are available, follow the on-screen instructions to download and install them. If that doesn’t give you any luck, move on to the next fix.
6. Verify your game files
From time to time, your game files might get corrupted and some essential files even go missing out of nowhere. When that happens, various issues would occur, ranging from minor game glitches to critical issues. To check if that’s your case, you can utilize the repair tool.
On Steam
- Open your Steam client. Under LIBRARY, right-click the game title and select Properties.
- Choose the LOCAL FILES tab. Then click on the Verify integrity of game files… button.
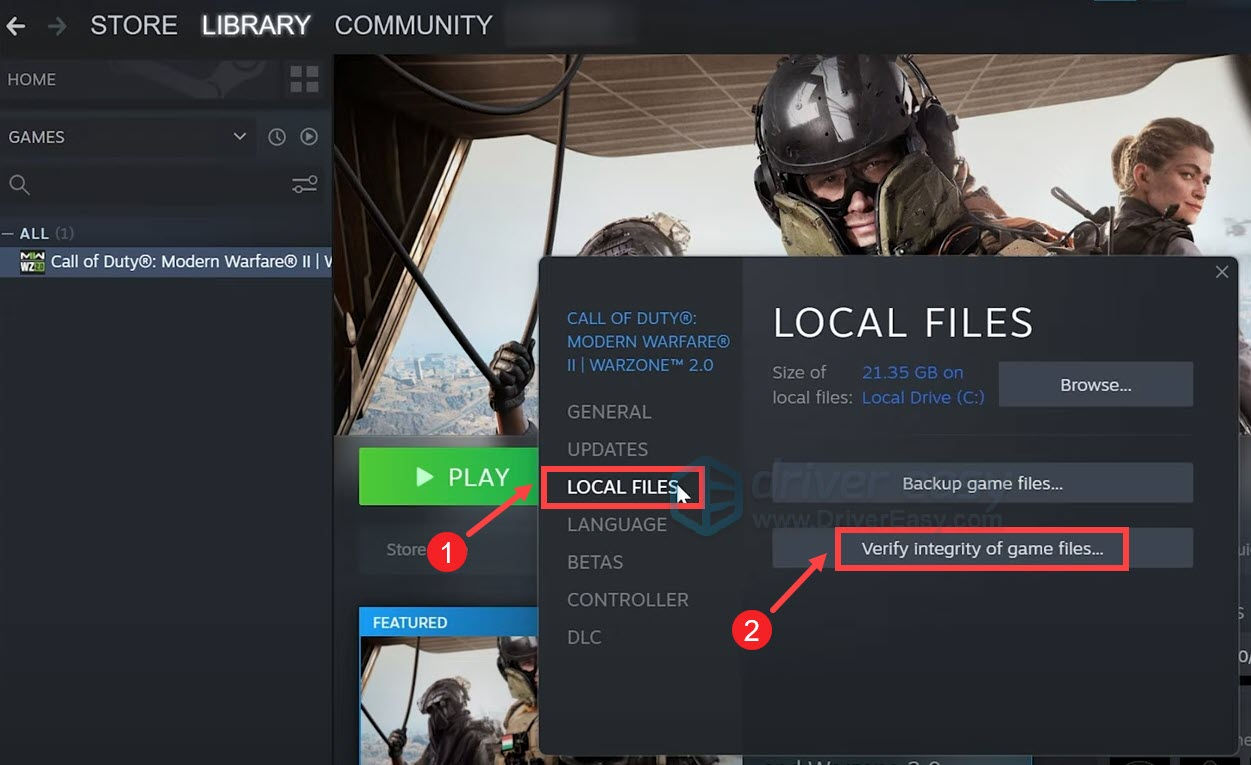
Now Steam will start verifying your game files. If it detects any corrupt files, it will try to repair them. All you have to do is wait for the process to complete. Till then, try to load into your match. If you’re still facing the crashing issue, try the next fix below.
On Battle.net
- Open the Battle.net desktop app.
- Select your game title.
- Click on the cogwheel next to the Play button and select Scan and Repair.
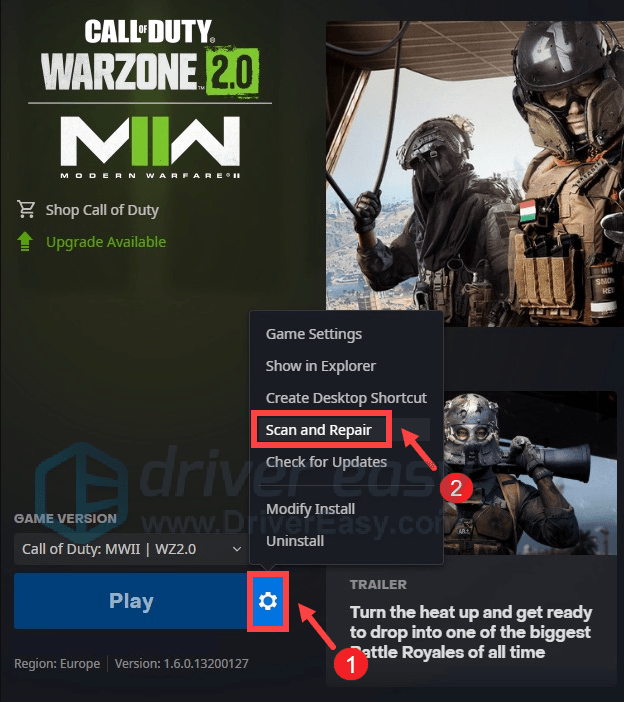
- Wait for the repair to complete.
Now you can attempt to launch the game.
7. Ensure that your computer is not overheating
An overheating computer environment is also very likely the culprit to a crashing computer, especially if your games freeze or run very slow before your computer crashes.
If the ventilation for your computer is rather poor, your machine may run hot, especially when you’re playing games, which occupies a rather big chunk of computer resources and energy and easily makes your CPU run hot.
If you can feel the heat on your computer case or on your computer itself, or you can hear the fan(s) running very loud when you play games, you need a cooler environment for your machine to make sure that your computer doesn’t crash because of the heat.
You can usually use free tools like HWMonitor or AIDA64 to tell whether your computer CPU, the CPU core, and the GPU are running too hot.

Here is a detailed post with more detailed information if your computer is overheating and how you can do about it: How to Know Your CPU Overheating and How to Fix It
So this is the full guide to fix your Warzone 2.0 crashing issue. Hope you found it helpful! For further questions, feel free to write them down in the comment section below. We’ll get back to you ASAP.