


Battle.net is the one and only PC launcher for the COD series. Lately players found the app is not working properly on Windows, and for some it’s showing errors like “A required DLL could not be found”. But don’t worry if you’re on the same boat. Here’re some proven fixes you can try to get Battle.net working again.
Try these fixes:
You may not need to use them all. Simply work down the list until you hit the one that does the charm.
- Reinstall Battle.net
- Update all your drivers
- Install all Windows updates
- Update Visual C++ Redistributables
- Add Battle.net to your antivirus exception list
- Disable VPN or proxy programs
Fix 1: Reinstall Battle.net
If you haven’t seen this issue before, it’s possible that it’s just a glitch. So before you try anything more complicated, you can first try reinstalling the app and see how it goes.
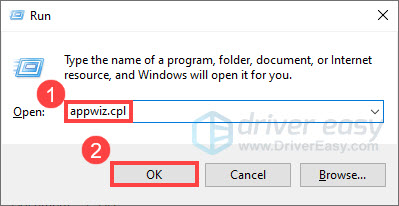
- On your keyboard, press Win+I (the Windows key and the i key) to open the Run dialog. Type or paste appwiz.cpl and click OK.
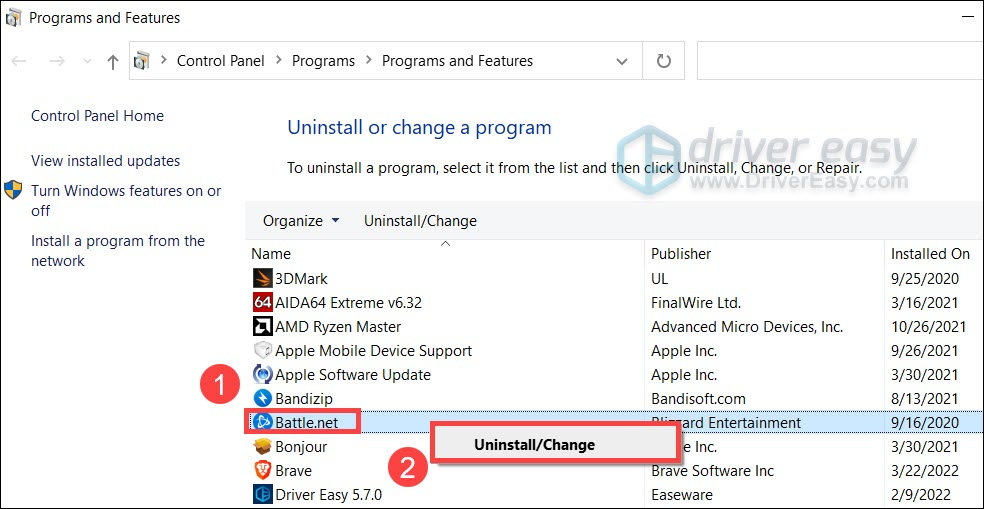
- Right click Battle.net and select Uninstall/Change. This will remove Battle.net from your PC.
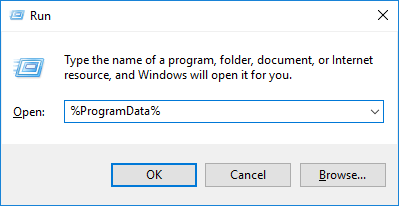
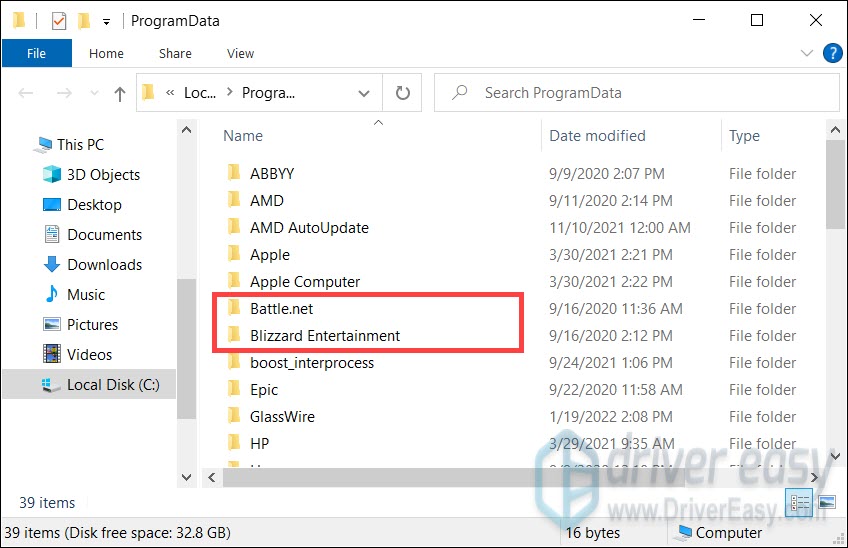
- After uninstalling Battle.net, make sure to remove the cache folders as well. On your keyboard, press Win+R to open the Run box. Type or paste %programdata% and press Enter.
- Delete the Battle.net folder, and the same folder inside the Blizzard Entertainment folder.
- Restart your PC and download the latest Battle.net client.
If this trick doesn’t work for you, simply check the next one below.
Fix 2: Update all your drivers
The Battle.net not working issue could indicate a driver issue. In other words, you could be using incompatible, broken or outdated drivers. If you don’t remember when was the last time you updated computer drivers, definitely do it now.
You can update your graphics driver manually, by visiting the manufacturer’s website (NVIDIA/AMD), downloading the latest correct installer and installing step by step. But if you don’t have the time or patience to do that manually, you can use Driver Easy to update automatically.
You can update your drivers automatically with either the 7 days free trial or the Pro version of Driver Easy. It takes just 2 clicks, and you get full support and a 30-day money-back guarantee with the Pro version:
- Download and install Driver Easy.
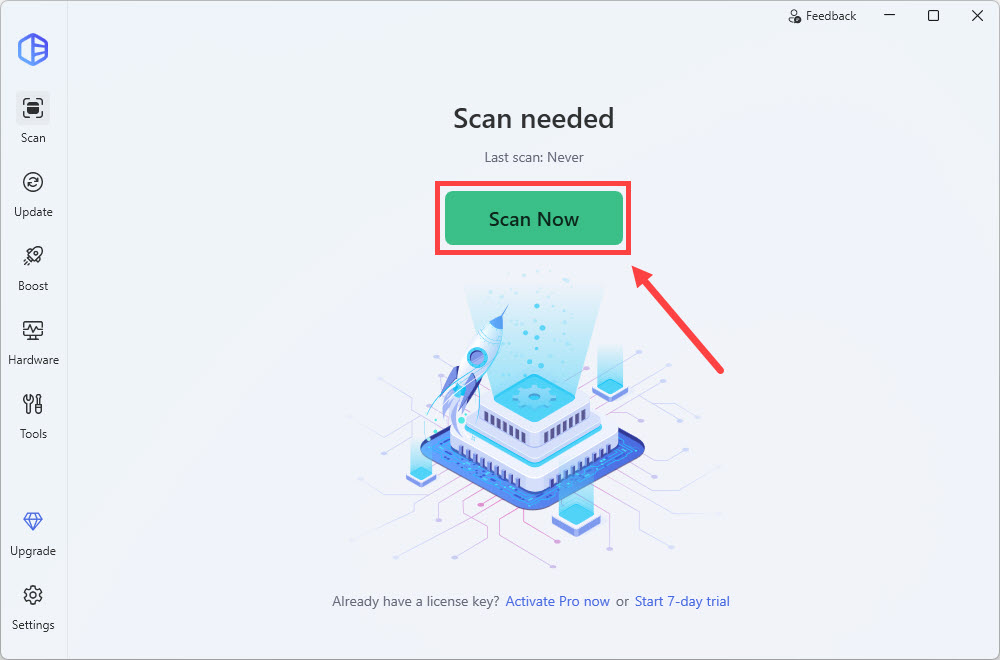
- Run Driver Easy and click the Scan Now button. Driver Easy will then scan your computer and detect any problem drivers.
- Click the Activate & Update button next to the flagged device to automatically download and install the correct version of this driver.
Or click Update All to automatically download and install the correct version of all the drivers that are missing or out of date on your system (You’ll need the Pro version for this – when you select Update All, you’ll get a prompt to upgrade. If you’re not prepared to purchase the Pro version yet, Driver Easy provides a 7-day trial at no cost, granting access to all Pro features like fast downloads and easy installation. No charges will occur until after your 7-day trial period ends.)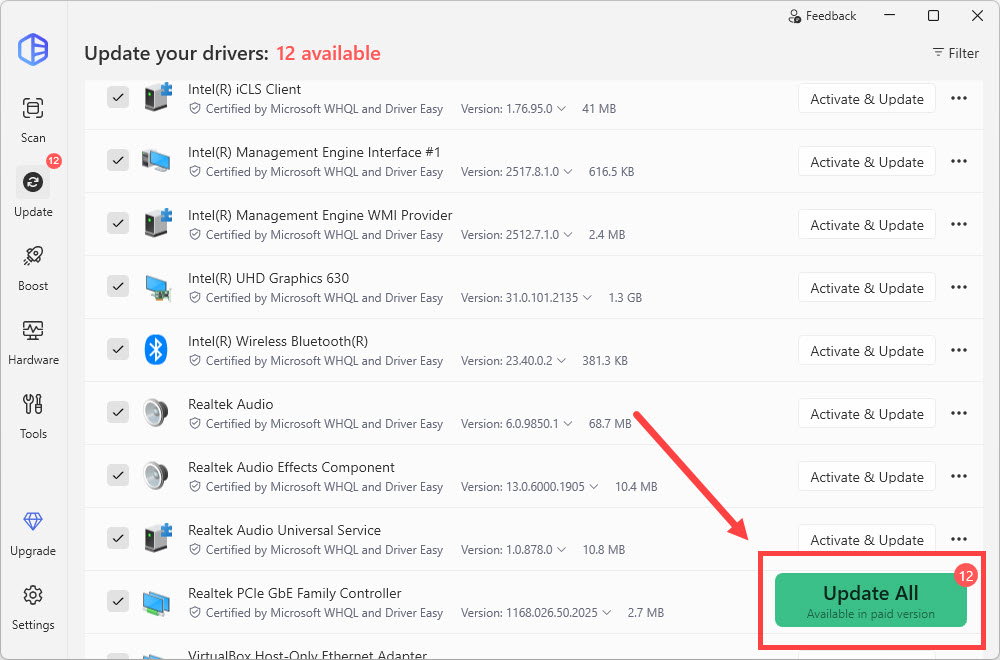
- After updating, restart your computer to take effect.
Once you’ve updated all your drivers, restart your PC and check if Battle.net works now.
If the latest drivers can’t fix the issue, take a look at the next method.
Fix 3: Install all Windows updates
Microsoft rolls out system updates to improve overall stability. Normally you don’t need to check for updates since it’s automatic, but it becomes necessary if you’re having computer issues. And this is especially true if you’re on Windows 11.
On Windows 10
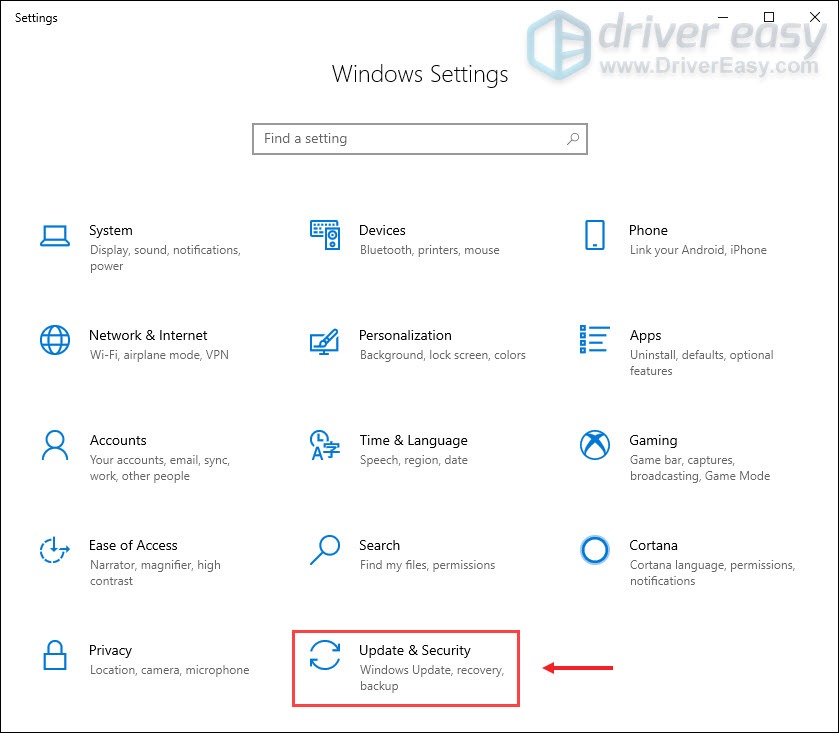
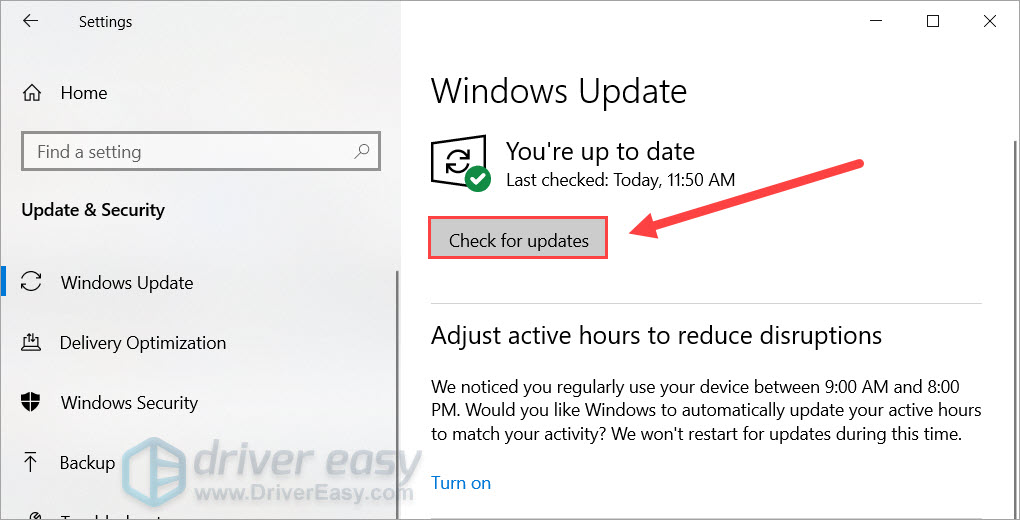
- On your keyboard, press Win+I (the Windows logo key and the i key) to open the Windows Settings app. Click Update & Security.
- Click Check for updates. Windows will then download and install the available patches. It might take some time (up to 30 mins).
On Windows 11
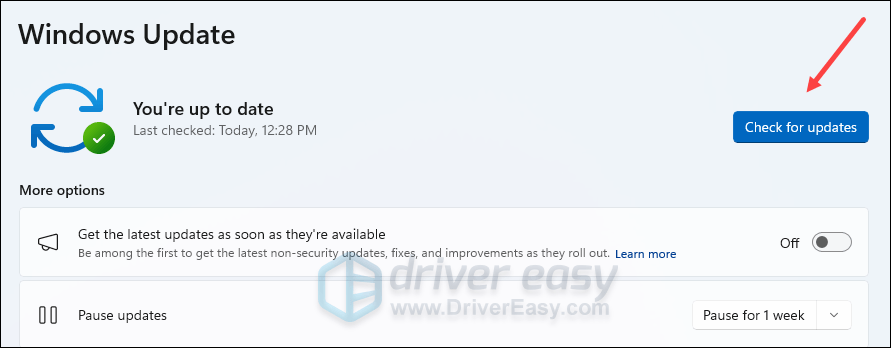
- On your keyboard, hit the Windows key, then type check for updates, then click Check for updates.

- Click Check for updates, and Windows will scan for any available updates.
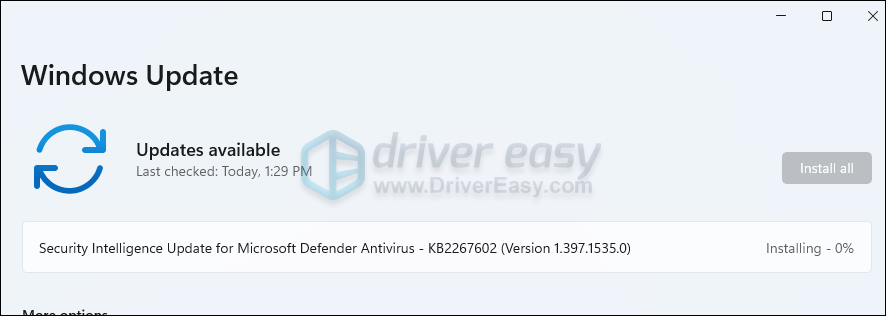
- If there are available updates, Windows will automatically download them for you. Restart your computer for the update to take effect if needed.
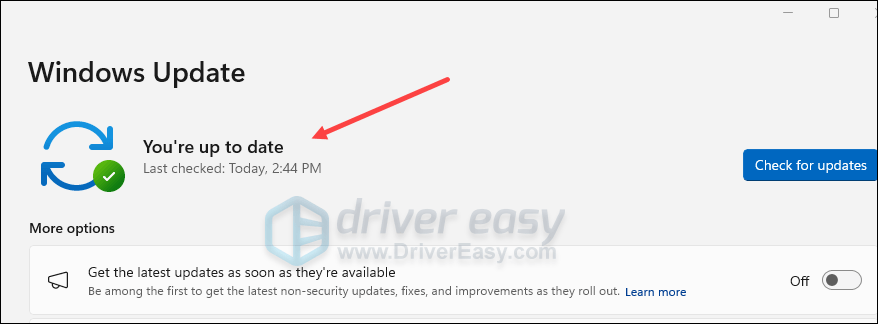
- If there are no available updates, you’ll see You’re up to date like this.
Once completed, restart your PC for the changes to take effect. Then you can try to launch the Battle.net client.
If the issue is still there, you can move on to the next method.
Fix 4: Update Visual C++ Redistributables
The Visual C++ Redistributable install libraries that help you run most of the games and applications on Windows. If one of the libraries is missing or corrupted, you could run into trouble launching programs. You can use the following steps to install or update C++ Redistributables.
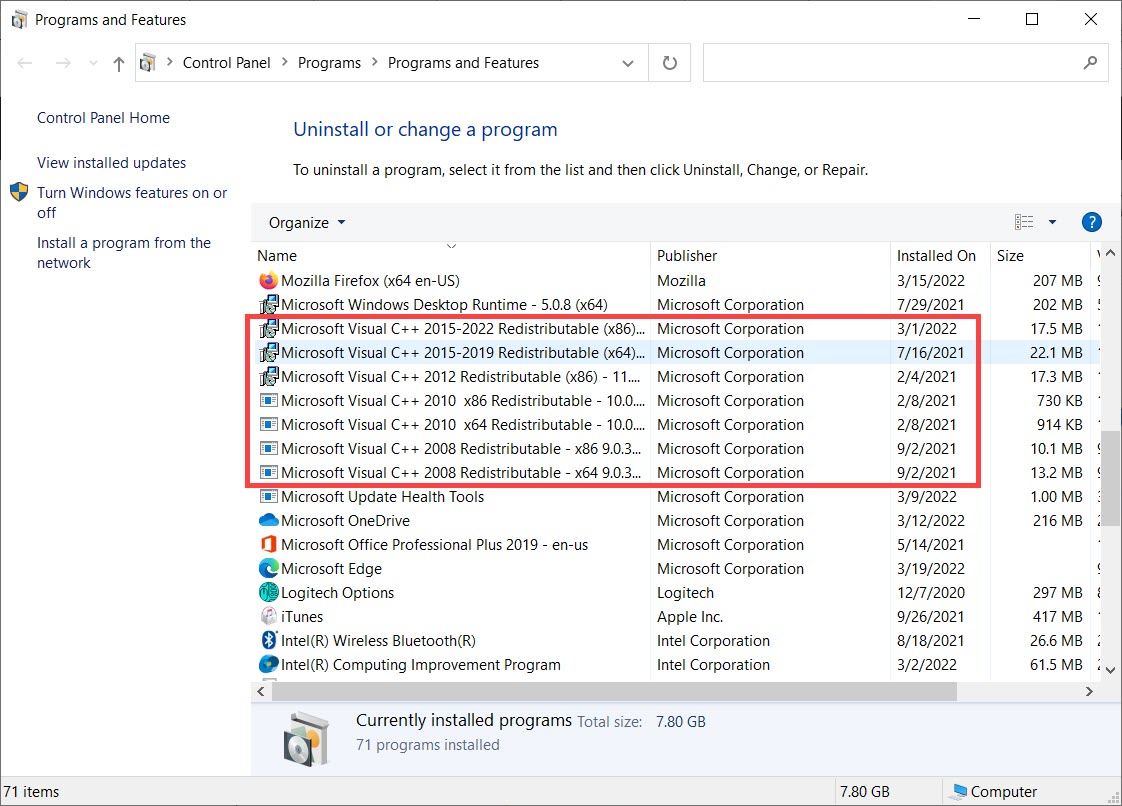
- On your keyboard, press Win+R to invoke the Run box. Type appwiz.cpl and click OK.
- Scroll down the list to locate Microsoft Visual C++ Redistributables. These are the libraries you may need to update.
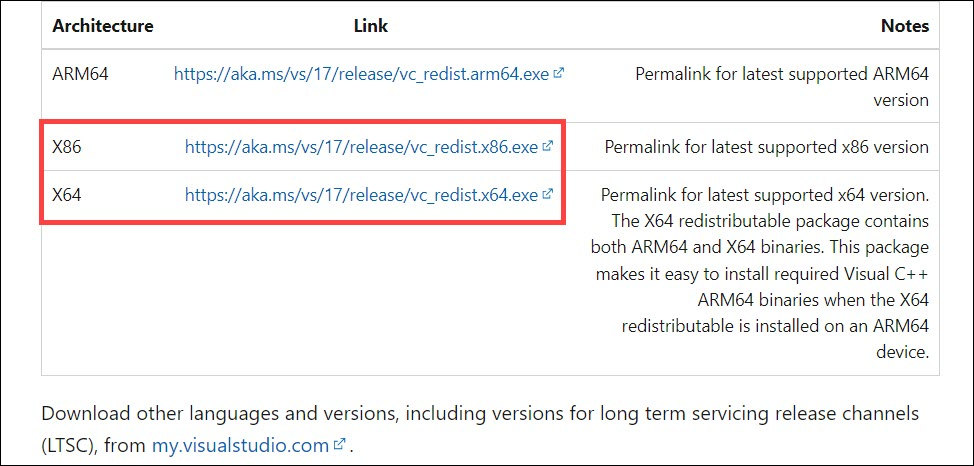
- Go to this Microsoft guide and download the Redistributable packages according to the ones you already have. You can use this guide to determine whether you’re on a 64-bit or 32-bit system.
Fix 5: Add Battle.net to your antivirus exception list
The Battle.net not working issue may also be caused by your third-party antivirus application. Since the third-party antivirus application hooks very deep into your system, it may interfere with Battle.net.
Since Battle.net consumes a lot of memory and CPU usage when you’re playing a game, many third-party antivirus applications may regard it as a potential threat and the latter may not run as expected. You can try adding Battle.net as an exception to your third-party antivirus application.
If you don’t have a third-party antivirus program installed, but Battle.net still refuses to work properly, you can try to add it to your Windows firewall’s exception list as follows:
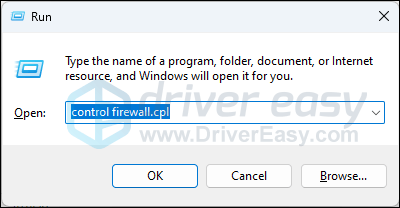
- On your keyboard, press the Windows key and the R key simultaneously to open the Run box.
- Type control firewall.cpl and hit Enter.
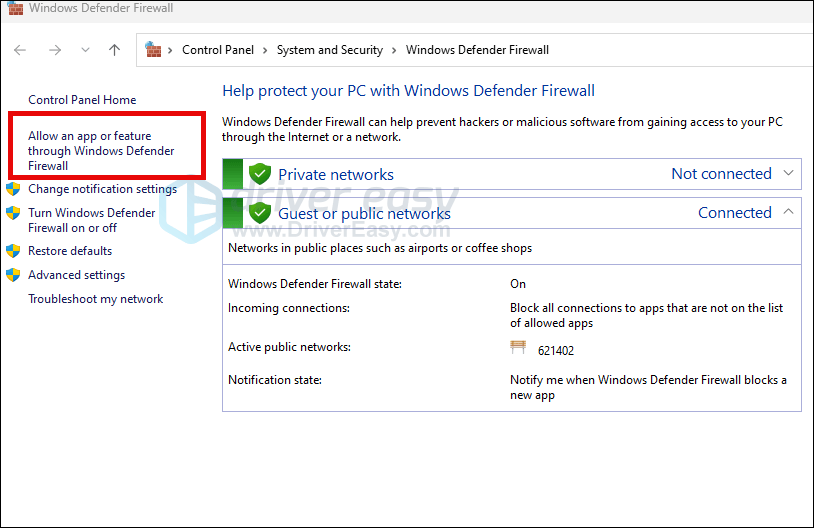
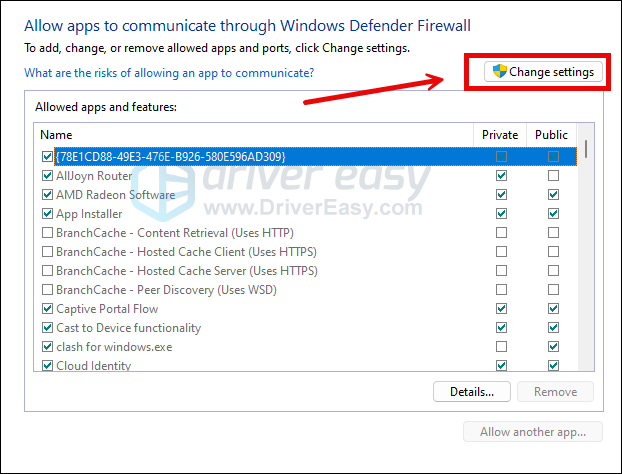
- From the left navigation pane, click Allow an app or feature through Windows Defender Firewall.
- Scroll down and check if Battle.net is on the list.
- If not, click the Change settings button.
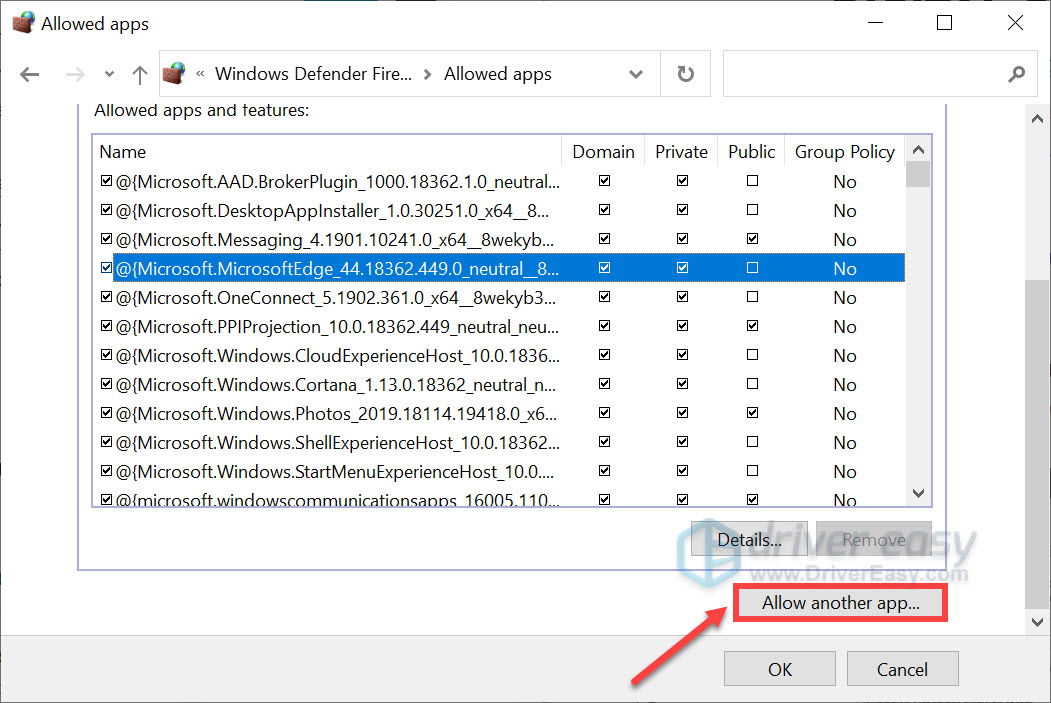
- Click Allow another app….
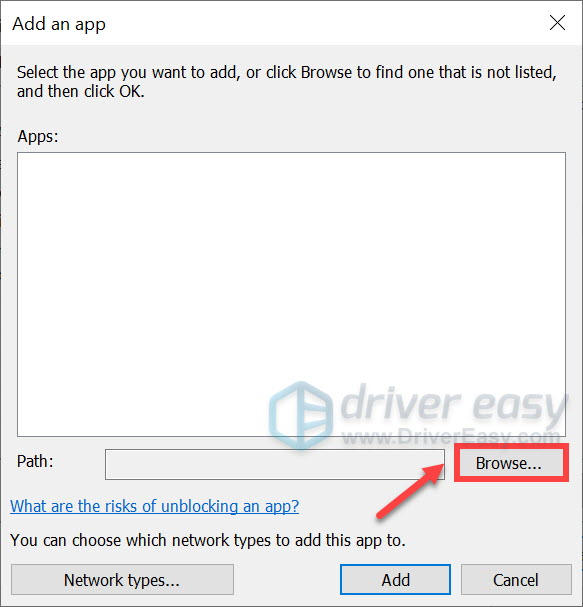
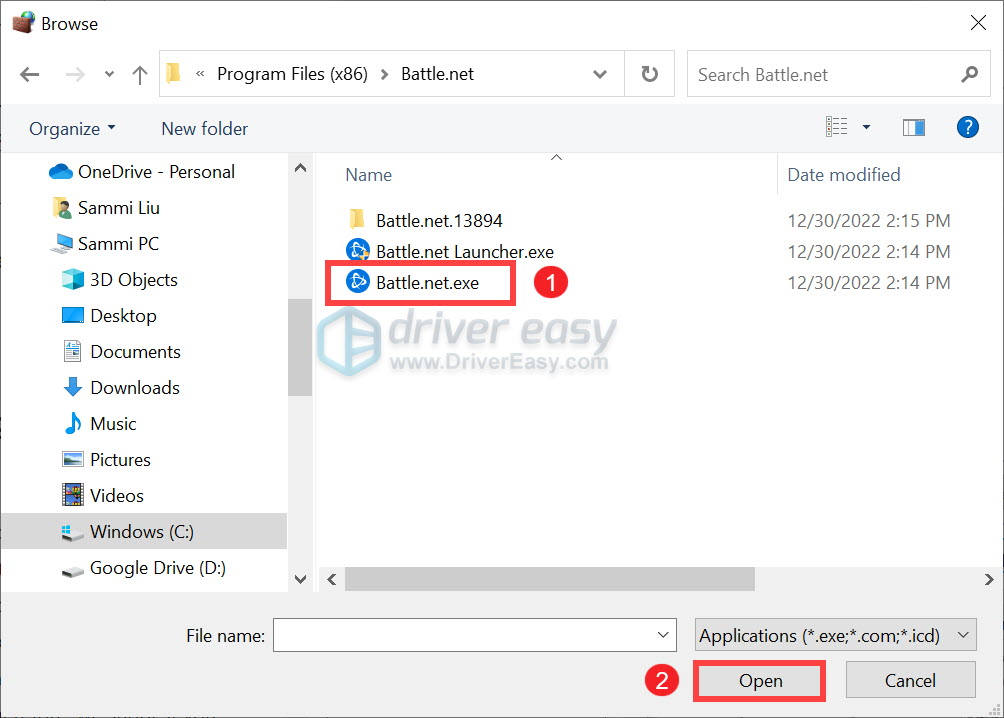
- Click Browse… and go to the installation folder for Battle.net.
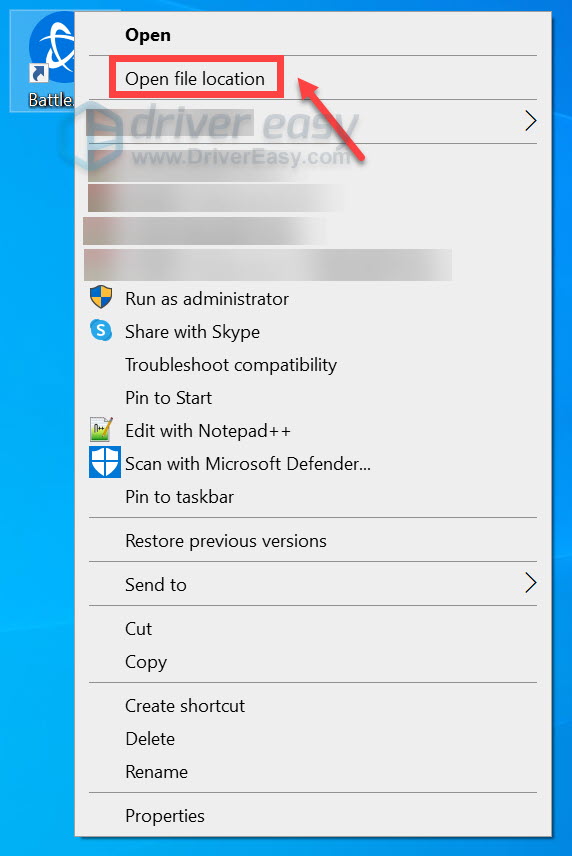
- If you have no idea of where the installation folder is, simply right-click on the shortcut and select Open file location.
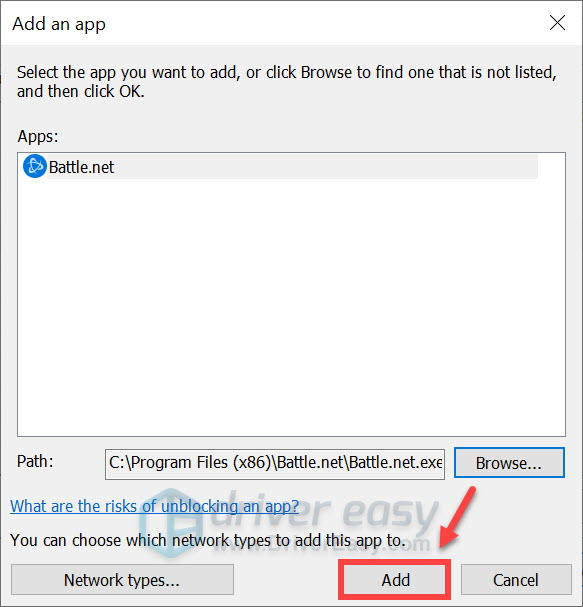
- Find Battle.net.exe and click on it. Then click Open.
- When it’s located, click Add.
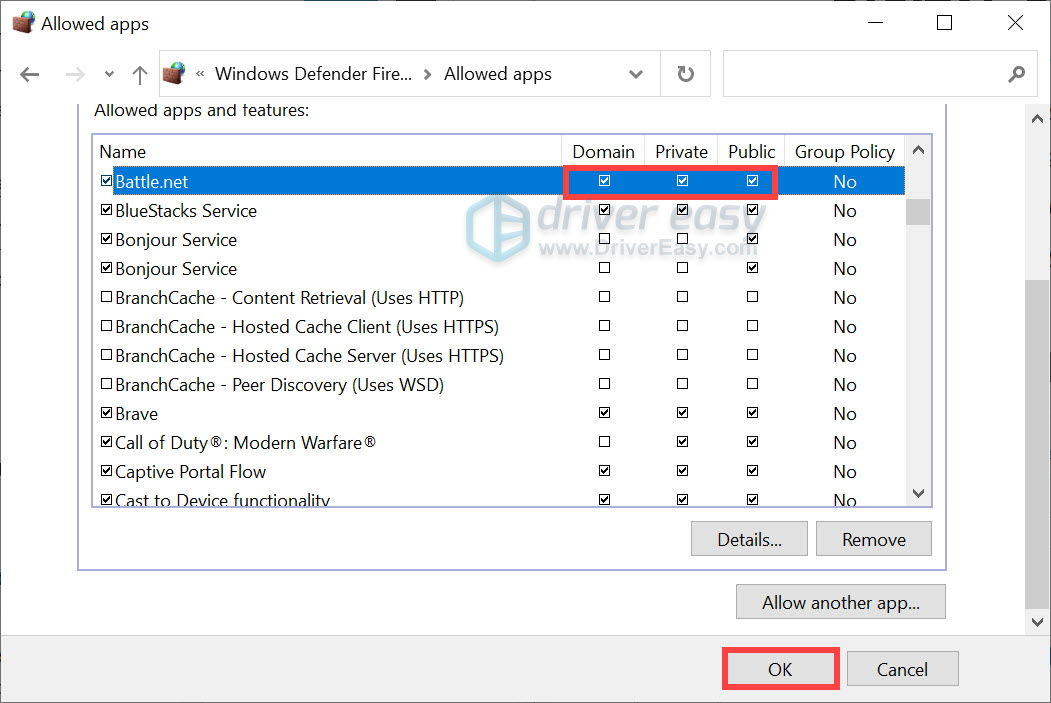
- Now make sure Battle.net is added to the list and tick Domain, Private, and Public. Once you’re done, click OK.
See if Battle.net runs properly now. If not, please move on.
Fix 6: Disable VPN or proxy programs
Network-related software programs like VPN or proxy settings could also relate to the Battle.net not working problem. So if you have any of such programs running in the background, try to disable them. To do so:
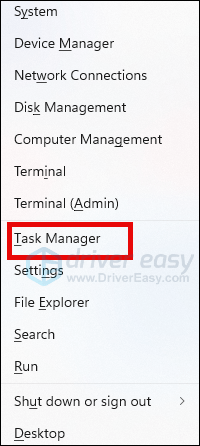
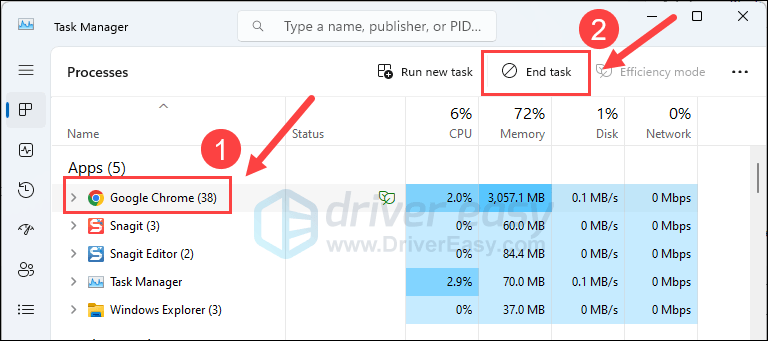
- On your keyboard, press the Windows key and X at the same time to select Task Manager.
- Select your VPN or proxy-related application and click End Task to close them one by one.
Then do the following:
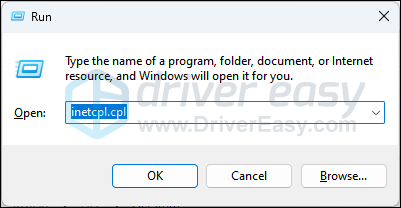
- On your keyboard, press the Windows key and the R key at the same time. Type inetcpl.cp and hit Enter.
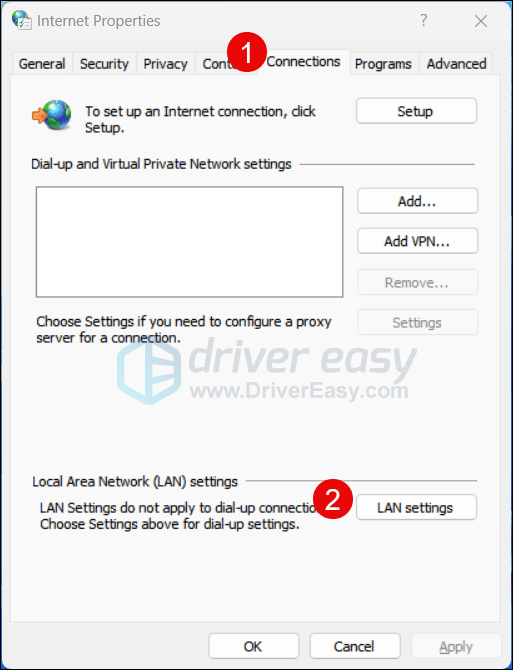
- Select Connection, then LAN settings.
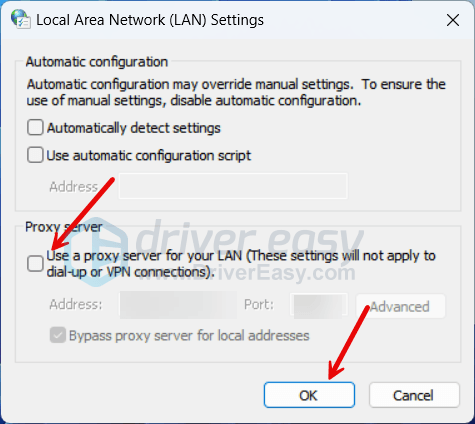
- Untick the box for the Proxy server option. Click OK.
Hopefully this post helps you fix the Battle.net not working issue. If you have any questions or ideas, feel free to drop a line in the comments below.