


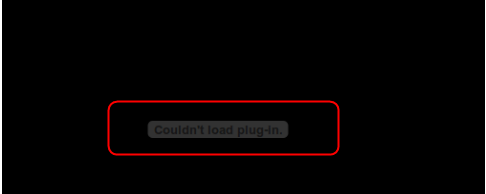
If you’re on Chrome in Windows 10, and you’re seeing this error saying Couldn’t load plug-in, you’re not alone. Many users are reporting it. But the good news is you can fix it easily by yourself.
How do I fix it?
Here are 4 solutions you can try. You may not need to try them all; just work your way down the list until you find the one that works.
Solution 1: Rename your pepflashplayer.dll file
Solution 2: Delete your PepperFlash folder
Solution 3: Stop your Shockwave Flash
Solution 4: Make sure your Chrome is up-to-date
Solution 1: Rename your pepflashplayer.dll file
1) On your keyboard, press the Windows logo key ![]() and E at the same time to open Windows File Explorer.
and E at the same time to open Windows File Explorer.
2) Go to C:\Users\Your Users name\AppData\Local\Google\Chrome\User Data\PepperFlash.
Then double-click the folder with the version number.

3) Right-click pepflashplayer.dll, then Rename.
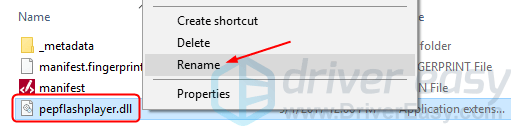
4) Change the name into pepflashplayerX.dll.
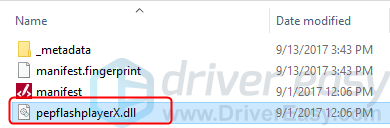
5) Restart your Chrome and see if the flash works.
Solution 2: Delete your PepperFlash folder
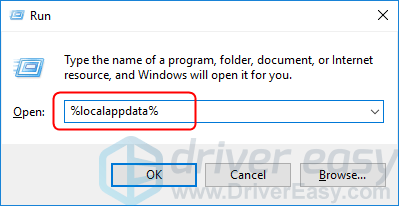
1) On your keyboard, press the Windows logo key ![]() and R at the same time to invoke the Run box.
and R at the same time to invoke the Run box.
2) Type %localappdata% and press Enter.
3) Go to Google/Chrome/User Data.
Then right-click PepperFlash, then Delete.

4) Restart your Chrome and see if the flash works.
Solution 3: Stop your Shockwave Flash
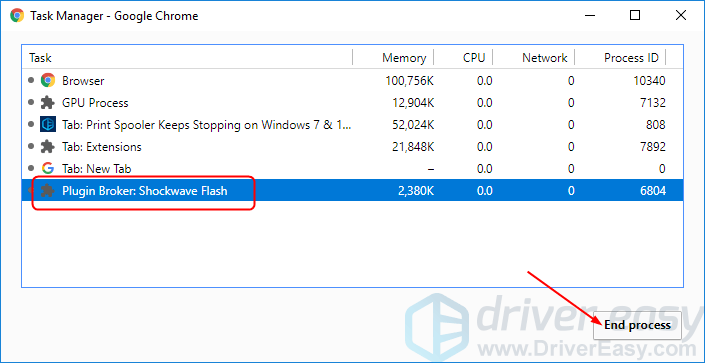
1) On any tab of your Chrome do this: on your keyboard, press Shift and Esc at the same time to invoke the Chrome’s Task Manager window.
2) Click Plugin Broker: Shockwave Flash, then End process.
3) Restart your Chrome and see if the flash works.
Solution 4: Make sure your Chrome is up-to-date
This error could be also caused by an old version of Chrome. To make sure your Chrome is up-to-date:
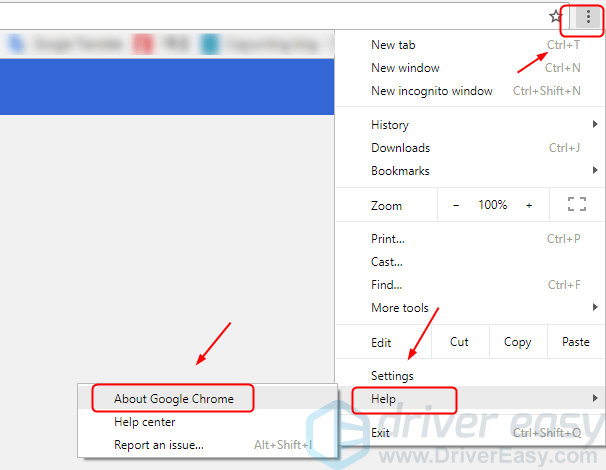
1) Click the more options button ![]() on your Chrome. Then Help > About Google Chrome.
on your Chrome. Then Help > About Google Chrome.
2) Your Chrome should be updated automatically.

3) Restart your Chrome and see if the flash works.