


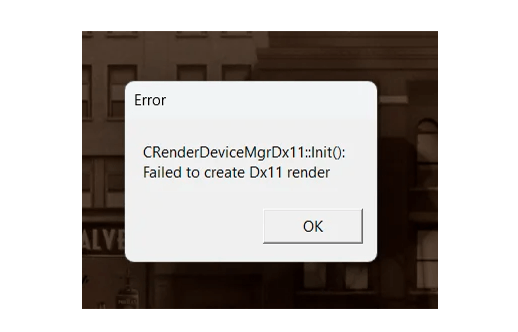
Failed to launch your game (for example, Dota 2 or Counter‑Strike 2) and encountered the error message: “CRenderDeviceMgrDx11::Init(): Failed to create Dx11 render device”? You’re not alone—and the good news is that this issue is usually fixable.
In most cases, this error means the game cannot initialize the DirectX 11 renderer, often due to issues like outdated GPU drivers, missing DLLs, or mismatched display settings. In the steps that follow, we’ll guide you through the most effective fixes so you can get back in the game:
- Update Your Graphics Driver
- Update Your Windows and DirectX
- Verify Integrity of Game Files
- Run the Game as Administrator
- Use -vulkan as a Launch Option
- Disable Hardware-accelerated GPU Scheduling
1. Update Your Graphics Driver
An up-to-date graphics driver is essential for optimal gaming performance. It usually comes with additional new features and addresses known bugs such as compatibility issues. To run your game properly on your system, ensure that your graphics driver is updated to the latest version.
You can manually search for updates through the NVIDIA, AMD, or Intel websites, but this method requires care: installing the wrong driver version or missing a critical clean install step can introduce new instability.
If you’d rather avoid the hassle of manual searching — and the risks that come with it — you can update automatically with Driver Easy. Driver Easy is a trusted driver updater that makes the process effortless. It automatically detects the exact drivers your system needs and installs them correctly, without the risk of picking the wrong version.
You can start with the free trial, which gives you 7 days of access to all Pro features. During this time, you’ll be able to automatically download and install the correct drivers with just a few clicks—no payment required unless you decide to keep using the Pro version.
All it takes is just a few clicks:
- Download and install Driver Easy.
- Run Driver Easy and click the Scan Now button. Driver Easy will then scan your computer and detect any problem drivers.
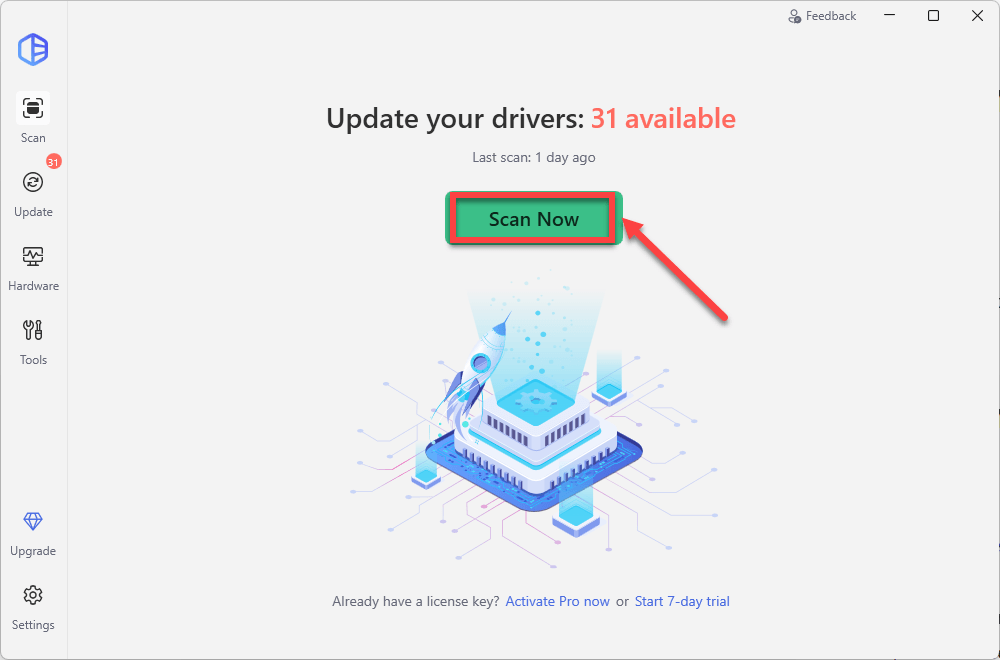
- Check if your graphics driver is flagged in the scan results. If it is, click Activate & Update to start a 7-day free trial or upgrade to Driver Easy Pro. Either option will automatically download and install the latest drivers for you.

- Restart your computer for the changes to take effect. Then try to launch your game. If the error still pops up, proceed to the next fix.
2. Update Your Windows and DirectX
Outdated Windows and DirectX versions can usually cause system failures and other kinds of issues. To rule this out, download and install all Windows updates, along with the latest version of DirectX.
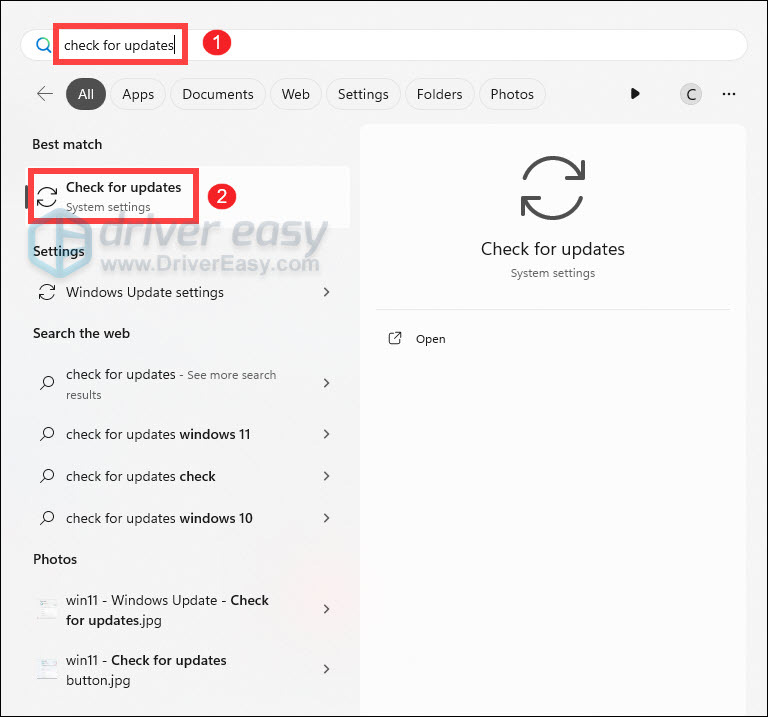
- Press the Windows logo key to invoke Search. Then type check for updates, and select it from the list of results.
- If you’re told that “Updates available to install”, simply click on the Install all button.

Or you can click on the button Check for updates to see if there are updates available.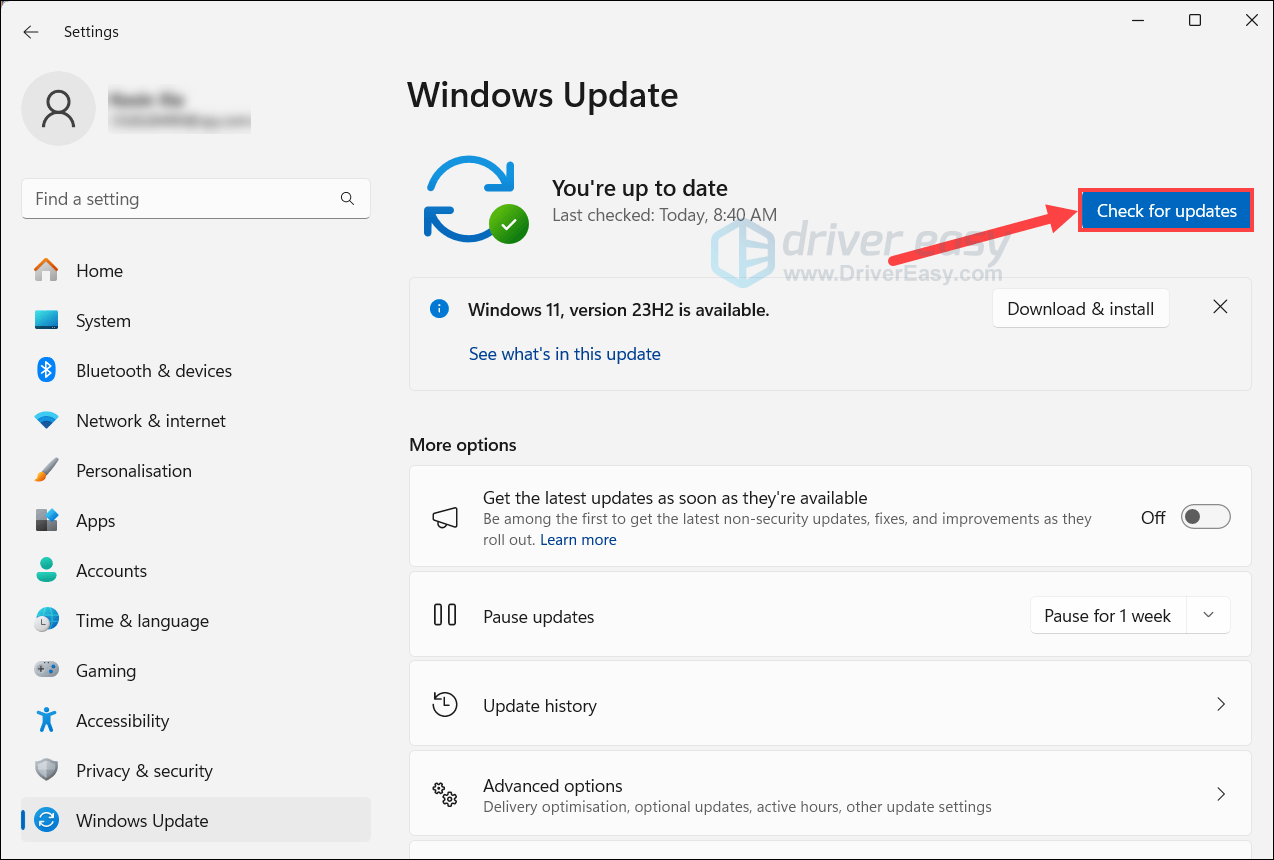
- Then follow the on-screen instructions to download and install the latest Windows updates. You should be prompted to restart your device upon completion.
If your issue persists, try the other fixes below.
3. Verify Integrity of Game Files
Corrupted or missing game files can also be the culprits. It’s essential to ensure that they’re intact. Depending on the specific game launcher you’re using, you can verify game files integrity by following the steps below.
Steam
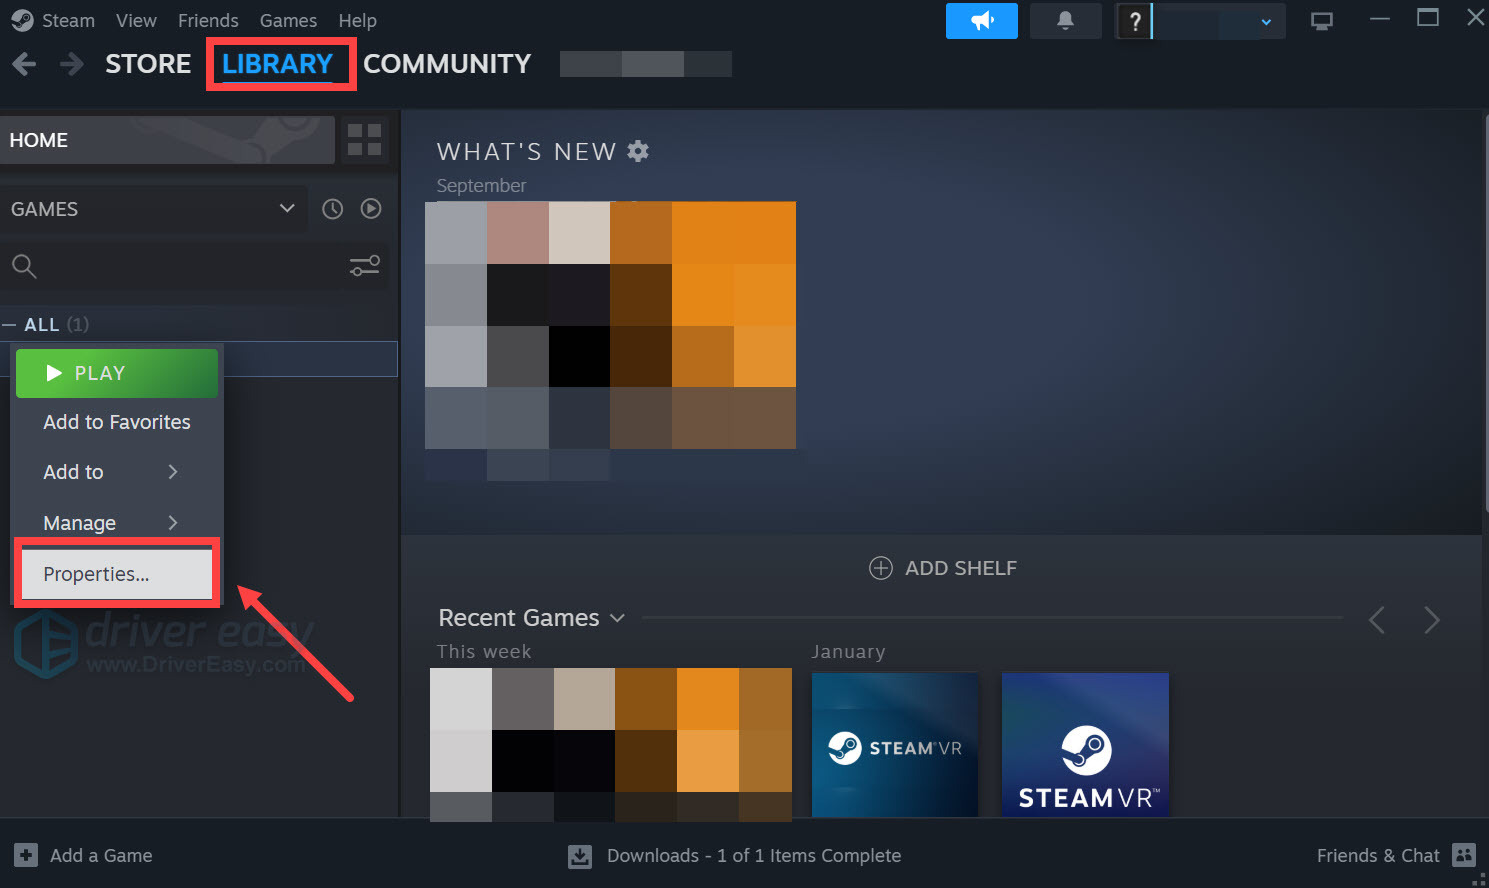
- Under LIBRARY, find your game, right-click it and select Properties….
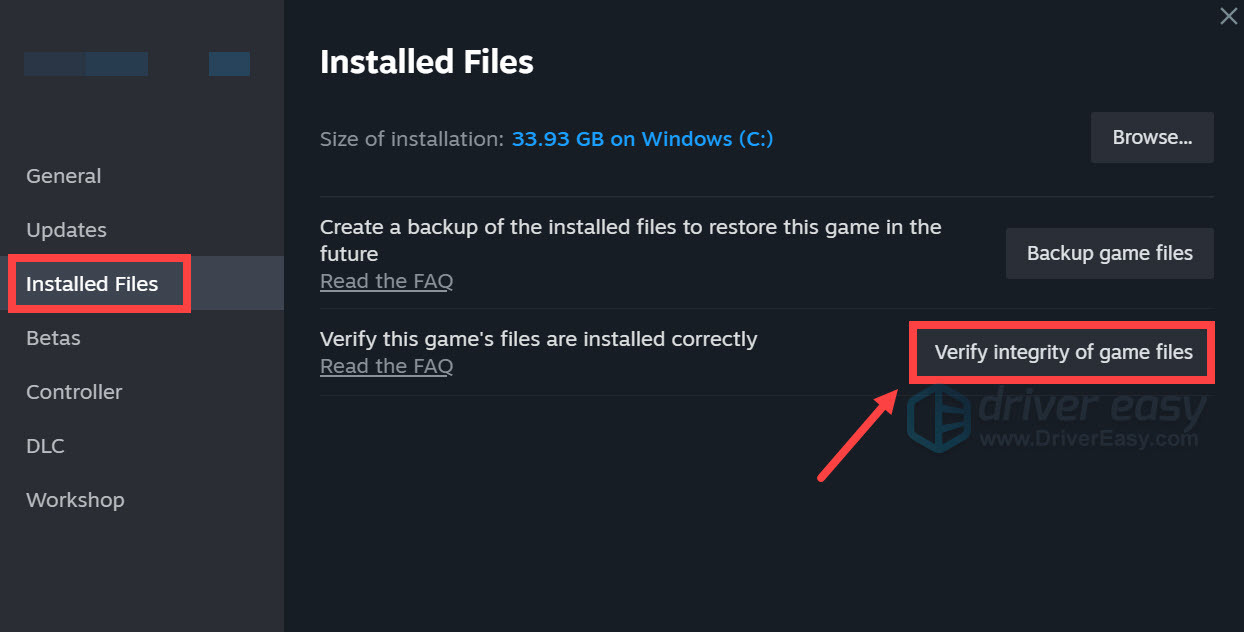
- Select the Installed Files tab and click the Verify integrity of game files button. Steam will verify the game’s files – this process may take several minutes.
Epic Games Launcher
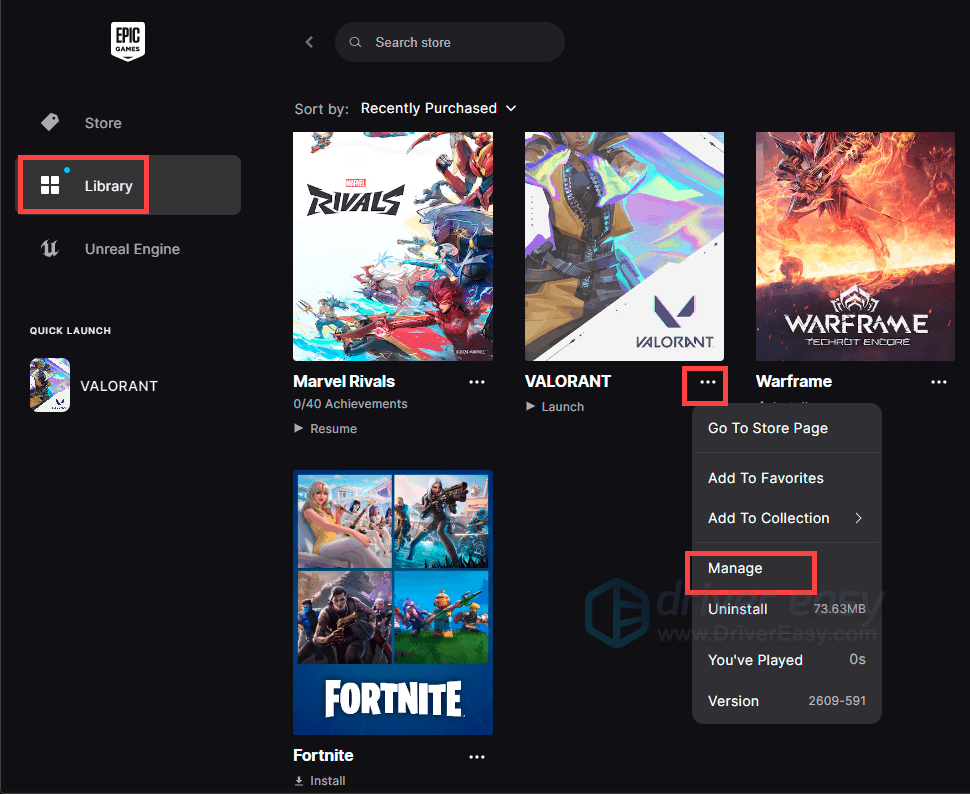
- Find the game in your Epic Games Library.
- Click the three dots on the right side of the game line, and select Manage.
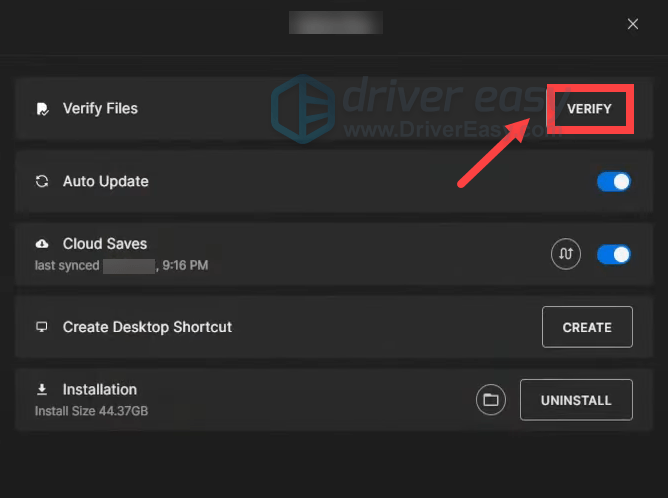
- Click the Verify button. Then wait for the validation to complete. It may take a while to verify your files.
4. Run the Game as Administrator
Giving your game elevated permissions can resolve initialization failures by ensuring it has full access to DirectX and GPU resources. This step is simple but effective, and it often helps bypass permission-related startup blocks that lead to that CRenderDeviceMgrDx11 error.
- Completely close your game and Steam/Epic launcher to avoid conflicts.
- Navigate to the game’s installation folder. For Steam, it might look like:
C:\Program Files (x86)\Steam\steamapps\common\\bin\win64\ - Locate the main executable (e.g., dota2.exe or cs2.exe).
- Right-click the file and select Properties.
- Go to the Compatibility tab. Check Run this program as an administrator, then click Apply and OK.
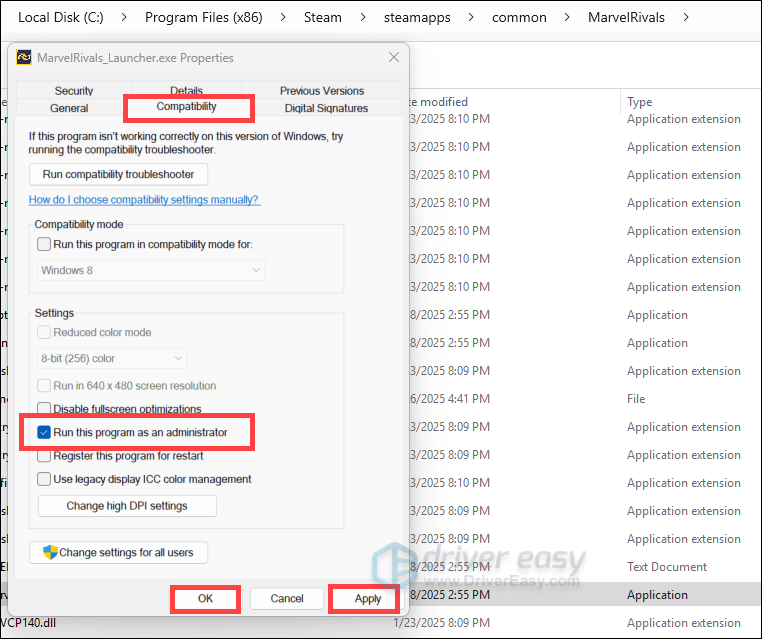
- Launch the game from this executable, or relaunch it via Steam. If the issue disappears, the error was likely due to restricted access preventing proper initialization of DX11 resources.
5. Use -vulkan as a Launch Option
If your game keeps failing to start with DirectX 11 and shows the error message: “CRenderDeviceMgrDx11::Init(): Failed to create Dx11 render device“, switching to Vulkan can often resolve the issue. Vulkan is a modern graphics API that bypasses DirectX 11’s initialization process, providing a more stable and efficient alternative. If you’re on Steam, you can try the following steps
- Under LIBRARY, find your game, right-click it and select Properties….
- In the General tab, under LAUNCH OPTIONS, type or paste -vulkan.
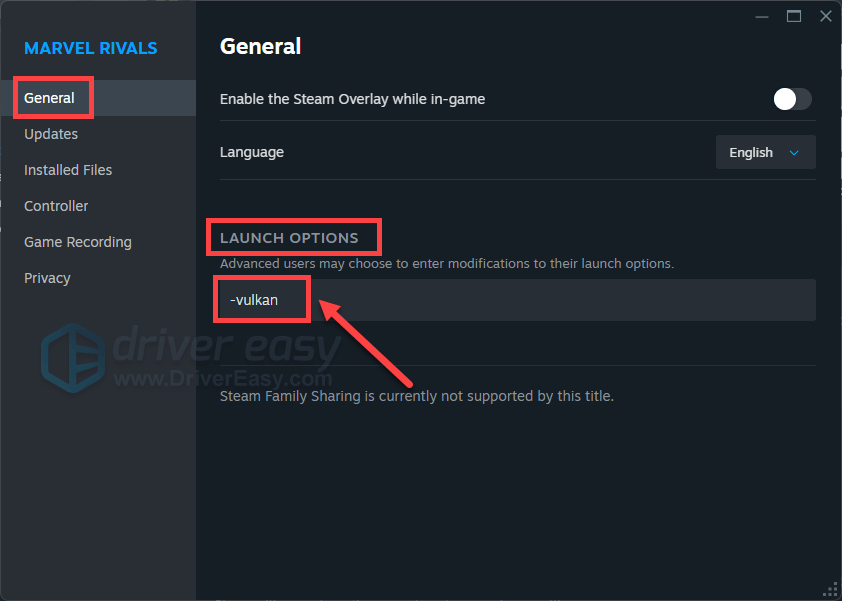
- Close the dialog, relaunch Steam and your game. If switching to Vulkan doesn’t work for you, remove it from the LAUNCH OPTIONS and try the next fix below.
6. Disable Hardware-accelerated GPU Scheduling
Hardware-Accelerated GPU Scheduling (HAGS) is a Windows feature designed to reduce rendering latency by allowing the GPU to directly manage its memory. However, in certain game titles, this can cause some performance issues and trigger errors. So you may want to disable it by following the steps below.
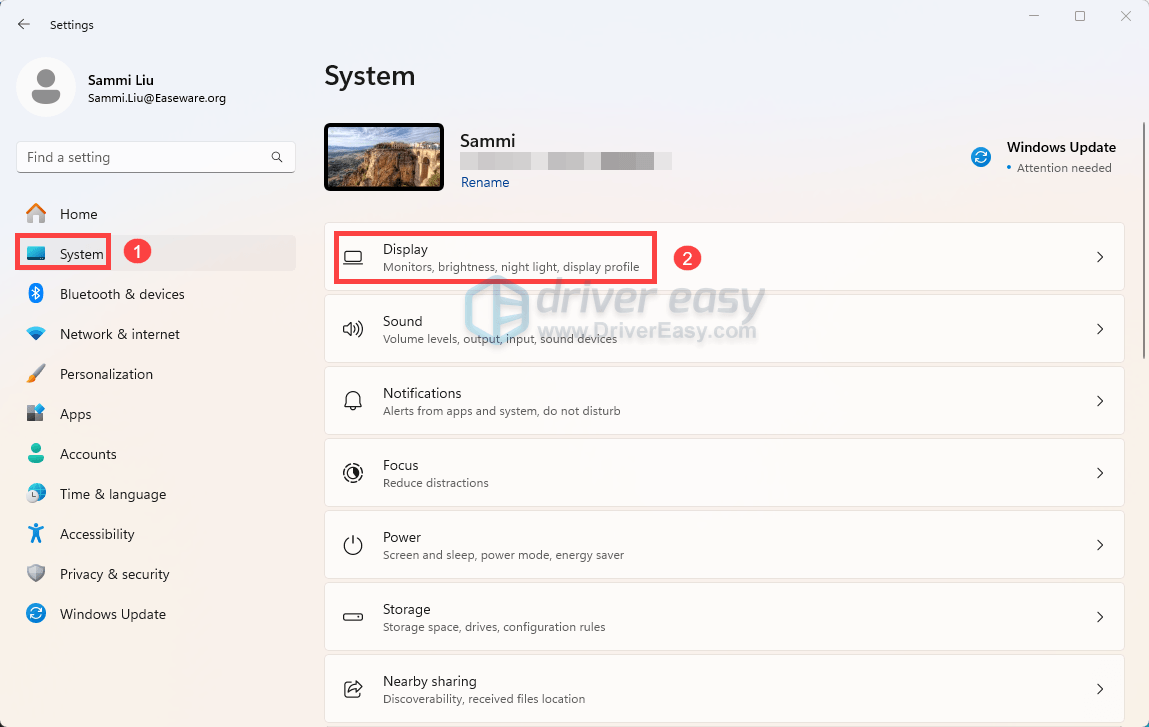
- Press Win + I simultaneously to open Settings.
- Navigate to System > Display.
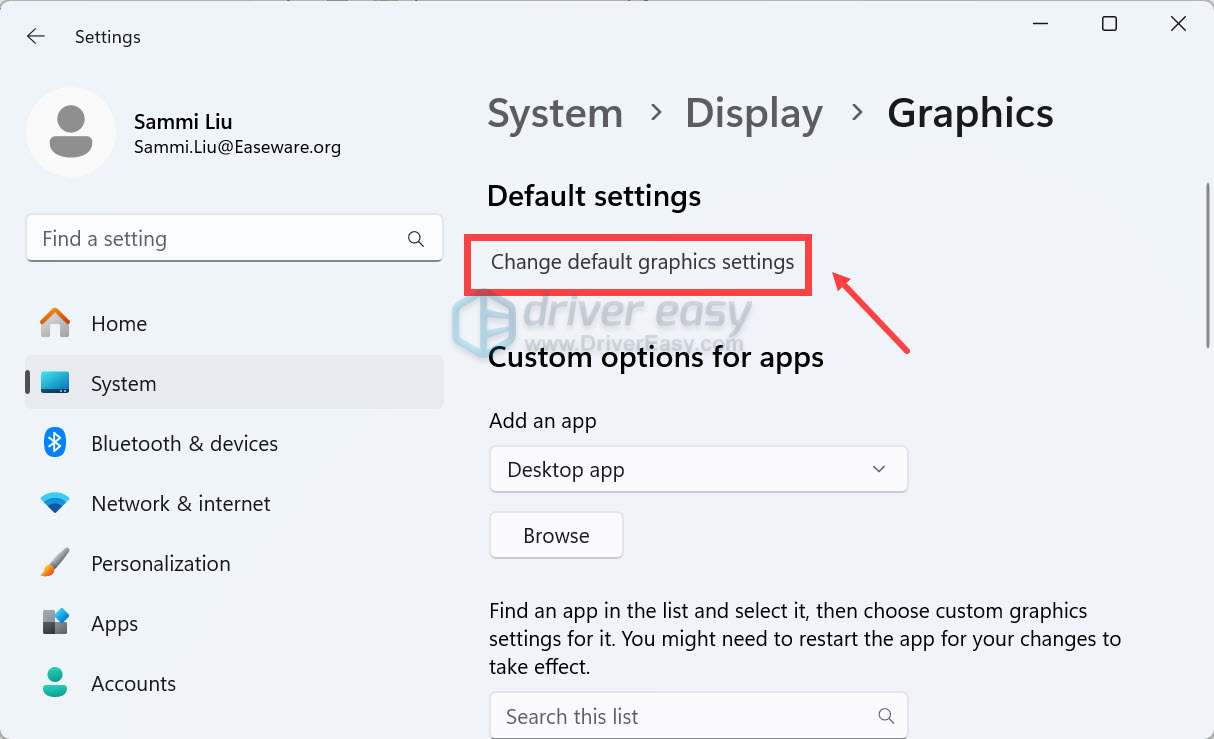
- Scroll down to Related settings and click on Graphics.
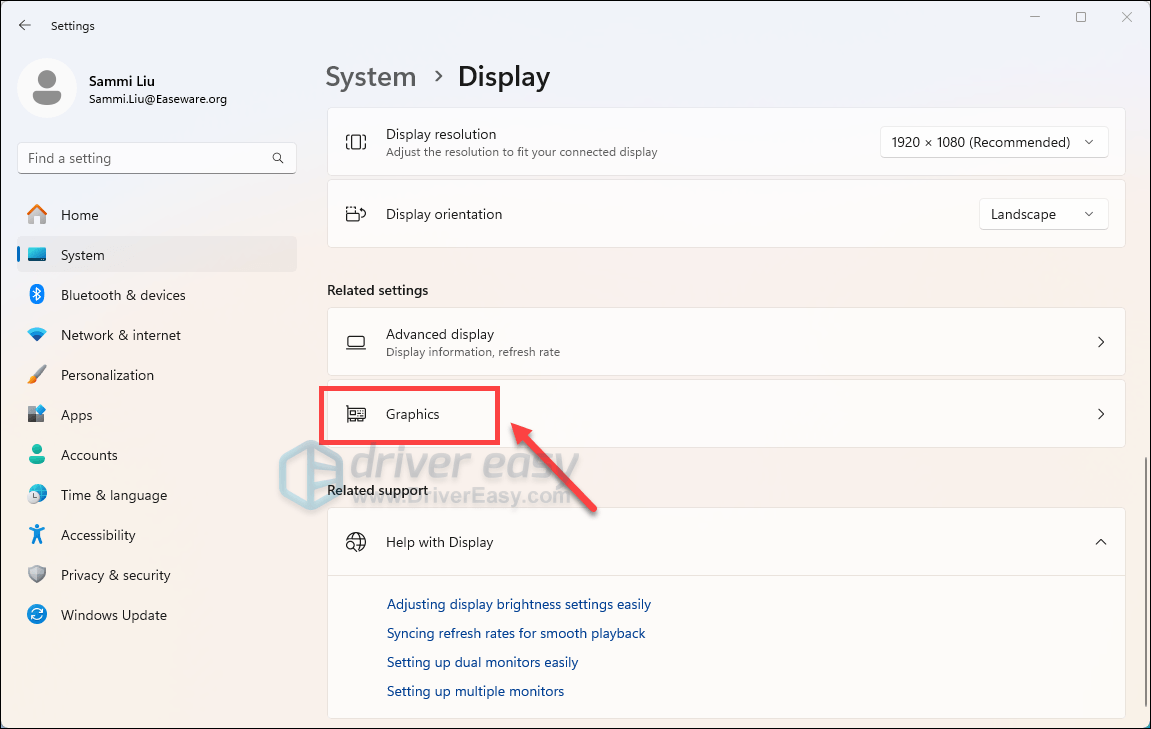
- Click Change default graphics settings.
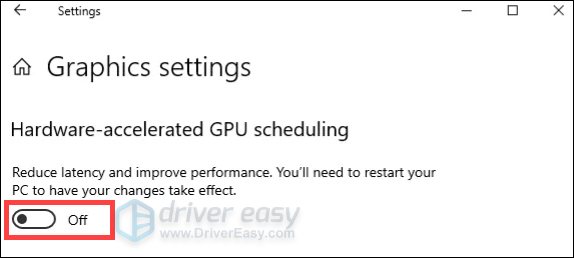
- In the Graphics Settings window, toggle the Hardware-Accelerated GPU Scheduling option to Off.
That wraps up our guide on how to fix the “CRenderDeviceMgrDx11 Failed to create Dx11 render device” error on games like Dota 2 or Counter-Strike 2. If you have additional questions, do not hesitate to write them down in the comment section below. We’ll get back to you ASAP.