


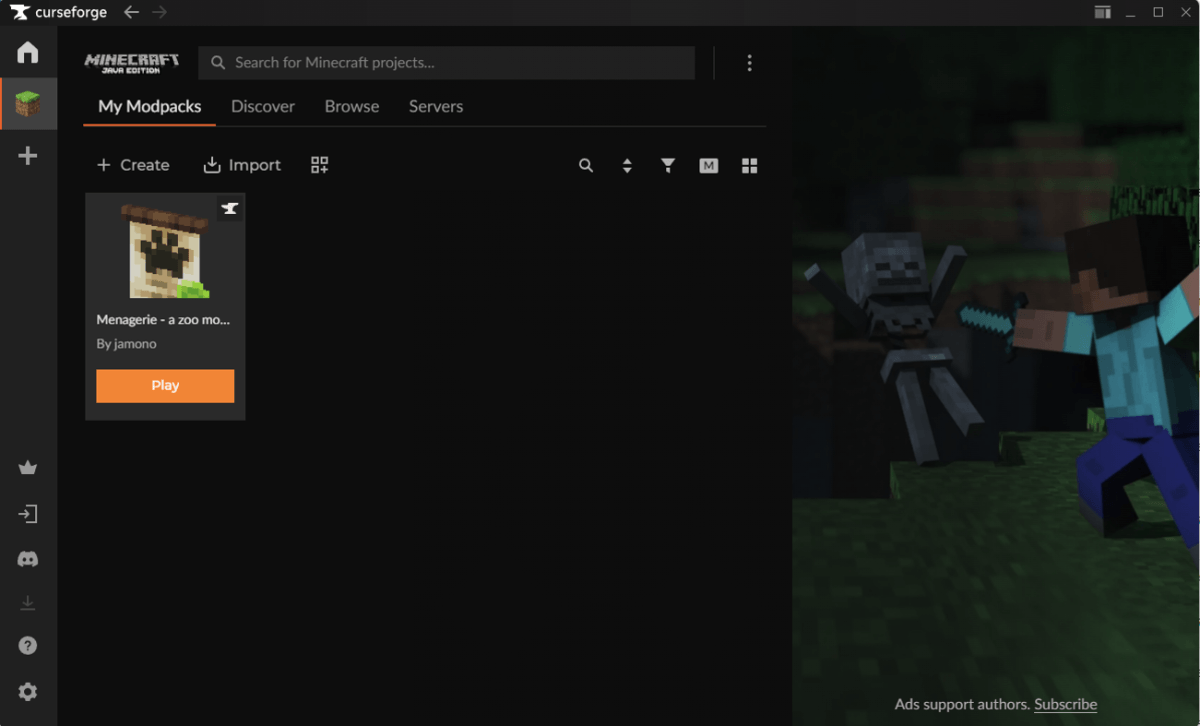
Struggling to hit Play on a CurseForge modpack only to be greeted with freezes or silent crashes? You’re not alone! A number of players have been encountering this issue. Thankfully, there are some steps you can take to troubleshoot it. In this guide, we’ll walk you through them.
1. Make Sure You Have Java Installed on Your System
Java is required to run Minecraft modpacks. If you don’t have Java installed on your system, you will encounter issues like failure to launch Minecraft through CurseForge. To solve this, follow the steps below to install the latest Java version:
- Download the latest Java version available here: https://java.com/download.
- Run the installer and finish the installation process.
- Restart the CurseForge app and try to launch your modpacks again.
Once you have the latest compatible Java version installed on your system, take the steps below to change the Java executable:
- Locate your Java installation path:
Press the Windows logo key to invoke the Search bar, type Java, then click Configure Java from the list of results.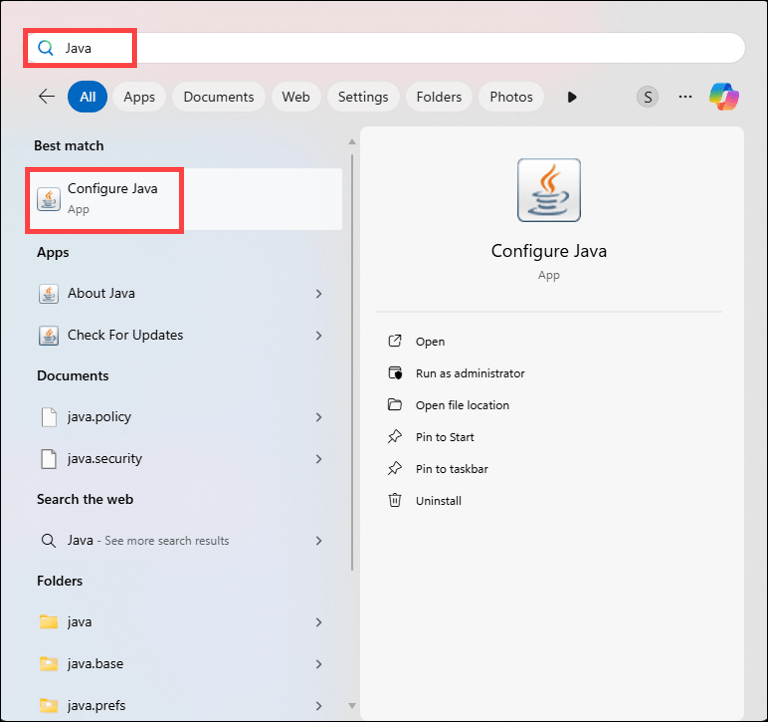
Click on the Java tab, then click on View….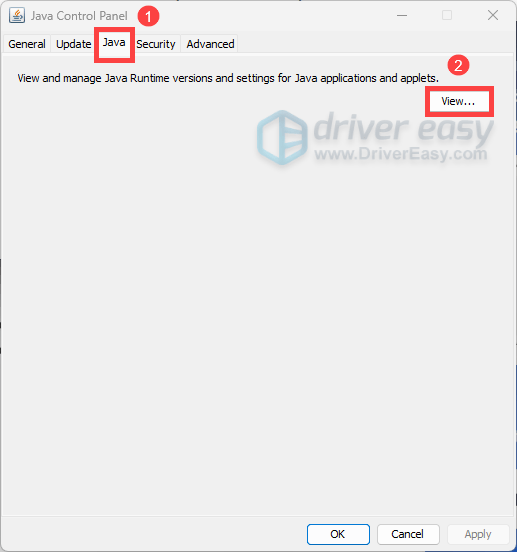
Hover over the Path and you should be able to see the installation path.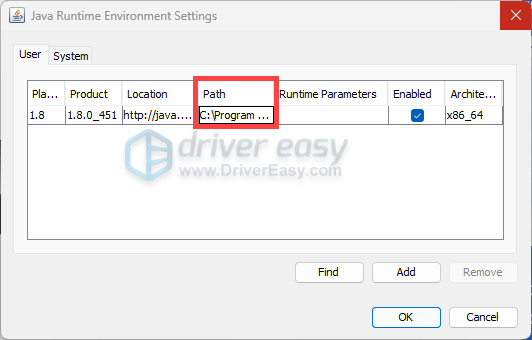
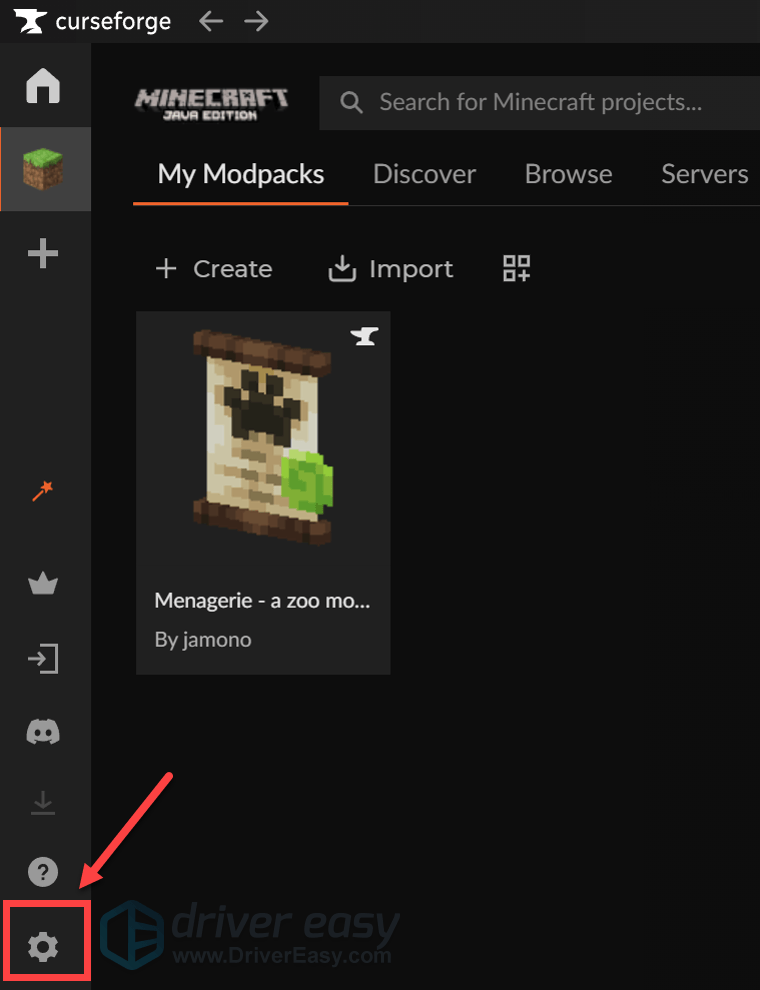
- Open CurseForge. In the bottom left, click on the gear icon to open Settings.
- Select Minecraft from the left, then scroll all the way down. Under Java Versions, click on the Choose button that is next to Java 8.
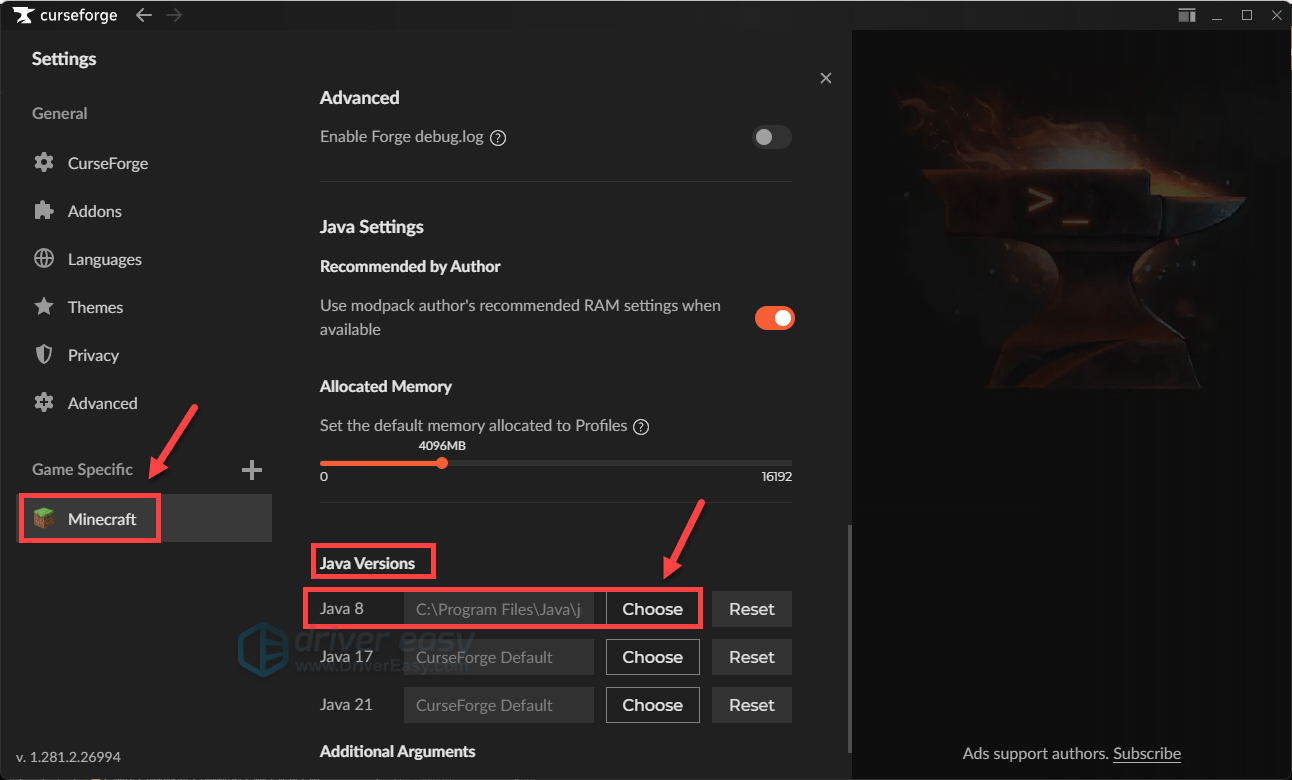
- Open the installation path, as identified in step 1, select the executable file and click Open.
- Once set successfully, restart CurseForge and launch your Minecraft to see if you can load into the gameplay successfully. If your issue persists, proceed to the next fix.
2. Update Graphics Driver
An outdated or corrupted graphics driver can cause failures to launch or crashes, with consistent “Exit Code 1” messages. Updating to the latest stable version ensures that Minecraft has the proper rendering support it needs to initialize correctly, eliminating one of the most common issues in modded gameplay.
To update your graphics driver, start by identifying whether your system uses NVIDIA, AMD, or Intel graphics. Then visit your GPU manufacturer’s official website, find the latest stable driver for your specific model, download it, and follow the installer’s steps.
If you don’t have the time or confidence to manually update your graphics driver, you can do it automatically with Driver Easy. This is especially helpful if you’re unsure which driver version is the latest or have trouble finding the right one.
Driver Easy scans your system, identifies outdated or missing drivers, and allows you to update them with a single click. You don’t need to worry about downloading the wrong drivers or making installation mistakes. Driver Easy takes care of it all.
- Download and install Driver Easy.
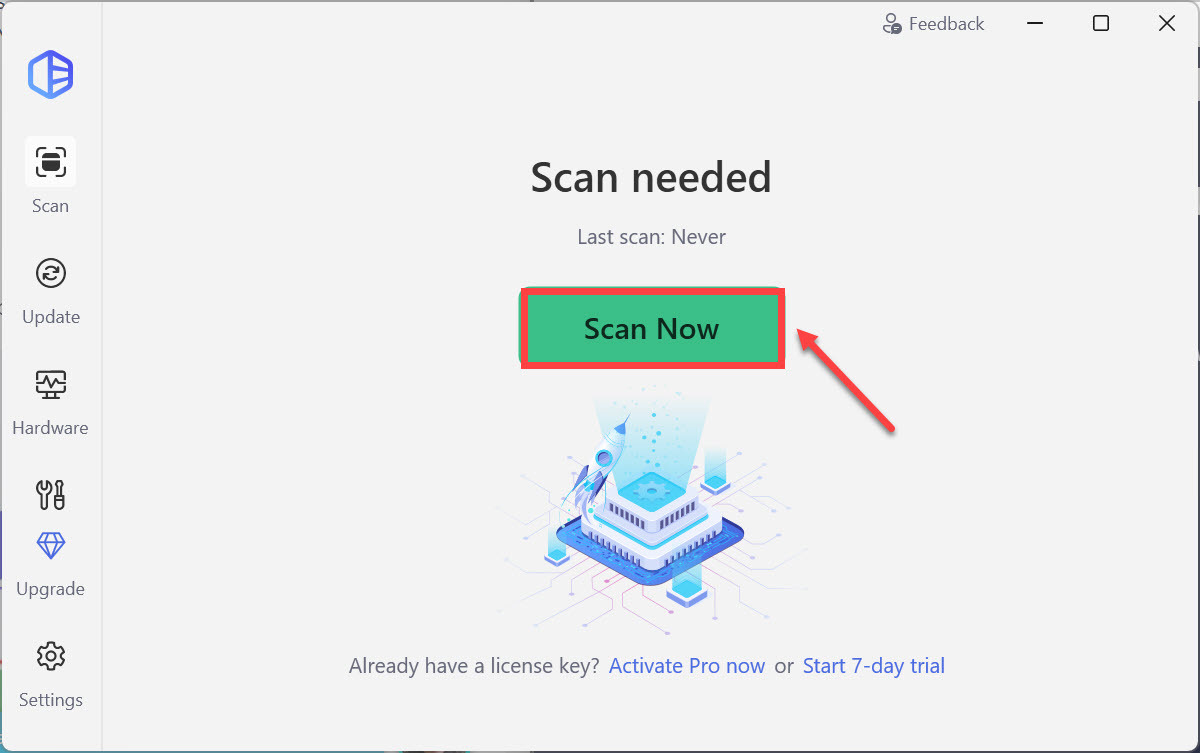
- Run Driver Easy and click the Scan Now button. Driver Easy will then scan your computer and detect any problem drivers.
- Check if your graphics device is flagged in the scan results. If it is, click Update all to start a 7-day free trial or upgrade to Driver Easy Pro. Either option will automatically download and install the latest graphics driver for you.

- Restart your computer for the changes to take effect.
- Check to see if it loads into the gameplay when hitting the Play button. If yes, then congrats and enjoy your game! If Minecraft still fails to launch, head over to the next fix.
3. Run the “Repair Installation” Tool
When CurseForge struggles to launch Minecraft, it’s often because the critical game files may have been damaged or misconfigured. The Repair installation feature acts like a built-in troubleshooter, which scans these essential files and replaces any that are missing or broken with the clean versions. To utilize the feature, follow the steps below.
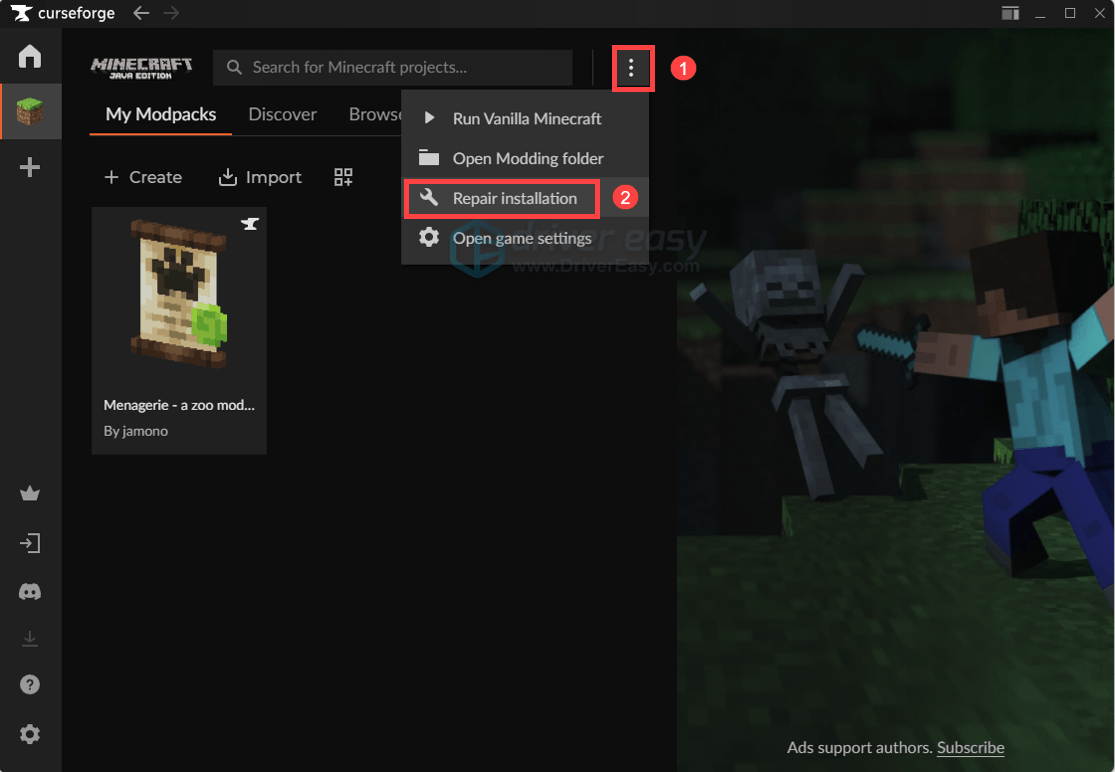
- Open the CurseForge app, click on the Minecraft tab in the left sidebar.
- Right-click on the three-dots in the top right, then select Repair installation.
After the repair is finished, relaunch CurseForge and hit the Play button to see if Minecraft starts properly. If it still fails to launch, try the next fix below.
4. Temporarily Disable Antivirus Programs and Proxy
If you have any antivirus programs running, temporarily disable them or close them to ensure that CurseForge and Minecraft modpacks aren’t getting blocked. If it does not help, you can turn them on to ensure protection against malware and online threats.
In addition, if you have a proxy connection set up on your system, try to temporarily disable it:
Windows 11
- On your keyboard, press the Windows logo key + I simultaneously to open Settings.
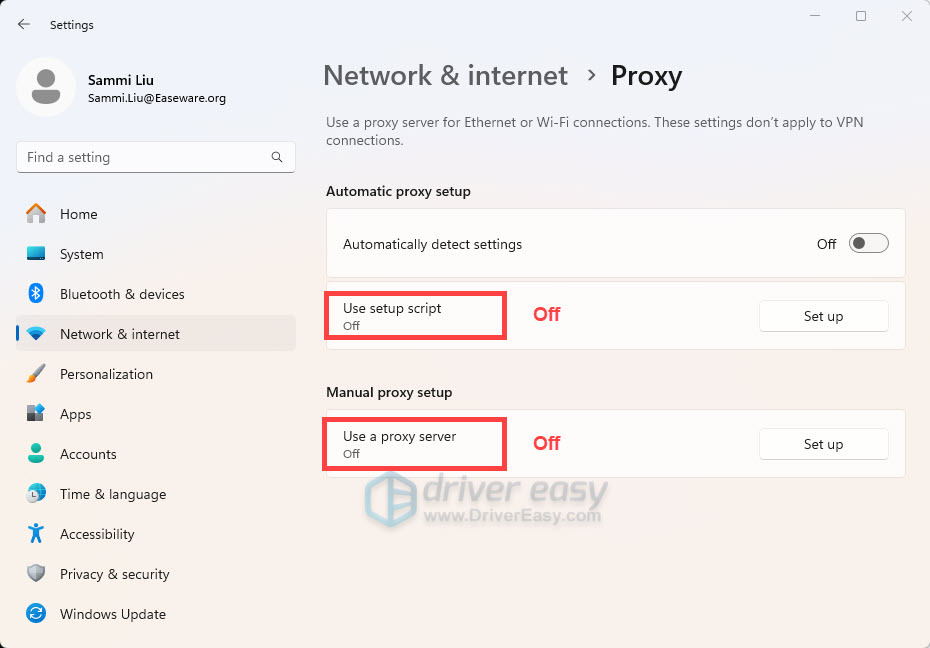
- Select Network & internet > Proxy.
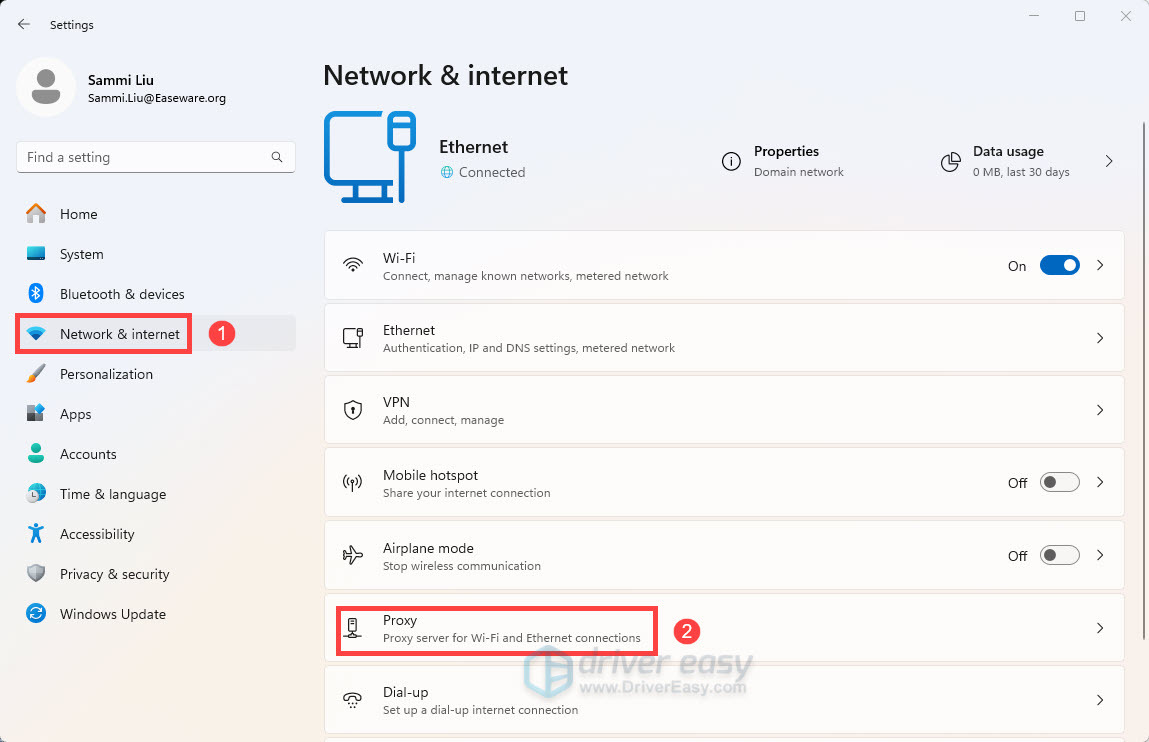
- Make sure both Use setup script and Use a proxy server are disabled.
Windows 10
- On your keyboard, press the Windows logo key + I simultaneously to open Settings.
- Select Network & Internet.
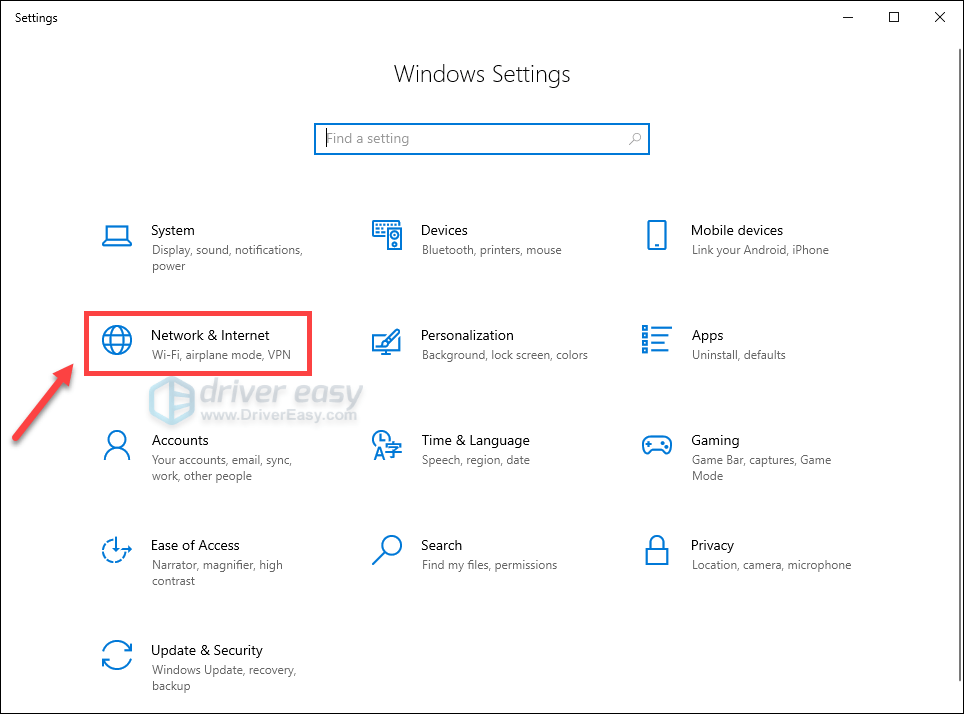
- Select Proxy from the left navigation panel, then disable both Use setup script and Use a proxy server.

After making the changes, check if it works. If you still encounter the issue, try the next fix below.
5. Reinstall CurseForge
If nothing else has resolved the issue, or as a last resort, reinstalling CurseForge can often fix the invisible corruption that’s preventing Minecraft from launching.
CurseForge’s core files, such as the launcher, runtime libraries, or network components, can get corrupted. A clean reinstall refreshes these critical parts without touching your modpacks or world saves.
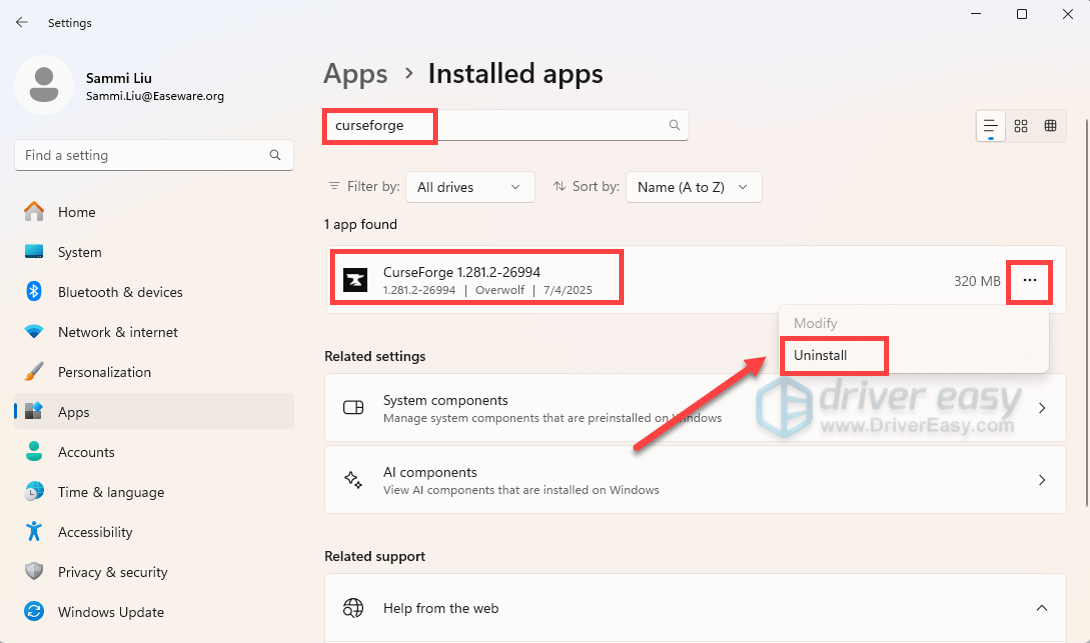
- Press the Windows logo key to invoke the Search bar, type add or remove programs, then select it from the list of results.
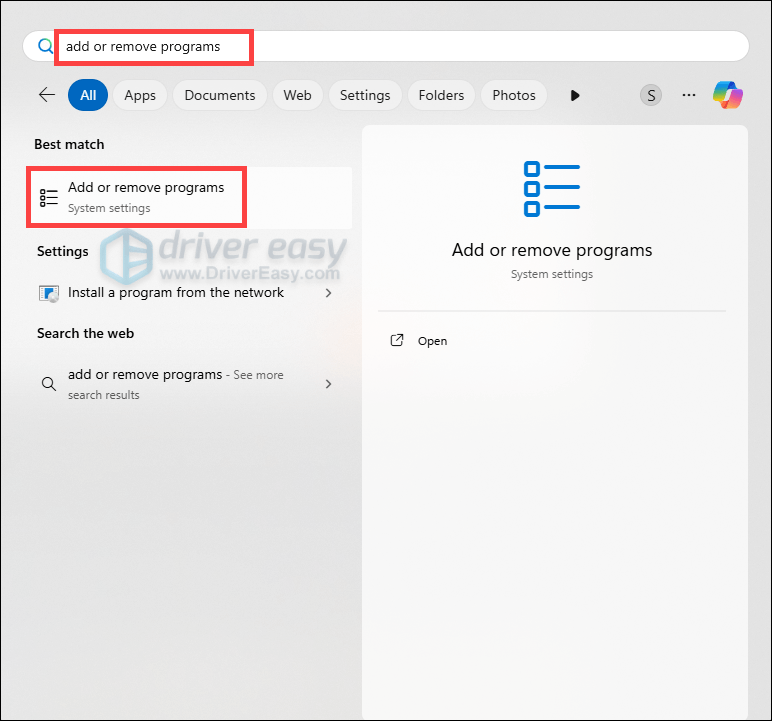
- In the search box, type curseforge, right click the three-dot next to it and select Uninstall.
Once it has been uninstalled, restart your computer and download it from the official website.
That wraps up our full guide on how to fix CurseForge not launching Minecraft issue, along with the error “Exit code 1”. Hope you find it helpful. If you have additional questions, do not hesitate to write them down in the comment section below.