


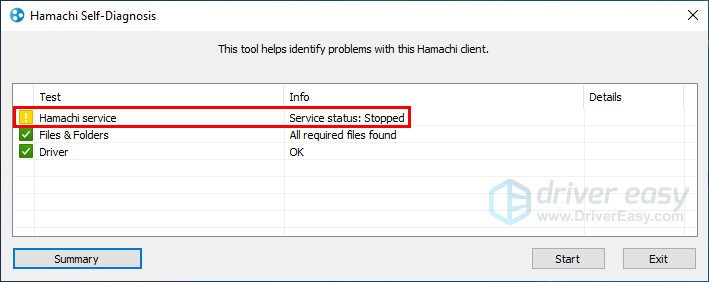
If you’re running the LogMeIn Hamachi software and you meet the “Hamachi service stopped” error, you’ve come to the right place.
Don’t worry, you’re not alone. Fortunately, it’s usually not too hard to fix.
Try these fixes:
There are 5 fixes for you to try. You may not need to try them all, just work your way down until you find the one that works for you.
- Enable the Windows Management Instrumentation (WMI) Service
- Configure the LogMeIn Hamachi Tunneling Engine
- Check your antivirus software
- Reinstall LogMeIn Hamachi
- Create a startup to automatically restart the Hamachi service
- Bonus: Update your drivers by 2 clicks
Method 1: Enable the Windows Management Instrumentation (WMI) Service
LogMeIn Hamachi is a certain type of application that needs the Windows Management Instrumentation service (WMI)’s help to run properly in the Windows system.
Therefore, if WMI was disabled, the Hamachi service stopped error would appear.
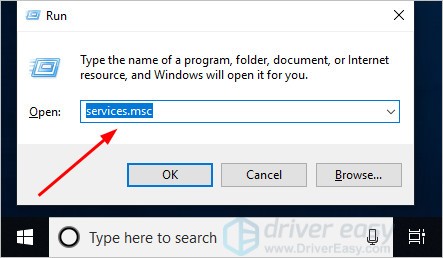
1) On your keyboard, press the Windows Key (with Windows logo on it) + R together to open the Run box.
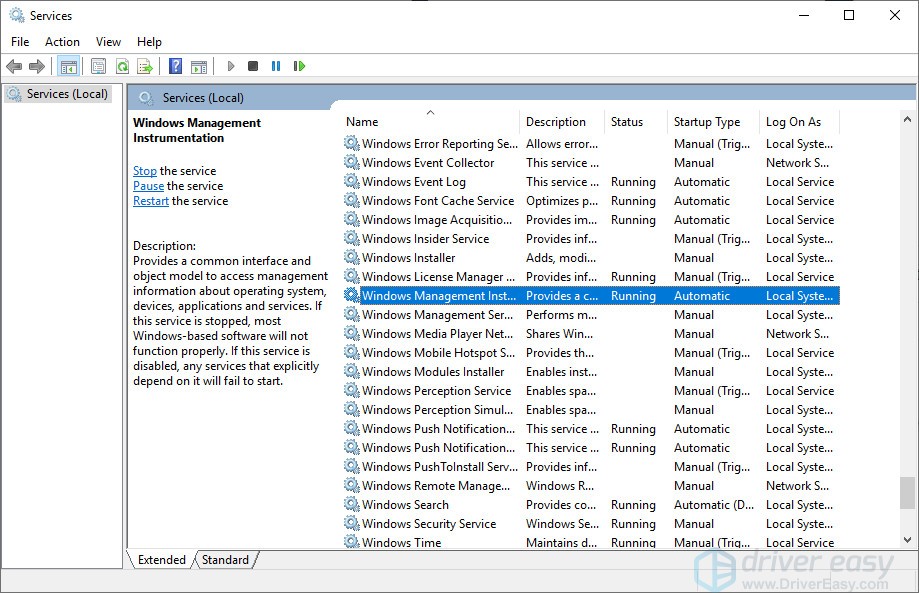
2) Type services.msc and click OK.

3) Right-click on Windows Management Instrumentation and click Properties.
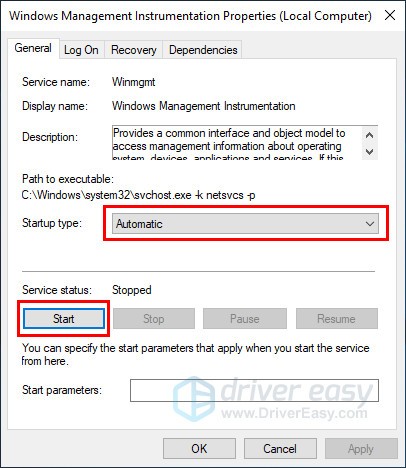
4) Click the Start button to start it if it’s not running and set the Startup type to Automatic.
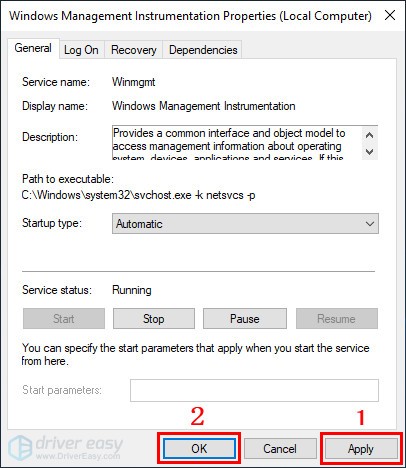
5) Click the Apply> OK.
6) Run Hamachi to check the problem is still there or not.
Method 2: Configure the LogMeIn Hamachi Tunneling Engine
1) On your keyboard, press the Windows Key (with Windows logo on it) + R together to open the Run box.
2) Type services.msc and click OK.
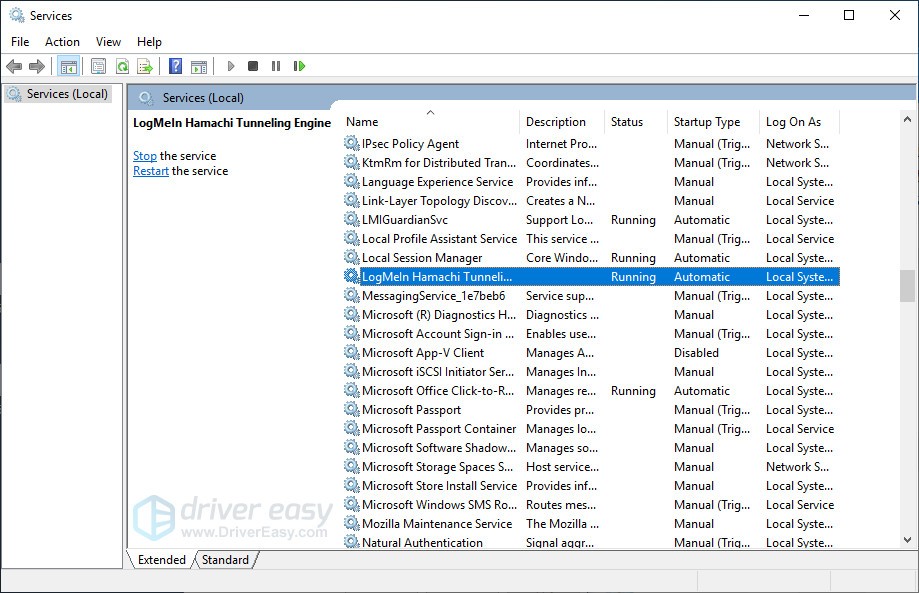
3) Right-click on LogMeIn Hamachi Tunneling Engine and click the Properties.
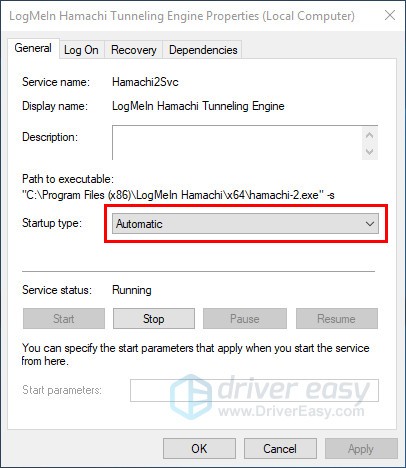
4) Set the Startup type to Automatic.
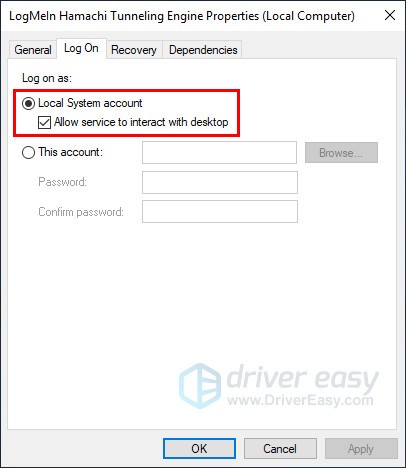
5) Move to Log On tab, make sure Local System account and Allow service to interact with desktop box has been checked. Then click OK.
6) Open the File Explorer.
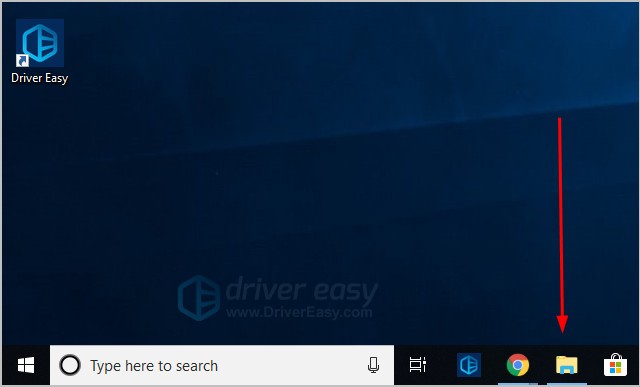
7) In the address box, type “C:\Program Files (x86)\LogMeIn Hamachi”.
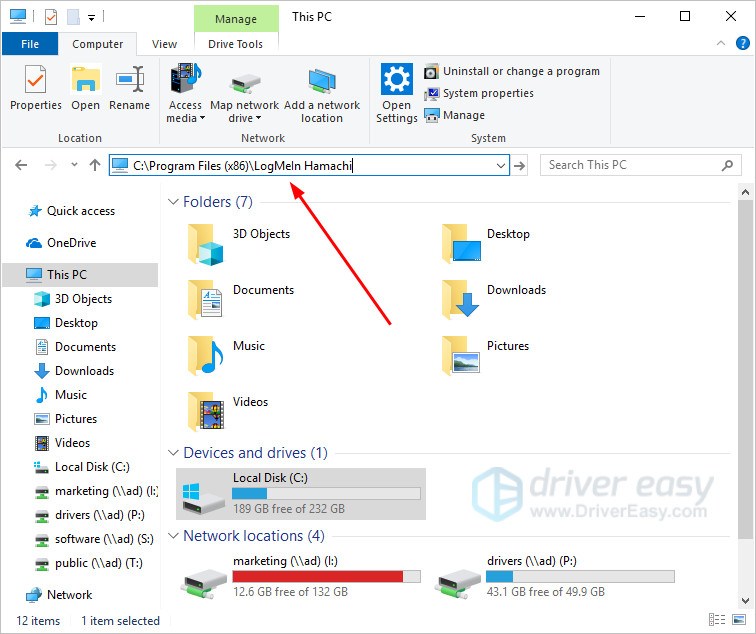
8) Right-click on hamachi-2-ui.exe and open Properties.
9) Under the Security tab, ensure the Users group permissions are set to “Read & execute”. If it’s not, you can click Edit to change permissions.
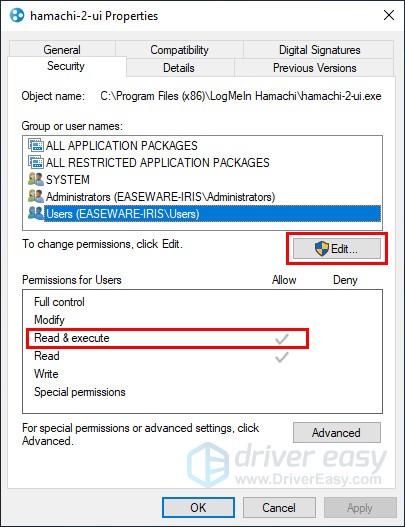
10) Click OK to finish settings.
11) Run Hamachi to check the problem.
Method 3: Check your antivirus software
The “Hamachi service stopped” error may be caused by your antivirus software. When Hamachi was blocked by your antivirus software, the error will appear.
To solve it, you can change your antivirus software settings to make sure Hamachi won’t be blocked. If you don’t know how to do it, you can consult your antivirus software official customer service.
There’s another situation that Hamachi isn’t blocked by antivirus software. Hamachi may have a conflict with your antivirus software. Therefore, uninstall the antivirus software and restart your computer can help you solve the error.
If this resolves the problem, you can install another antivirus software. But if you are fond of the old one, contact the vendor of your antivirus software and ask them for advice.
Method 4: Reinstall LogMeIn Hamachi
The “Hamachi service stopped” error can be caused by inappropriate configuration when you installed Hamachi.
You can reinstall the program to solve the problem.
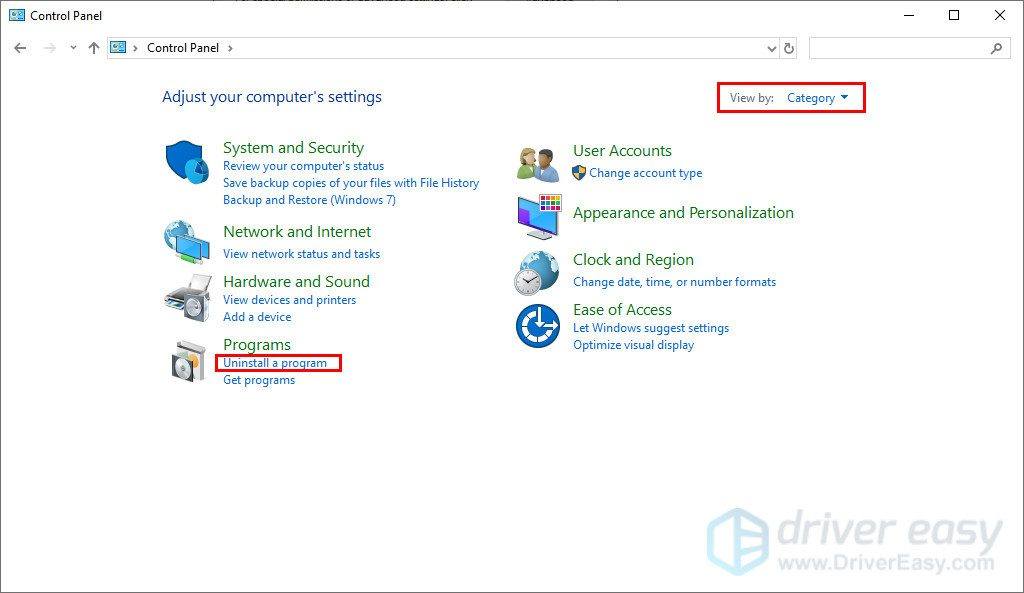
1) Click the Windows start button (if you hide the search field), type control panel in the search box and open the Control Panel.

2) On the open window, choose to view by Catalog, then click Uninstall a program.
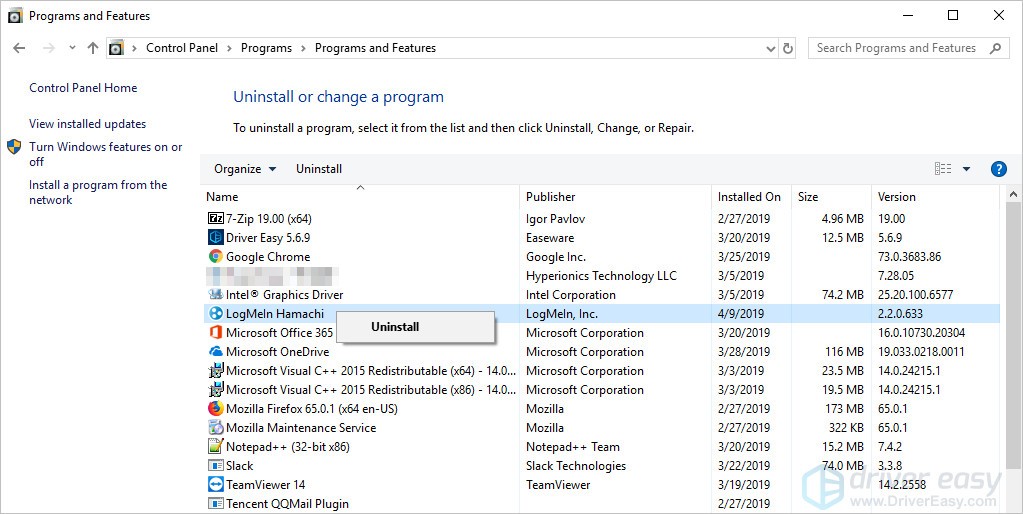
3) Right-click on LogMeIn Hamachi and click Uninstall.
Follow the on-screen instructions to finish the process.
4) Download the program from LogMeln Hamachi official website.
5) Double click the program and follow the on-screen instructions to complete the installation.
6) Run Hamachi to check the problem.
Method 5: Create a startup to automatically restart the Hamachi service
This method will lead you to create a script that helps you restart the Hamachi service automatically.
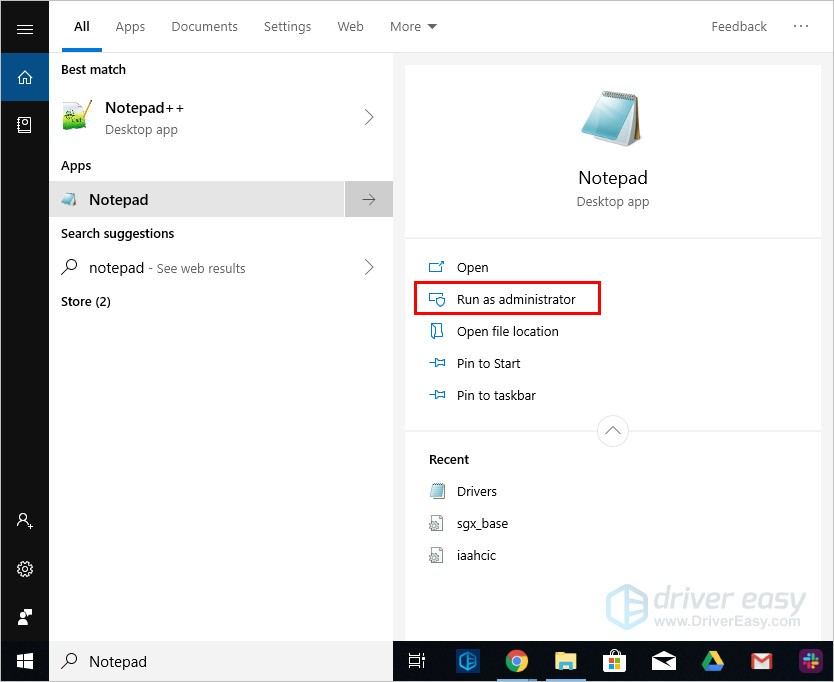
1) Click the Windows start button (if you hide the search field), type notepad in the search box and click Run as administrator.
2) Copy and paste below lines into Notepad.
net stop Hamachi2Svc
net start Hamachi2Svc
start "C:\Program Files (x86)\LogMeIn Hamachi\hamachi-2-ui.exe"
exit
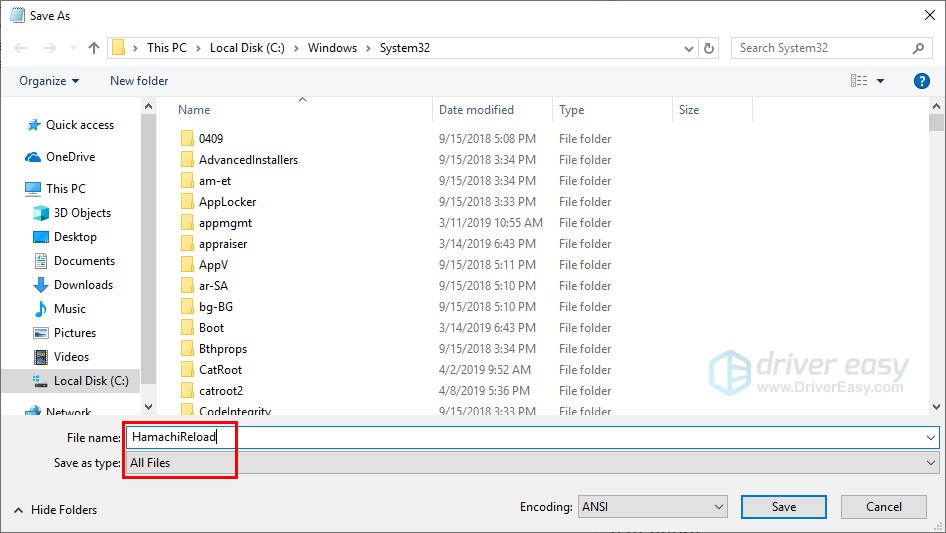
3) Click File and click Save as.
4) Type HamachiReload.cmd as a file name.
Next, change the Save as type into All Files.
Choose C:WindowsSystem32 as the save location and click Save.
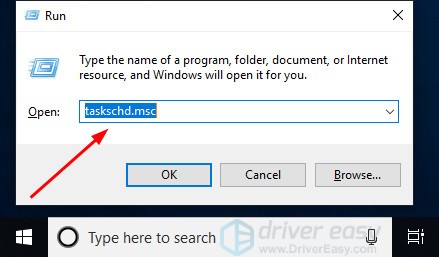
5) On your keyboard, press the Windows key (with Windows logo on it) + R together to open the Run box.
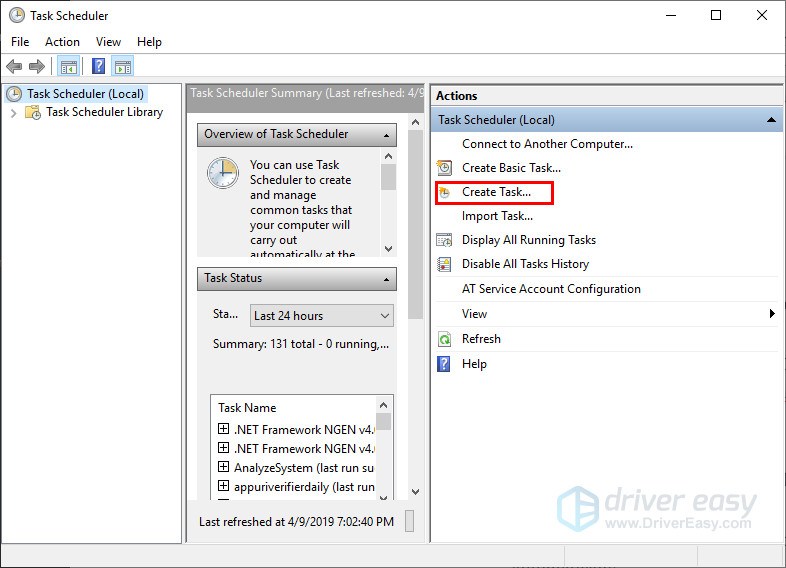
Type taskschd.msc and click OK.
6) Click Create Task under the Actions menu.
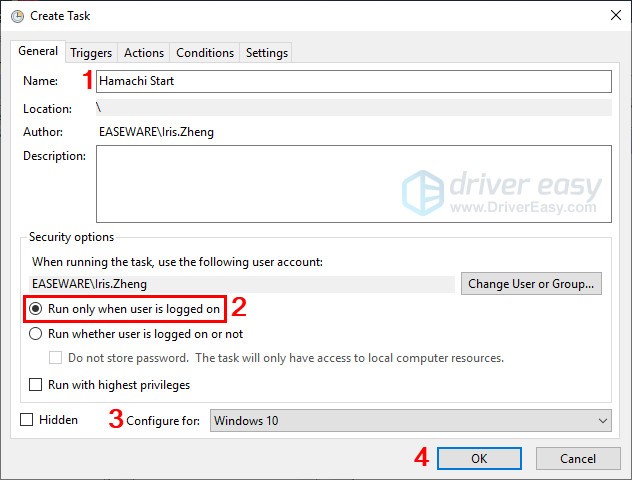
7) Under the General tab, set a name for the task.
Then go down to Security options to check it’s Run only when the user is logged on.
Third, change the Configure into Windows 10. After that, click OK.
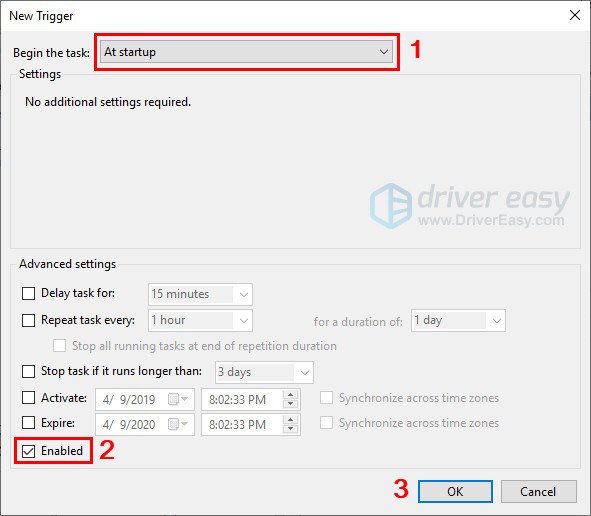
8) Click the Triggers tab, and click the New… button.
9) Change the Begin the task into At startup.
Then make sure the Enabled box is checked. Finally, click OK.
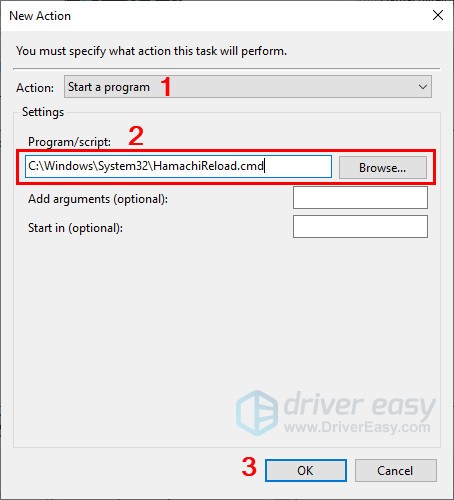
10) Click the Actions tab and click the New… button.
11) Set Action into Start a program.
Then click Browse and navigate to C:\Windows\System32, find HamachiReload.cmd and press Open.
Click OK to save changes.
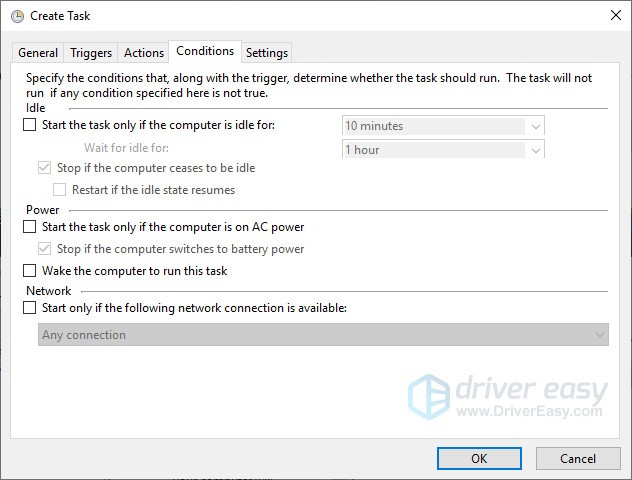
12) Click the Conditions tab and unchecked everything. Then click OK.
13) Next time you start your computer, Hamachi will restart the service automatically.
Bonus: Update your drivers by 2 clicks
In order to improve your VPN work performance, it’s important to keep your network adapter drivers up-to-date.
There are two ways you can update your network adapters drivers.
Option 1 – Manually – You’ll need some computer skills and patience to update your drivers this way, because you need to find exactly the right the driver online, download it and install it step by step.
OR
Option 2 – Automatically (Recommended) – This is the quickest and easiest option. It’s all done with just a couple of mouse clicks – easy even if you’re a computer newbie.
Option 1 – Download and install the driver manually
You can download drivers from the manufacturer official website. Go to the website to find the correct model and choose your specific flavor of Windows system (Window 10 64-bits or etc.). Then download the driver manually.
Option 2 – Automatically update drivers
If you don’t have the time, patience or computer skills to update the driver manually, you can do it automatically with Driver Easy.
Driver Easy will automatically recognize your system and find the correct drivers for it. You don’t need to know exactly what system your computer is running, you don’t need to risk downloading and installing the wrong driver, and you don’t need to worry about making a mistake when installing.
You can update your drivers automatically with either the FREE or the Pro version of Driver Easy. But with the Pro version it takes just 2 clicks (and you get full support and a 30-day money back guarantee):
1) Download and install Driver Easy.
2) Run Driver Easy and click the Scan Now button. Driver Easy will then scan your computer and detect any problem drivers. 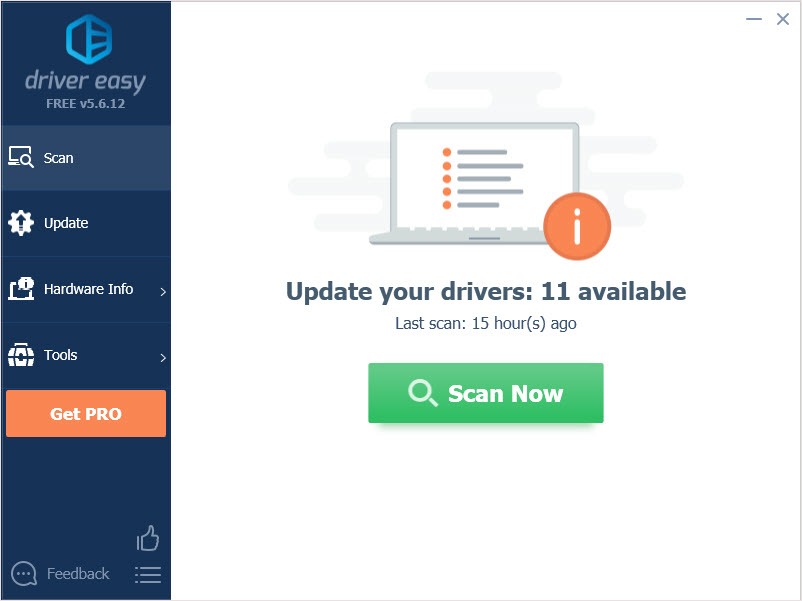
3) Click the Update button next to the flagged driver to automatically download the correct version of that driver, then you can manually install it (you can do this with the FREE version).
Or click Update All to automatically download and install the correct version of all the drivers that are missing or out of date on your system. (This requires the Pro version which comes with full support and a 30-day money back guarantee. You’ll be prompted to upgrade when you click Update All.) 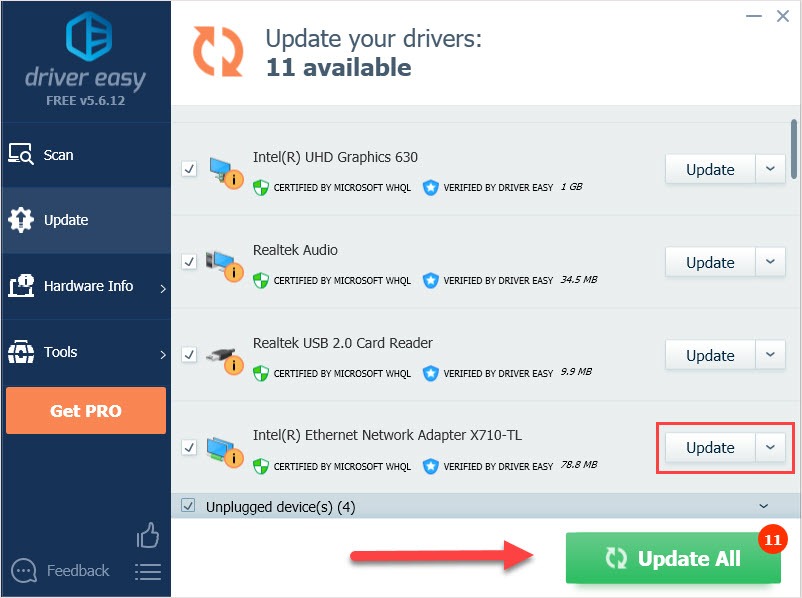
Thanks for reading. Hope this article meets your need. And you are welcome to leave comments below.