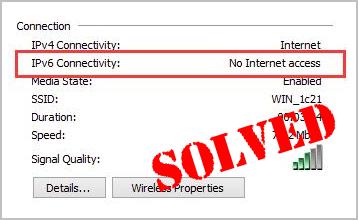
If your computer fails to access the Internet or the net speed was quite slow, and in the wireless network connection status, you see the error IPv6 No Internet access or IPv6 No network access. It could be super frustrating.
But these’s no need to panic. In this article, you’ll be relieved to know it’s possible to fix. Read on and find how…
Try these fixes:
Solution 1: Reset the IPv6 on your computer
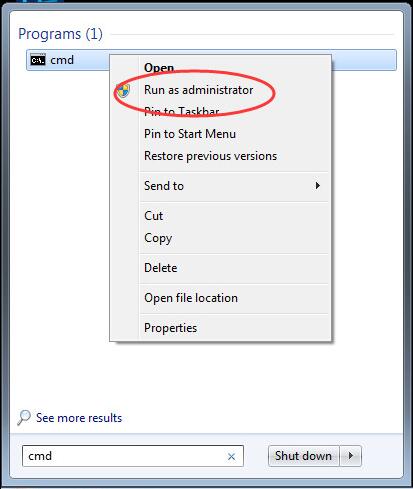
- Type cmd in the search box from the Start menu. Then right-click on cmd(Command Prompt) from the top result and choose Run as administrator.
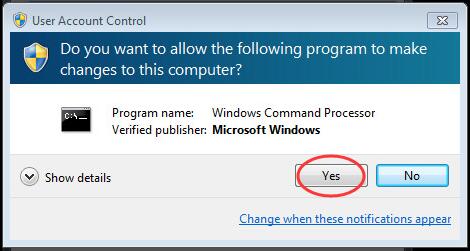
- Click Yes when prompted by User Account Control.
- Type the following commands in the open window and press Enter after each to run them.
netsh winsock reset catalog
netsh int ipv6 reset reset.log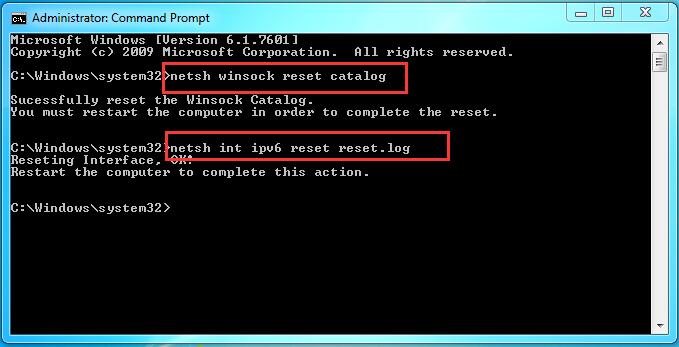
After running the commands, restart your computer as the instructions.
Solution 2. Disable the IP Helper service
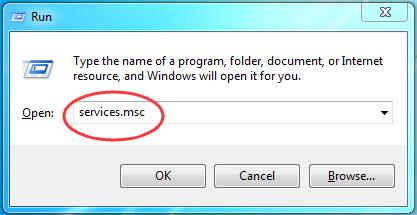
- Press the Windows logo key + R key at the same time to open the Run box.
- Type services.msc in the box and press Enter to open Services window.
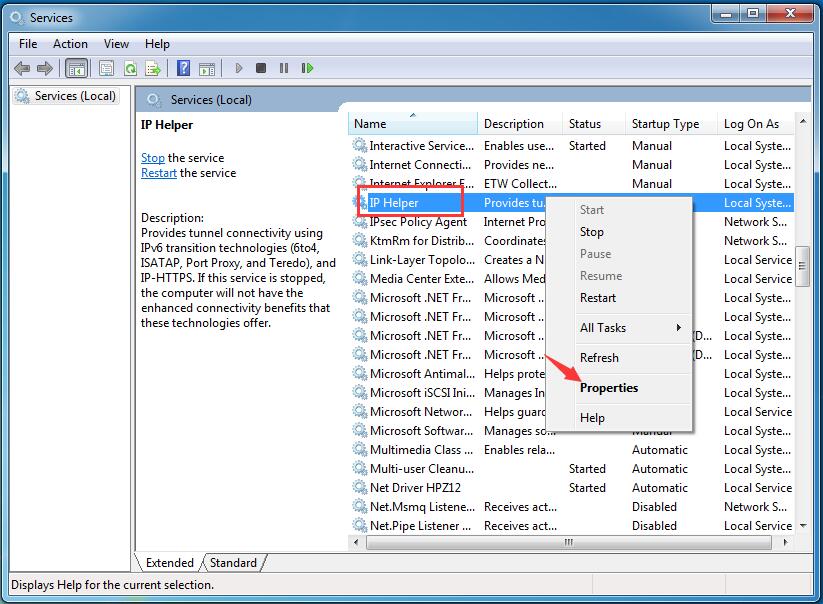
- Scroll down on Services window to find and right-click on IP Helper service. Then click Properties.
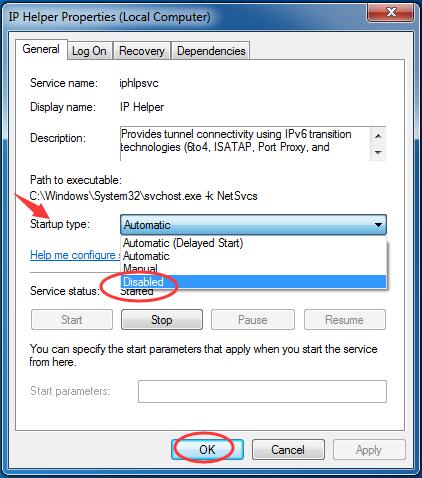
- Set its Startup type to be Disabled from the drop-down list. Then click OK to save the setting.
- Now back on Services window, right-click on the IP Helper service again. This time choose Stop.

- Close the Services window and see if the error has been solved.
Solution 3: Update your Ethernet driver
The “IPv6 no internet access” problem may occur if you are using the wrong Ethernet driver or it’s out of date. So you should update your Ethernet driver to see if it fixes your problem. If you don’t have the time, patience or skills to update the driver manually, you can do it automatically with Driver Easy.
Driver Easy will automatically recognize your system and find the correct drivers for it. You don’t need to know exactly what system your computer is running, you don’t need to be troubled by the wrong driver you would be downloading, and you don’t need to worry about making a mistake when installing.
You can update your drivers automatically with either the FREE or the Pro version of Driver Easy. But with the Pro version it takes just 2 steps (and you get full support and a 30-day money back guarantee):
- Download and install Driver Easy.
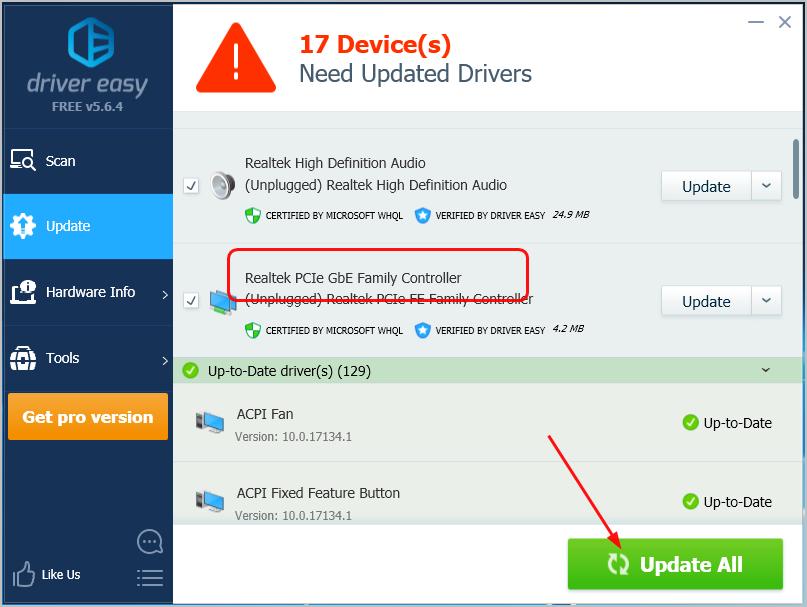
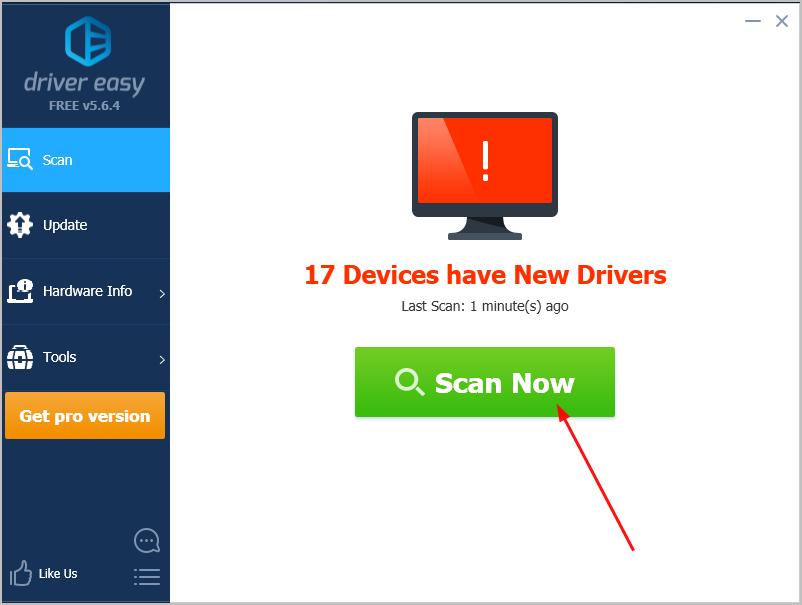
- Run Driver Easy and click the Scan Now button. Driver Easy will then scan your computer and detect any problem drivers.
- Click Update All to automatically download and install the correct version of all the drivers that are missing or out of date on your system (this requires the Pro version – you’ll be prompted to upgrade when you click Update All).
Note: You can also do this for free if you like.