


Minecraft is a sandbox-style game with open online play fosters creativity, which attracts a large number of players to dive into this game. However, users start to complain that this game cannot even be installed on Windows 11. This can be quite frustrating. If you’re on the same boat, no worries. Here we’ve put together some fixes for you to try.
Before getting started…
Before tweaking the settings below, we suggest you restart your computer. Rebooting is a troubleshooting step and quick fix to many issues by wiping away the current state of the software, flushing RAM and clearing up temporary files and processes.
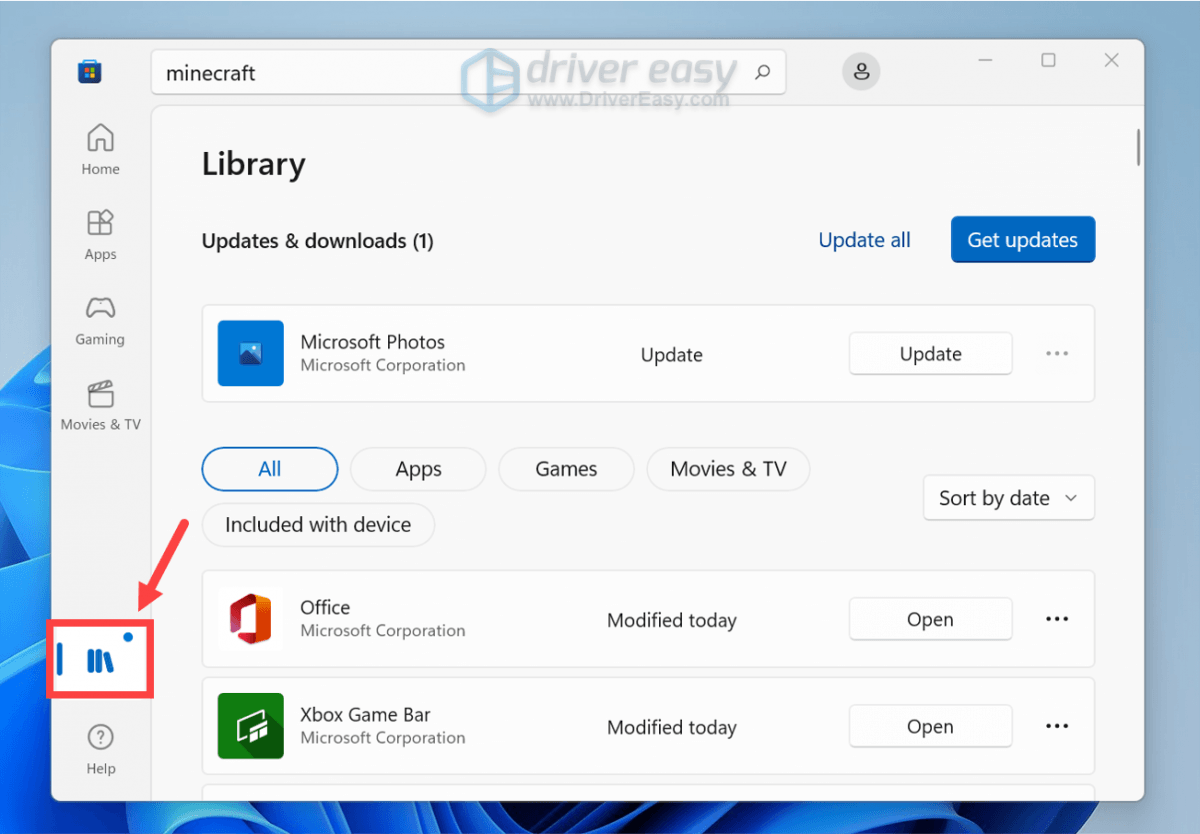
However, if a simple restart doesn’t do the trick, you can try installing Minecraft from the Microsoft Store Library.
If that doesn’t work for you, try the fixes below.
Try these fixes…
You may not need to try them all; simply work your way down the list until you find the one that works for you.
- Allow Minecraft installer through firewall
- Download & install all Windows updates
- Update your device drivers
- Run Windows Store troubleshooter
1. Allow Minecraft installer through firewall
The Windows Firewall is a built-in application that protects users from internet-based threats. However, sometimes it may mistakenly prevent trustworthy software from making changes on your system. To check if that’s your case, you can manually add Minecraft installer to the list of bypassing the firewall. Below are the steps you can take.
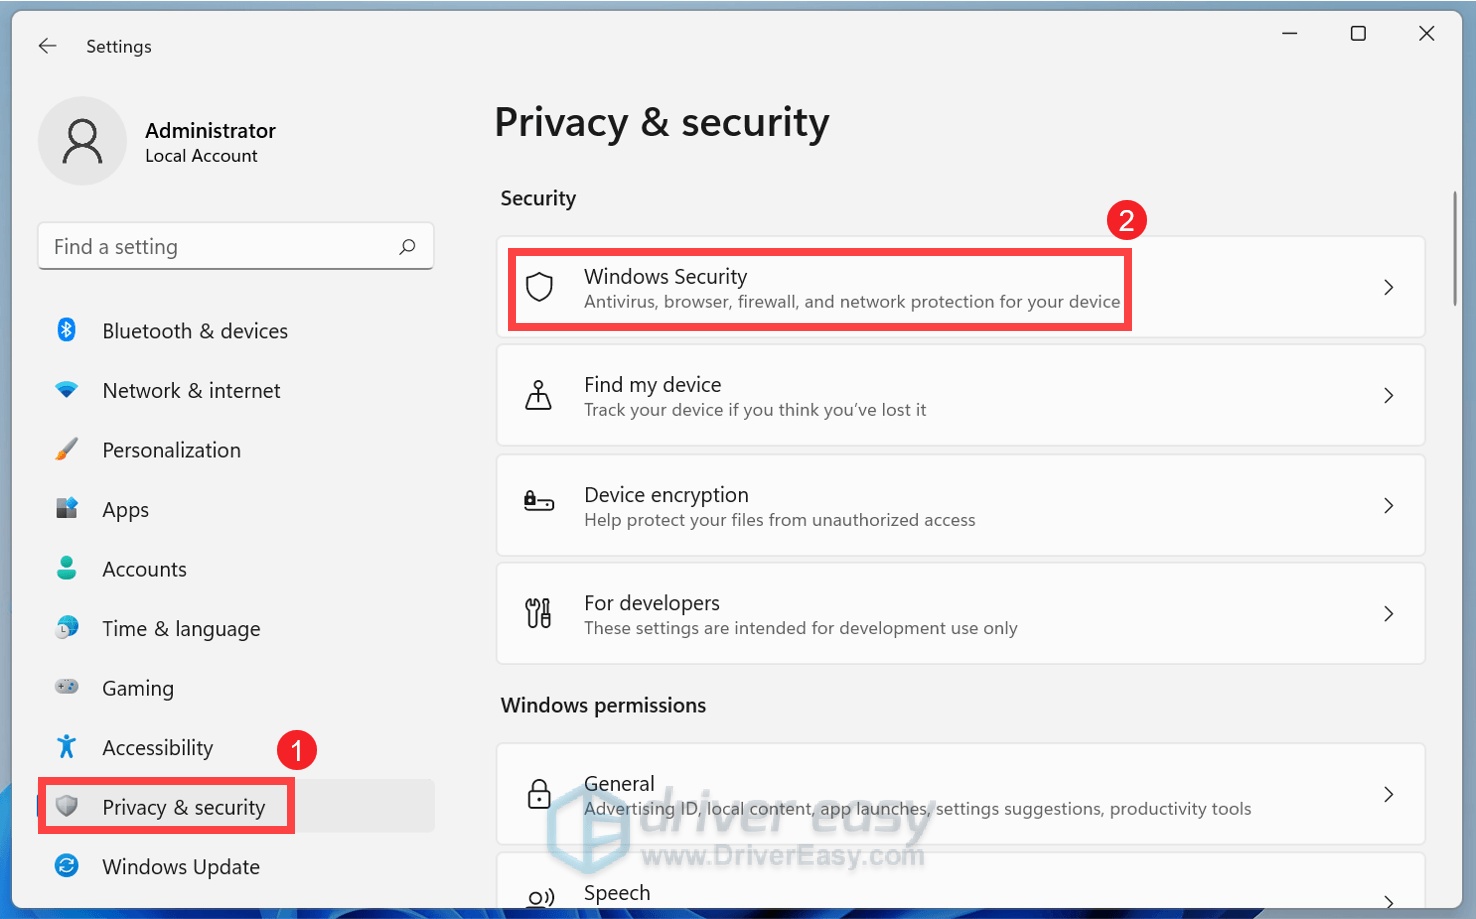
- On your keyboard, press the Windows logo + I keys simultaneously to open Settings.
- From the left menu, select Privacy & security. Then click Windows Security.
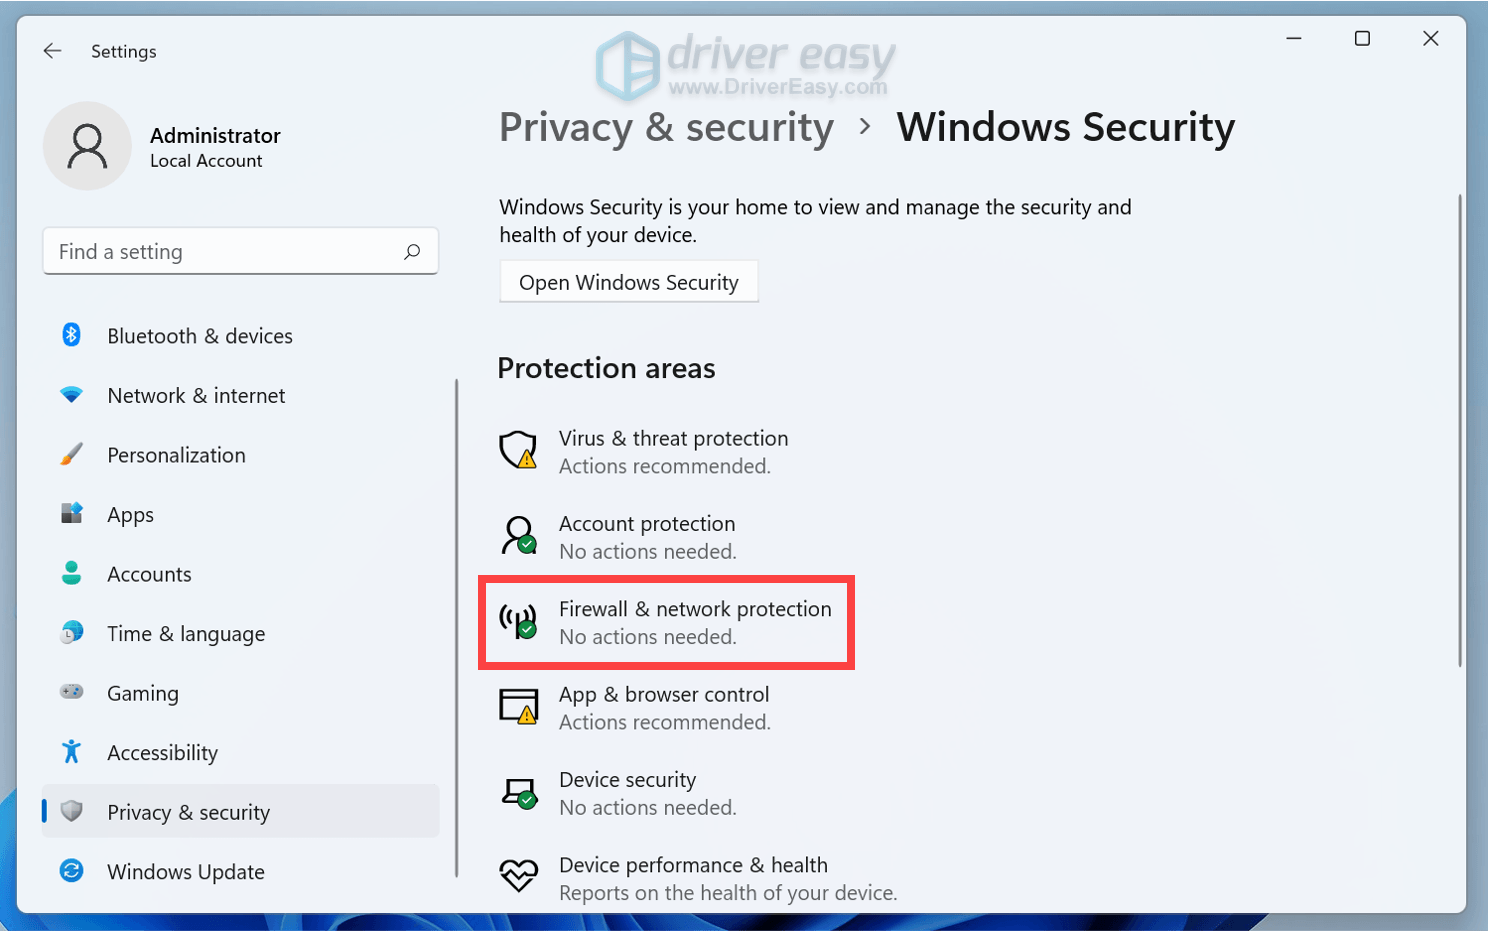
- Click Firewall & network protection.
- Scroll down and find Allow an app through firewall. Then click it.
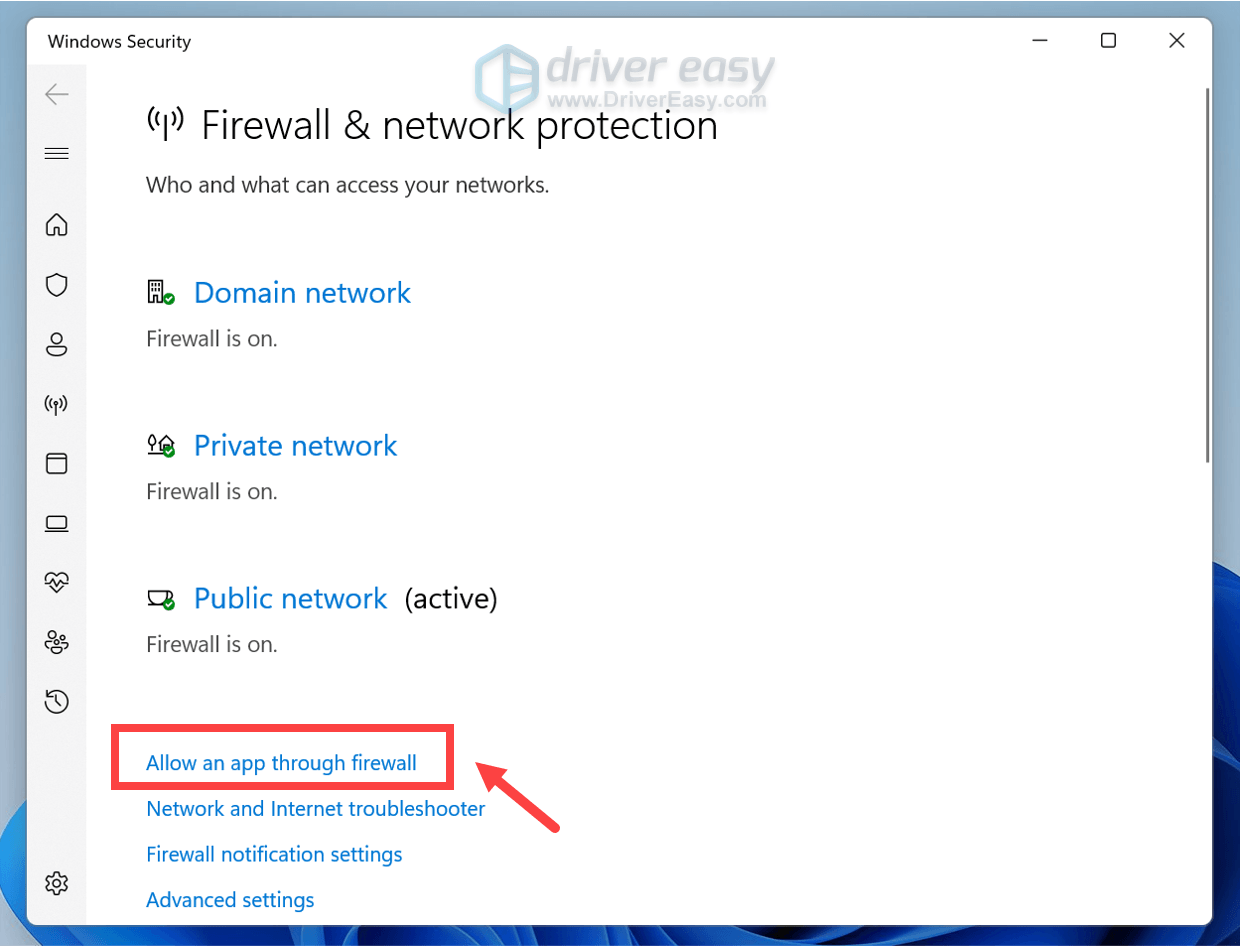
- Make sure Minecraft is on the list and the Private and Public options are checked. If it’s not on the list, that means Minecraft doesn’t have access and you’ll need to click on the Change settings button. Then follow the on-screen instructions to add the Minecraft executable file to the list.
After applying the changes, try installing Minecraft and check if it’s working properly. If your problem persists, proceed to the next fix.
2. Download & install all Windows updates
Windows updates usually fix compatibility issues and come with new features. If you encounter any errors and failures when launching a program, you should consider checking for Windows updates. Follow the instructions to do this.
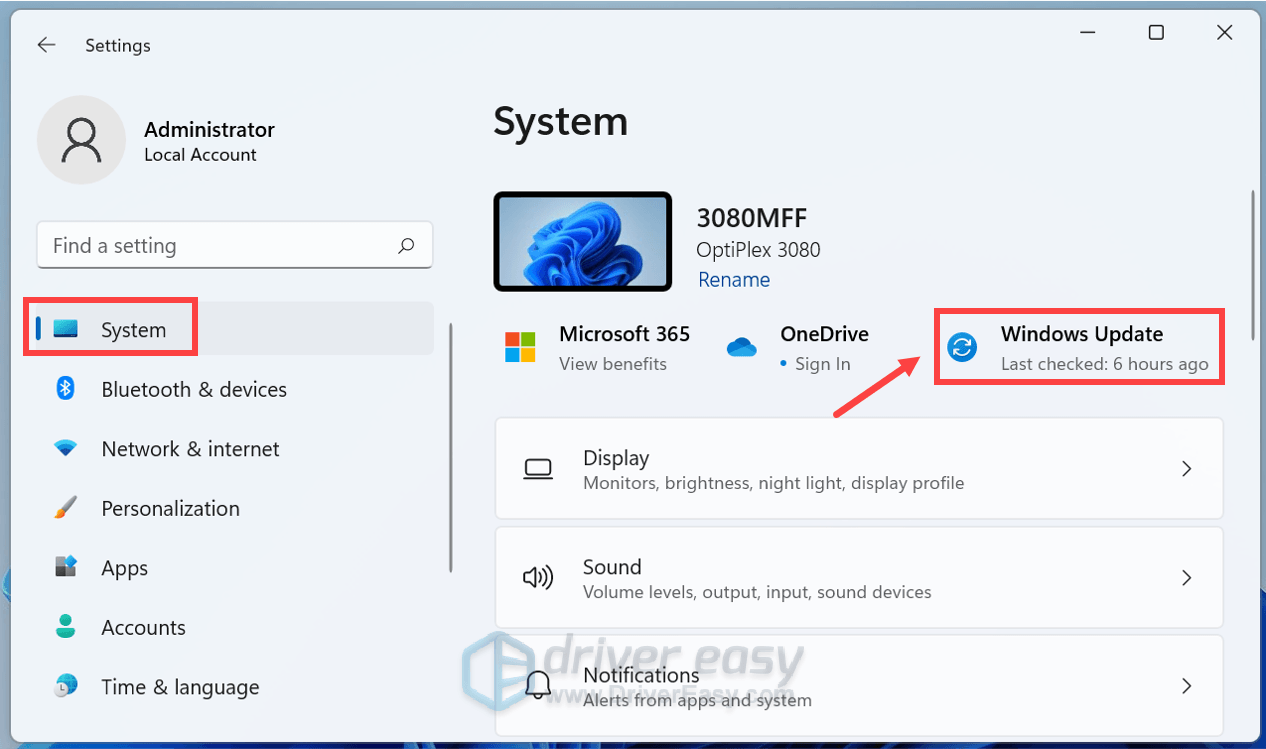
- On your keyboard, press the Windows logo + I keys simultaneously to open Settings.
- Click Windows Update.
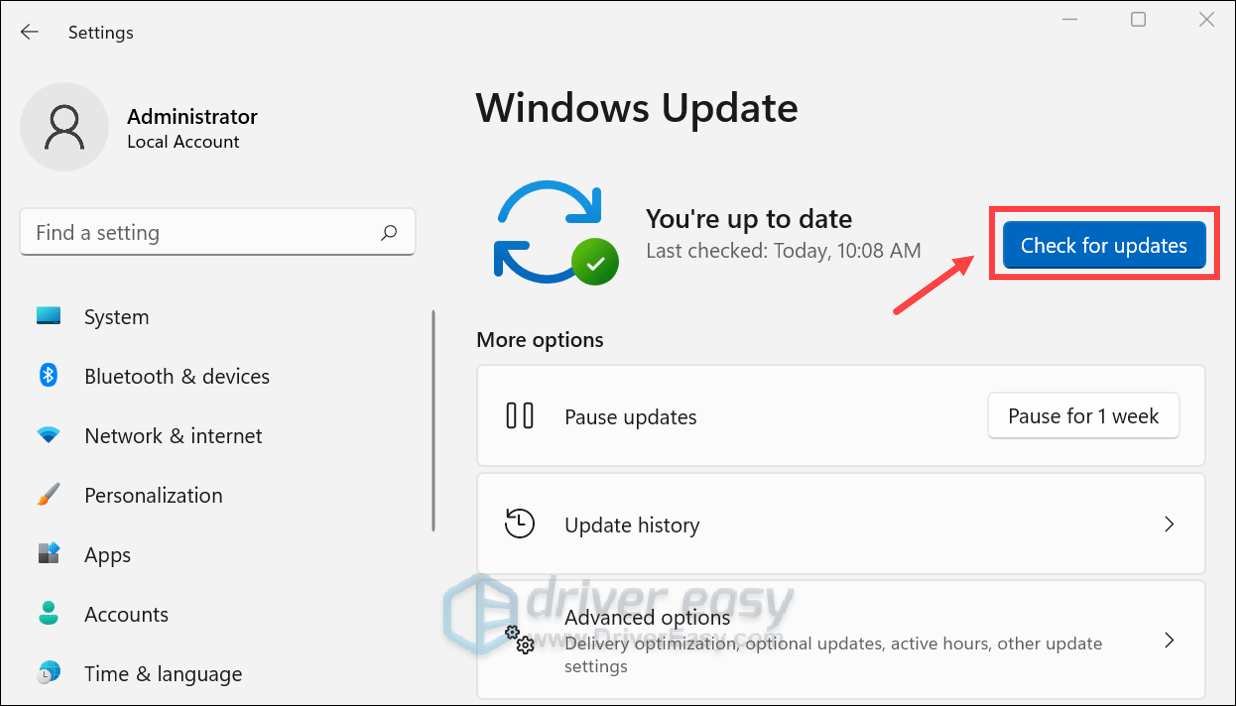
- Click Check for updates. If there are any updates available, Windows will download them.
- Click Restart now to restart your PC or you can Schedule the restart.
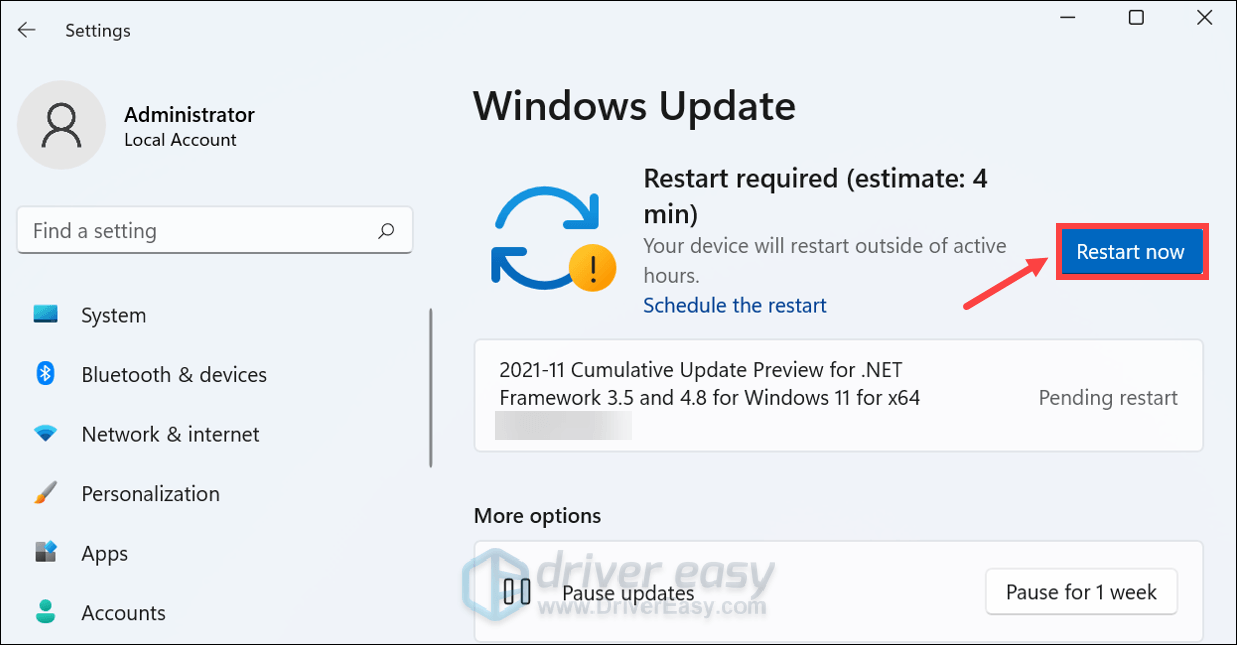
Then try to double-click on the downloaded package and see if you can install Minecraft now. If you’ve still having the issue, try the next fix below.
3. Update your device drivers
Therefore, you’re supposed to always make sure that your device drivers are properly updated.
Manually updating drivers can be a harrowing and tedious process. You can instead, use Driver Easy to help you take care of all the busy work automatically. It’s an automatic updater tool that detects any missing or corrupted drivers, then downloads and installs the latest drivers for your system. All it takes is just a few mouse clicks.
- Download and install Driver Easy.
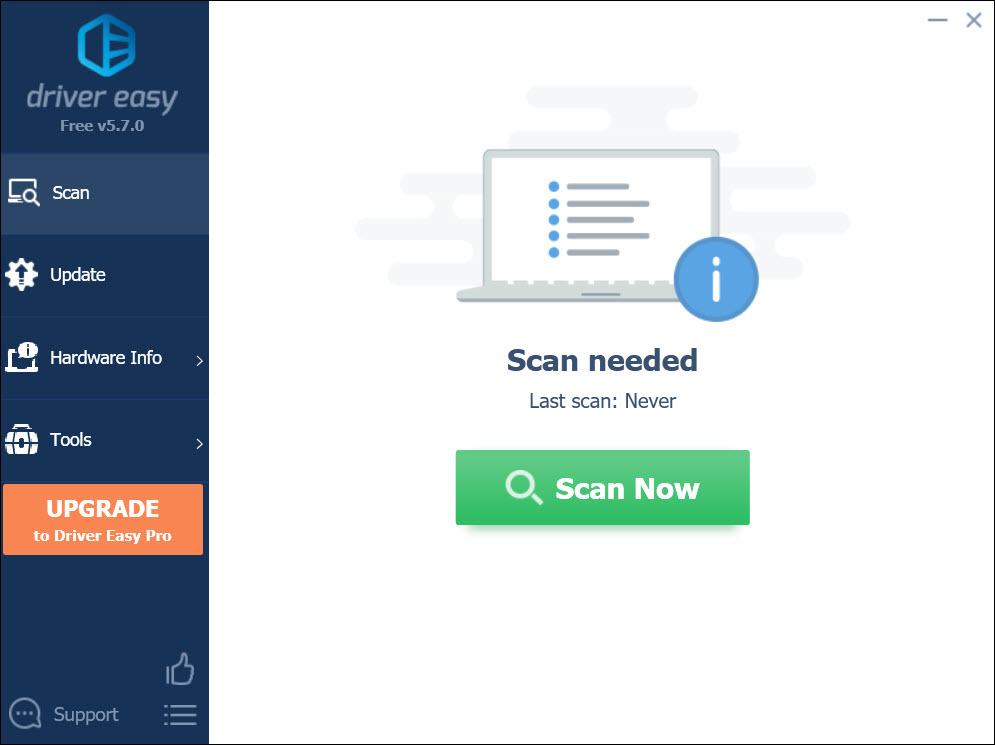
- Run Driver Easy and click the Scan Now button. Driver Easy will then scan your computer and detect any devices with outdated drivers.
- Click Update All. Driver Easy will then download and update all your outdated and missing device drivers, giving you the latest version of each, direct from the device manufacturer.
This requires the Pro version which comes with full support and a 30-day money-back guarantee. You’ll be prompted to upgrade when you click Update All. If you don’t want to upgrade to the Pro version, you can also update your drivers with the FREE version. All you need to do is to download them one at a time and manually install them.
After updating drivers, restart your computer. Upon the reboot, try to install Minecraft to see if you can do it successfully. If it fails, move on to the next fix.
4. Run Windows Store troubleshooter
When you have any issues on your system, you can try running the corresponding troubleshooter to see if it helps detect your issues and hopefully fix them.
- On your keyboard, press the Windows logo + I keys simultaneously to open Settings.
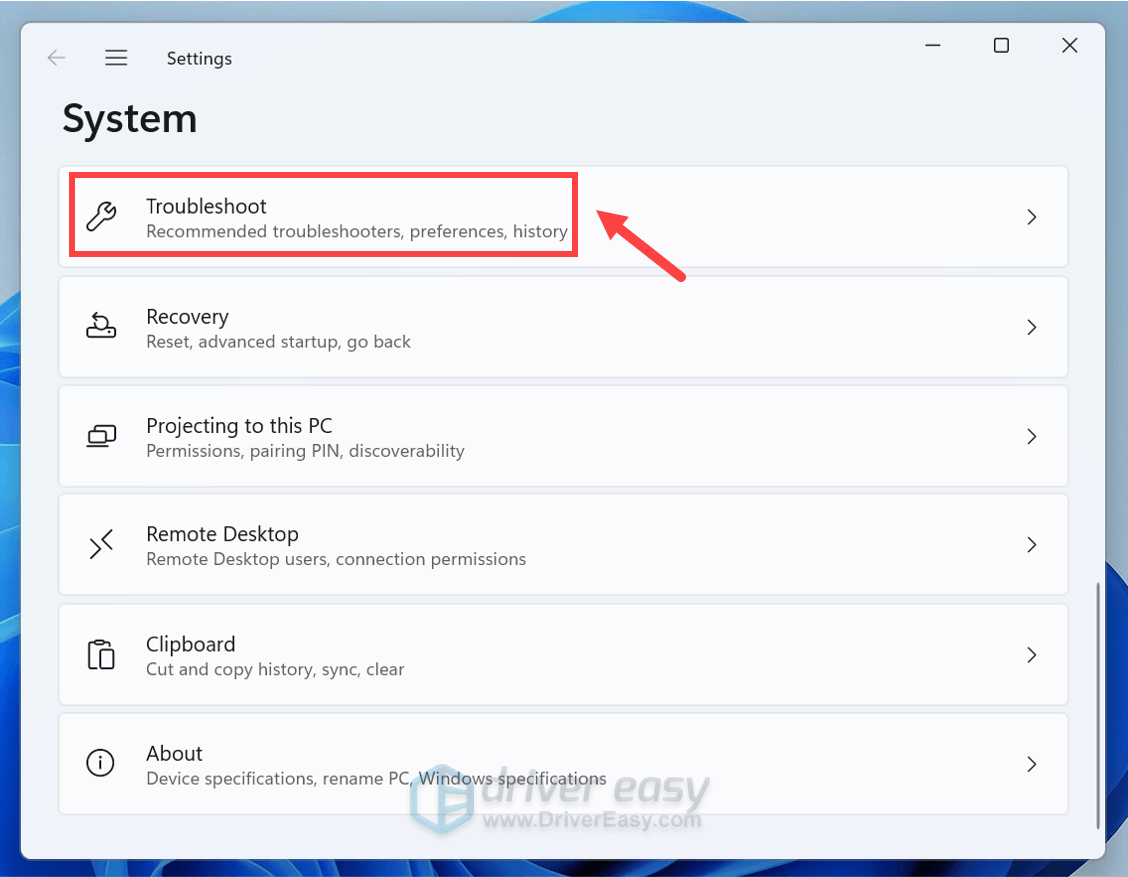
- Scroll down and find Troubleshoot. Make sure you click on it.
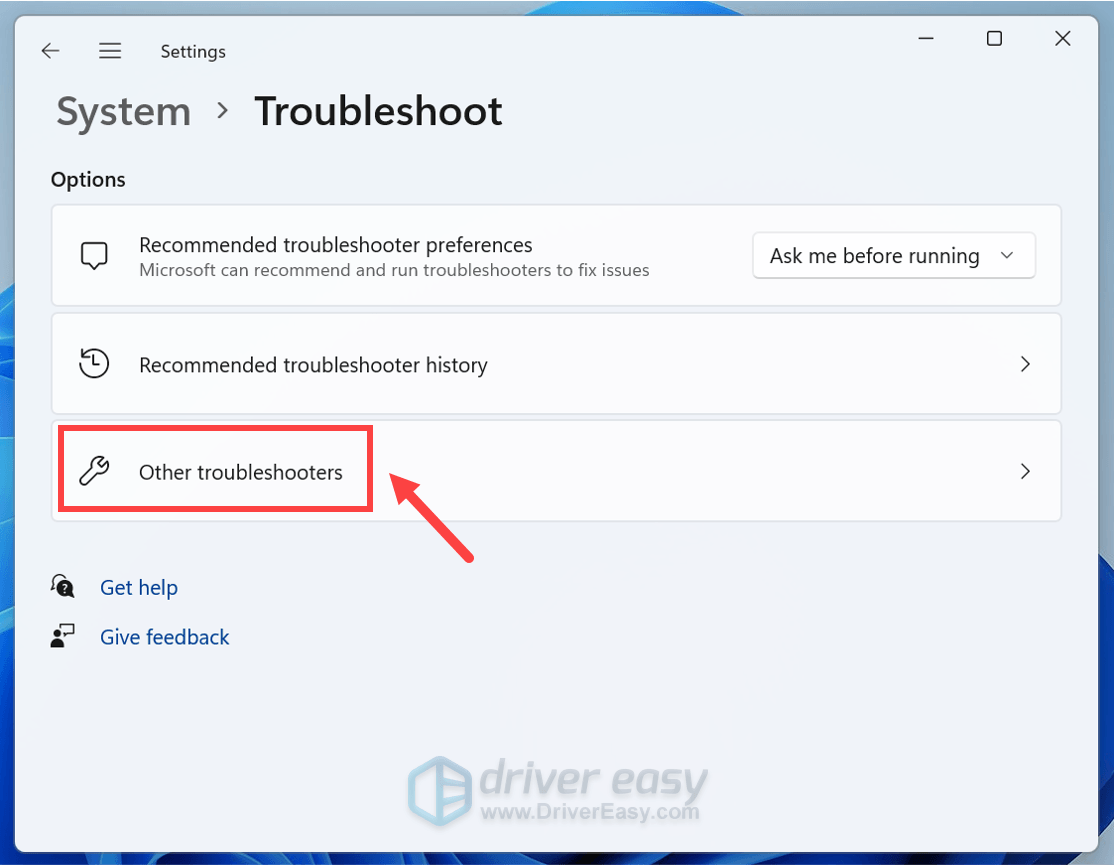
- Click Other troubleshooters.
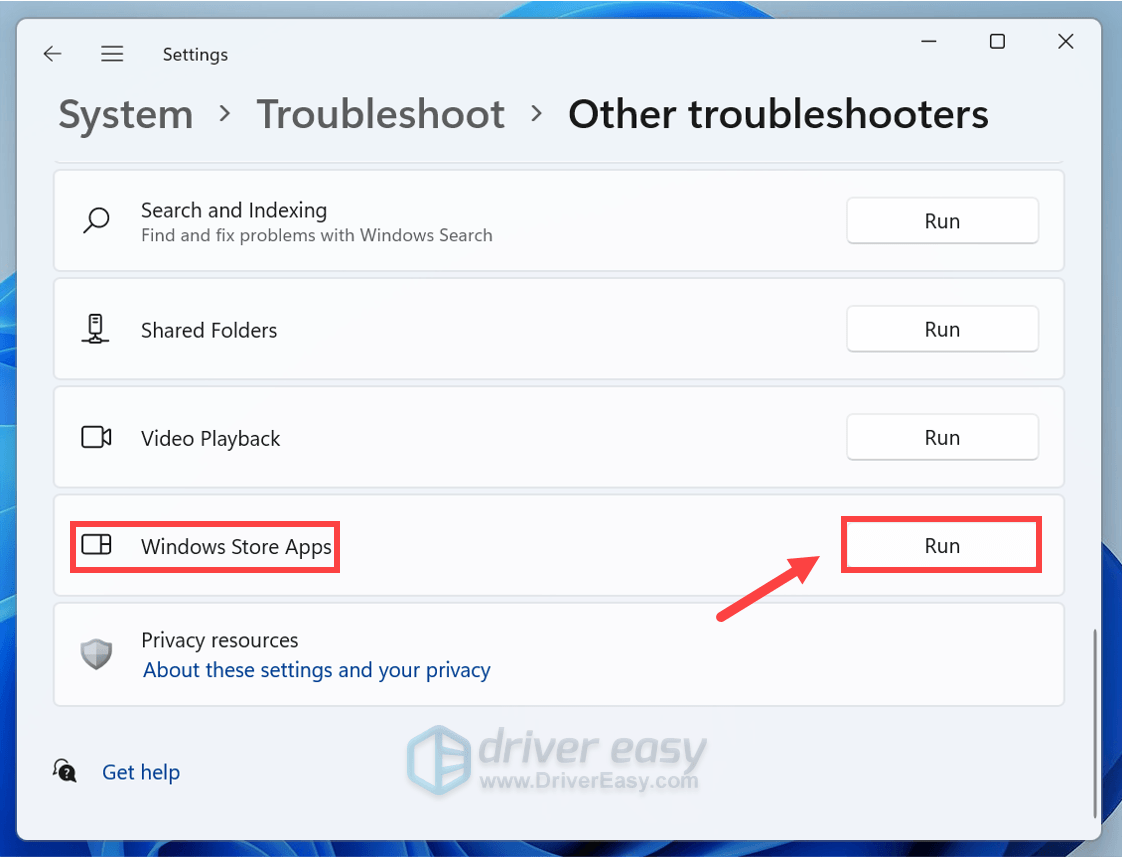
- Click on the Run button next to Windows Store Apps.
Then wait for it to detect and troubleshoot your issues.
Once completed, try to install Minecraft and you should be able to do it successfully.
So this is the troubleshooting guide for your Minecraft not installing on Windows 11 issue. If you have any ideas or questions, feel free to drop us a line in the comment section below.