


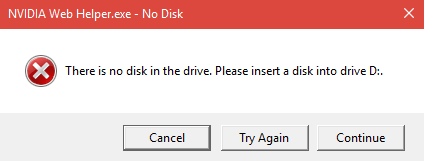
When you start your computer, you may receive error message saying “There is no disk in the drive. Please insert a disk into drive D:.“. When you click Continue , you can use the computer without problem. The annoying thing is it will happen again when you reboot the computer. This error most probably is caused by problem NVIDIA software. To fix it, use one of the following methods.
There are five methods you can try to fix the problem. You may not have to try them all. Just work your way down at the top of the list until you find the one that works for you.
Method 1: Insert a removable disk in the removable drive before you start the computer
Note this method works only if you have a removable disk configured as drive letter D. And you don’t have a removable disk in the removable drive.
Method 2: Disable the drive in Device Manager
Follow these steps:
1) Press Win+R (Windows logo key and R key) at the same time. A run dialog box will open.
2) Type devmgmt.msc in the run box and click OK button.

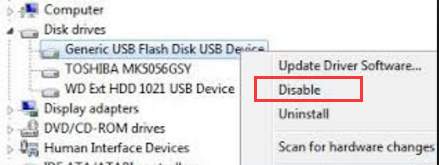
3) Expand Disk Drives. Find the removable drive (remember not your hard disk). Right-click on it and select Disable.
4) Reboot your computer and see if the issue solved.
Method 3: Change drive letter from D to other letter for the removable drive.
To perform the steps, you need to log on to the computer as Administrator.
Follow these steps:
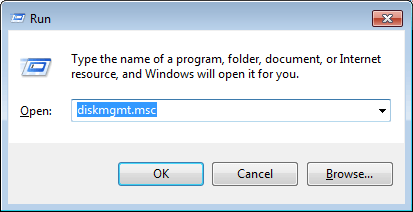
1) Press Win+R (Windows logo key and R key) at the same time to invoke the run box.
2) Type diskmgmt.msc in the run box and click OK button.
3) Right-click removable disk D and then click Change Drive Letter and Paths.

4) Click Change.
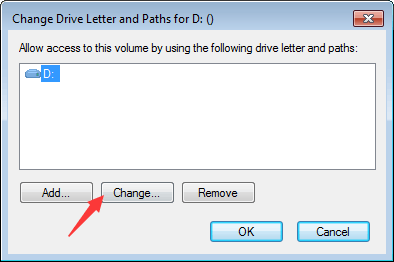
5) Click the drive letter that you want to use, and then click OK.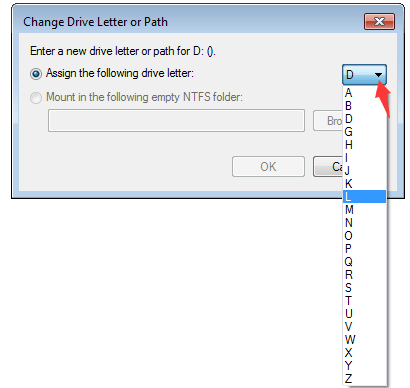
Method 4: Uninstall Geforce Experience and Current NVIDIA Graphics Drivers
This method works if the issue is caused by problem NVIDIA software. You’re likely to meet this issue after updating Geforce Experience and Nvidia graphics drivers.
Refer steps below to remove NVIDIA Geforce Experience and the drivers.
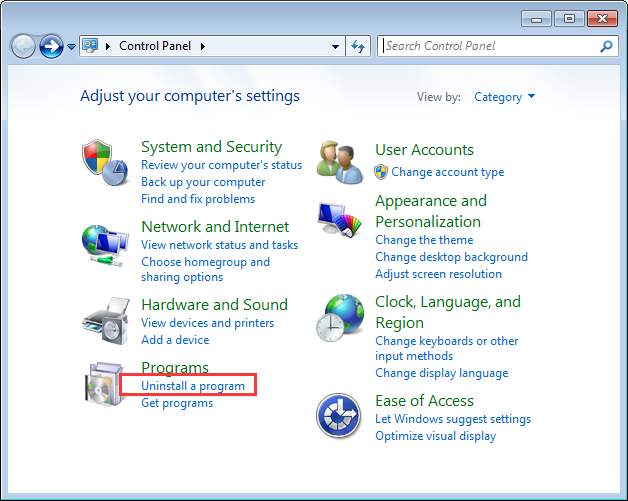
1) Open Control Panel.
2) View by Category, click Uninstall a program.
3) Find Geforce Experience from the list. Right-click on it and click Uninstall/Change.
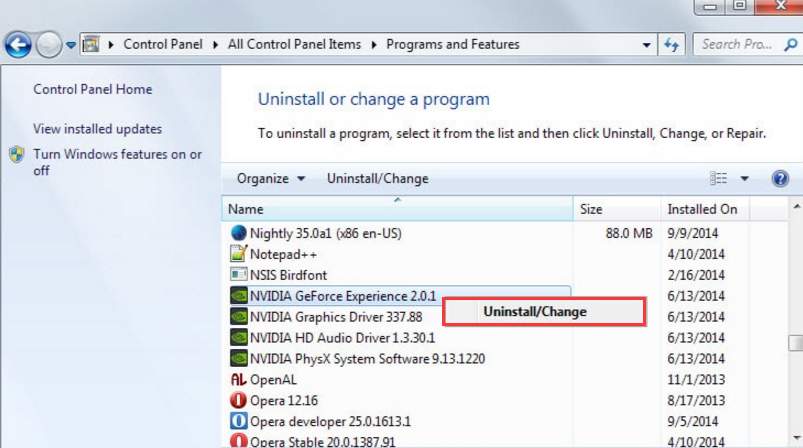
4) Then uninstall the NVIDIA Graphics driver and all other software.
5) Restart your computer then Windows will install the driver automatically. And the issue should fix.
Method 5: Update the drivers using Driver Easy
Instead of updating drivers using Geforce Experience, you can use Driver Easy to update the driver.
Driver Easy will automatically recognize your system and find the correct drivers for it. You don’t need to know exactly what system your computer is running, you don’t need to risk downloading and installing the wrong driver, and you don’t need to worry about making a mistake when installing.
You can update your drivers automatically with either the FREE or the Pro version of Driver Easy. But with the Pro version it takes just 2 clicks (and you get full support and a 30-day money back guarantee):
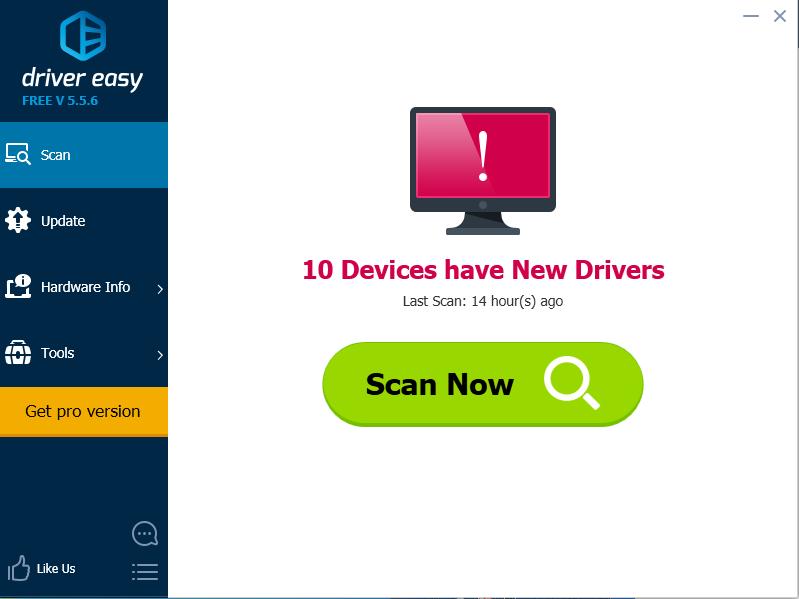
1) Download and install Driver Easy.
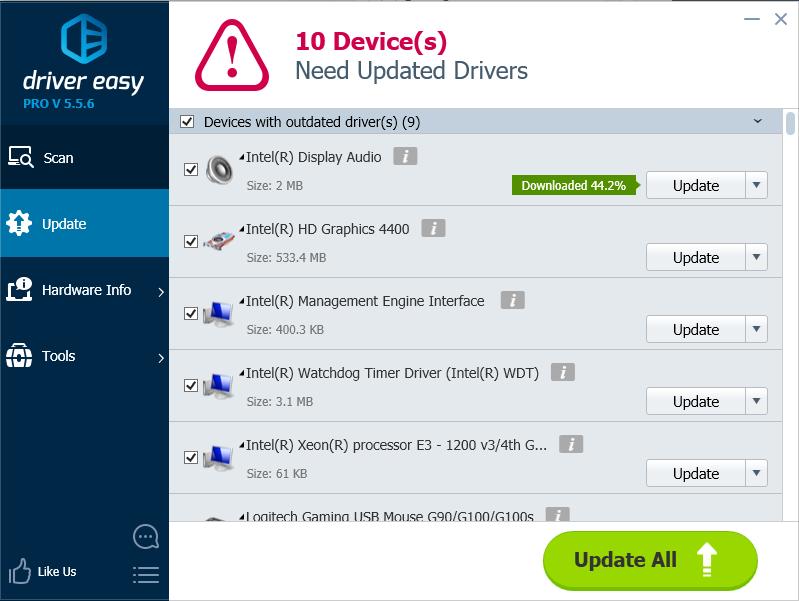
2) Run Driver Easy and click the Scan Now button. Driver Easy will then scan your computer and detect any problem drivers.
3) Click the Update button next to one device to automatically download and install the correct version of their driver (you can do this with the FREE version).
Or click Update All to automatically download and install the correct version of all the drivers that are missing or out of date on your system (this requires the Pro version – you’ll be prompted to upgrade when you click Update All).
Hope the methods help you fix the problem. If you have any questions or ideas, please leave your comment. We’d love to hear of any ideas and suggestions.