


Your NVIDIA Control Panel seems different from others you see from the internet–it only has 3D settings. You feel confused and a little worried. Don’t worry, it’s not a big deal. Actually, it’s the nature of your machine.
It is because there are two graphics cards on your computer. One is onboard graphics and the other is the NVIDIA graphics card. Display and video option should be set up in the onboard graphics card. So you can only see 3D Settings in the NVIDIA Control Panel.
But if you used to have other settings and you lose them, you can try these 3 methods to get them back.
- Update your graphics card driver
- Disable the onboard graphics card in Device Manager
- Restart the NVIDIA Control Panel Process
Method 1: Update your graphics card driver
The reasons for your NVIDIA Control Panel only has 3D settings are various, but it should be related to your graphics card driver. So it’s always a first-to-go option to update your graphics card driver.
There are two ways to update your driver.
Option 1 – Manually – You’ll need some computer skills and patience to update your drivers this way, because you need to find exactly the right the driver online, download it and install it step by step.
OR
Option 2 – Automatically (Recommended) – This is the quickest and easiest option. It’s all done with just a couple of mouse clicks – easy even if you’re a computer newbie.
Option 1 – Download and install the driver manually
- Go to the NVIDIA download center.
- Search for driver according to your graphics card.
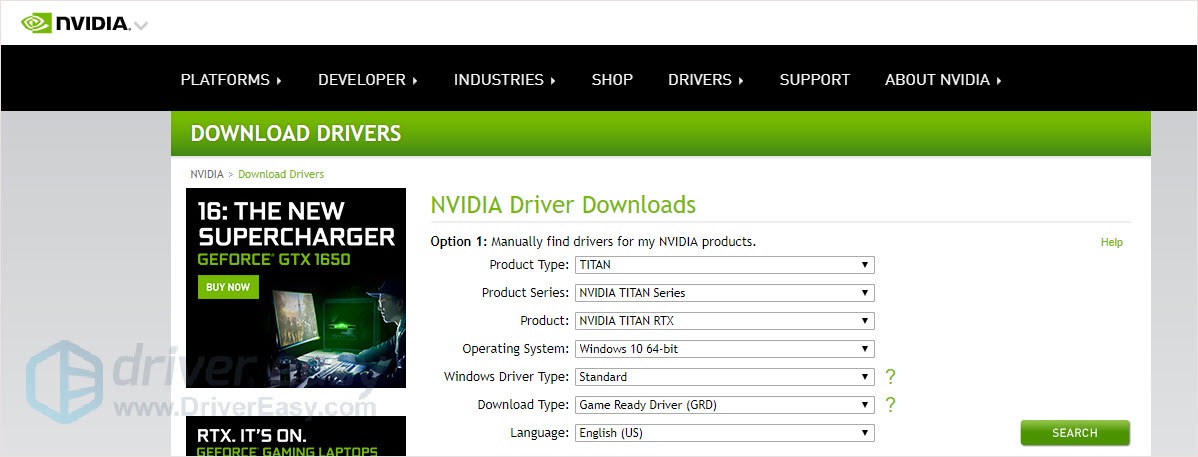
- Download and install the driver manually.
Option 2 – Automatically update the NVIDIA graphics card drivers
If you don’t have the time, patience or computer skills to update your drivers manually, you can do it automatically with Driver Easy.
Driver Easy will automatically recognize your system and find the correct drivers for it. You don’t need to know exactly what system your computer is running, you don’t need to risk downloading and installing the wrong driver, and you don’t need to worry about making a mistake when installing.
You can update your drivers automatically with either the FREE or the Pro version of Driver Easy. But with the Pro version it takes just 2 clicks (and you get full support and a 30-day money back guarantee):
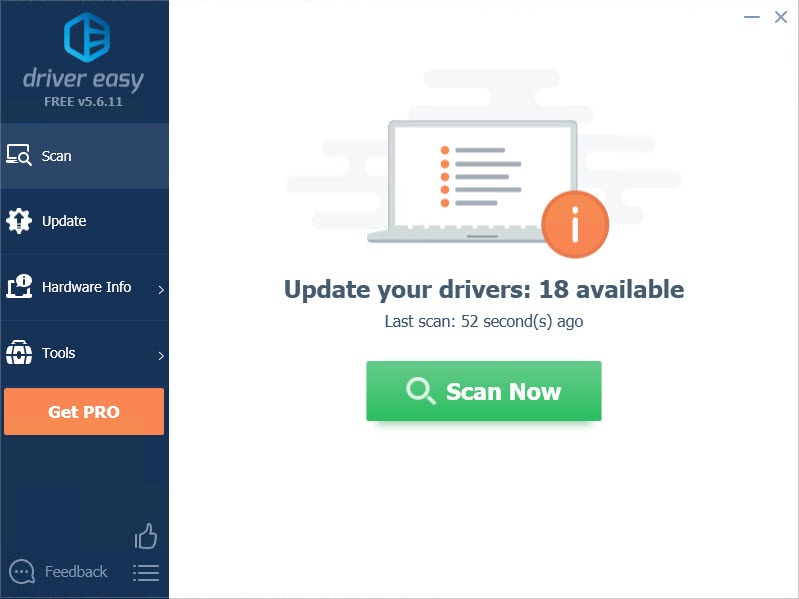
- Download and install Driver Easy.
- Run Driver Easy and click Scan Now button. Driver Easy will then scan your computer and detect any problem drivers.
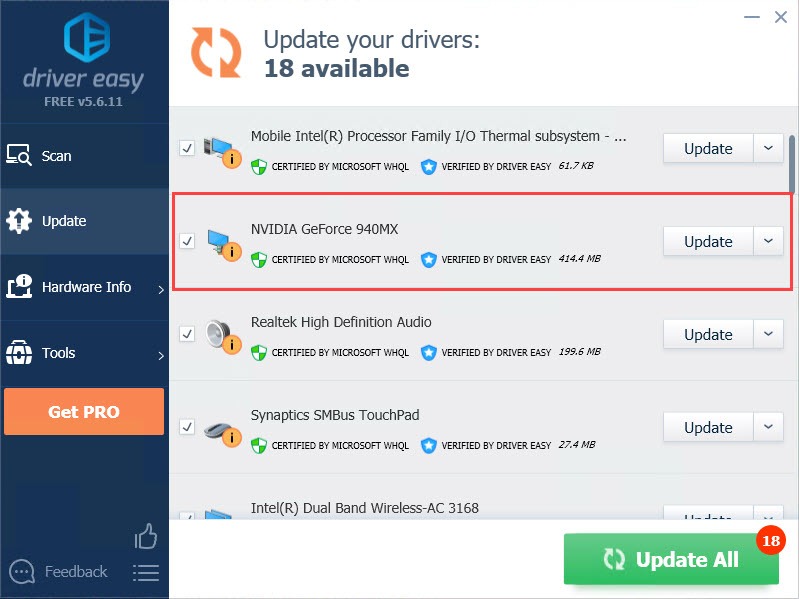
- Click the Update button next to the driver to automatically download and install the correct version of this driver (you can do this with Free version). Or click Update All to automatically download and install the correct version of all the drivers that are missing or out of date on your system (this requires the Pro version – you’ll be prompted to upgrade when you click Update All).
Method 2: Disable the onboard graphics card in Device Manager
You can change your default graphics driver to the NVIDIA graphics card all the time. This can resolve the problem but may lower your battery life for consuming more power.
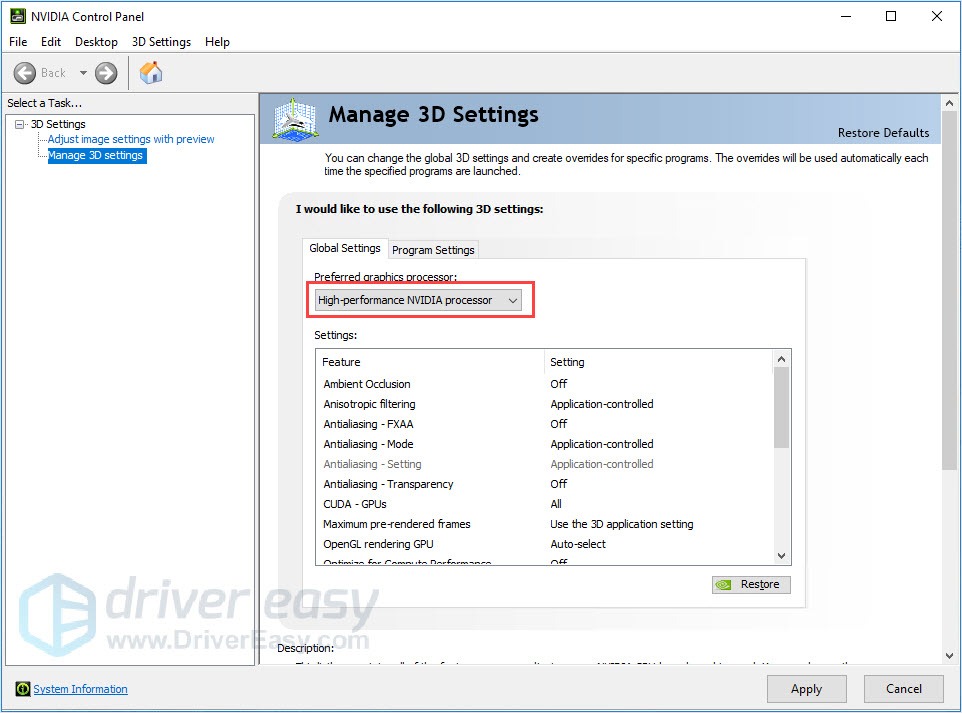
- Run the NVIDIA Control Panel.
- Choose the High-performance NVIDIA processor in the drop-down menu and then click Apply.
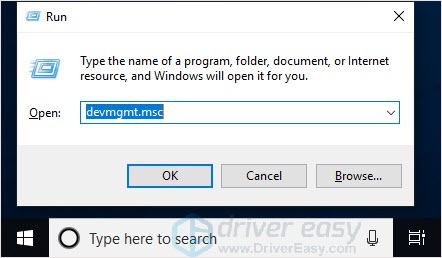
- Press the Windows logo key + R to open the Run box.
- Type “devmgmt.msc” and press Enter.
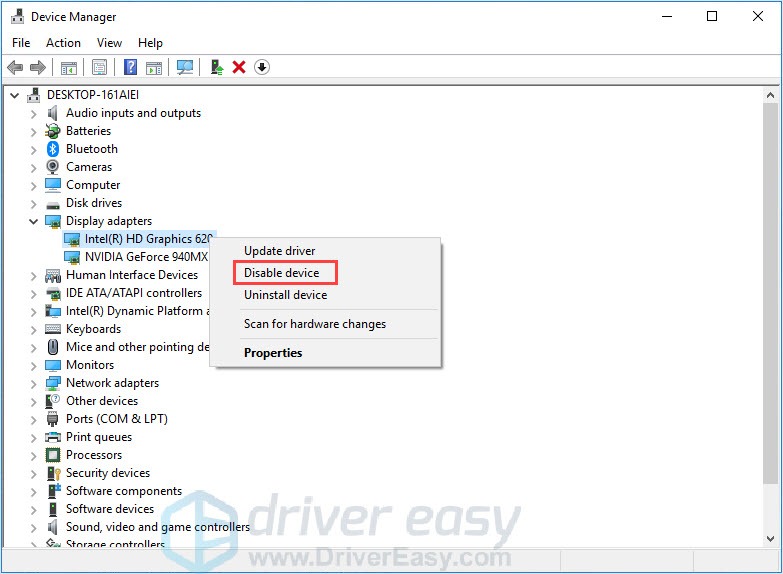
- Open the Display adapters and right-click on your integrated graphics card.
- Click Disable device and then click Yes in the pop-up window.
- Reboot your computer and check whether it solves your problem.
Method 3: Restart the NVIDIA Control Panel Process
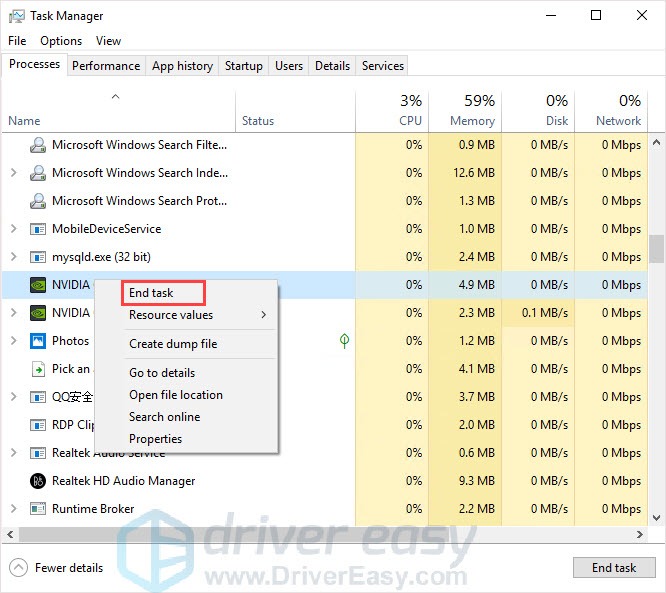
- Press the Ctrl + Shift + Esc key together to open the Task Manager.
- In the Processes tab, right-click on the NVIDIA Control Panel and choose End task.
- Restart the NVIDIA Control Panel and check whether it has other settings or not.
We hope you find the above information helpful. And if you have any ideas, suggestions, or questions, feel free to leave a comment below.