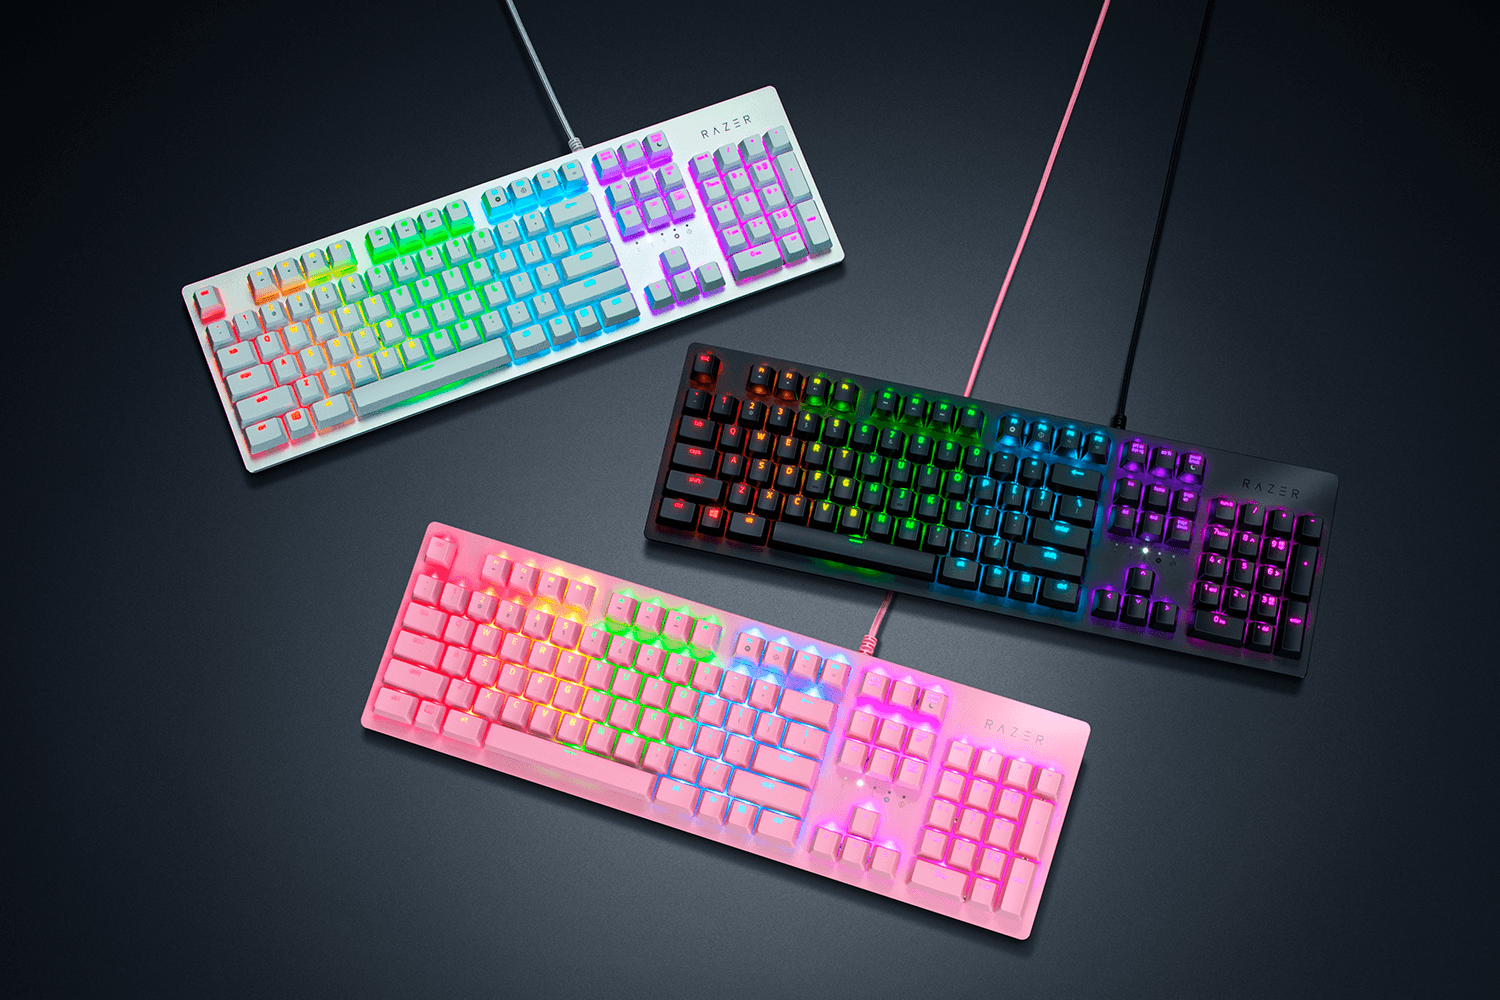
If you have a razer keyboard which has many lights on and meant to lighten up, but it stops working, you might be frustrated. Don’t worry, you’re not alone and you’ve come to the right place! The fixes here can solve this problem.
Try these fixes
Fix 1: Plug your keyboard in another USB port
It’s probably caused by the poor connection. Plug your keyboard into another USB port and check if it does light up. If it does and everything works well, it’s your USB port that has the issue.
If it doesn’t light up, move to the next fix.
Fix 2: Uninstall and reinstall Razer Synapse
Plug your keyboard into another computer to see it light up or not. If it doesn’t light up, it might be a hardware problem and you need to contact Razer support.
If it does, the problem might be caused by your Razer Synapse. Then a full reinstall of Synapse can help you solve the problem.
- Unplug your keyboard.
- Uninstall Synapse.
- Press Windows key + R together to open the Run box.
- Type “service.msc” and press Enter to open Windows Services. Make sure all Razer services listed are stopped.

- Go to C:\Users\Your user name\AppData and delete any Razer folders.
- Go to C:\Program Files (x86)… or wherever you installed Synapse and delete the Razer folders.
- Reboot your computer.
- Go to the Razer official website to download the latest version of Synapse.
- Follow the on-screen instructions to install Synapse.
- Launch Synapse.
- Plug your keyboard and check the lightening.
Fix 3: Update your driver
The problem can be caused by faulty drivers. So one of the things you should do is to verify that all your devices have the right drivers, and update those that don’t.
If you don’t have the time, patience or computer skills to update the drivers manually, you can do it automatically with Driver Easy.
Driver Easy will automatically recognize your system and find the correct drivers for it. You don’t need to know exactly what system your computer is running, you don’t need to risk downloading and installing the wrong driver, and you don’t need to worry about making a mistake when installing.
You can update your drivers automatically with either the FREE or the Pro version of Driver Easy. But with the Pro version it takes just 2 clicks (and you get full support and a 30-day money back guarantee):
- Download and install Driver Easy.
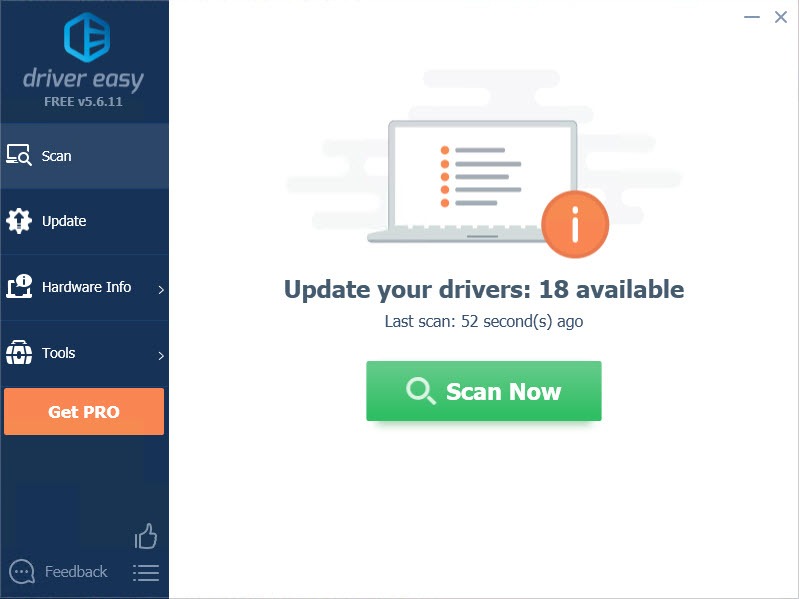
- Run Driver Easy and click the Scan Now button. Driver Easy will then scan your computer and detect any problem drivers.
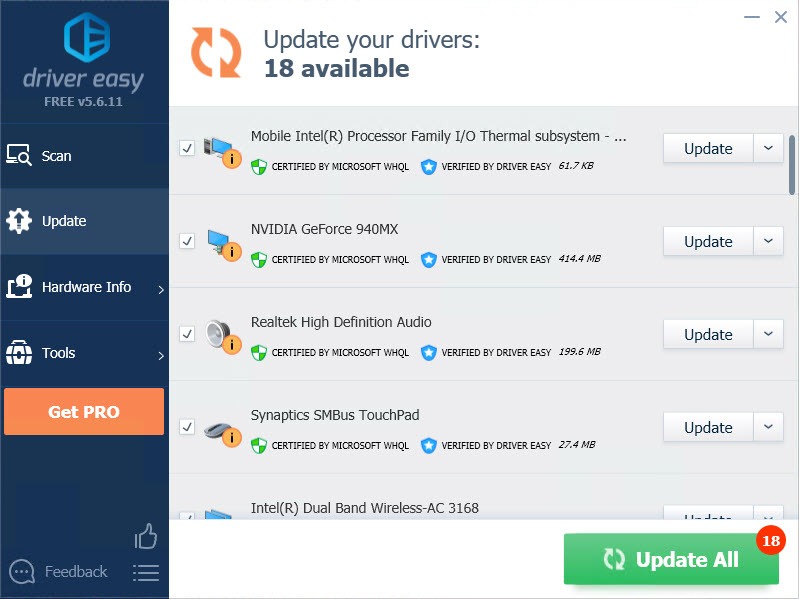
- Click the Update button next to the flagged device to automatically download the correct version of its driver, then you can manually install it (you can do this with the FREE version).

Or click Update All to automatically download and install the correct version of all the drivers that are missing or out of date on your system (this requires the Pro version– you’ll be prompted to upgrade when you click Update All).
- After updating the drivers, check to see the issue is resolved or not.
That’s it! Hopefully, these methods can help you resolve the issue. If you have any questions or suggestions, please let us know by commenting below.


