


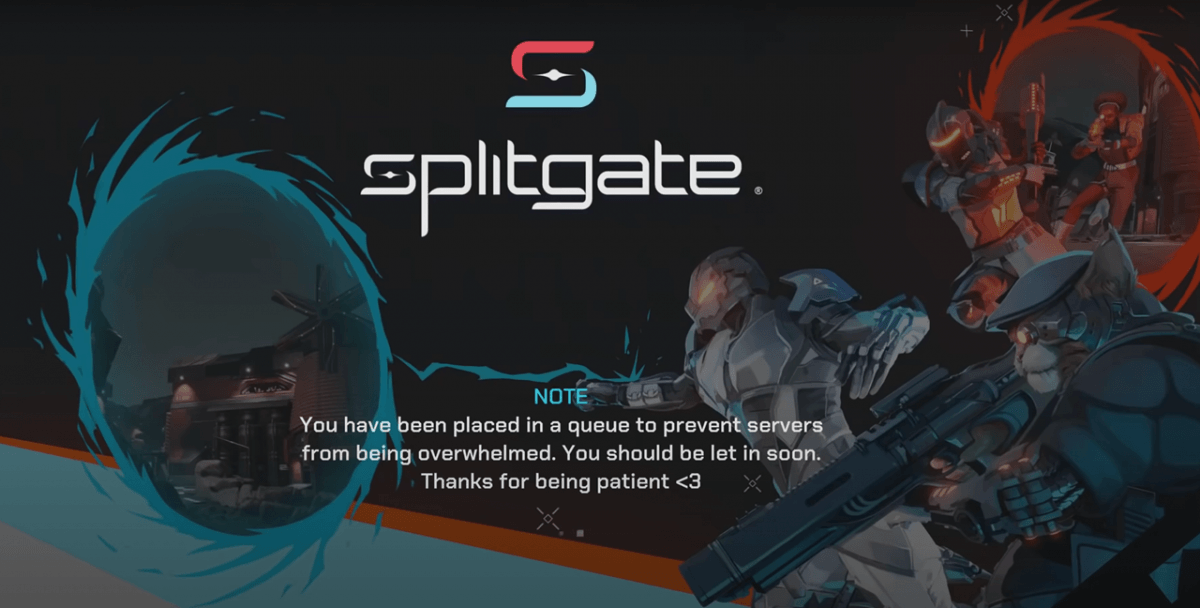
Splitgate is booming right now! But with more and more players flocking to the game, the queue seems longer. A large number of players are prompted with the error message “You have been placed in a queue to prevent servers from being overwhelmed.” or “Unable to connect to Splitgate servers. Please try again later.” This happens because of the overloaded servers and prevents players from even entering the game. Devs are working on the long-term solution. You can check the updates on the Splitgate discord server or Twitter. But if you want to play it now, below are some workarounds.
Try these methods…
You may not need to try them all; simply work your way down the list until you find the one that works for you.
1. Restart your game
Whenever you’re having issues with your programs, one of the simple troubleshooting steps you should take is restarting. This can sometimes work like magic. If you play Splitgate on Steam, PS4 or Xbox, try to keep closing and entering the game. With a bit of luck, you should be able to connect to servers within minutes. 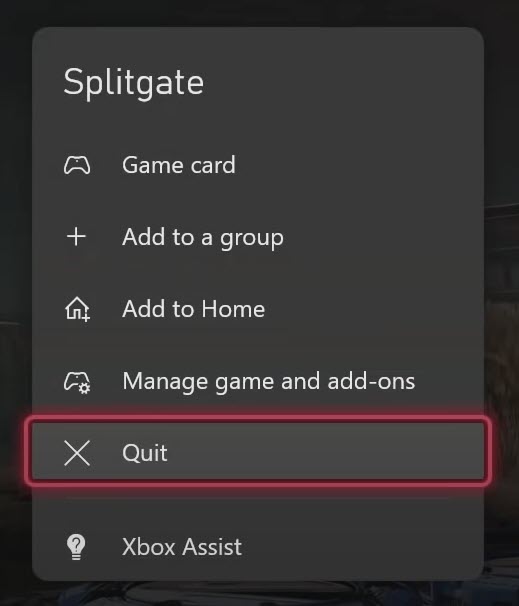
2. Restart your modem/ router
If restarting the game doesn’t do the trick, you should try to troubleshoot your network connection. This can also lead to failure to connect to servers.
First of all, we recommend you restart your modem and router. What you can do is unplug your router and modem, then wait at least 10 seconds and then plug your router and modem back in. Then launch your game and test if the problem goes away. If your problem persists, try the next method below.
3. Update your network driver
A driver is an essential piece of software that lets your system communicate with your hardware. If it is outdated or misconfigured, it would cause noticeable performance issues. Although the problem you’re having right now is from the server’s end, updating the network driver comes with perks as it helps you get rid of network connectivity issues at a large scale in the future.
To update your network adapter driver, you can either do it manually via the Device Manager or head to the manufacturer’s driver download page to download and install the exact driver for your system. This requires a certain level of computer knowledge and can be a headache if you aren’t tech-savvy. Therefore, we would like to recommend you use an automatic driver updater tool such as Driver Easy. With Driver Easy, you don’t need to waste your time hunting for driver updates as it will take care of the busy work for you.
Here’s how to update drivers with Driver Easy:
- Download and install Driver Easy.
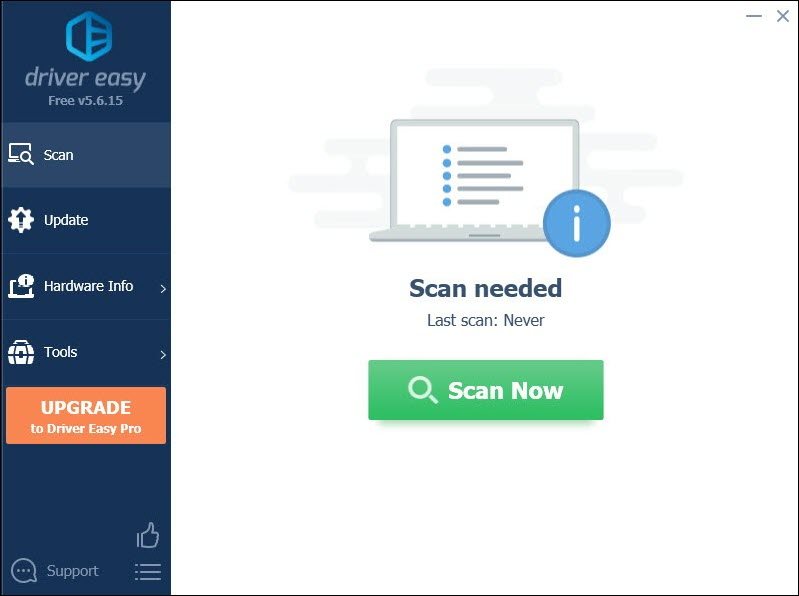
- Run Driver Easy and click the Scan Now button. Driver Easy will then scan your computer and detect any devices with missing or outdated drivers.
- Click Update All. Driver Easy will then download and update all your outdated and missing device drivers, giving you the latest version of each, direct from the device manufacturer.
(This requires the Pro version which comes with full support and a 30-day money-back guarantee. You’ll be prompted to upgrade when you click Update All. If you don’t want to upgrade to the Pro version, you can also update your drivers with the FREE version. All you need to do is to download them one at a time and manually install them. )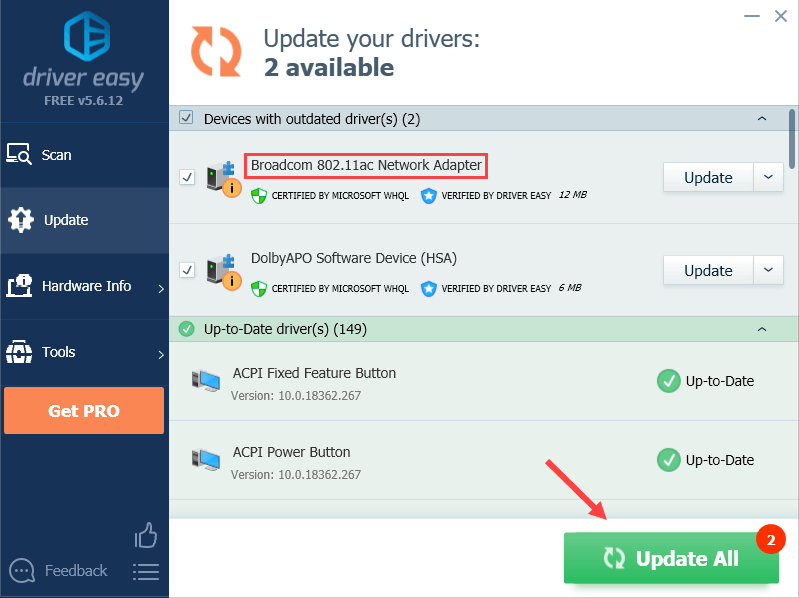
After updating drivers, restart your PC for the changes to take full effect.
4. Perform a network reset
As one of the easy network troubleshooting steps, performing a network reset helps restore all the network-related features and settings to their original values — factory state. To do this, follow the instructions below:
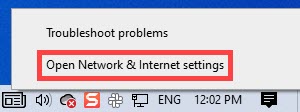
- In the bottom right corner of your desktop, right-click on the network icon and select Open Network & Internet settings.
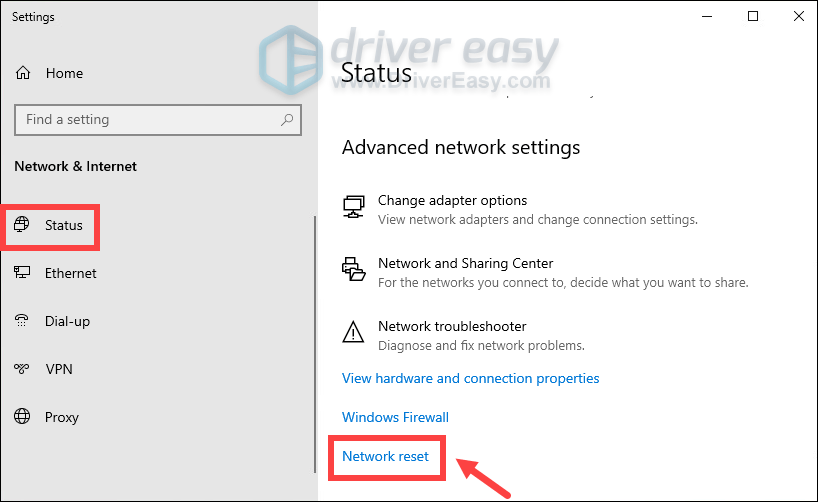
- In the Status tab, scroll down until you find the Network reset button. Make sure you click on it.
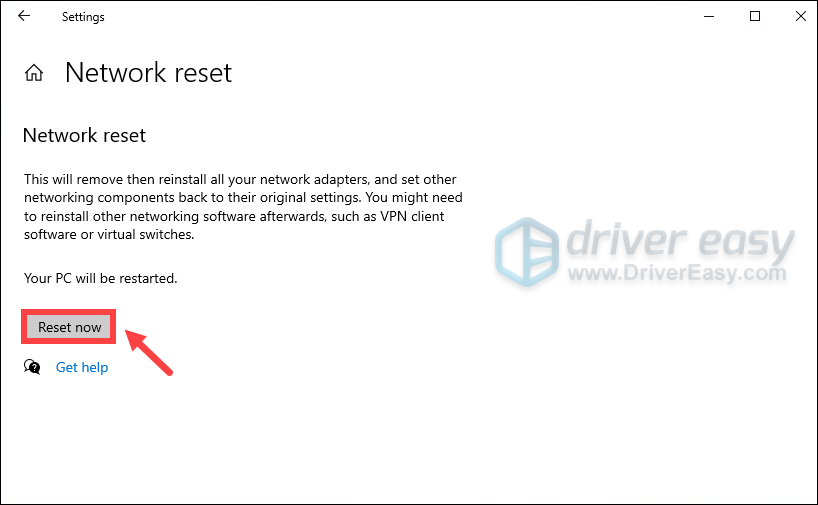
- Click Reset now.
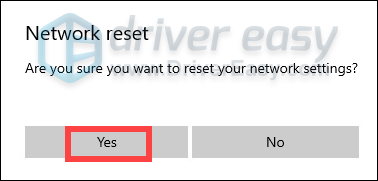
- Click Yes to proceed.
When you finish the resetting process, restart your PC and launch Splitgate. This time, you should be able to play the game without error messages popping up.
However, if none of the methods listed above have worked for you, you should give VPNs a try. There are a certain amount of players that can get rid of the server connectivity issues after using a VPN.
Note:Some VPN services are free but, as with most things in life, you get what you pay for. Free VPNs are never as good as paid ones; either they’re not as fast or reliable, or they can be forced to share your details with the authorities.
- NordVPN (30-day money-back guarantee; our favorite VPN)
- Surfshark (7-day free trial available)
- Cyberghost (free trial available)
Hopefully, this post helped. If you have any ideas or questions, feel free to drop us a line in the comment section below.