


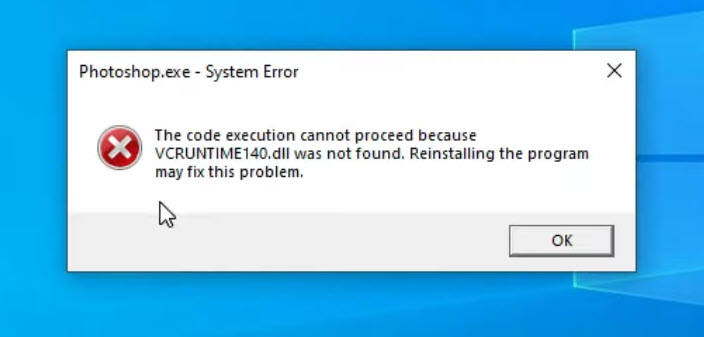
The code execution cannot proceed error usually occurs because a specific DLL file was not found. It can be for a range of DLL files such as MSVCP140.dll, MSVCP120.dll, VCRUNTIME140.dll and so on. If you encounter this issue when launching or closing a program, don’t worry. After reading this post, you’ll know how to fix it easily and quickly.
Try these fixes:
Here are 4 simple fixes for the code execution cannot proceed error message no matter which DLL files is missing. You don’t have to try them all. Just work your way down the list until you find the one that solves the problem.
- Reinstall the program
- Repair your system files
- Install the DLL file manually
- Update your device drivers
Fix 1 – Reinstall the program
When you receive the code execution cannot proceed error alert, it usually suggests you reinstall the program to fix the issue. You can simply reinstall the program you’re having a problem with to see if that’s the cause. To make sure you perform a clean reinstallation, follow the steps below:
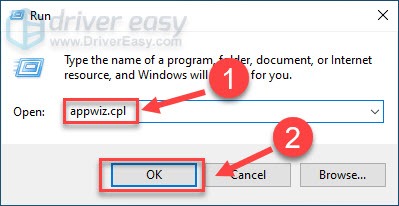
- On your keyboard, press the Windows logo key and R at the same time to invoke the Run command. Then type appwiz.cpl and click OK.
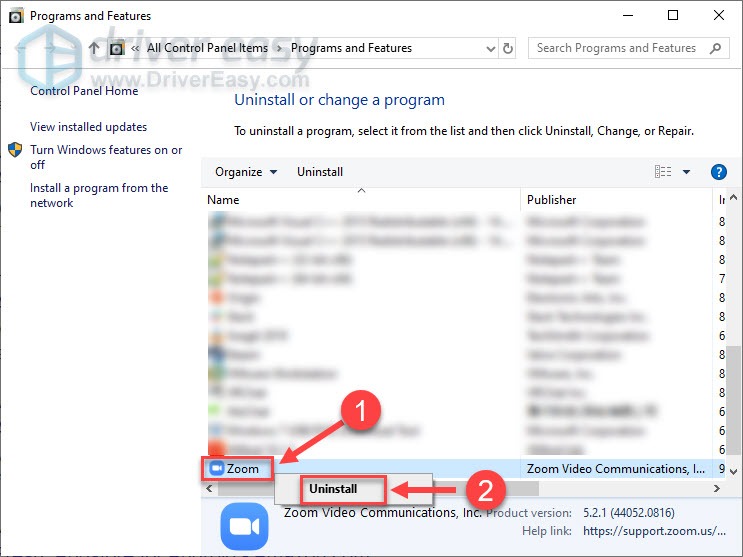
- Right-click the program and click Uninstall.
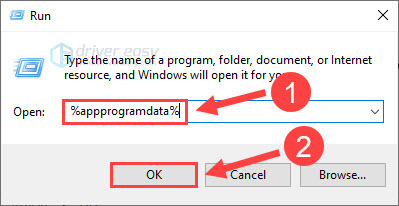
- On your keyboard, press the Windows logo key and R at the same time to invoke the Run command. Type %programdata% in the field and press Enter.
- Locate the program folder and delete it.
- Again, press the Windows logo key and R on your keyboard to open the Run box. Type %appdata% and press Enter.

- Locate the program folder and delete it.
- Restart your computer for the changes to take effect.
- Go to the official source of the program. Then download and reinstall it manually.
Launch the program to test for the issue. If it reoccurs, move on to the second method.
Fix 2 – Repair your system files
The code execution cannot proceed because certain DLL file was not found or corrupted. To restore the system files, you either use the Windows built-in utility.
The System file checker and DISM command tool can help you scan the integrity of all system files and restore the incorrect or missing versions with the proper ones. But this process may be a bit complicated and time-consuming.
Below we’ll show you how to run the System File Checker and DISM.exe tool step by step.
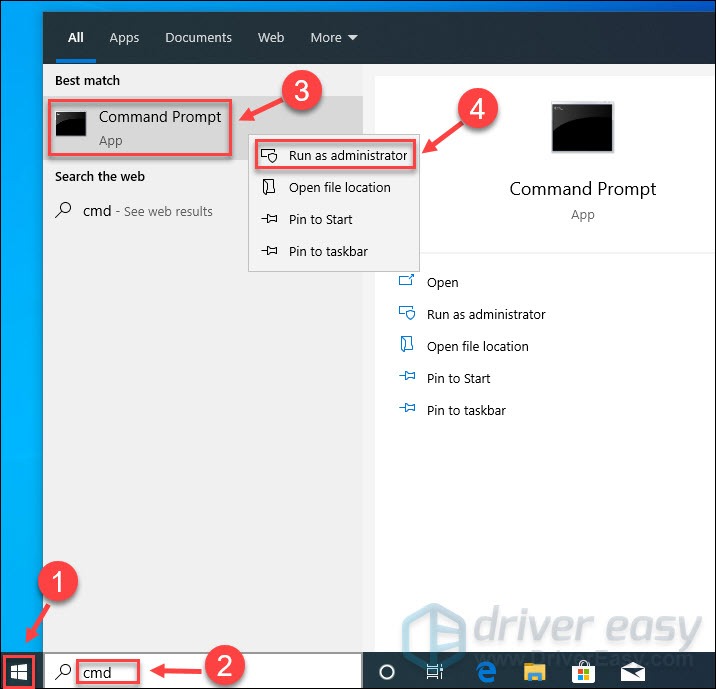
- Click the Start button. Type cmd in the Windows search bar. Then right-click Command Prompt and select Run as administrator.
- Click Yes when you’re prompted to continue.

- Type the following command and press Enter.
sfc /scannow
- Wait a few minutes for the process to complete. Then you may see a message that says Windows Resources Protection found corrupt files and successfully repaired them.
- Launch the problematic application to see if it works. If not, you can continue to troubleshoot with the DISM tool.
- Run Command Prompt as administrator again and enter the commands as below:
dism.exe /online /cleanup-image /scanhealth
This will scan the Windows component store corruption of your PC.dism.exe /online /cleanup-image /restorehealth
This will restore the health of your PC.
Now you should be able to get everything fine with the system files and the error code should be gone. If not, check out the fix below.
Fix 3 – Install the DLL file manually
If recovering the DLL file doesn’t solve the problem, you may try to install the DLL file manually. To find the correct and safe DLL files, simply check out the DLL-files.com.
- Go to the DLL-files.com.
- Type the specific DLL file that causes the error in the search bar (MSVCP140.dll for example), and click Search DLL file.

- Select the latest DLL file that’s corresponding with your operating system and click Download.
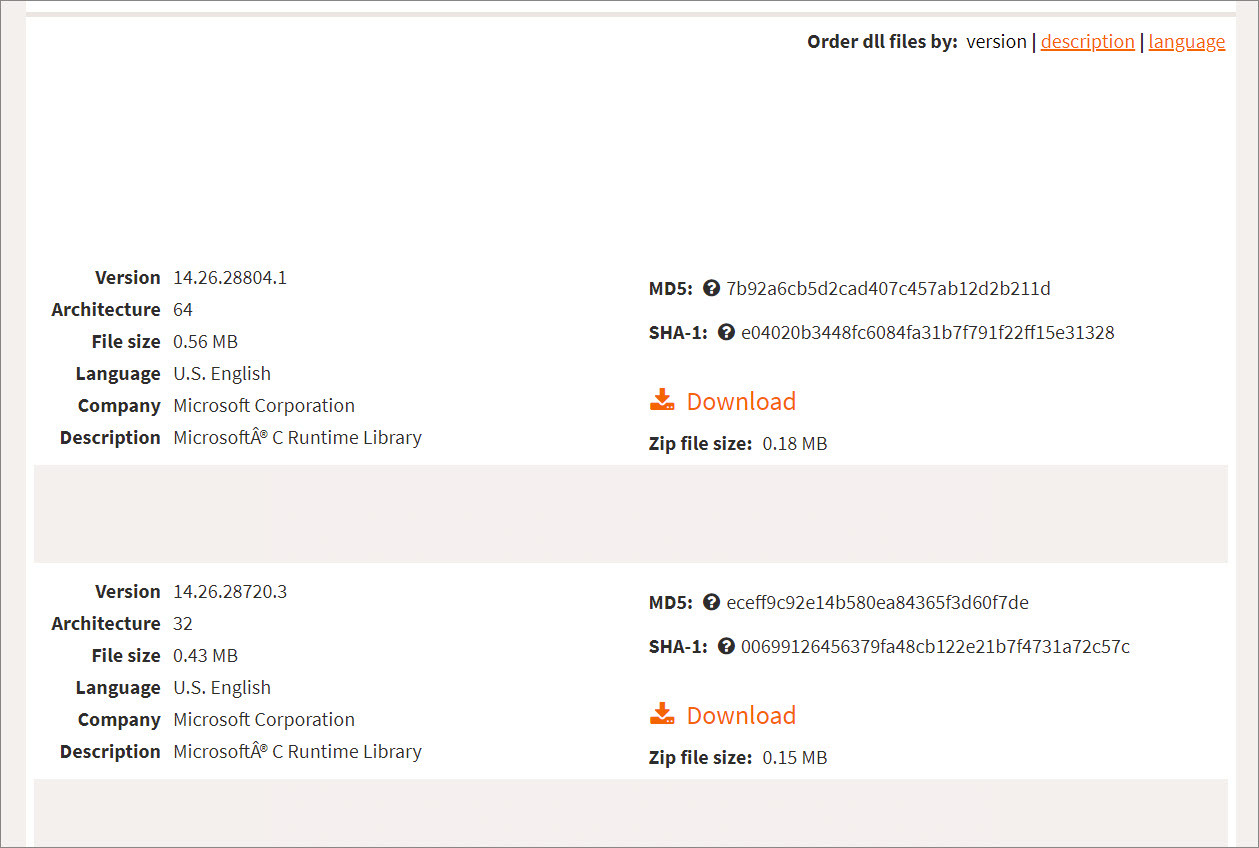
- After it’s downloaded, extract the zip file to any location you like on your computer. Then copy the DLL file from the folder and paste it to C:\Windows\System32 as well as the install folder of the game or application that requests the file.
You can restart the app to check again. If the error disappears, congrats! If not, there is one more fix you can try.
Fix 4 – Update your device drivers
The code execution cannot proceed error is also likely caused by the driver issues. If the steps above don’t resolve the problem, you should update your device driver to the latest, as this is necessary for the programs to run smoothly.
To update the driver manually, you can go to the official website of the device manufacturer and download the most recent driver that’s compatible with your operating system.
If you don’t have the patience or computer skills to do it manually, you can instead, do it automatically with Driver Easy. Driver Easy will automatically recognize your system and find the correct drivers for all the installed devices and your Windows version, and it will download and install them correctly.
You can update your drivers automatically with either the 7 days free trial or the Pro version of Driver Easy. It takes just 2 clicks, and you get full support and a 30-day money-back guarantee with the Pro version:
- Download and install Driver Easy.
- Run Driver Easy and click the Scan Now button. Driver Easy will then scan your computer and detect any problem drivers.

- Click the Activate & Update button next to the flagged device to automatically download and install the correct version of this driver.
Or click Update All to automatically download and install the correct version of all the drivers that are missing or out of date on your system (You’ll need the Pro version for this – when you select Update All, you’ll get a prompt to upgrade. If you’re not prepared to purchase the Pro version yet, Driver Easy provides a 7-day trial at no cost, granting access to all Pro features like fast downloads and easy installation. No charges will occur until after your 7-day trial period ends.)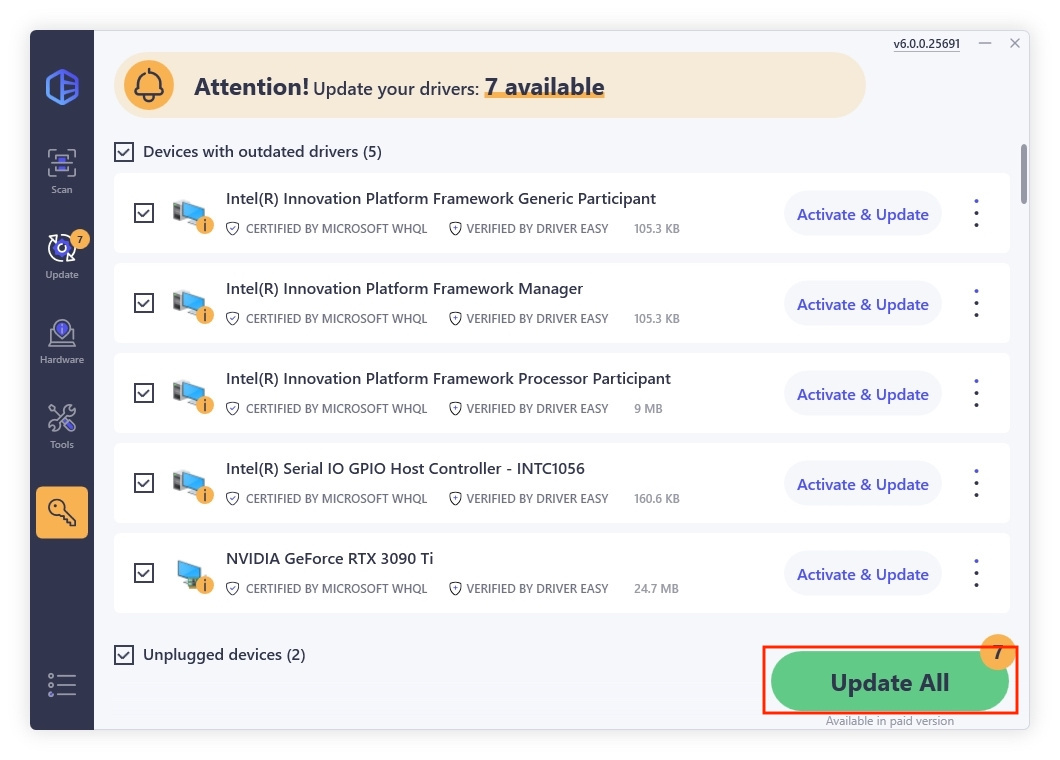
- After updating, restart your computer to take effect.
If you need assistance, please contact Driver Easy’s support team at support@drivereasy.com.
Now your PC should be restored to peak performance with all the drivers are updated.
Hopefully one of the solutions above helps you with the code execution cannot proceed error. If you have any questions or suggestions, please feel free to leave a comment below.