


Since its release, Valheim appears to be a title that will amount to a success. But as the game is still in early access, it’s not fully optimized. Especially, many players experience constant lags during gameplay, which makes it barely unplayable. And some are getting massive desync issues. Instead of waiting for the devs to solve this problem, you can actually reduce lags by doing some changes on your system and tweaking some settings.
Try these fixes:
You may not need to try them all; simply work your way down the list until you find the one that works.
- Verify integrity of game files
- Close bandwidth hogging applications
- Use a wired connection
- Update your network adapter driver
- Release and renew IP address
- Change your DNS settings
- Delete temporary files
- Temporarily disable background applications
1. Verify integrity of game files
If any of your game files are missing or corrupted, you won’t be able to play Valheim smoothly. In this case, you need to verify the integrity of game files, which can ensure that the installation of your game is up-to-date and if necessary repair any bad or corrupted game data.
Here’s how to do this:
1) Open your Steam Client. Under the LIBRARY tab, find your game title and right-click it. Then select Properties.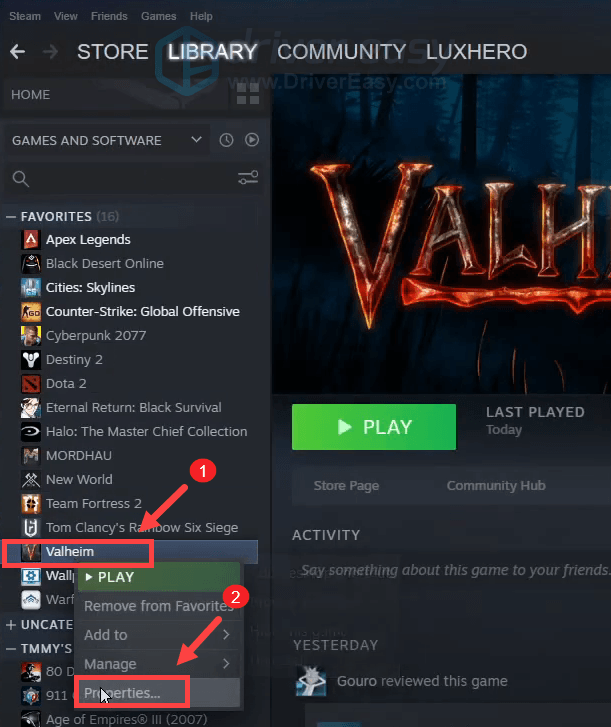
2) Select LOCAL FILES and then click on the Verify integrity of game files… tab. This will take a minute to redownload and replace any missing or corrupted game files.
When the process is complete, play Valheim and check it helps you fix the issue. If the problem persists, try the fixes listed below.
2. Close bandwidth hogging applications
Your game starts lagging and stops being responsive because something is hogging its resources. It might be a program that sends massive amounts of data online and consumes bandwidth in the background.
To monitor the bandwidth usage of your applications and put an end to it, take these steps:
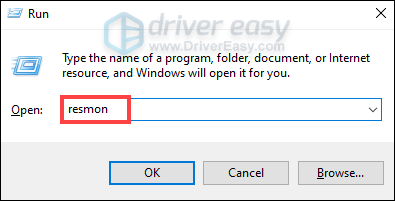
1) On your keyboard, press the Windows logo key + R at the same time to open the Run dialog box.
2) Type resmon and press Enter to open the Resource Monitor.
3) Select the Network tab, which will show you all the network activity on your computer. 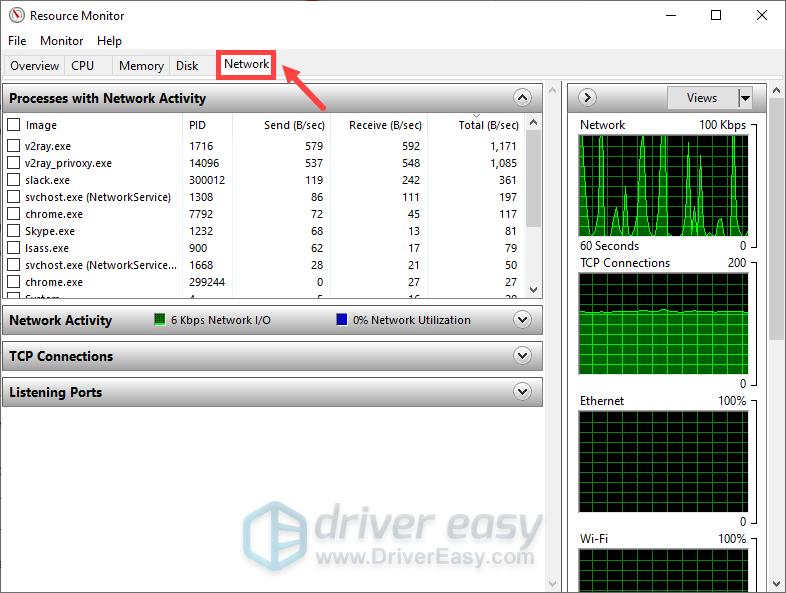
The Processes With Network Activity window is composed of five columns:
- Image: the name of the application
- PID: short for process identifier, it shows you the process ID number
- Send (B/sec): the average number of bytes per second the app sent in the last minute
- Receive (B/sec): the average number of bytes per second the app received in the last minute
- Total (B/sec): total bytes per second the app used in the last minute
4) Find an application that’s using way too much bandwidth, right-click it and select End Process. (Note that you should not close the applications which are significant for your system. If you are not familiar with a certain application, select Search Online to access the information.)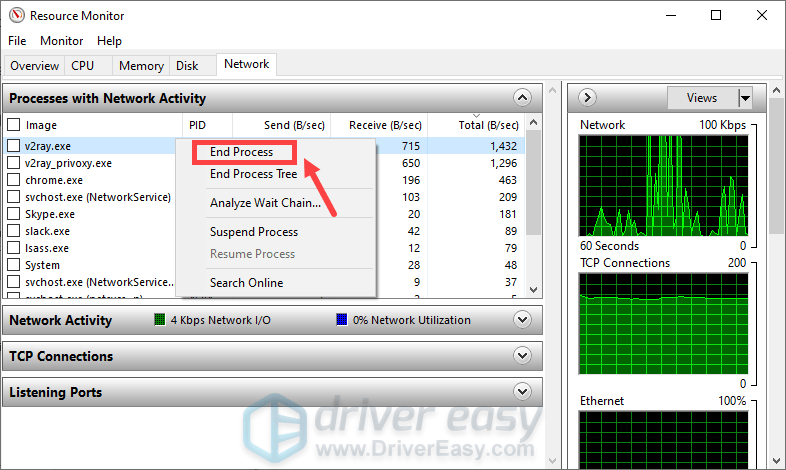
After you’ve done these, close the Resource Monitor window and check if the lag issue is solved.
3. Use a wired connection
For gaming purposes, a wired connection preferable over a wireless connection to the internet. Wireless connections are most susceptible to interference and aren’t as consistent as wired connections. More importantly, they increase latency. Therefore, if possible, use a wired connection.
However, if you are not able to opt for a wired connection, check out the next fix below.
4. Update your network adapter driver
Many players are experiencing server lags in Valheim, but some players reported that updating network adapter driver can help fix the issue in no time. So definitely you should check if there are driver updates available.
You can manually update your network adapter driver by going to the manufacturer’s official website to download and install the correct network driver for your system.
OR
You can do it automatically with Driver Easy. It will automatically recognize your system and find the correct driver for it. You don’t need to know exactly what system your computer is running or risk downloading and installing the wrong driver.
Here’s how to update drivers with Driver Easy:
1) Download and install Driver Easy.
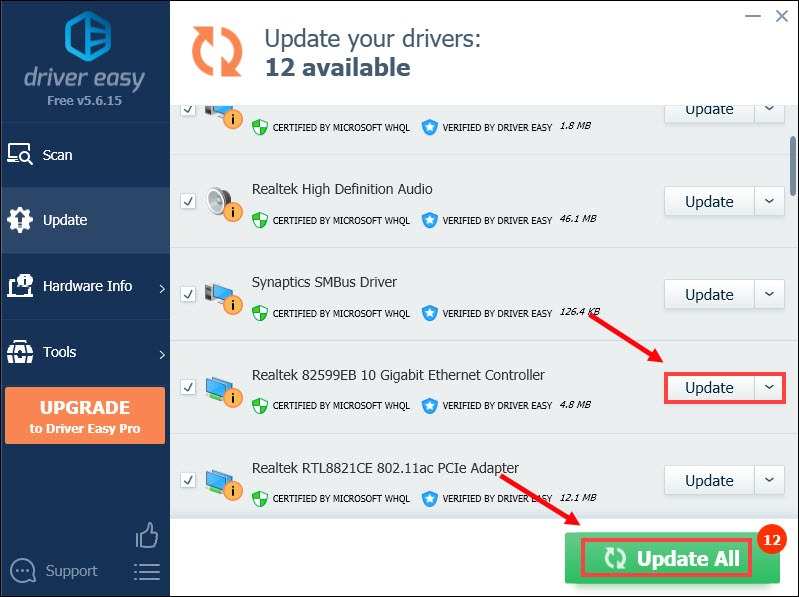
2) Run Driver Easy and click the Scan Now button. Driver Easy will then scan your computer and detect any problem drivers.

3) Click Update All to automatically download and install the correct version of all the drivers that are missing or out of date on your system.
(This requires the Pro version which comes with full support and a 30-day money-back guarantee. You’ll be prompted to upgrade when you click Update All. If you don’t want to upgrade to the Pro version, you can also update your drivers with the FREE version. All you need to do is to download them one at a time and manually install them.)
After updating your drivers, restart your computer and launch your game to check if the problem is solved. If not, then continue trying the fixes below.
5. Release and renew IP address
If updating drivers didn’t help you fix the issue, you need to release and renew the IP address of your computer as the issue may be caused by your network connection
1) Press the Windows logo key to open the Start menu. Type cmd. Right-click Command Prompt from the results and select Run as administrator.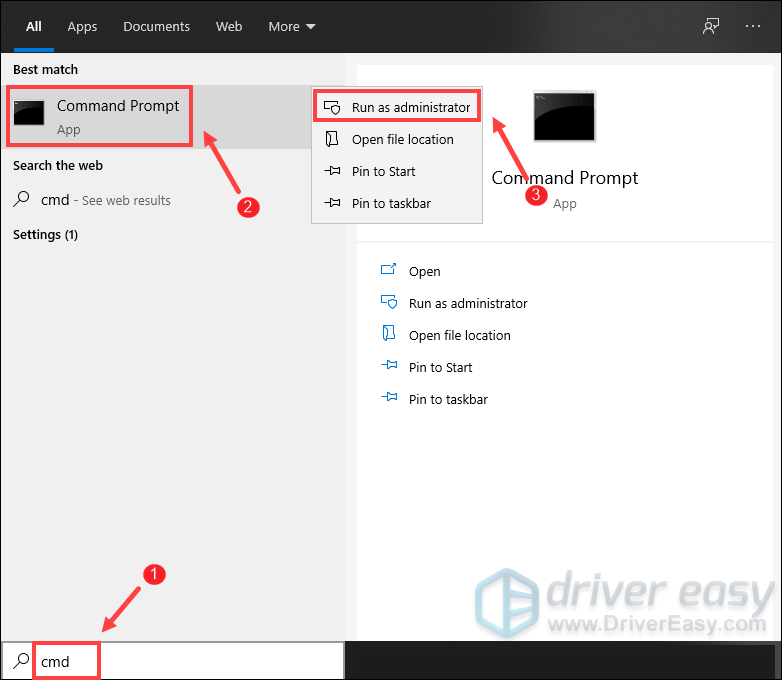
When the User Account Control prompt appears, simply click Yes.
2) In the Command Prompt window that appears, type the following command and then press Enter.
ipconfig /release
After releasing the IP configuration from the active adapter, you need to flush the DNS cache in case the cache has become corrupted. To do this, simply type the following command and then press Enter.
ipconfig /flushdns
Once done, you should be able to receive a message that the task has completed successfully.
The final step you need to take is to renew the IP configuration for the active adapters installed in the system. To do this, simply type the following command and then press Enter.
ipconfig /renew
Once done, close the Command Prompt. And you can try to play Valheim. If it’s still so laggy, you need to change your DNS settings.
6. Change your DNS settings
Changing the server to a popular one can actually save you time troubleshooting. And here we recommend using Google DNS:
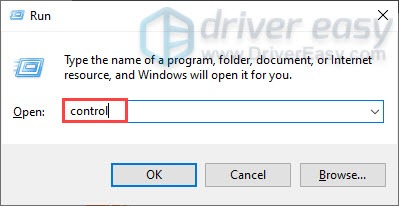
1) On your keyboard, press the Windows logo key and R at the same time to open the Run dialog box.
2) Type control and then press Enter on your keyboard to open the Control Panel.
3) Click Network and Internet. (Note: make sure you view the Control Panel by Category.)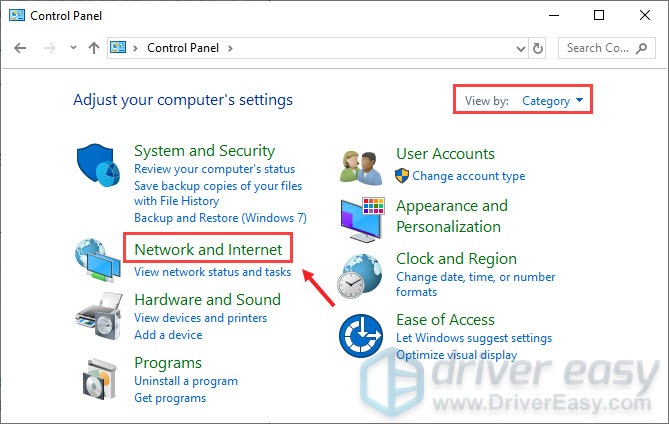
3) Click Network and Sharing Center.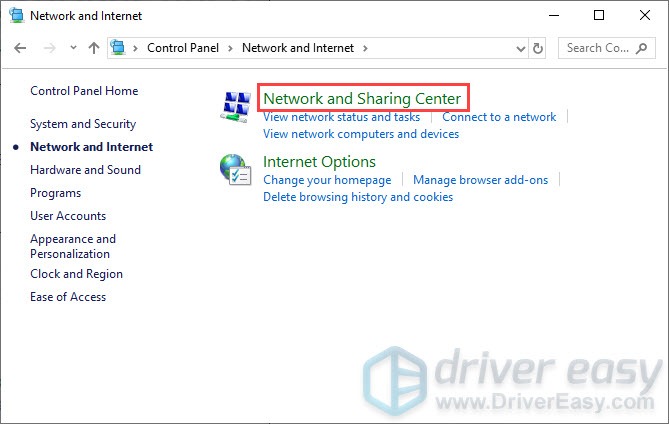
4) Click on your Connections, whether it’s Ethernet, Wifi, or others.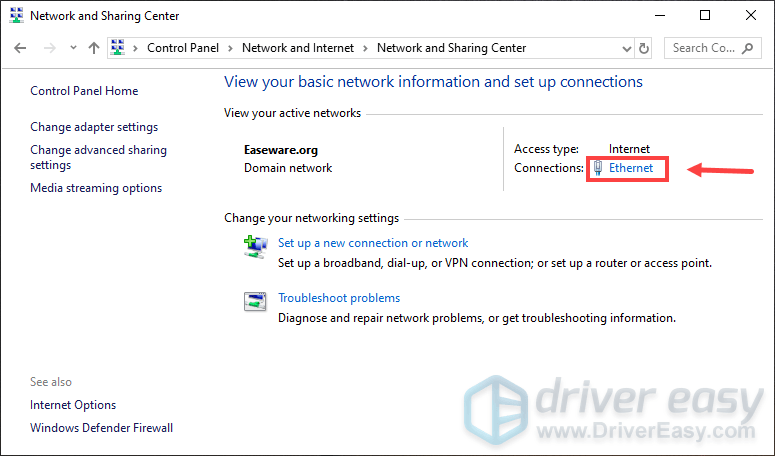
5) Click Properties.
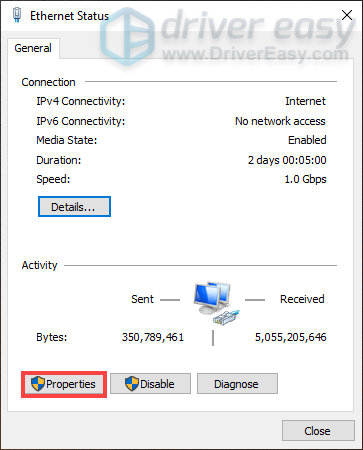
6) Click Internet Protocol Version 4 (TCP /IPv4) > Properties.

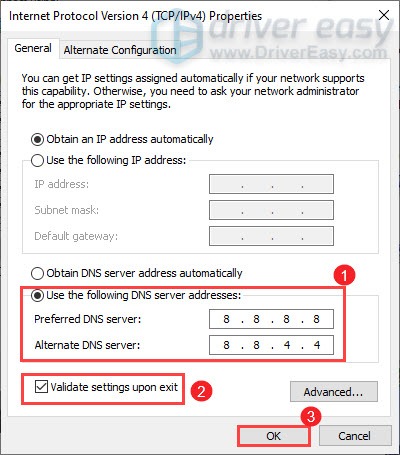
7) Click Use the following DNS server addresses:
For Preferred DNS server, type 8.8.8.8
For Alternate DNS server, type 8.8.4.4
Check the box next to Validate settings upon exit and then click OK.
After changing your DNS server, open Valheim and check if it’s less laggy. If this didn’t do the trick, proceed to the next fix below.
7. Delete temporary files
As the name suggests, temporary files are the kind of files that store temporary data that is created by Windows itself or the programs. These files don’t do anything, but they can take up a considerable amount of space and can slow down your PC. To make sure they are not affecting you playing the game, you should delete those files and it won’t cause any issues. Here’s how:
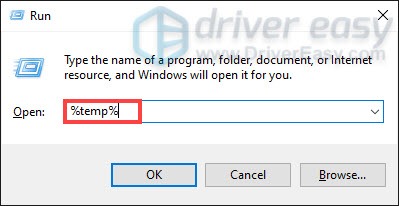
1) On your keyboard, press the Windows logo key and R at the same time to invoke the Run box.
2) Type %temp% and then press Enter on your keyboard.
3) Delete all the files in the temp folder. (Press Ctrl and A at the same time to select all the files. Then right-click and select Delete.)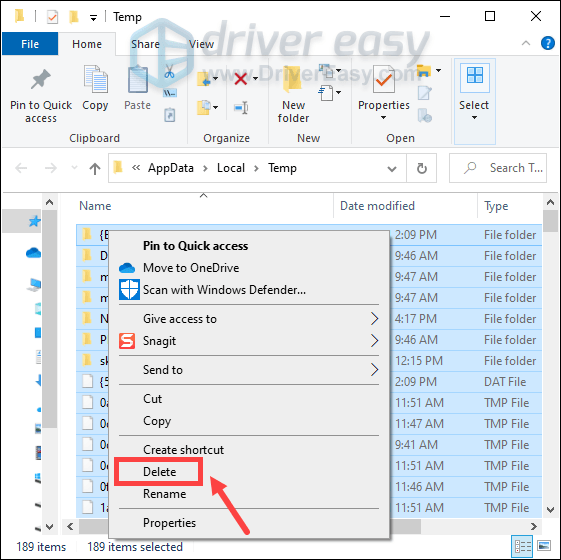
4) If a window pops up saying that The action can’t be completed, simply check the box Do this for all current items and click Skip.
5) Now go to your Recycling Bin from your desktop. Right-click on it and select Empty Recycle Bin.
6) Click Yes.
After deleting the temp files, launch Valheim and check if you can play it smoothly.
8. Temporarily disable background applications
If your computer runs several resource-hogging applications in the background, your game will be more likely to be laggy. To minimize your game lags, you need to stop apps from running in the background.
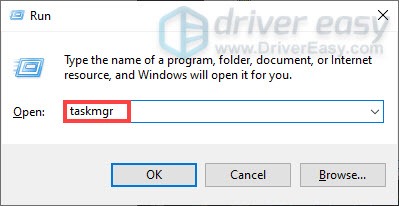
1) On your keyboard, press the Windows logo key and R at the same time to invoke the Run box.
2) Type taskmgr and press Enter.
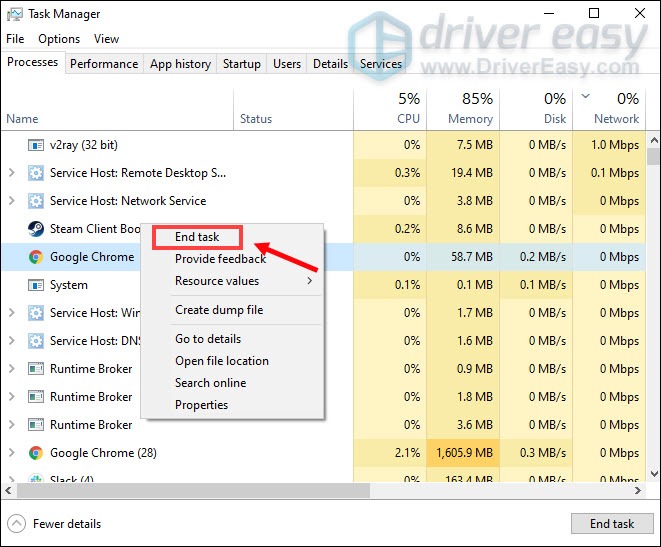
3) Under the Processes tab, select the programs that are CPU-intensive. Right-click on them and select End task.
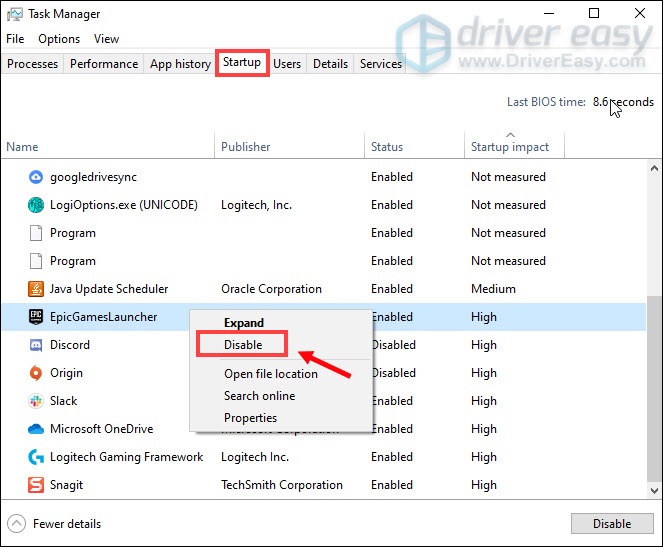
If you don’t want some programs running automatically, you can select the Startup tab, right-click on them and select Disable.
Once you’ve disabled programs running in the background, play Valheim and it should be less laggy.
So these are the fixes for Valheim lagging on PC. Hopefully, they help you make your game run smoother. If you have any ideas or questions, feel free to leave us a comment below.

