


Call of Duty: Warzone has been out for months. But the server connection issue is still a headache for many players. Recently for users on Warzone: Pacific, they receive an error that says CONNECTION FAILED Unable to access online services. To reduce the hassle and help you fix the issue, we’ve gathered some fixes.
But before diving into troubleshooting, it’s recommended you try signing out and signing in again. If you still can’t connect to the server, try these fixes:
- Delete temporary files
- Update network adapter driver
- Release and renew IP address
- Change your DNS server
- Use a wired connection
- Link your Activision and Blizzard accounts
- If your problem persists…
Fix 1: Delete temporary files
As the name suggests, temporary files are the kind of files that store temporary data created by Windows or the programs that users use. But they take up some hard drive space which makes your computer slow, which can also impact the responsiveness to the connection. So to make your computer run smoother, you’re supposed to delete those files and it won’t cause any problems. Here’s how you can do this:
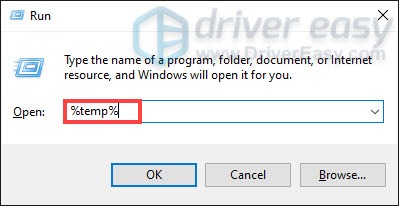
- On your keyboard, press the Windows logo key and R at the same time to invoke the Run box. Type %temp% and then press Enter on your keyboard.
- Delete all the files in the temp folder. (Press Ctrl and A at the same time to select all the files. Then right-click and select Delete.)

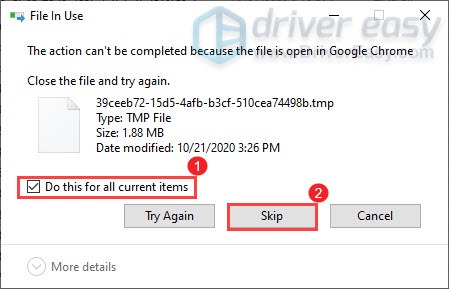
- If a window pops up saying that The action can’t be completed, simply check the box Do this for all current items and click Skip.
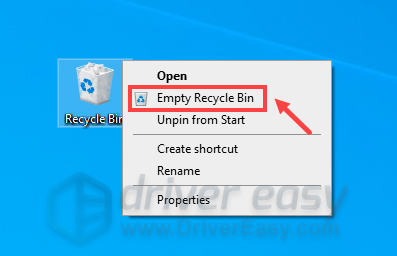
- Now go to your Recycling Bin from your desktop. Right-click on it and select Empty Recycle Bin.
- Click Yes.

After deleting the temp files, launch your game to check if you can finally get into the game. If the problem persists, proceed to the next fix.
Fix 2: Update network adapter driver
This error message is related to network or server connectivity issues. So your outdated network adapter driver can be the culprit and it blocks your access to the server. To fix it, you should update your network adapter driver, especially if you can’t remember when was the last time you updated it.
How you can update your network adapter driver
To update your network adapter driver, you can do it manually by going to the manufacturer’s official website to download and install the correct network driver for your system.
OR
You can do it automatically with Driver Easy. Driver Easy will automatically recognize your system and find the correct driver for it. You don’t need to know exactly what system your computer is running or risk downloading and installing the wrong driver.
Driver Easy will automatically recognize your system and find the correct drivers for it. You don’t need to know exactly what system your computer is running, you don’t need to risk downloading and installing the wrong driver, and you don’t need to worry about making mistakes when installing.
You can update your drivers automatically with either the 7 days free trial or the Pro version of Driver Easy. It takes just 2 clicks, and you get full support and a 30-day money-back guarantee with the Pro version:
- Download and install Driver Easy.
- Run Driver Easy and click the Scan Now button. Driver Easy will then scan your computer and detect any problem drivers.

- Click the Activate & Update button next to the flagged device to automatically download and install the correct version of this driver.
Or click Update All to automatically download and install the correct version of all the drivers that are missing or out of date on your system (You’ll need the Pro version for this – when you select Update All, you’ll get a prompt to upgrade. If you’re not prepared to purchase the Pro version yet, Driver Easy provides a 7-day trial at no cost, granting access to all Pro features like fast downloads and easy installation. No charges will occur until after your 7-day trial period ends.)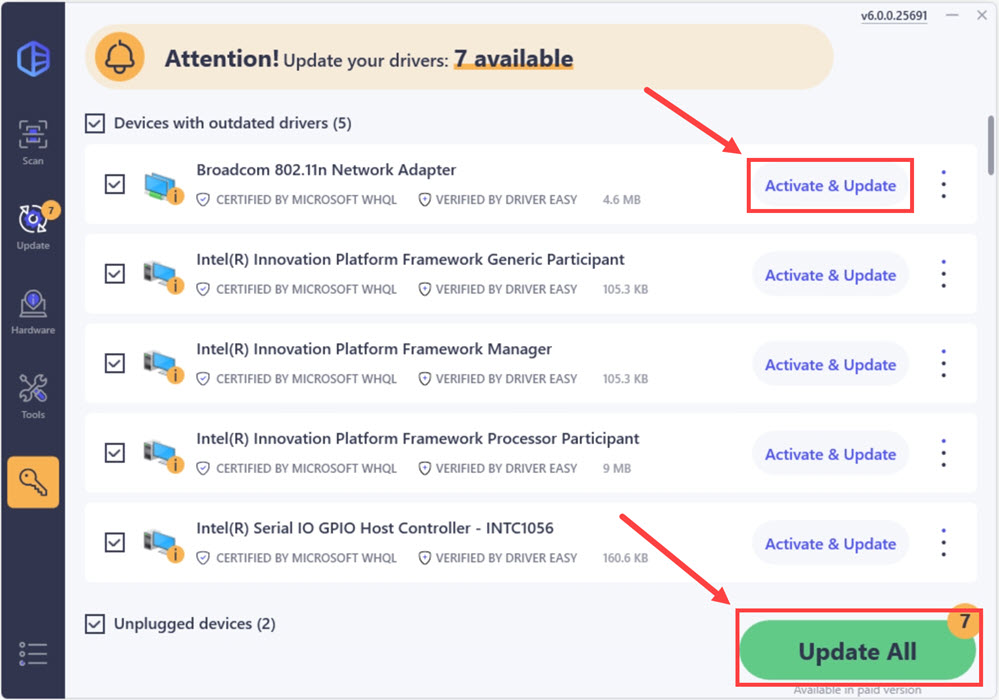
- After updating, restart your computer to take effect.
After updating your drivers, restart your computer for them to take effects.
Fix 3: Release and renew IP address
When you encounter the connectivity issue, one of the troubleshooting steps you should take is to release and renew the IP address of your computer, which can help refresh the internet connection.
- In the Windows search box, type cmd. Then click Run as administrator.
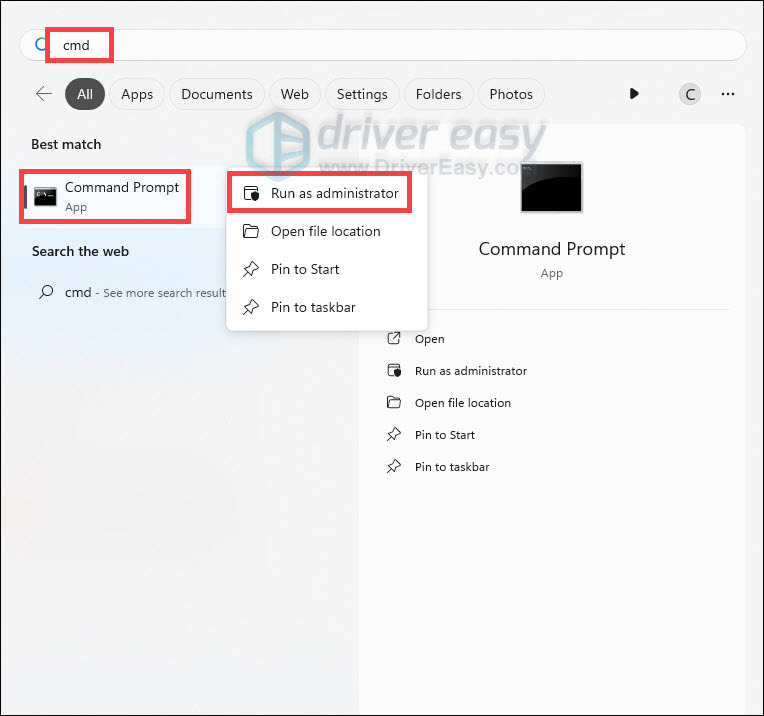
- Click Yes to continue.
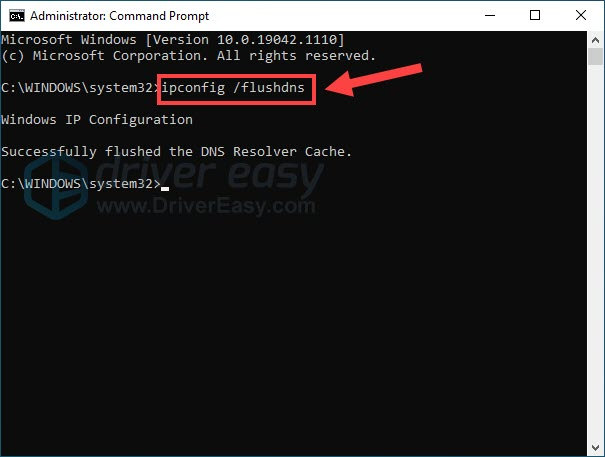
- In the command prompt window, type ipconfig /flushdns and press Enter.
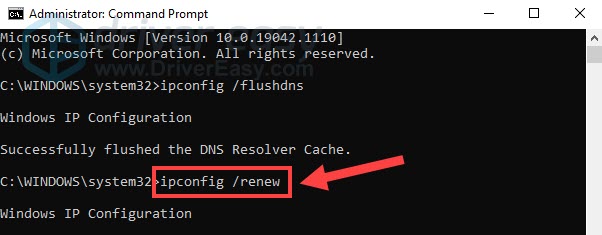
- Type ipconfig /renew and press Enter.
Once done, close the Command Prompt. And you can try to launch your game. You probably would receive an error code on the loading screen. In this case, you can simply click to quit to the desktop. Then you can try again and click on the Play button from the Call of Duty: Warzon gaming title in your library and you should be able to connect to online services.
Fix 4: Change your DNS server
If releasing and renewing the IP address didn’t help you solve the issue, you can try changing the DNS server. It can be beneficial a lot of the time because the standard DNS your ISP gives you cannot always be within your expectations. So changing DNS servers settings, especially configuring Google Public DNS addresses would help you resolve some connectivity issues.
Here’s how you can do this:
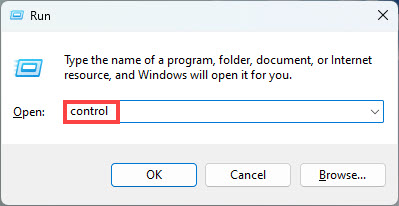
- On your keyboard, press the Windows key and R key at the same time. Type control and hit Enter.
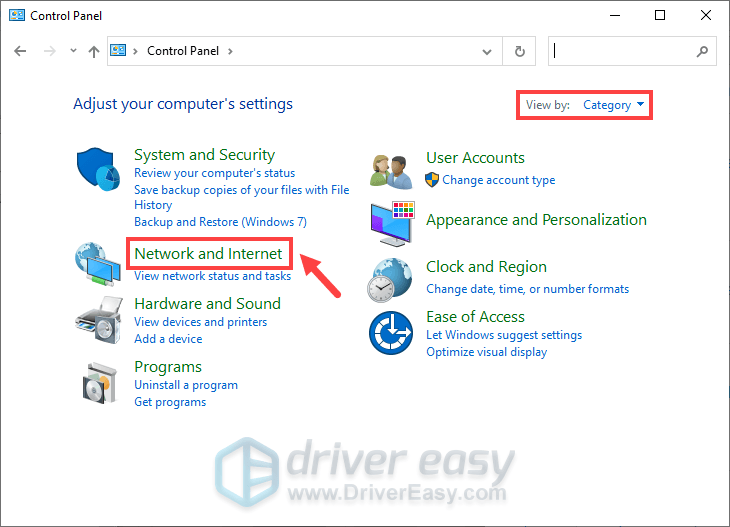
- View by Category, and select Network and Internet.
 .
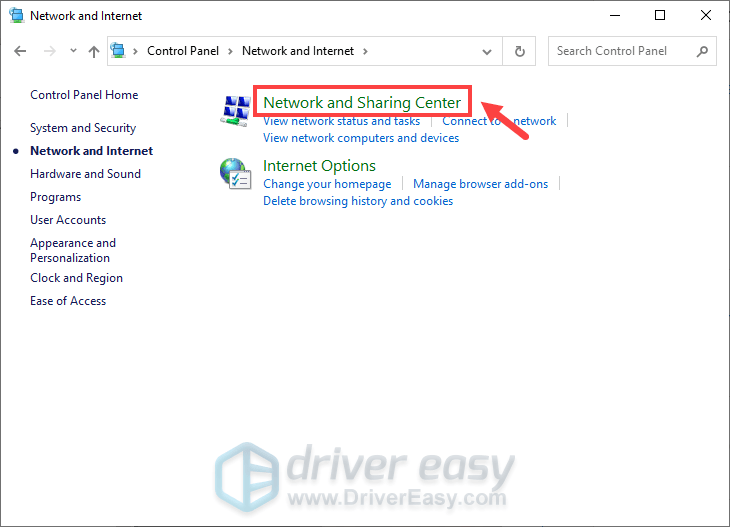
. - Select Network and Sharing Center.
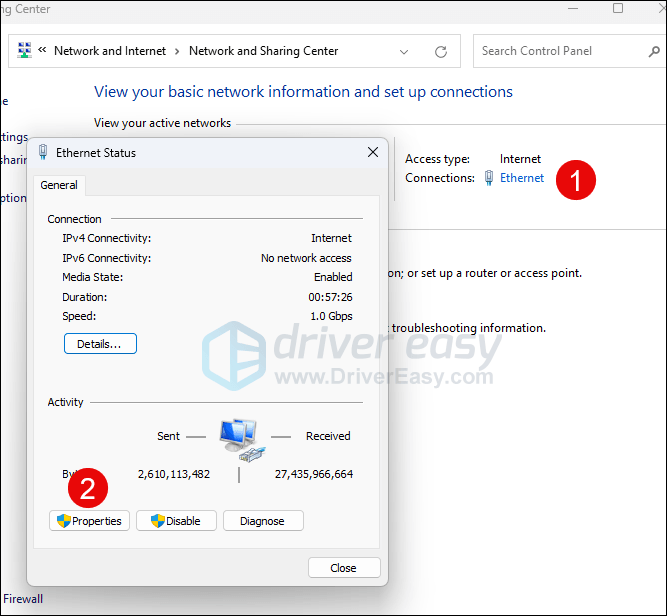
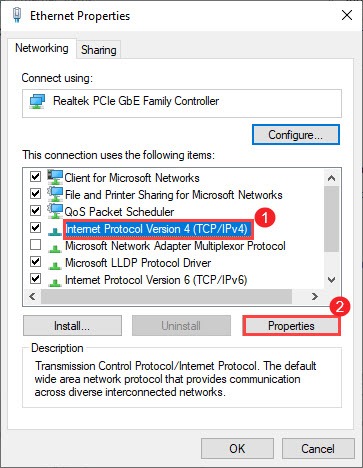
- Click the Internet connection you’re using, then select Properties.
- Click Internet Protocol Version 4 (TCP /IPv4) > Properties.
- Click Use the following DNS server addresses:
For Preferred DNS server, type 8.8.8.8
For Alternate DNS server, type 8.8.4.4
Check the box next to Validate settings upon exit and then click OK.
After you’ve applied the changes, launch your game and the server connectivity issue in Call of Duty: Warzone should be fixed.
Fix 5: Use a wired connection
If you’re using Wi-Fi or wireless connection on your PC, it’s time for you to see if a wired connection will improve the situation. To do that, use a LAN cable to connect your device to the router and restart the game to check if it resolves your issue.
Fix 6: Link your Activision and Blizzard accounts
Some players have found that linking their Activision and Blizzard accounts can let them get past the “connecting to online services” screen.
Here’s how:
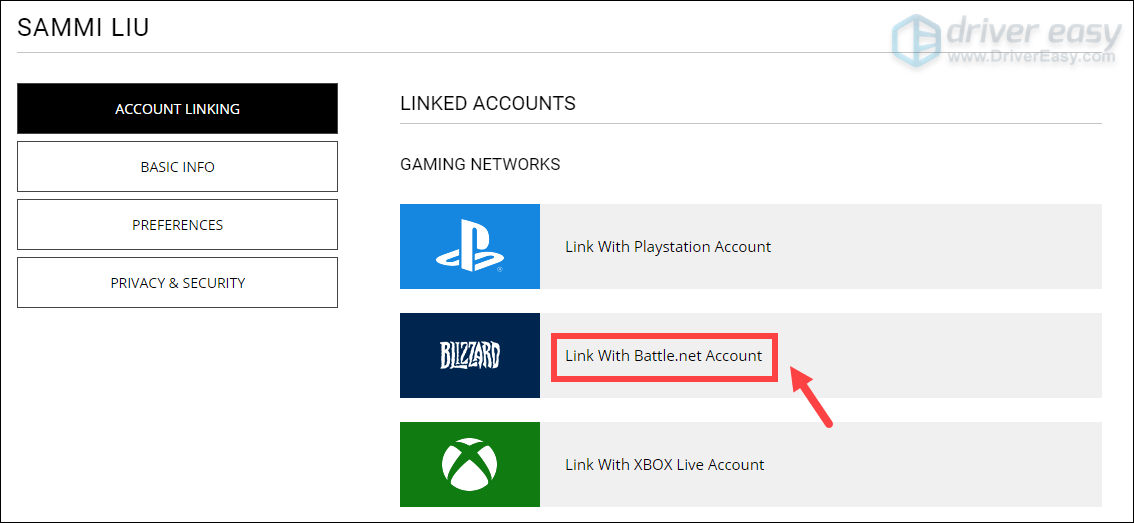
- Go to Activision‘s website and login. Once you’re logged into your account, click PROFILE located on the top-right corner.
- In the ACCOUNT LINKING section, find your profile and link it with your Battle.net account.
- Click CONTINUE. And you’ll be taken back to the Blizzard website to complete the account linking process.
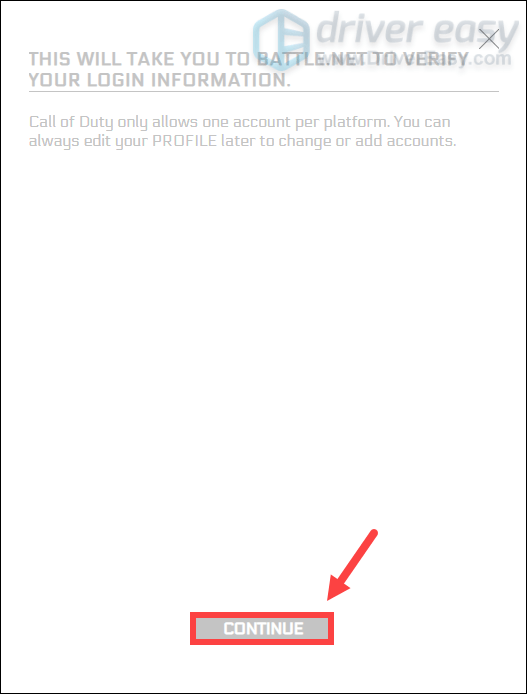
Launch Warzone and you should be able to connect to online services.
If your problem persists…
If nothing else has worked for you, give VPNs a try. By connecting to a different server, you’re able to avoid bandwidth throttling. But be advised: lots of problems may arise if you use a free VPN. Therefore, to secure your network, we suggest you use a paid VPN.
Below are the VPN apps that we recommend. By clicking on the links below, you may be able score nice savings on your subscriptions.
- NordVPN (up to 70% off)
- CyberGhost
- Surfshark
So these are some tips and tricks on how to fix the connectivity issue in Call of Duty: Warzone. Hopefully, you’re able to play your game now. If you have any ideas or questions, please leave us a comment below. We’ll get back to you ASAP.