


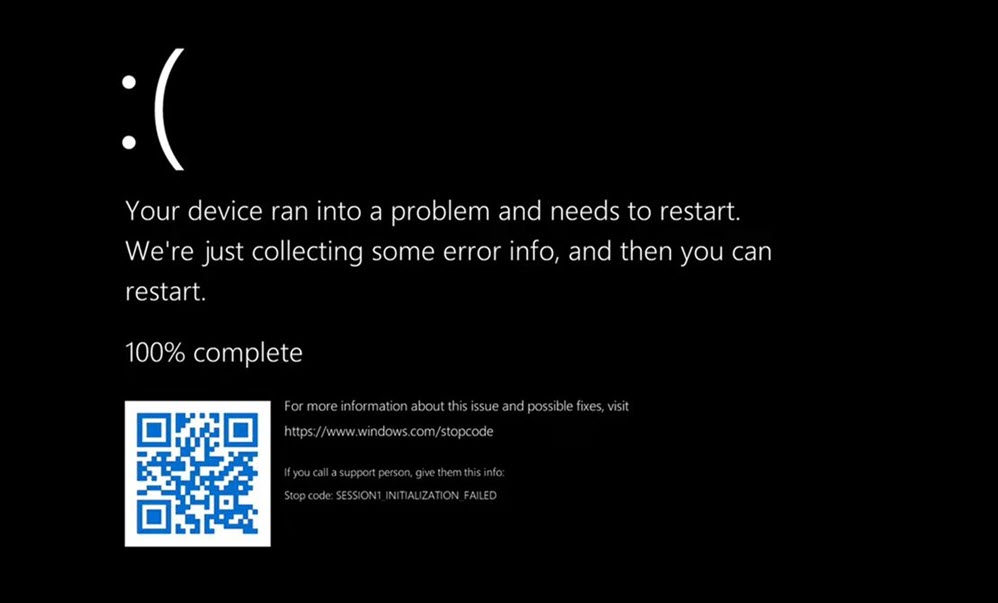
Windows 11 is officially here. We don’t know whether it’s going to break the cycle and become the next mainstream OS—what we do know is that it’s not as stable as expected and many users are having constant crashes and BSOD.
But don’t worry if you’re on the same boat. Here we’ve compiled a list of some working fixes down below, try them and get Windows 11 working right away.
Try these fixes:
You might not need to try them all. Simply work your way down until you find the one that does the trick.
- Check for incompatible hardware
- Check if fast startup is disabled
- Get the latest system updates
- Scan and repair your drivers
- Perform a clean boot
- Check for corrupted system files
- Disable overclocking
- Increase the virtual memory
- Check the crash log
Fix 1: Check for incompatible hardware
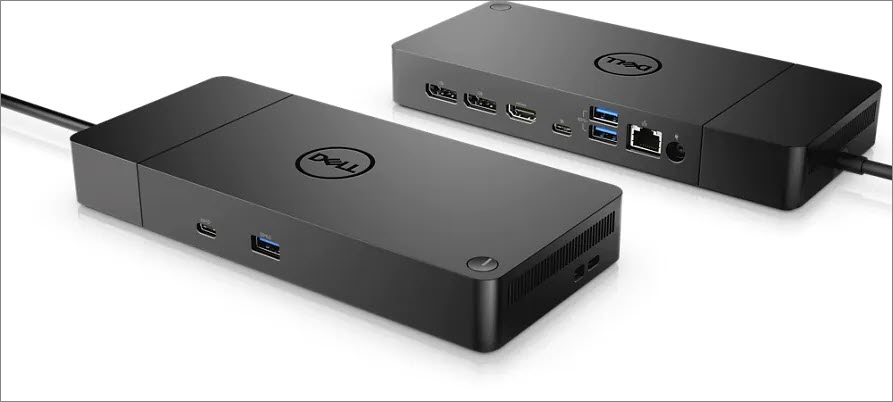
Some users reported that Windows 11 is crashing on faulty or incompatible hardware. So before you try anything more advanced, first check if your PC has accessories that might trigger crash issues. For example, you can try disconnecting docking stations and high-end gaming gears like controllers, headsets and speakers.
If Windows 11 stops crashing, chances are the issue is driver-related. You can jump to this section to scan and repair your drivers.
If you’re sure it’s not your hardware, simply move on to the next fix.
Fix 2: Check if Fast Startup is disabled
Microsoft introduced a feature called Fast Startup in Windows 8 or later. While it makes your computer boot faster, it also means your PC will enter hibernation instead of fully shutting down, which may trigger issues like system or driver updates not installing.
You can follow the steps below to check if Fast Startup is disabled:
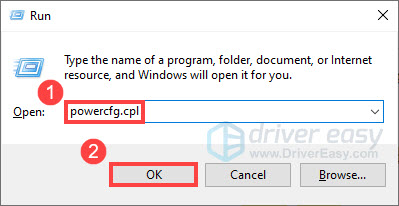
- On your keyborad, press Win+R at the same time to invoke the Run box. Then type or paste powercfg.cpl in the input box and click OK.
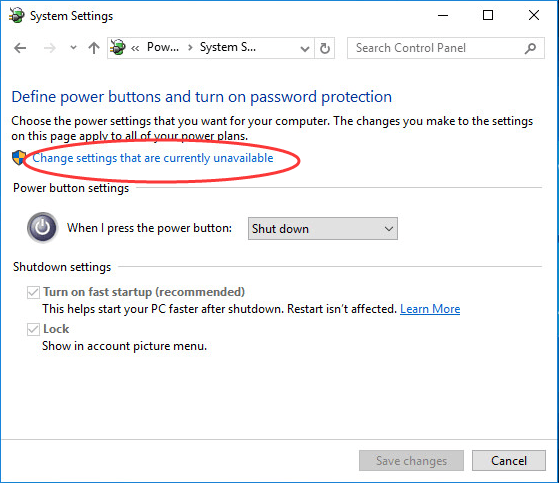
- Click Choose what the power button does.
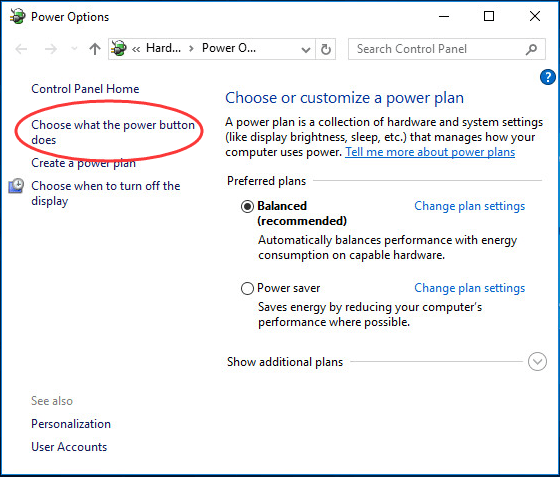
- Click Change settings that are currently unavailable.
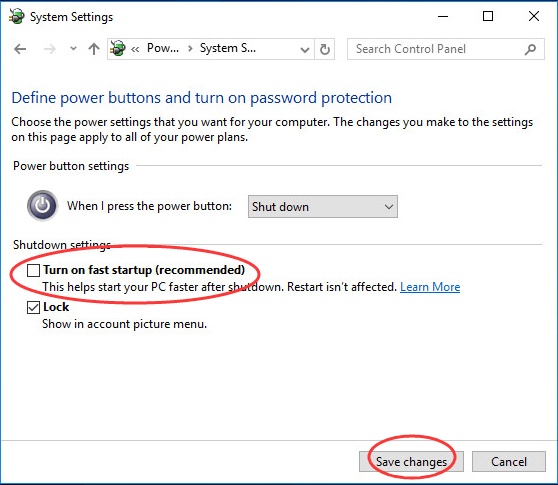
- Uncheck Turn on fast startup (recommended). Then click Save Changes.
Now you can restart your PC and see if it crashes again.
You can also continue to the following fixes to improve the stability of your system.
Fix 3: Get the latest system updates
Windows 11 is still new, and Microsoft is rolling out patches on a regular basis. If you don’t remember when was the last time you checked for updates, definitely do it now.
Here’s how:
- On your keyboard, press Win+R (the Windows logo key and the R key) to invoke the Run box. Type or paste control update and click OK.

- Click Check for updates. Windows will then check for available updates. (Or click Restart now if it prompts “Restart required”)

Once you’ve installed all the system updates, do a reboot and check if the problem reappears.
If Windows 11 keeps crashing, you can move on to the next fix.
Fix 4: Scan and repair your drivers
The constant crashes could indicate a compatibility issue with device drivers. In other words, you might be using faulty or outdated computer drivers. Usually this is what makes your system unstable, and it often happens after a system upgrade. You should run a scan and check if you have all the latest correct drivers.
You can check your drivers manually, by visiting the manufacturer websites one by one, finding the latest correct driver installer and installing step by step. But if you don’t like playing with device drivers, you can use Driver Easy. It’s a smart driver updater that repairs & updates your drivers automatically.
- Download and install Driver Easy.
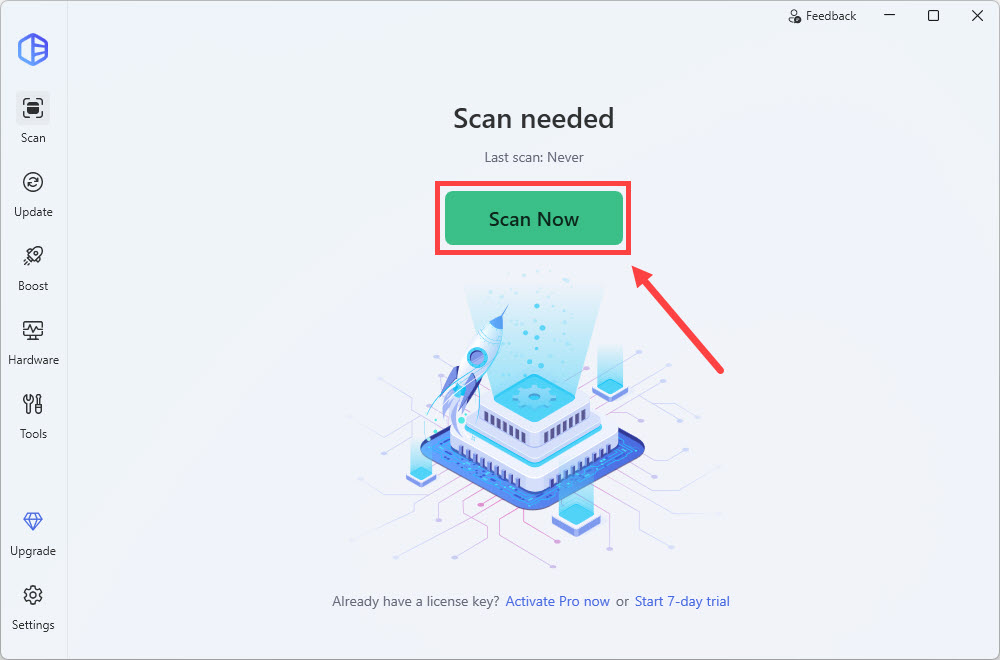
- Run Driver Easy and click the Scan Now button. Driver Easy will then scan your computer and detect any problem drivers.
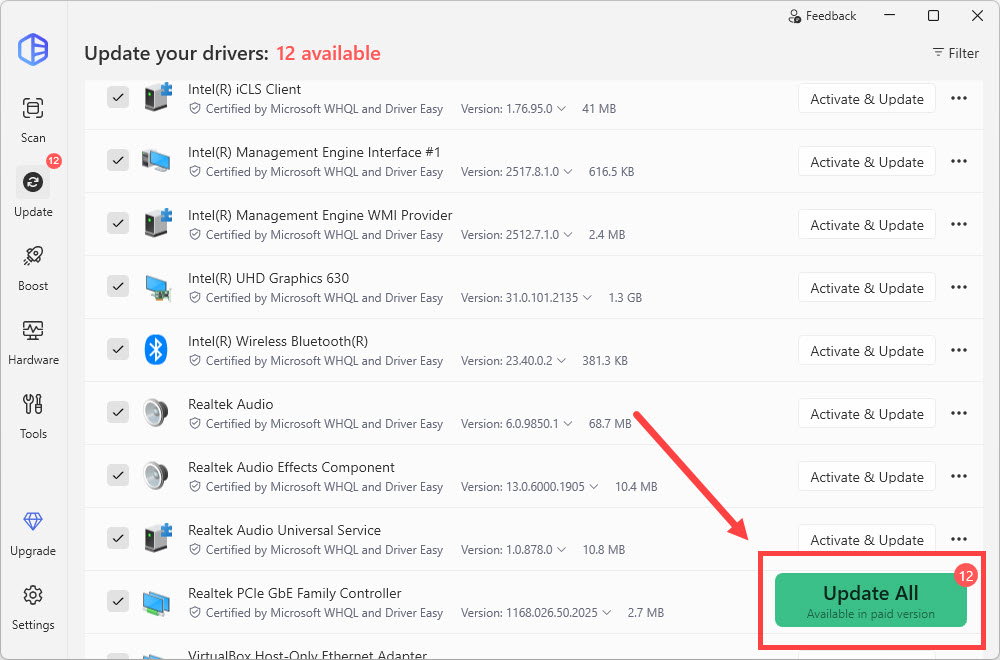
- Click Update All to automatically download and install the correct version of all the drivers that are missing or out of date on your system. (This requires the Pro version which comes with full support and a 30-day money-back guarantee. You’ll be prompted to upgrade when you click Update All. If you’re not ready to buy the Pro version, Driver Easy offers a 7-day free trial which includes access to all the Pro features such as high-speed download and one-click install. You won’t be charged anything until your 7-day trial has ended.)
- Restart your computer for the changes to take effect.
After updating your drivers, restart your PC and check if Windows 11 crashes again.
If the issue persists, move on to the next fix.
Fix 5: Perform a clean boot
In some cases, the constant crashes can be triggered by incompatible software, especially those relating to hardware control, like Logitech Options and MSI Afterburner. To rule out the possibilities, you can do a clean boot and start Windows with only the essential components.
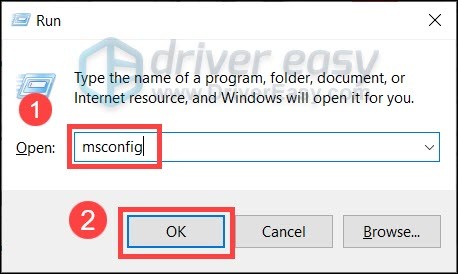
- On your keyboard, press Win+R (the Windows logo key and the r key) at the same time to invoke the Run box. Type or paste msconfig and click OK.
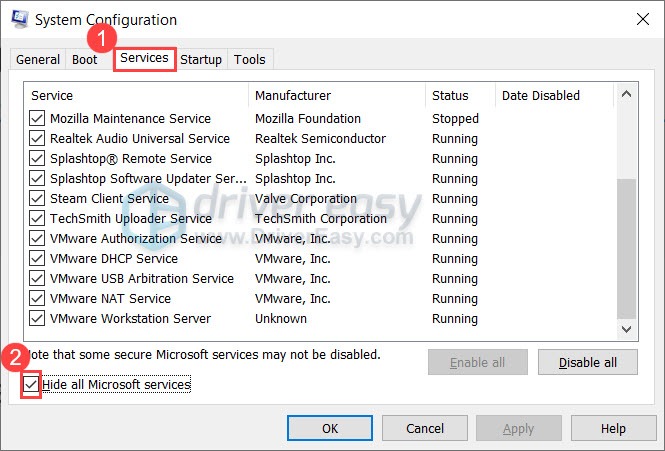
- In the pop-up window, navigate to the Services tab and check the box next to Hide all Microsoft services.
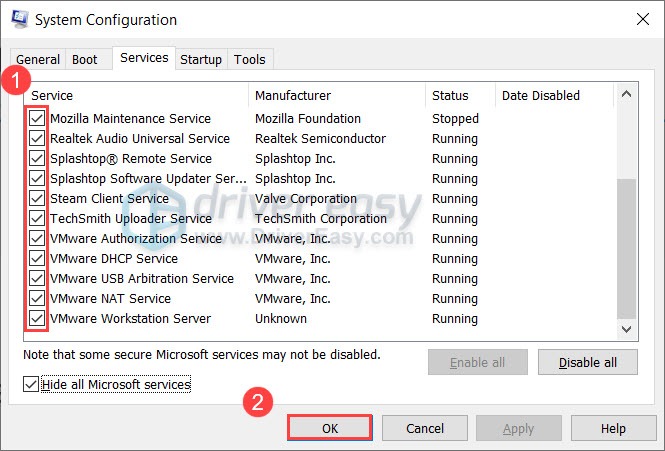
- Uncheck all the services EXCEPT those belong to your hardware manufacturers, such as Realtek, AMD, NVIDIA, Logitech and Intel. Then click OK to apply the changes.
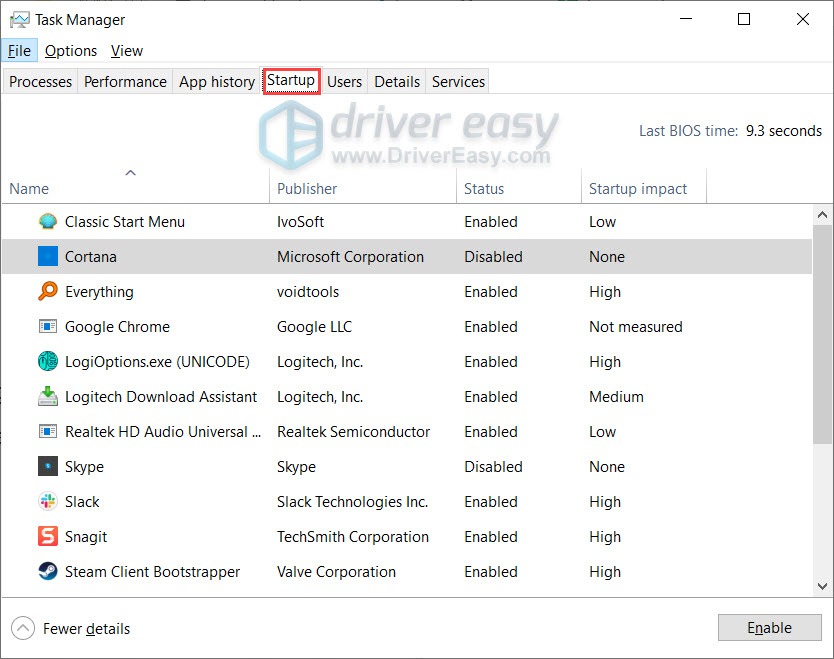
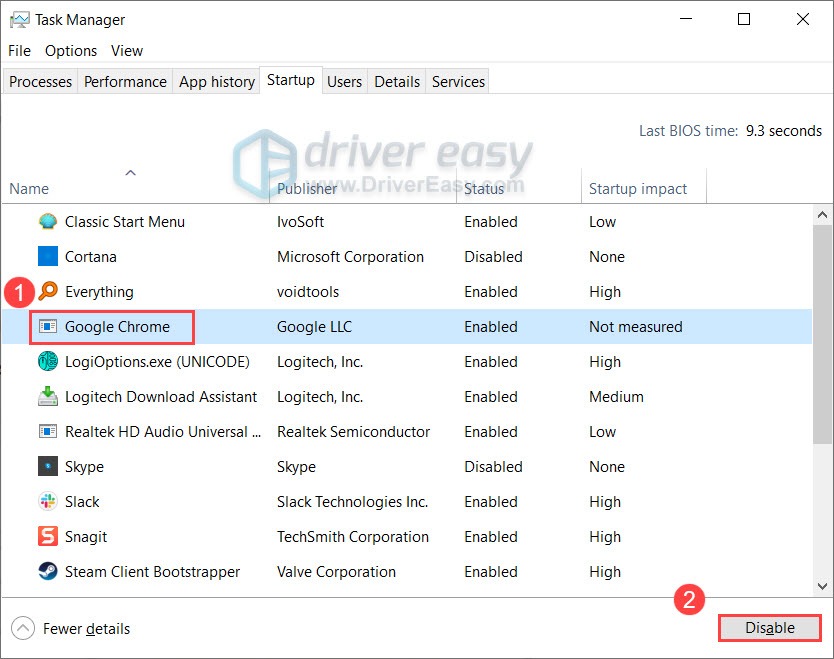
- On your keyboard, press Ctrl, Shift and Esc at the same time to open Task Manager, then navigate to the Startup tab.
- One at a time, select any programs you suspect might be interfering, and click Disable.
- Restart your PC.
If Windows stops crashing after the clean boot, you can repeat these steps and enable part of the services so as to root out the offender.
If a clean boot doesn’t help, take a look at the next fix below.
Fix 6: Check for corrupted system files
The constant crashes could imply that some critical files are corrupted or missing. This also happened when some users upgraded from Windows 7 to Windows 10. To check if your system is corrupted, try the following steps to do a scan and repair. Before you start, don’t forget to back up important files and settings.
Step 1: Scan corrupt files with System File Checker
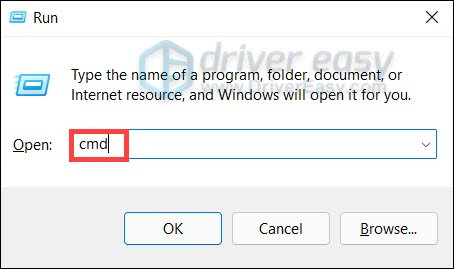
- On your keyboard, press Win+R (the Windows logo key and the R key) to open the Run box. Type cmd and press Ctrl+Shift+Enter to run Command Prompt as administrator.
- In Command Prompt, type sfc /scannow and hit Enter. Allow System File Check to scan your system. It could take up to 5 minutes.
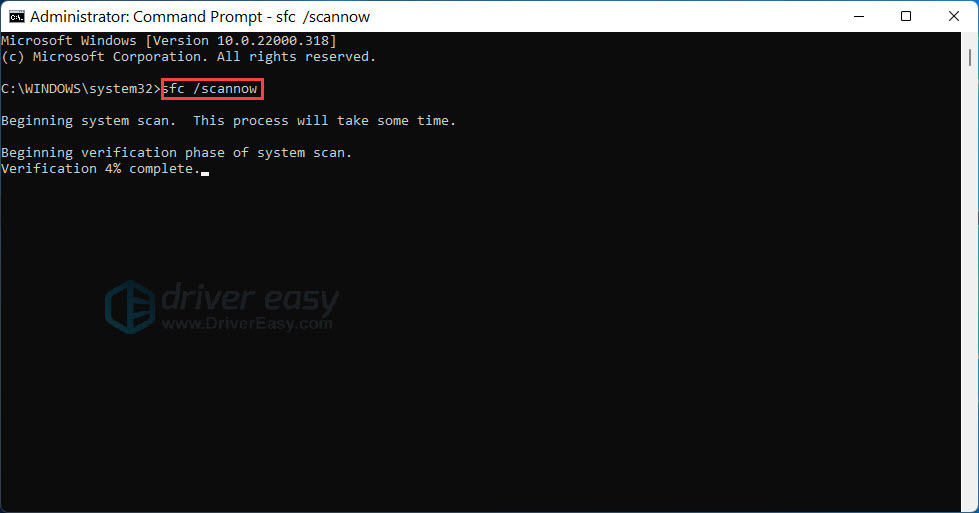
- You may see something like the followings after the verification:
- no errors
- it fixed some errors
- could not fix all errors
- could not fix errors at all
No matter what message you saw, next you can try to fix the issue with the DISM tool.
Step 2: Repair with the DISM tool
1) Run Command Prompt as administrator and enter the following commands.
- This command scans your system:
dism.exe /online /cleanup-image /scanhealth
- This line should repair your system:
dism.exe /online /cleanup-image /restorehealth
If the restore process raises errors, you can always try the following command. Note this could take up to 2 hours.
dism /online /cleanup-image /startcomponentcleanup
- If you see Error: 0x800F081F during the process, reboot and run the following:
Dism.exe /Online /Cleanup-Image /AnalyzeComponentStore
If the System File Check finds any files corrupted, follow the on-screen instructions to repair them, and then restart your PC for the changes to take full effect.
Once completed, restart your computer and check if Windows crashes again.
If this doesn’t do the job for you, take a look at the next fix.
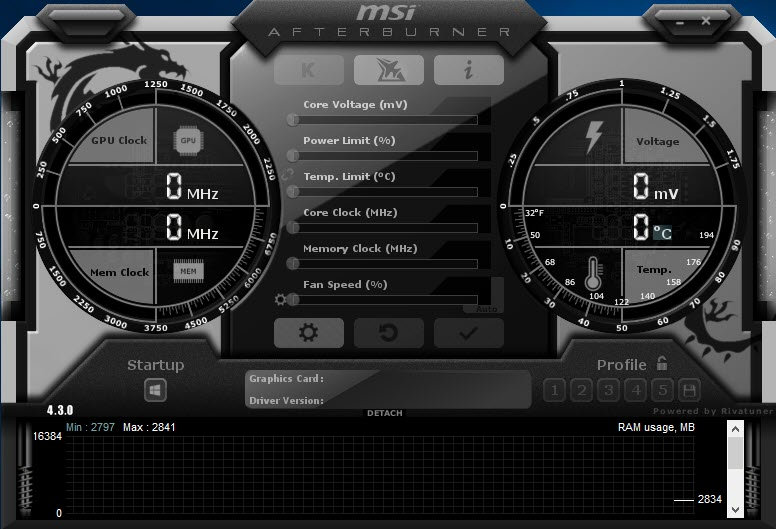
Fix 7: Disable overclocking
Overclocking allows you to get the most of your hardware, but first you need to have a stable system. It’s common knowledge that tuning the frequency of your CPU/GPU/RAM could undermine system stability. If you’re overclocking with software like MSI Afterburner, Intel Extreme Tuning Utility (Intel XTU) or AMD Ryzen Master, turn them off and see how things go. Also, check if you forgot some settings in the BIOS.
If you’re not overclocking, simply continue to the next solution.
Fix 8: Increase the virtual memory
If you experience crashes after opening multiple programs, or one single memory-guzzler like Photoshop, Chrome (Yes the browser) and Premiere, chances are your computer is out of RAM. In that case, you could RAM by getting more memory sticks. But if you’re in a hurry, you can work around this issue by increasing the virtual memory.
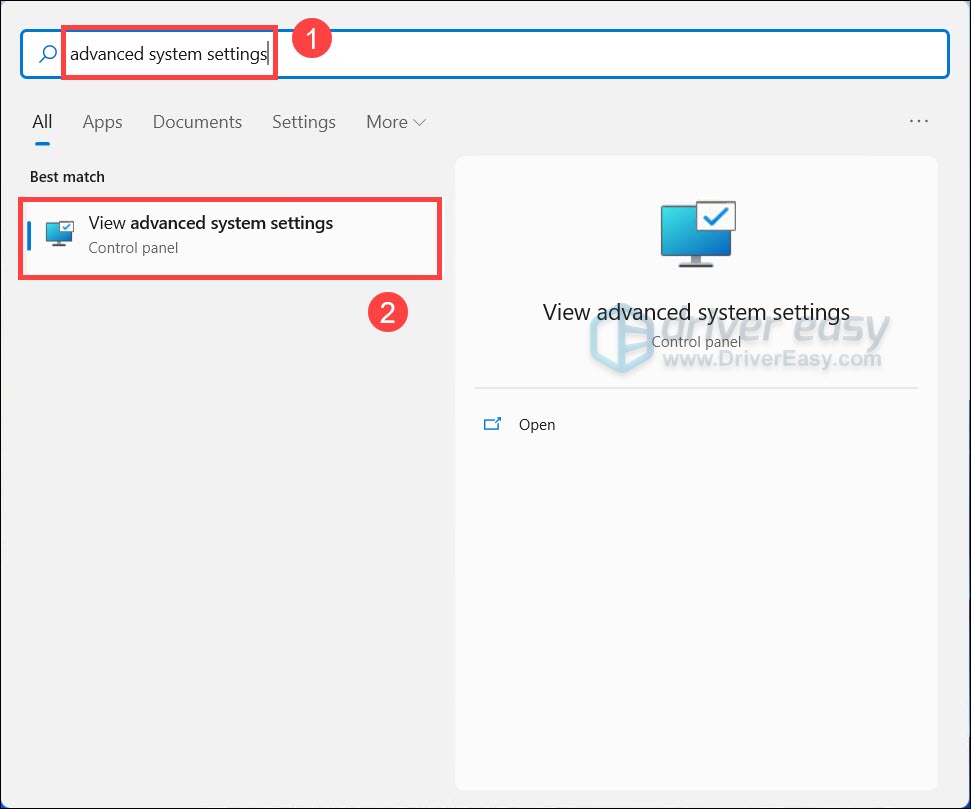
- On your keyboard, press the Windows logo key and type advanced system settings. Click View advanced system settings.
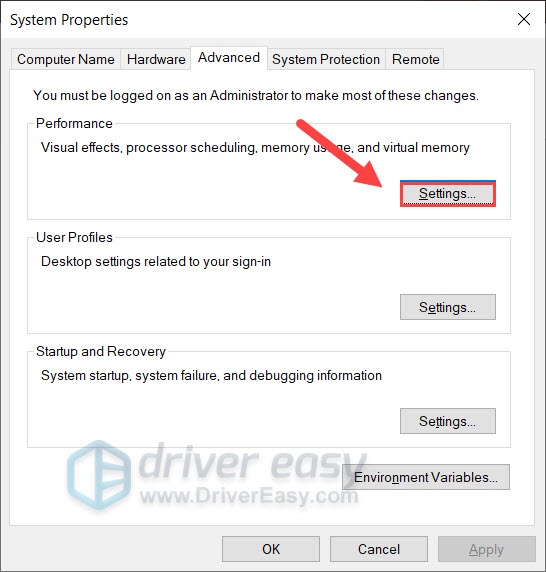
- Under the Performance section, click Settings….
- In the pop-up window, navigate to the Advanced tab. Under the Virtual memory section, click Change….

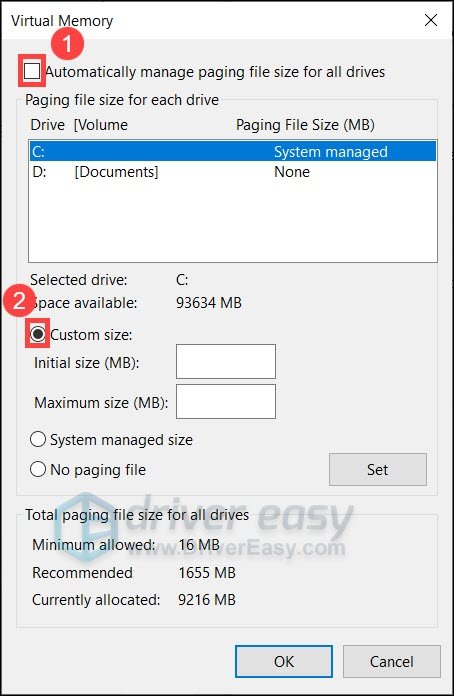
- Deselect the Automatically manage paging file size for all drives checkbox. Then select Customize size.
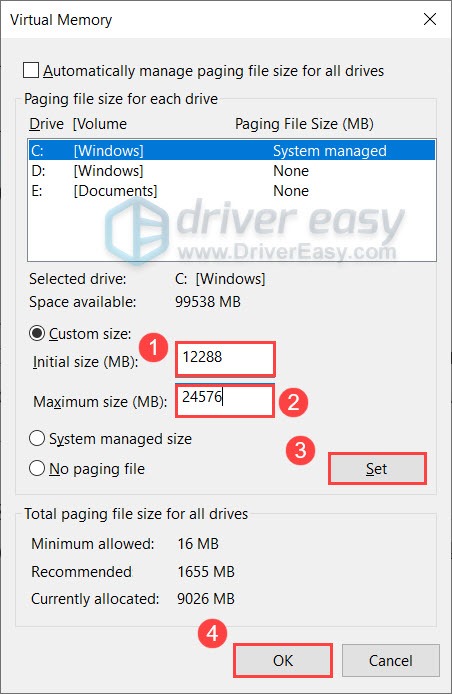
- Enter Initial size and Maximum size according to the physical memory of your computer. Microsoft recommends that virtual memory should be 1.5 to 3 times the size of physical memory. In my case, the physical memory (actual RAM) of my computer is 8 GB, so the Initial size for me here is 8 x 1024 x 1.5 = 12288 MB, and the Maximum size should be 8 x 1024 x 3 = 24576 MB. Once you’ve entered your size of virtual memory, click Set, then click OK to save the changes.
- Restart your PC.
Now you can test the result by repeating the same behavior before the last crash.
If this trick doesn’t give you luck, simply try the next one.
Fix 9: Check the crash log
Actually the most effective way to find out how to fix the issue lies in the crash log. In case you don’t know what the crash log is, it’s a part of the built-in Event Viewer which records the status and behavior of your system & apps. Most of the time when your system crashes, there’ll be error messages in the crash log to help you troubleshoot.
Here’s how to check the crash log:
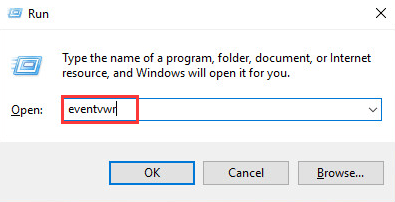
- On your keyboard, press Win+R to open the Run dialog. Type eventvwr and press Enter.
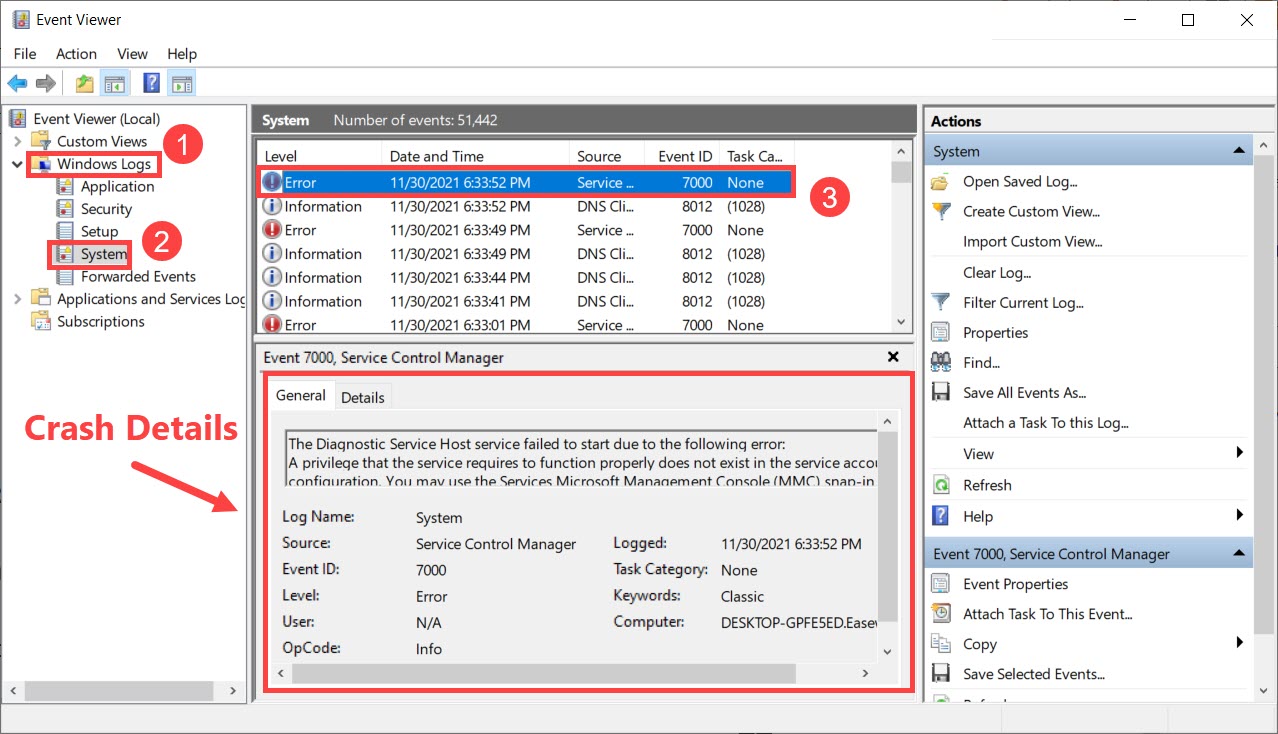
- In the left pane, double click Windows Logs and select System. Then select the event according to the crash time and you’ll find the details at the bottom.
You can then search the error message on Google and troubleshoot the issue more effectively.
Hopefully, this post helps you stop the crash on Windows 11. If you have any questions or ideas, feel free to drop a line in the comments below.